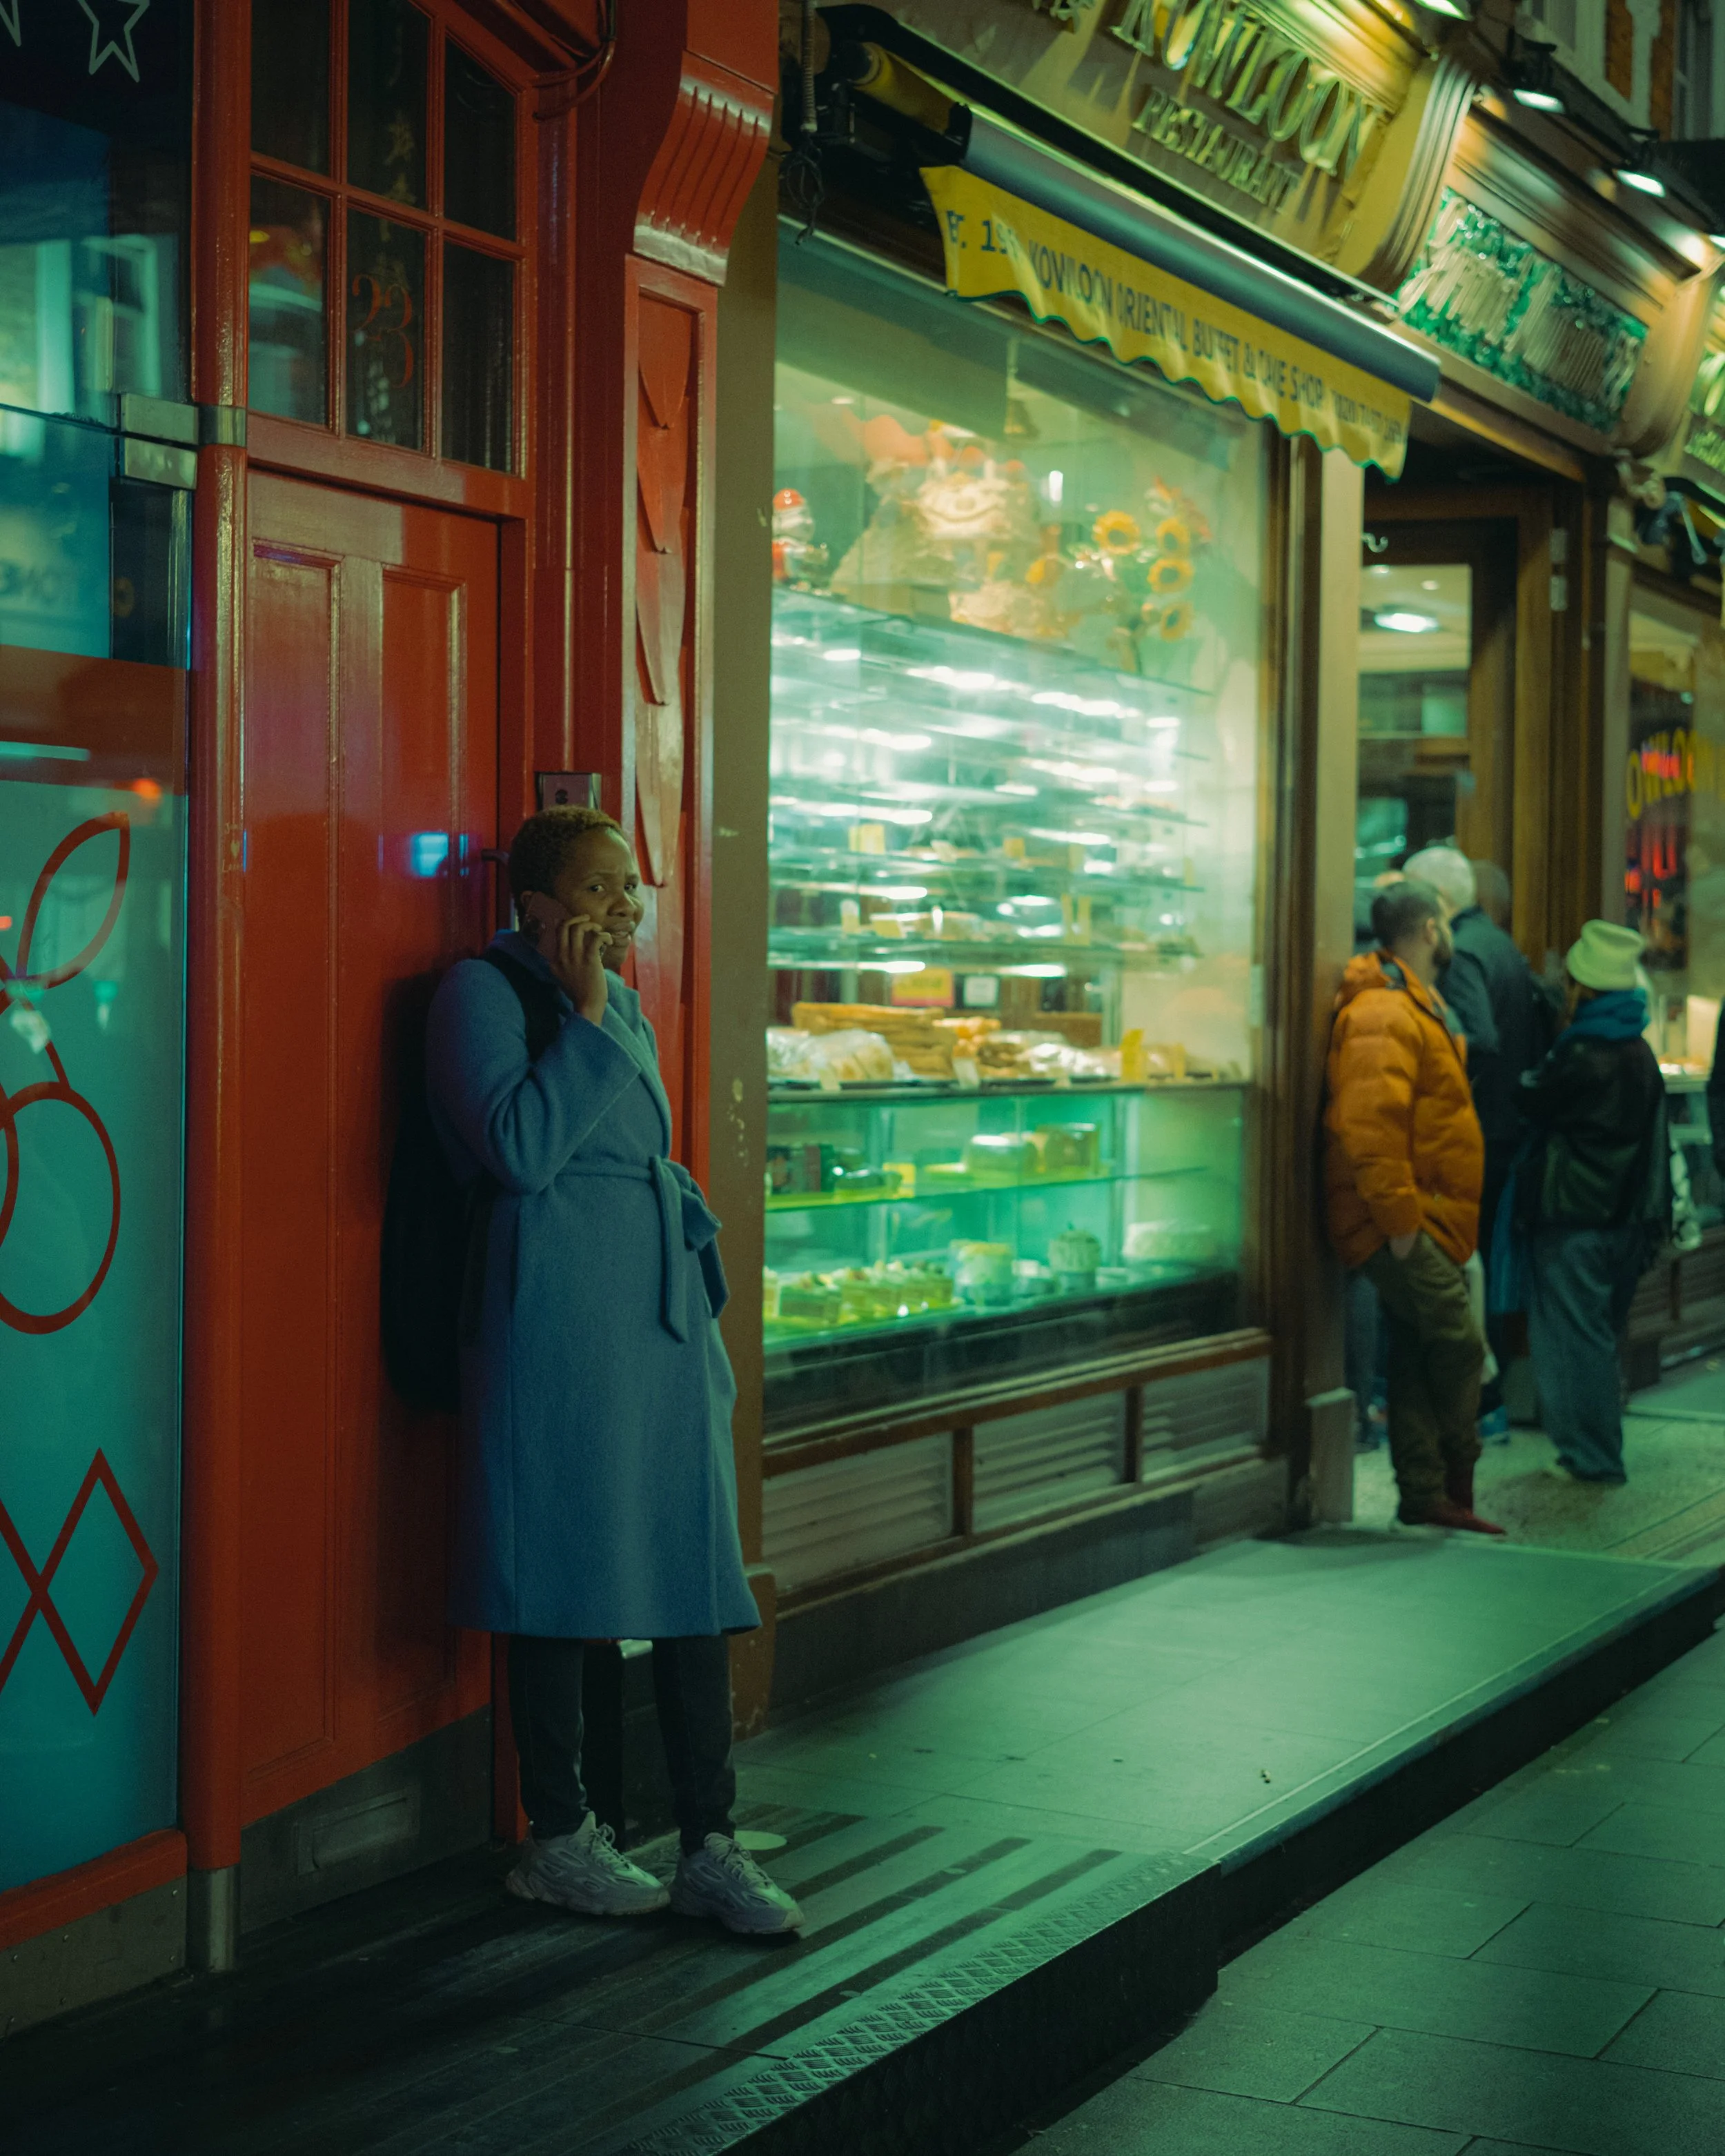
I’ve not been out in the evenings quite as much this winter as I have done in previous years. I think it’s that feeling of getting home and just wanting to crash at the end of the week. With all the pressures of work and the emotional baggage of home life, sometimes it feels like the only thing I have energy for is laying on the bed and doom-scrolling on social media. Every now and then, though, self-awareness descends and self-care is prescribed. And so, there have been times when I’ve dragged myself out, not really feeling it, but knowing that the getting out will help with the feeling it.
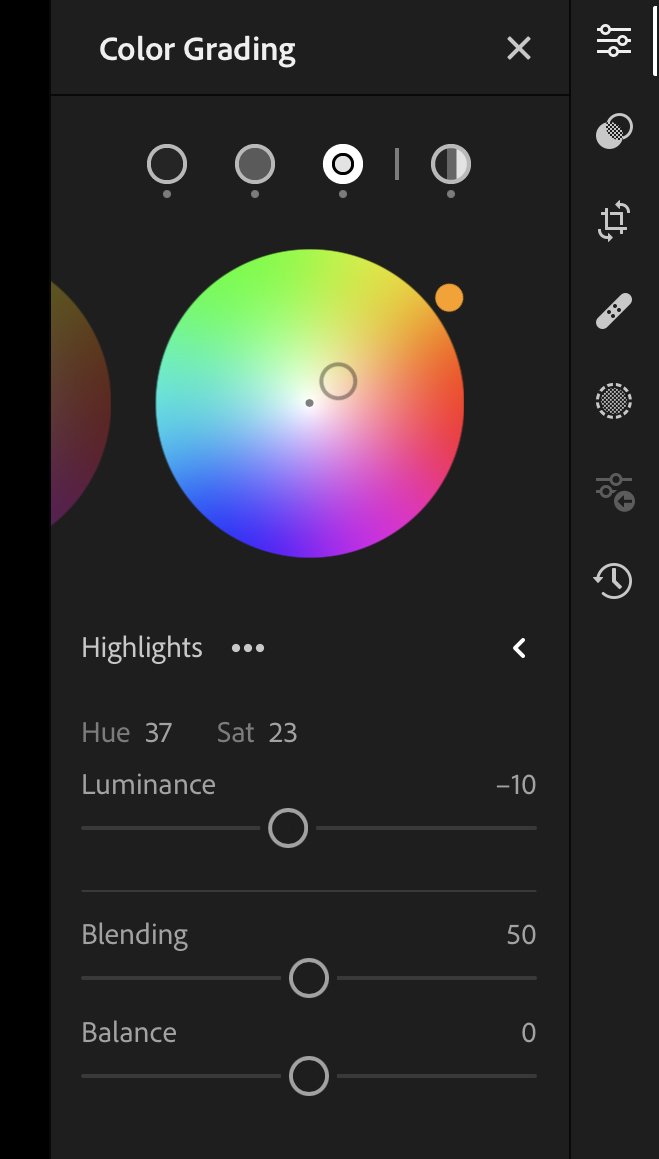
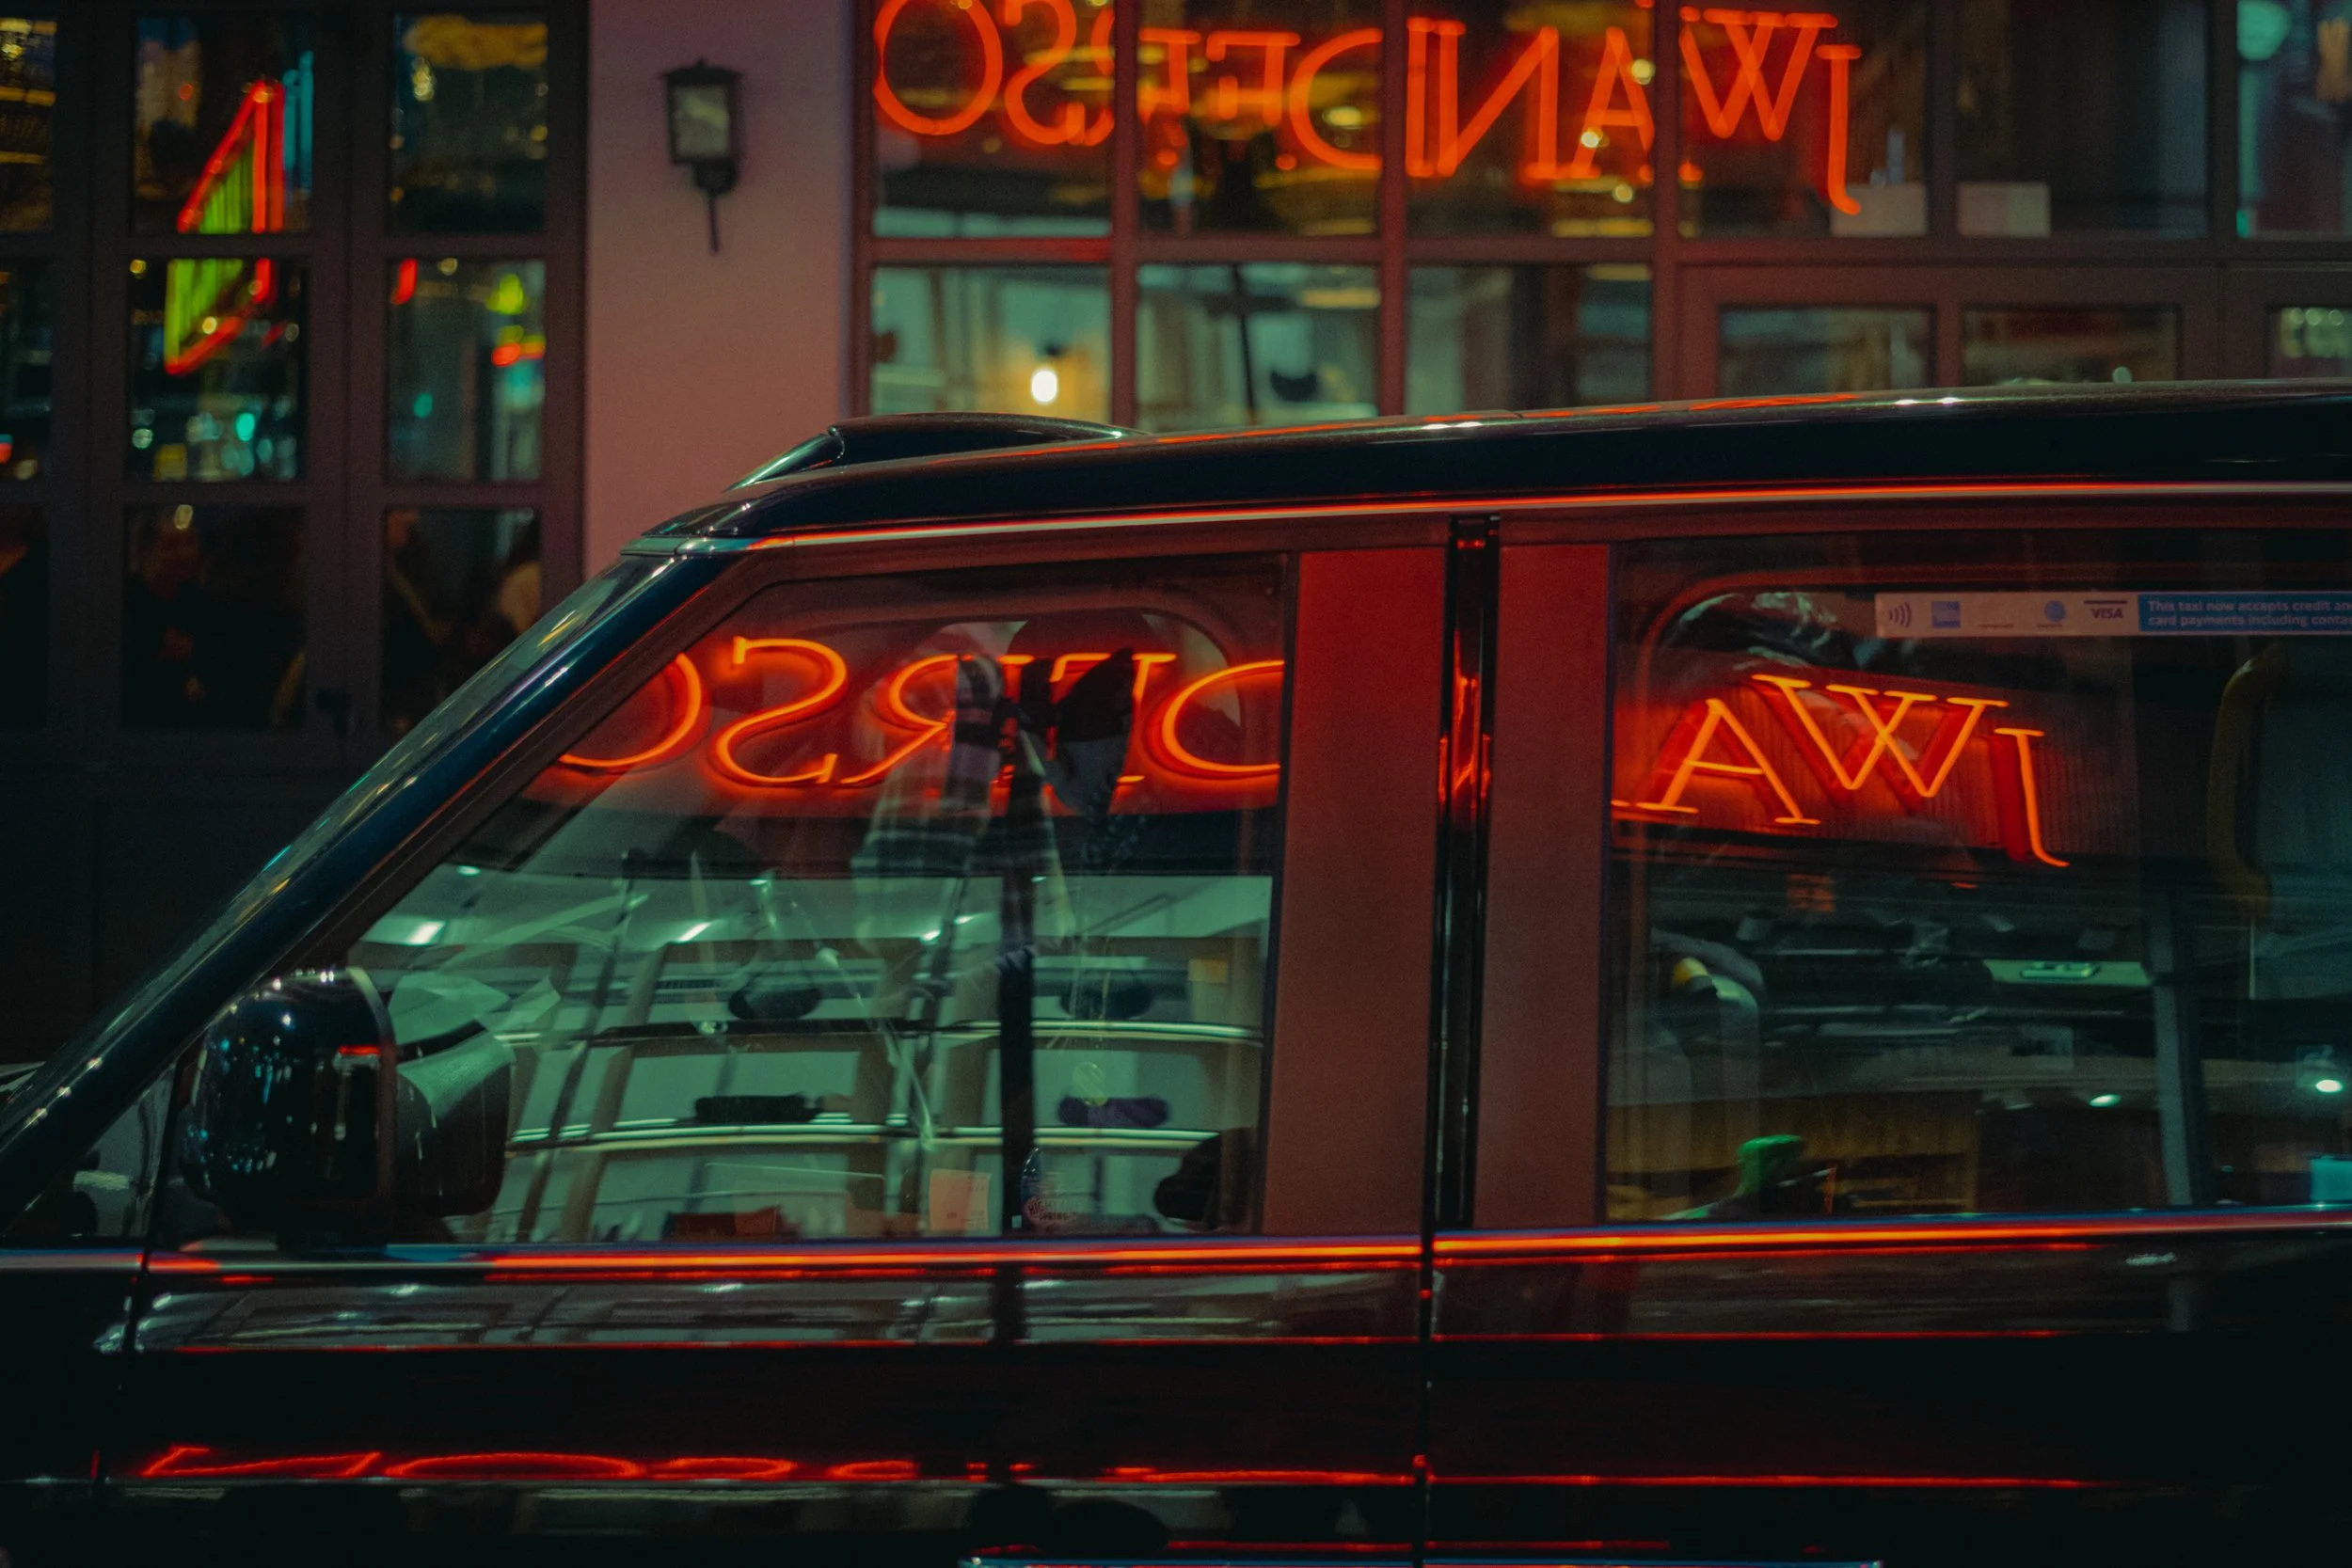
When it comes to my set-up, I have three prime lenses to accompany my XT-3: the XF33mmF1.4 R LM WR, the XF 18mm f/1.4 R LM WR and the XF 50mm f/2 R WR (this being a fairly recent addition to my kit). I decided early on when I picked up the XT-3 that I was going to stick to prime lenses on the streets. I felt a zoom lens would make me too lazy and, well, you also can’t beat a 1.4 lens. Far and away my favourite lens is the 33mm. Whether it be for night shoots or during the day, it just seems to be the perfect focal length for me. I’ve been using the 50mm quite a lot lately (I put that down to new toy syndrome), and I have enjoyed using it, but the 33 just has the edge (I’ll probably write more about the 50mm in a future blog).
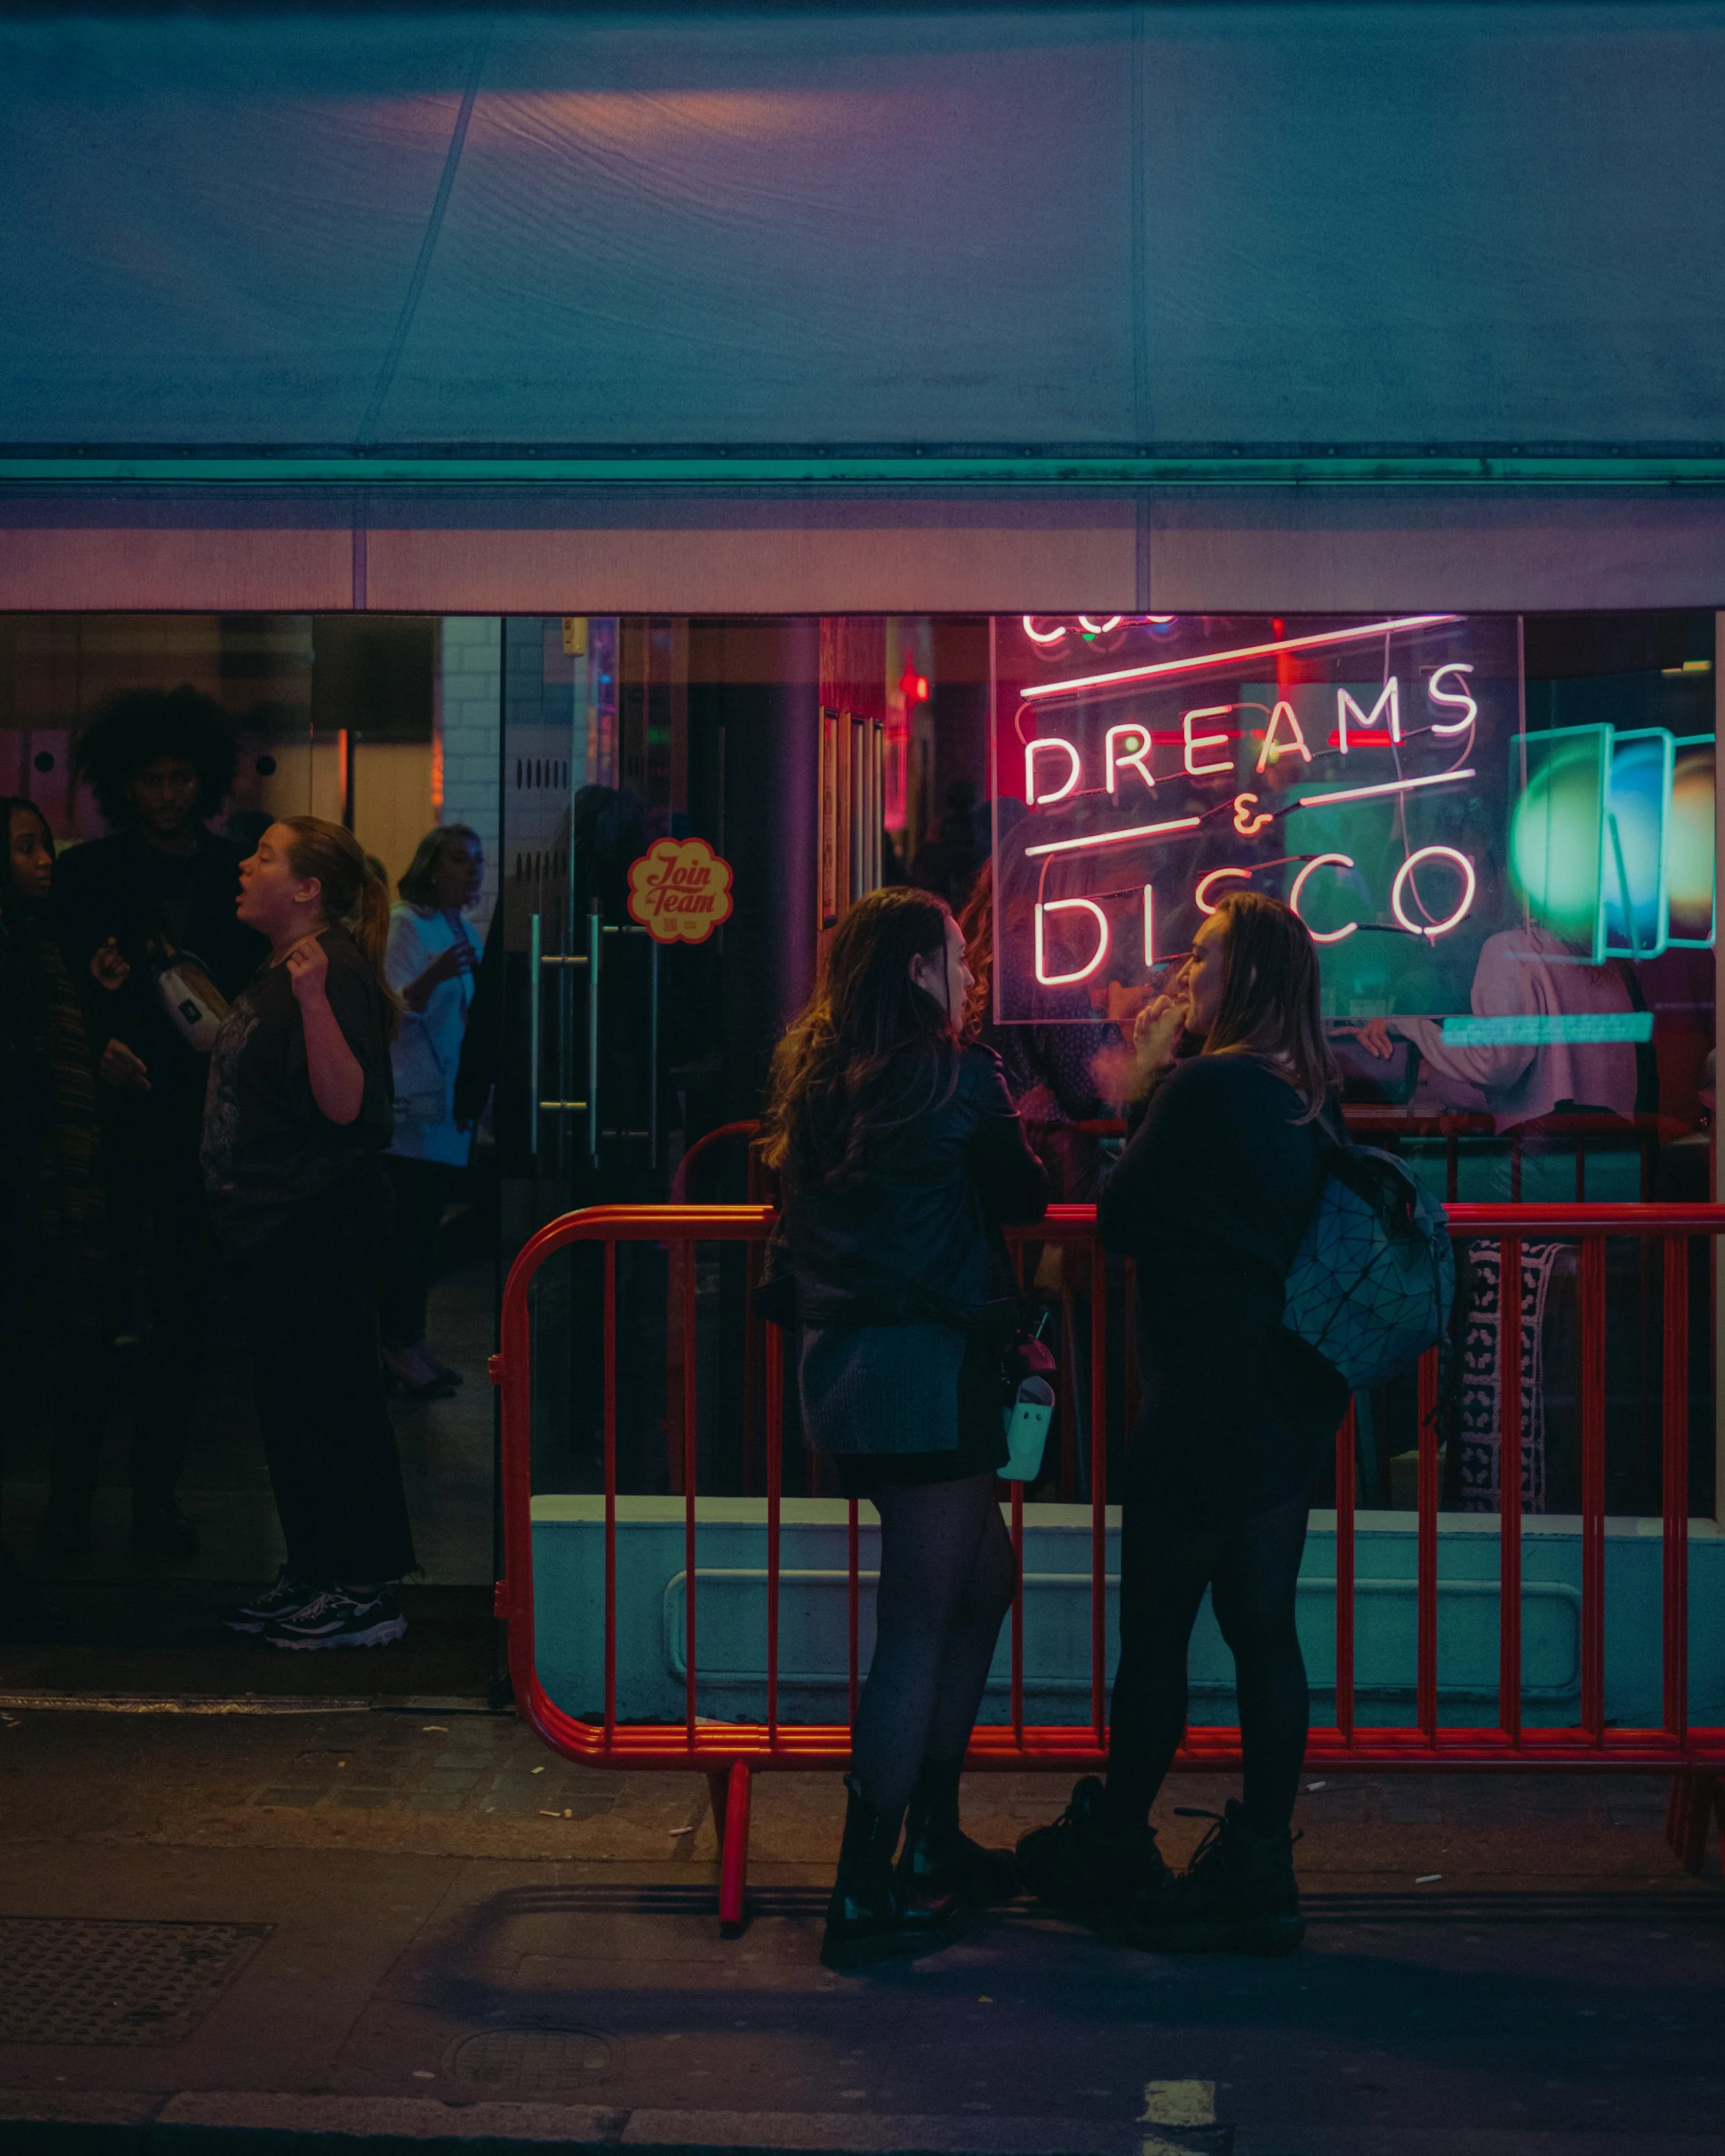
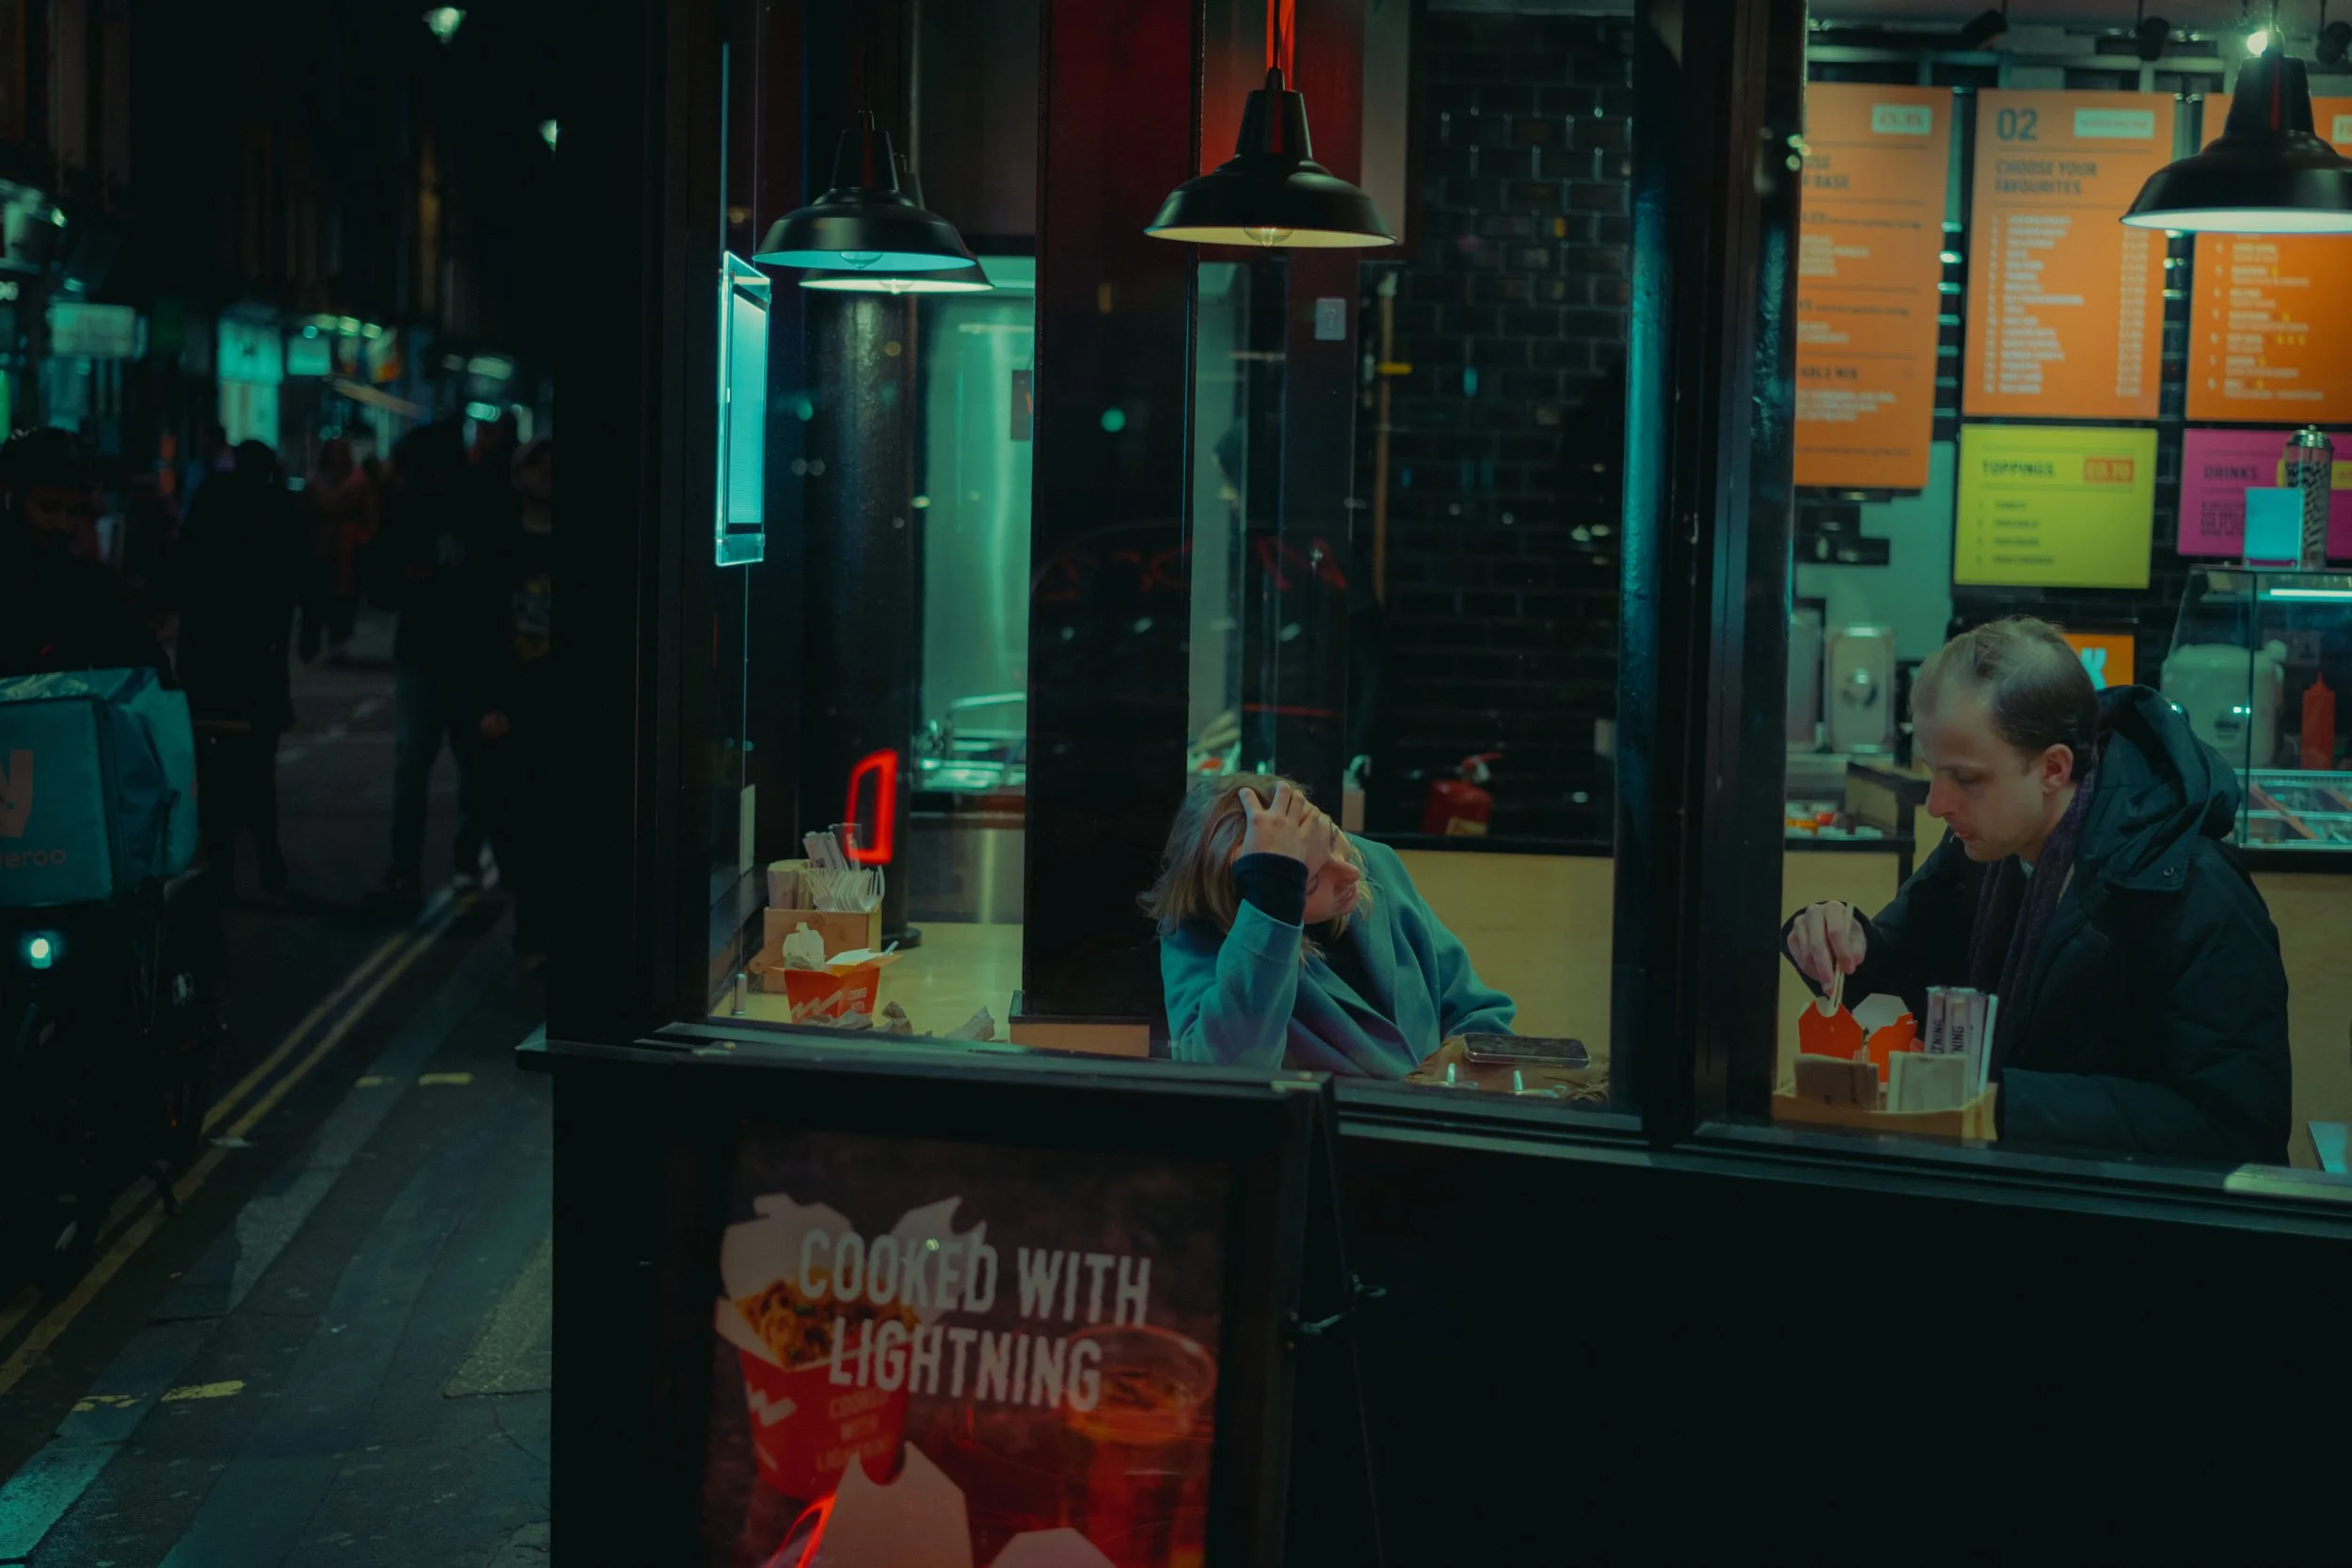
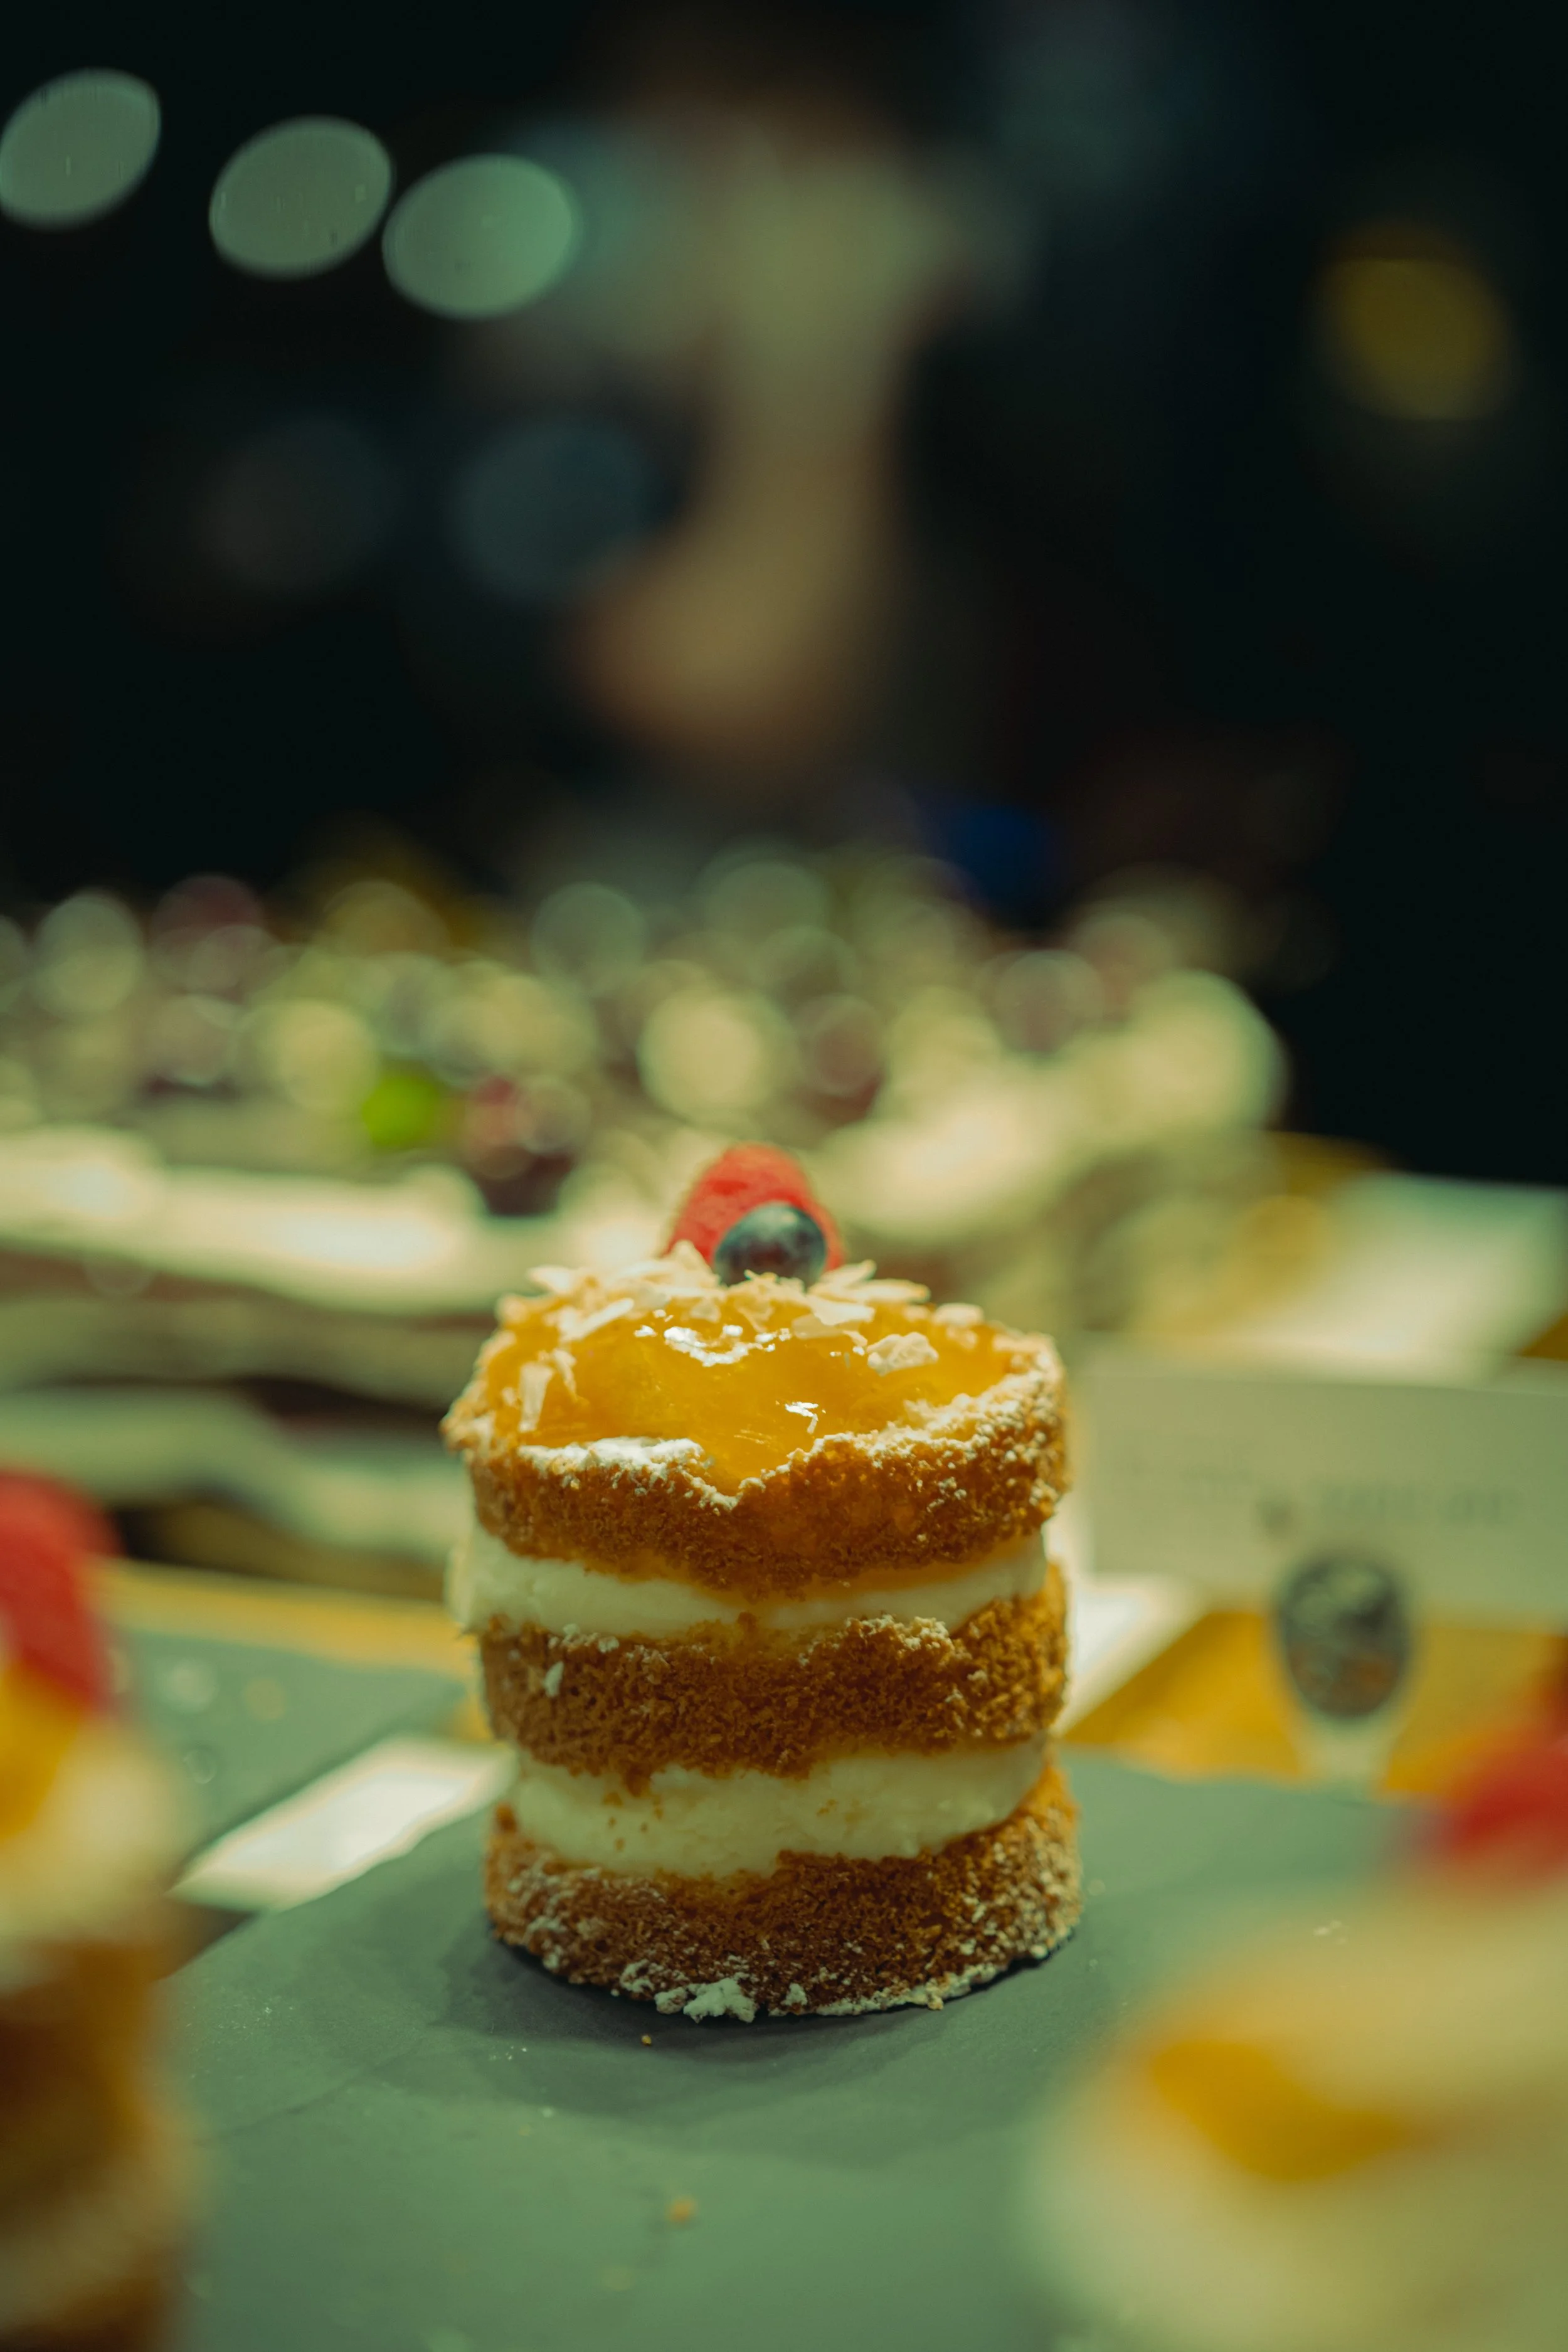
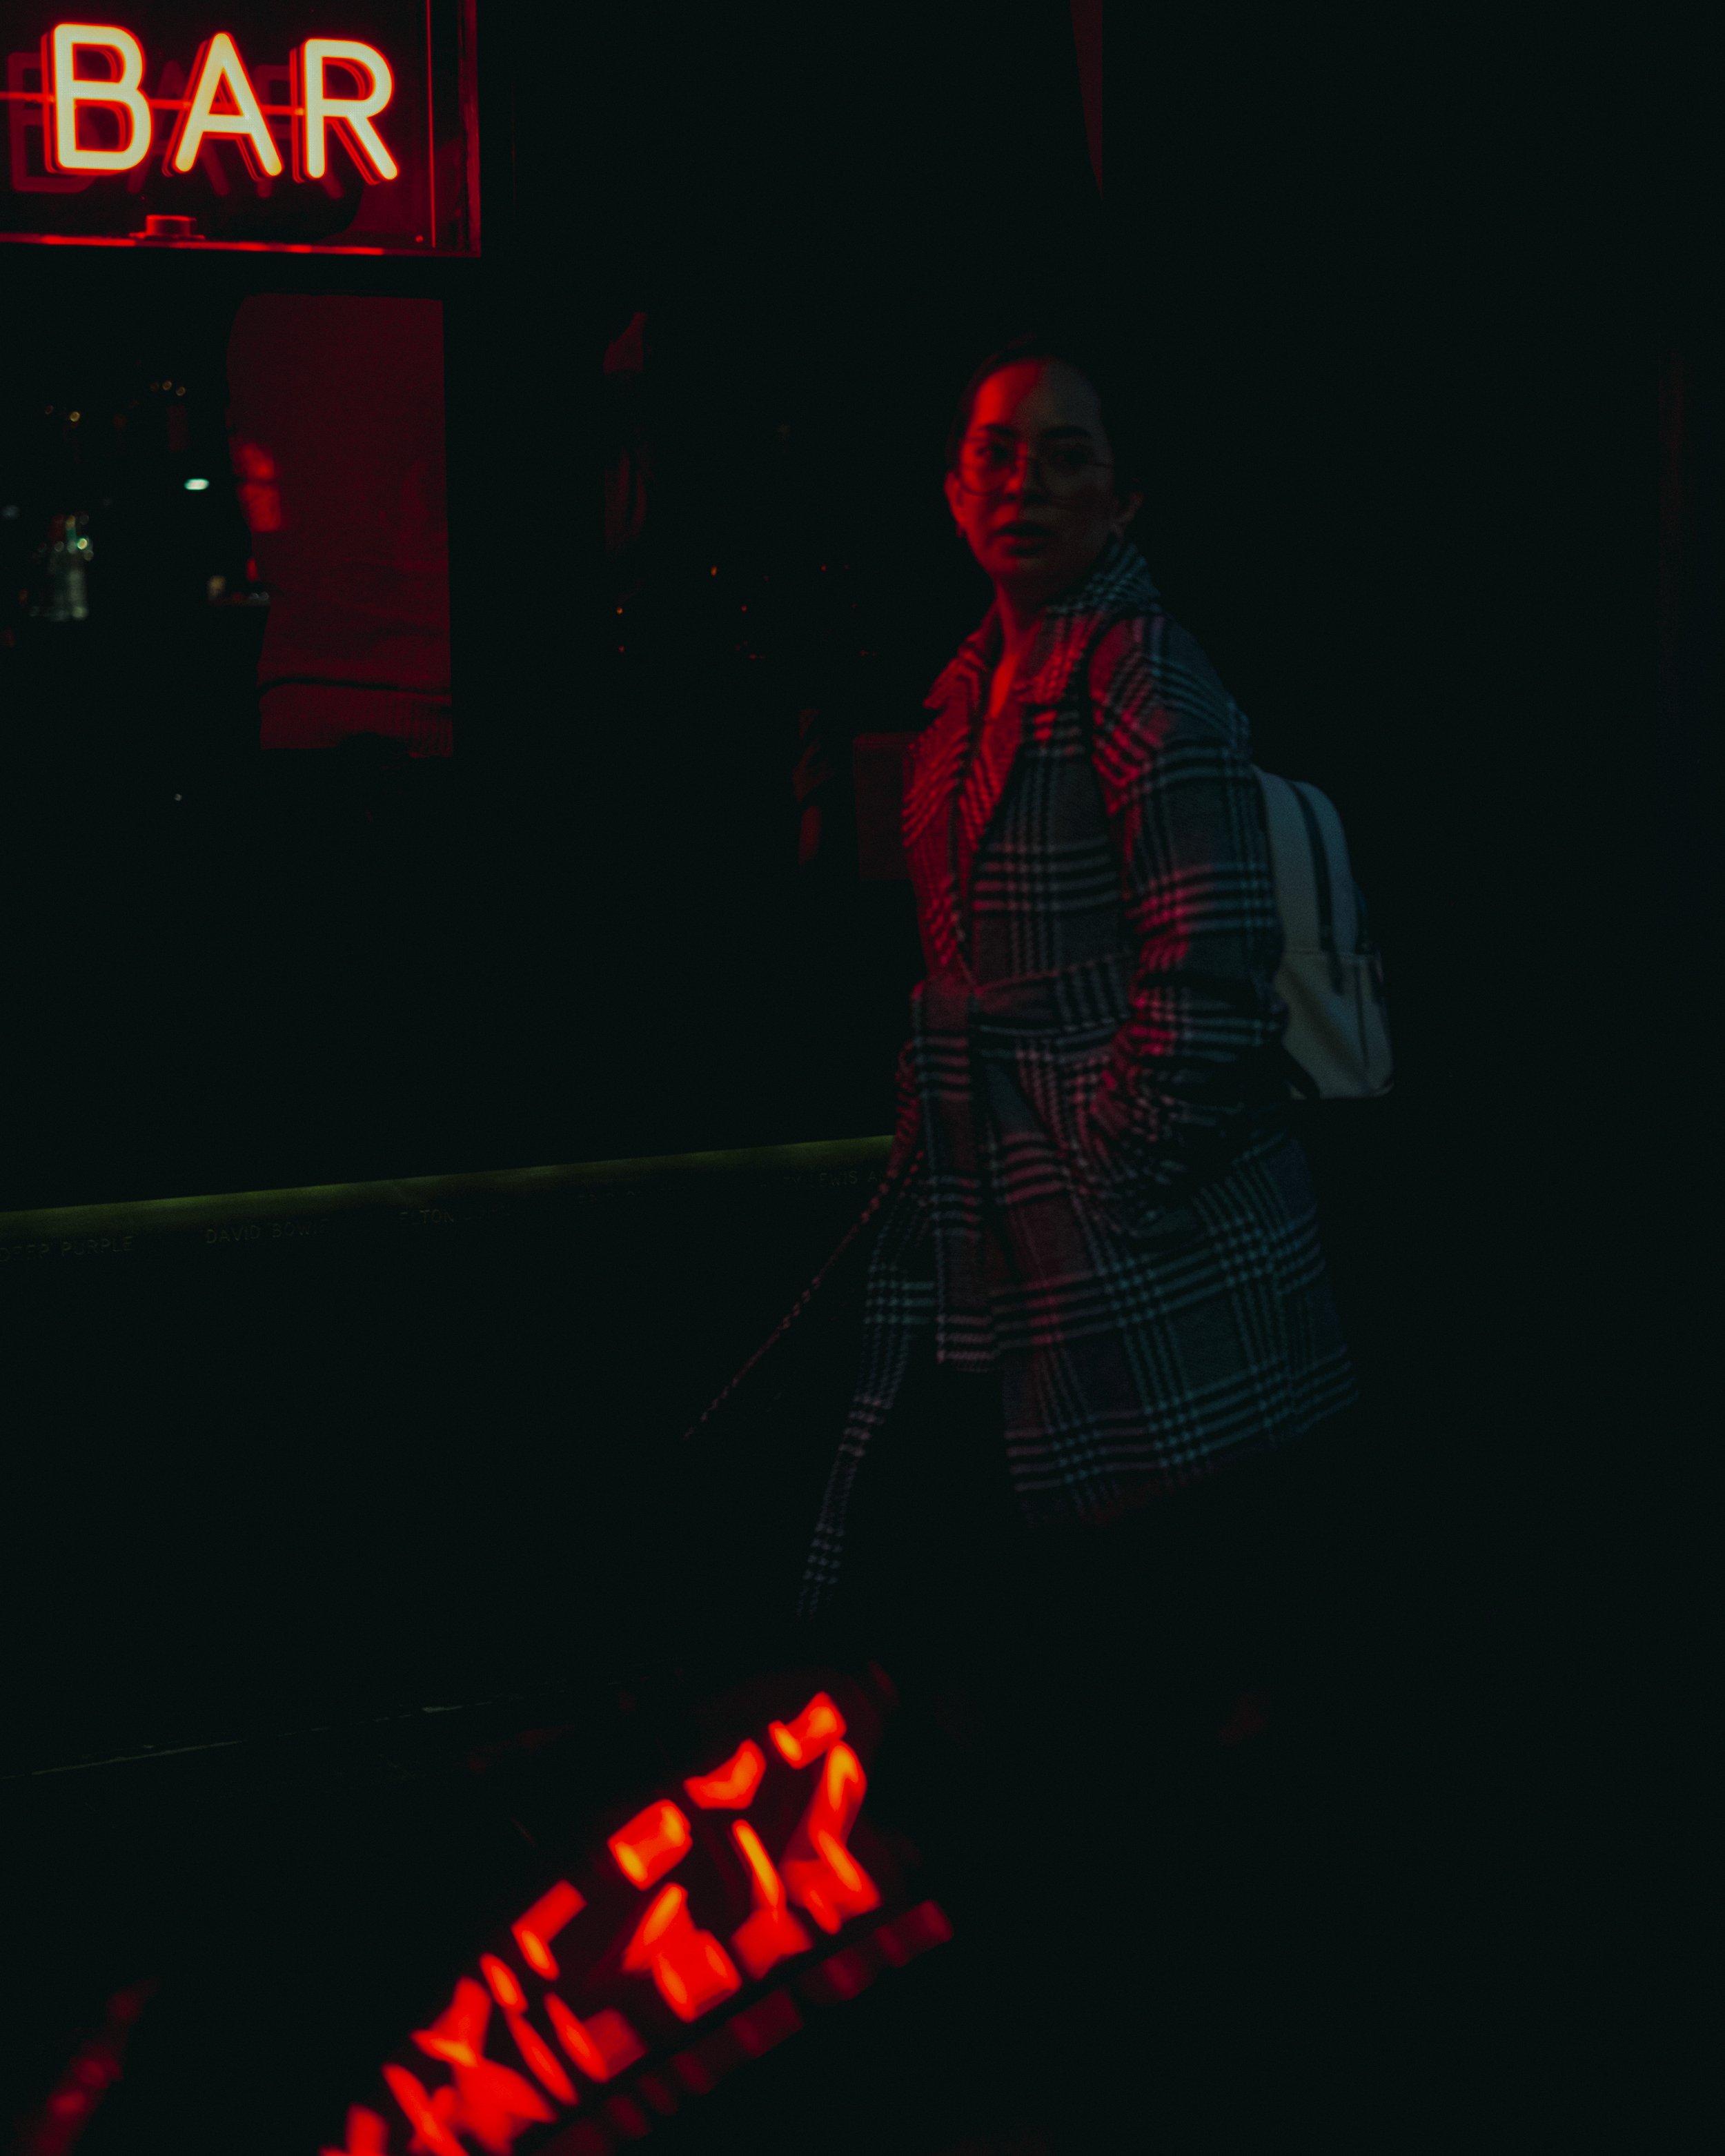
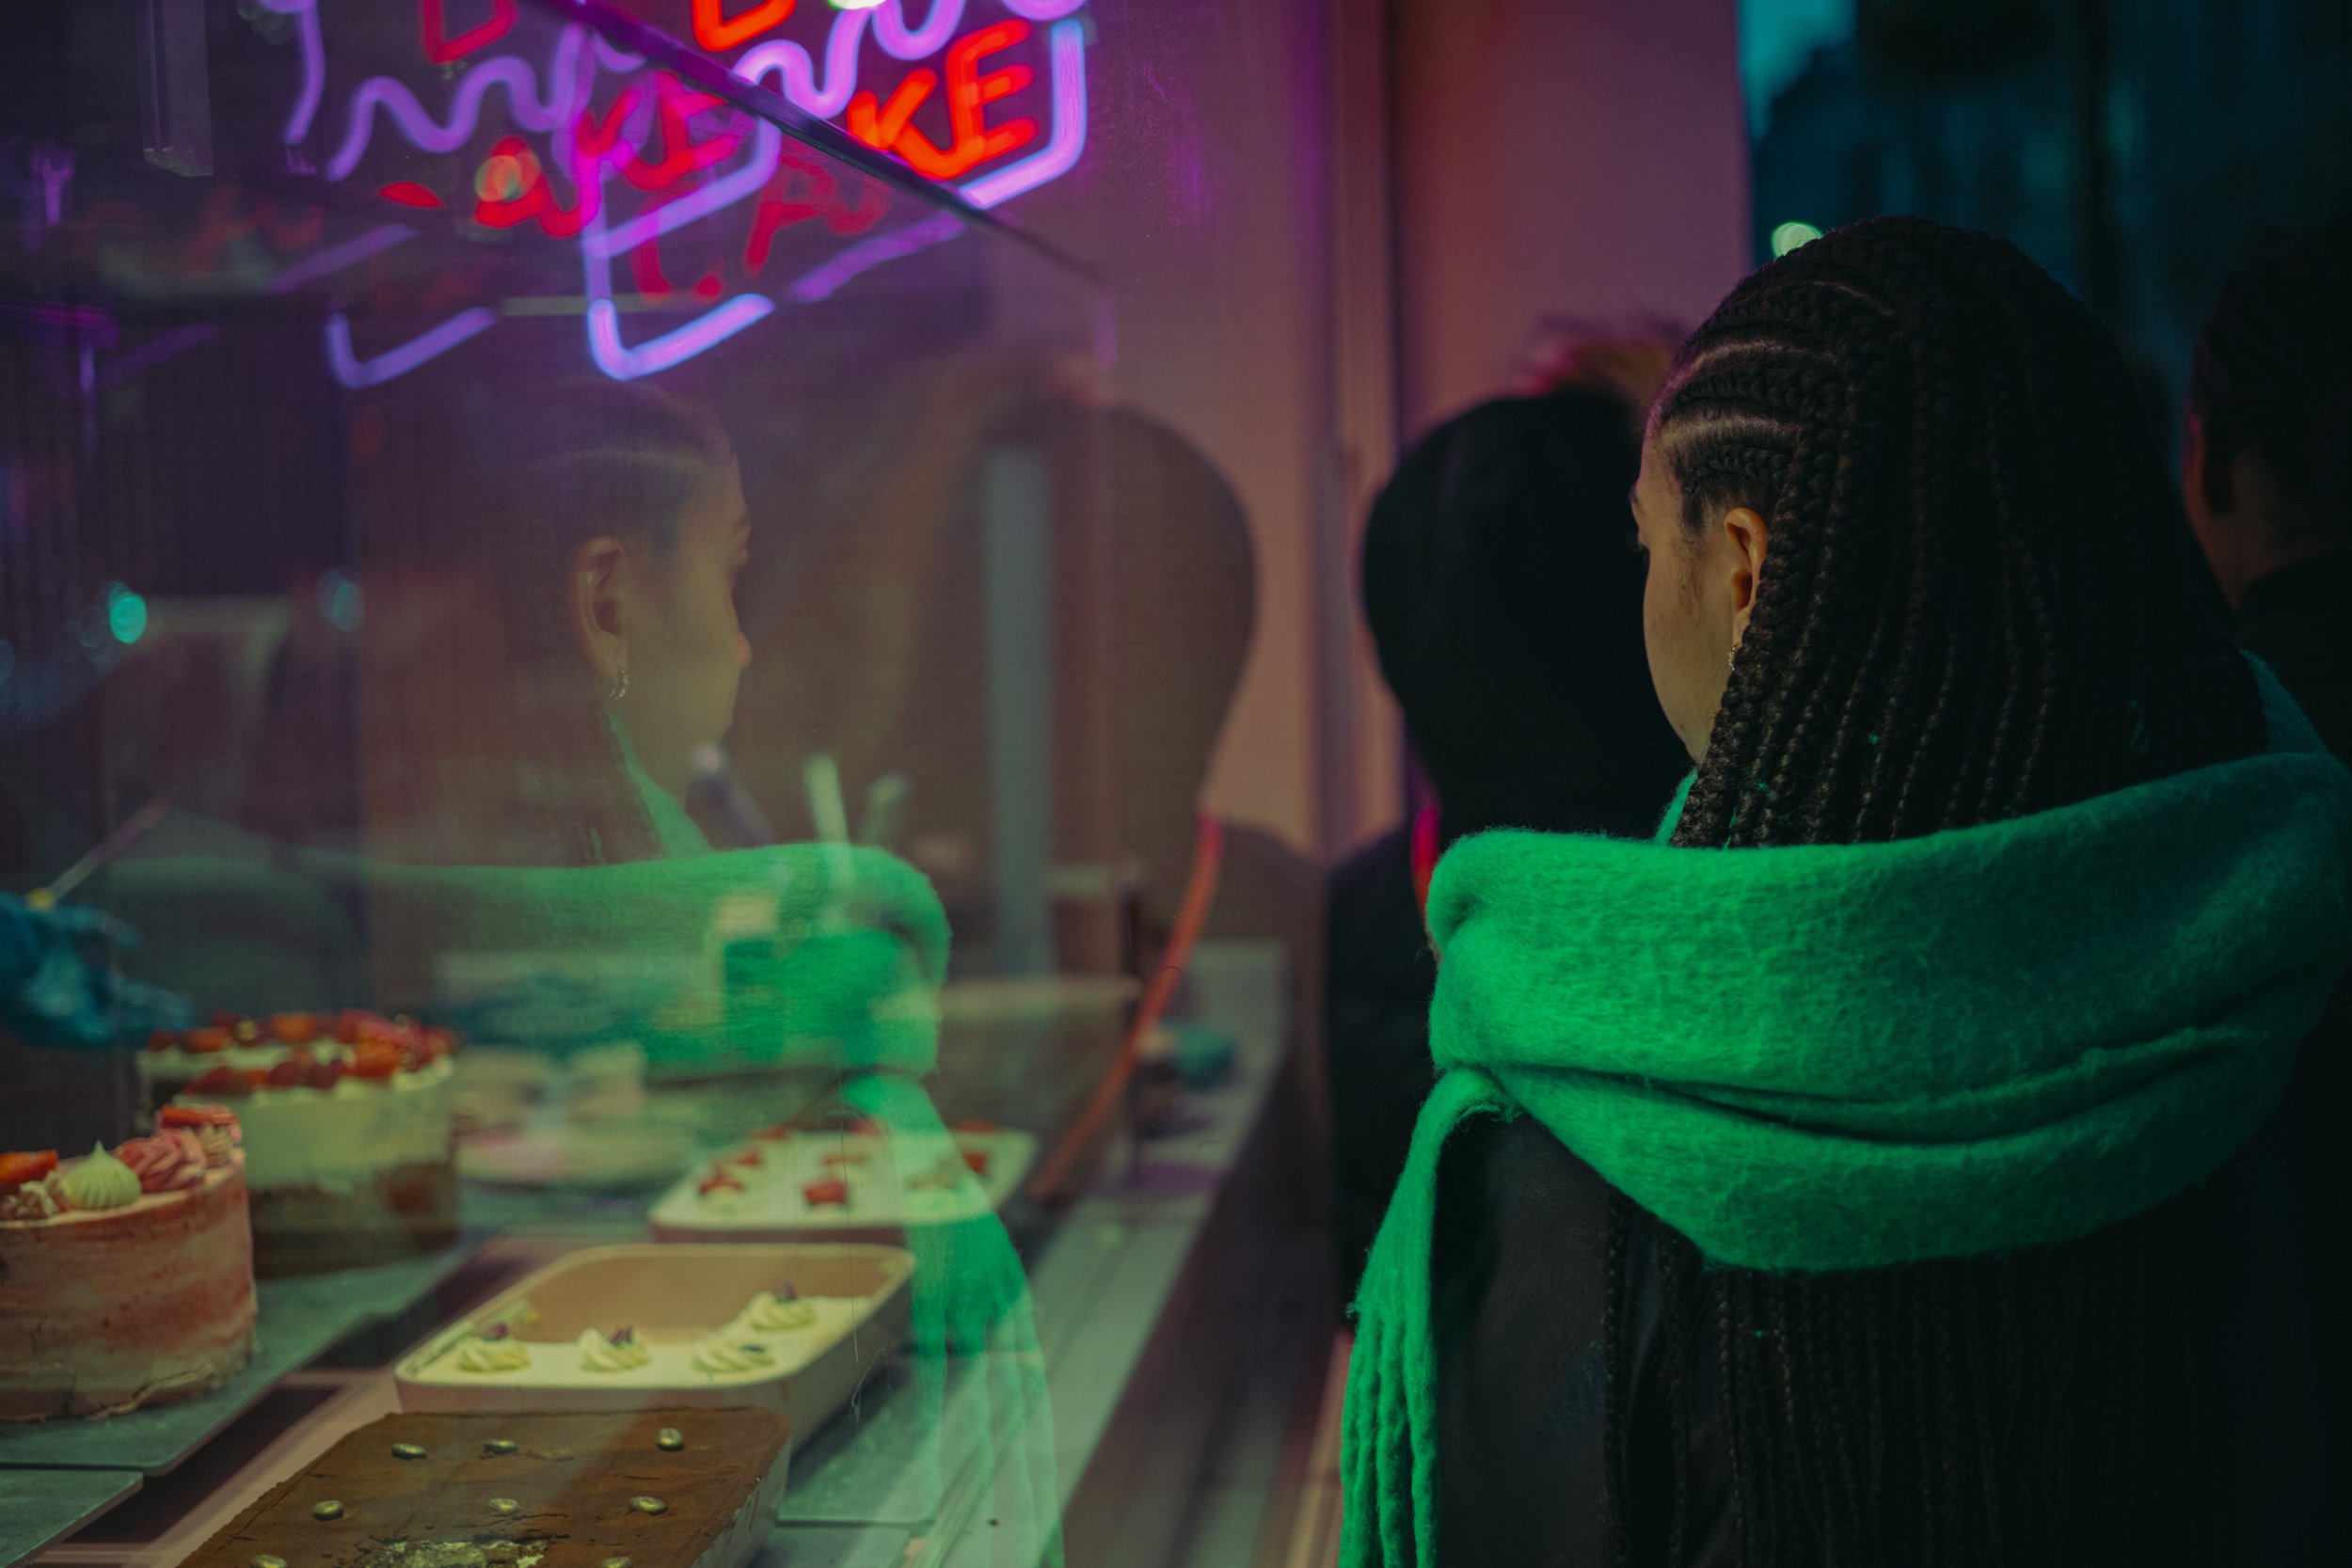
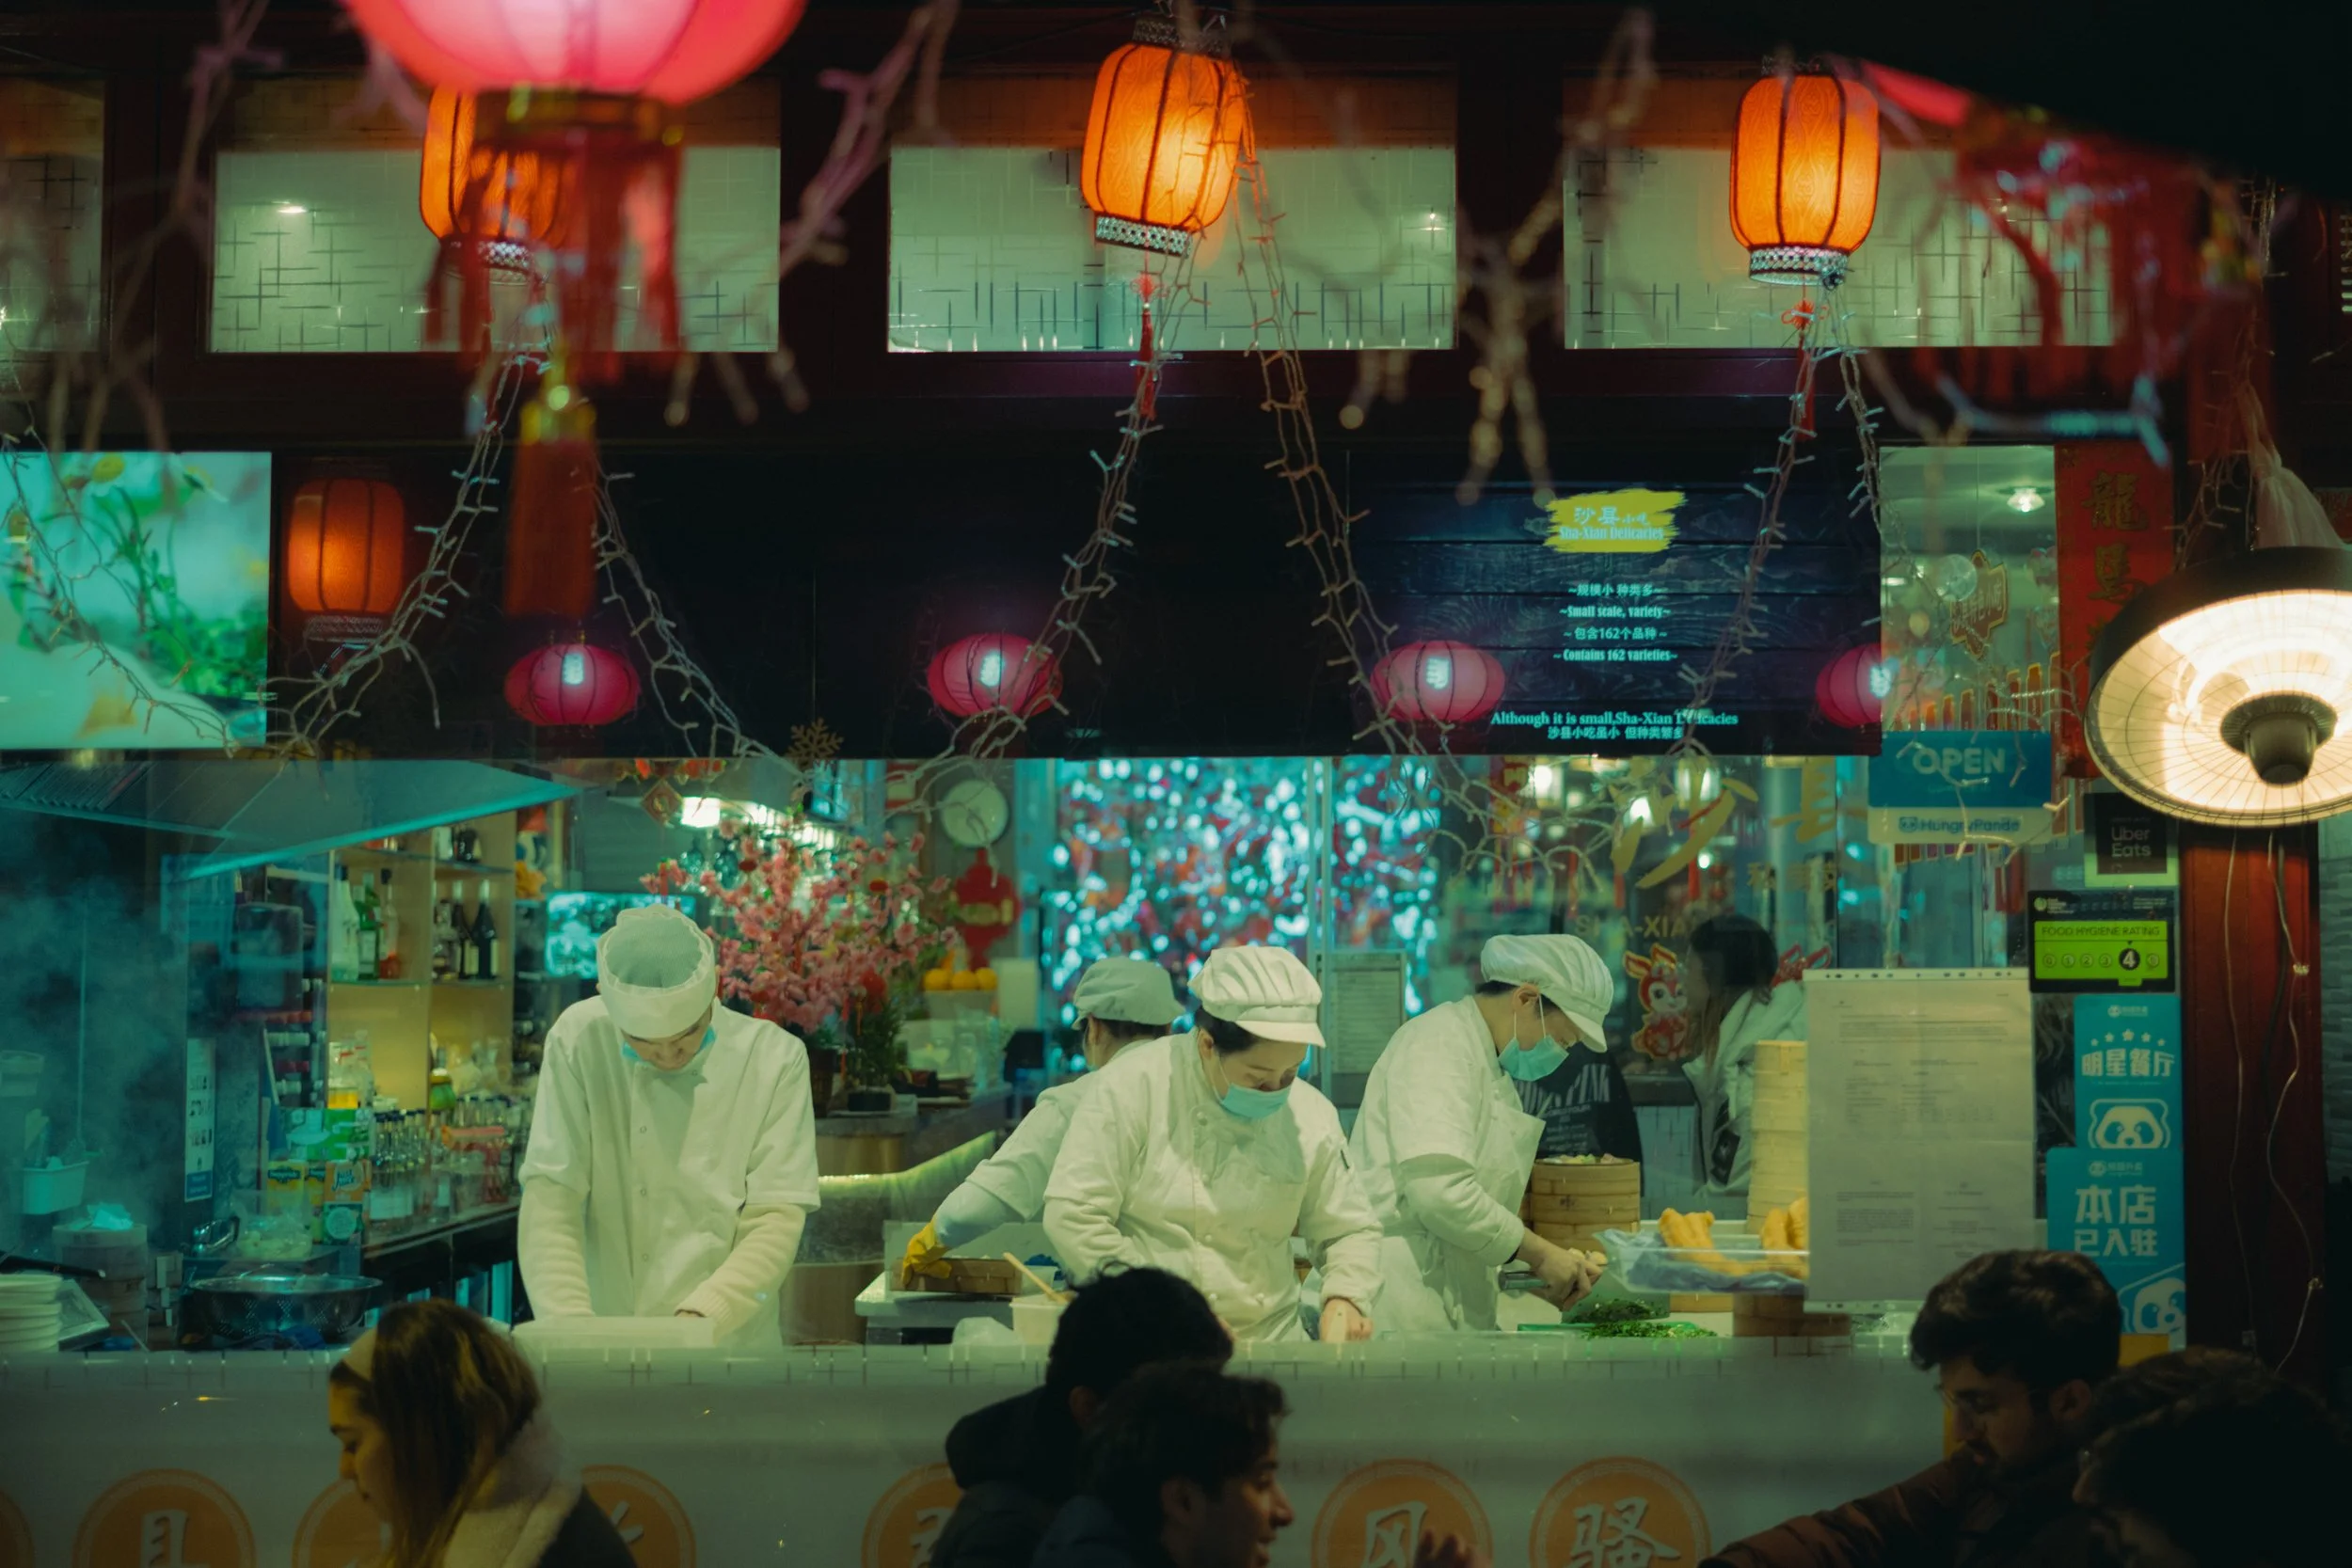
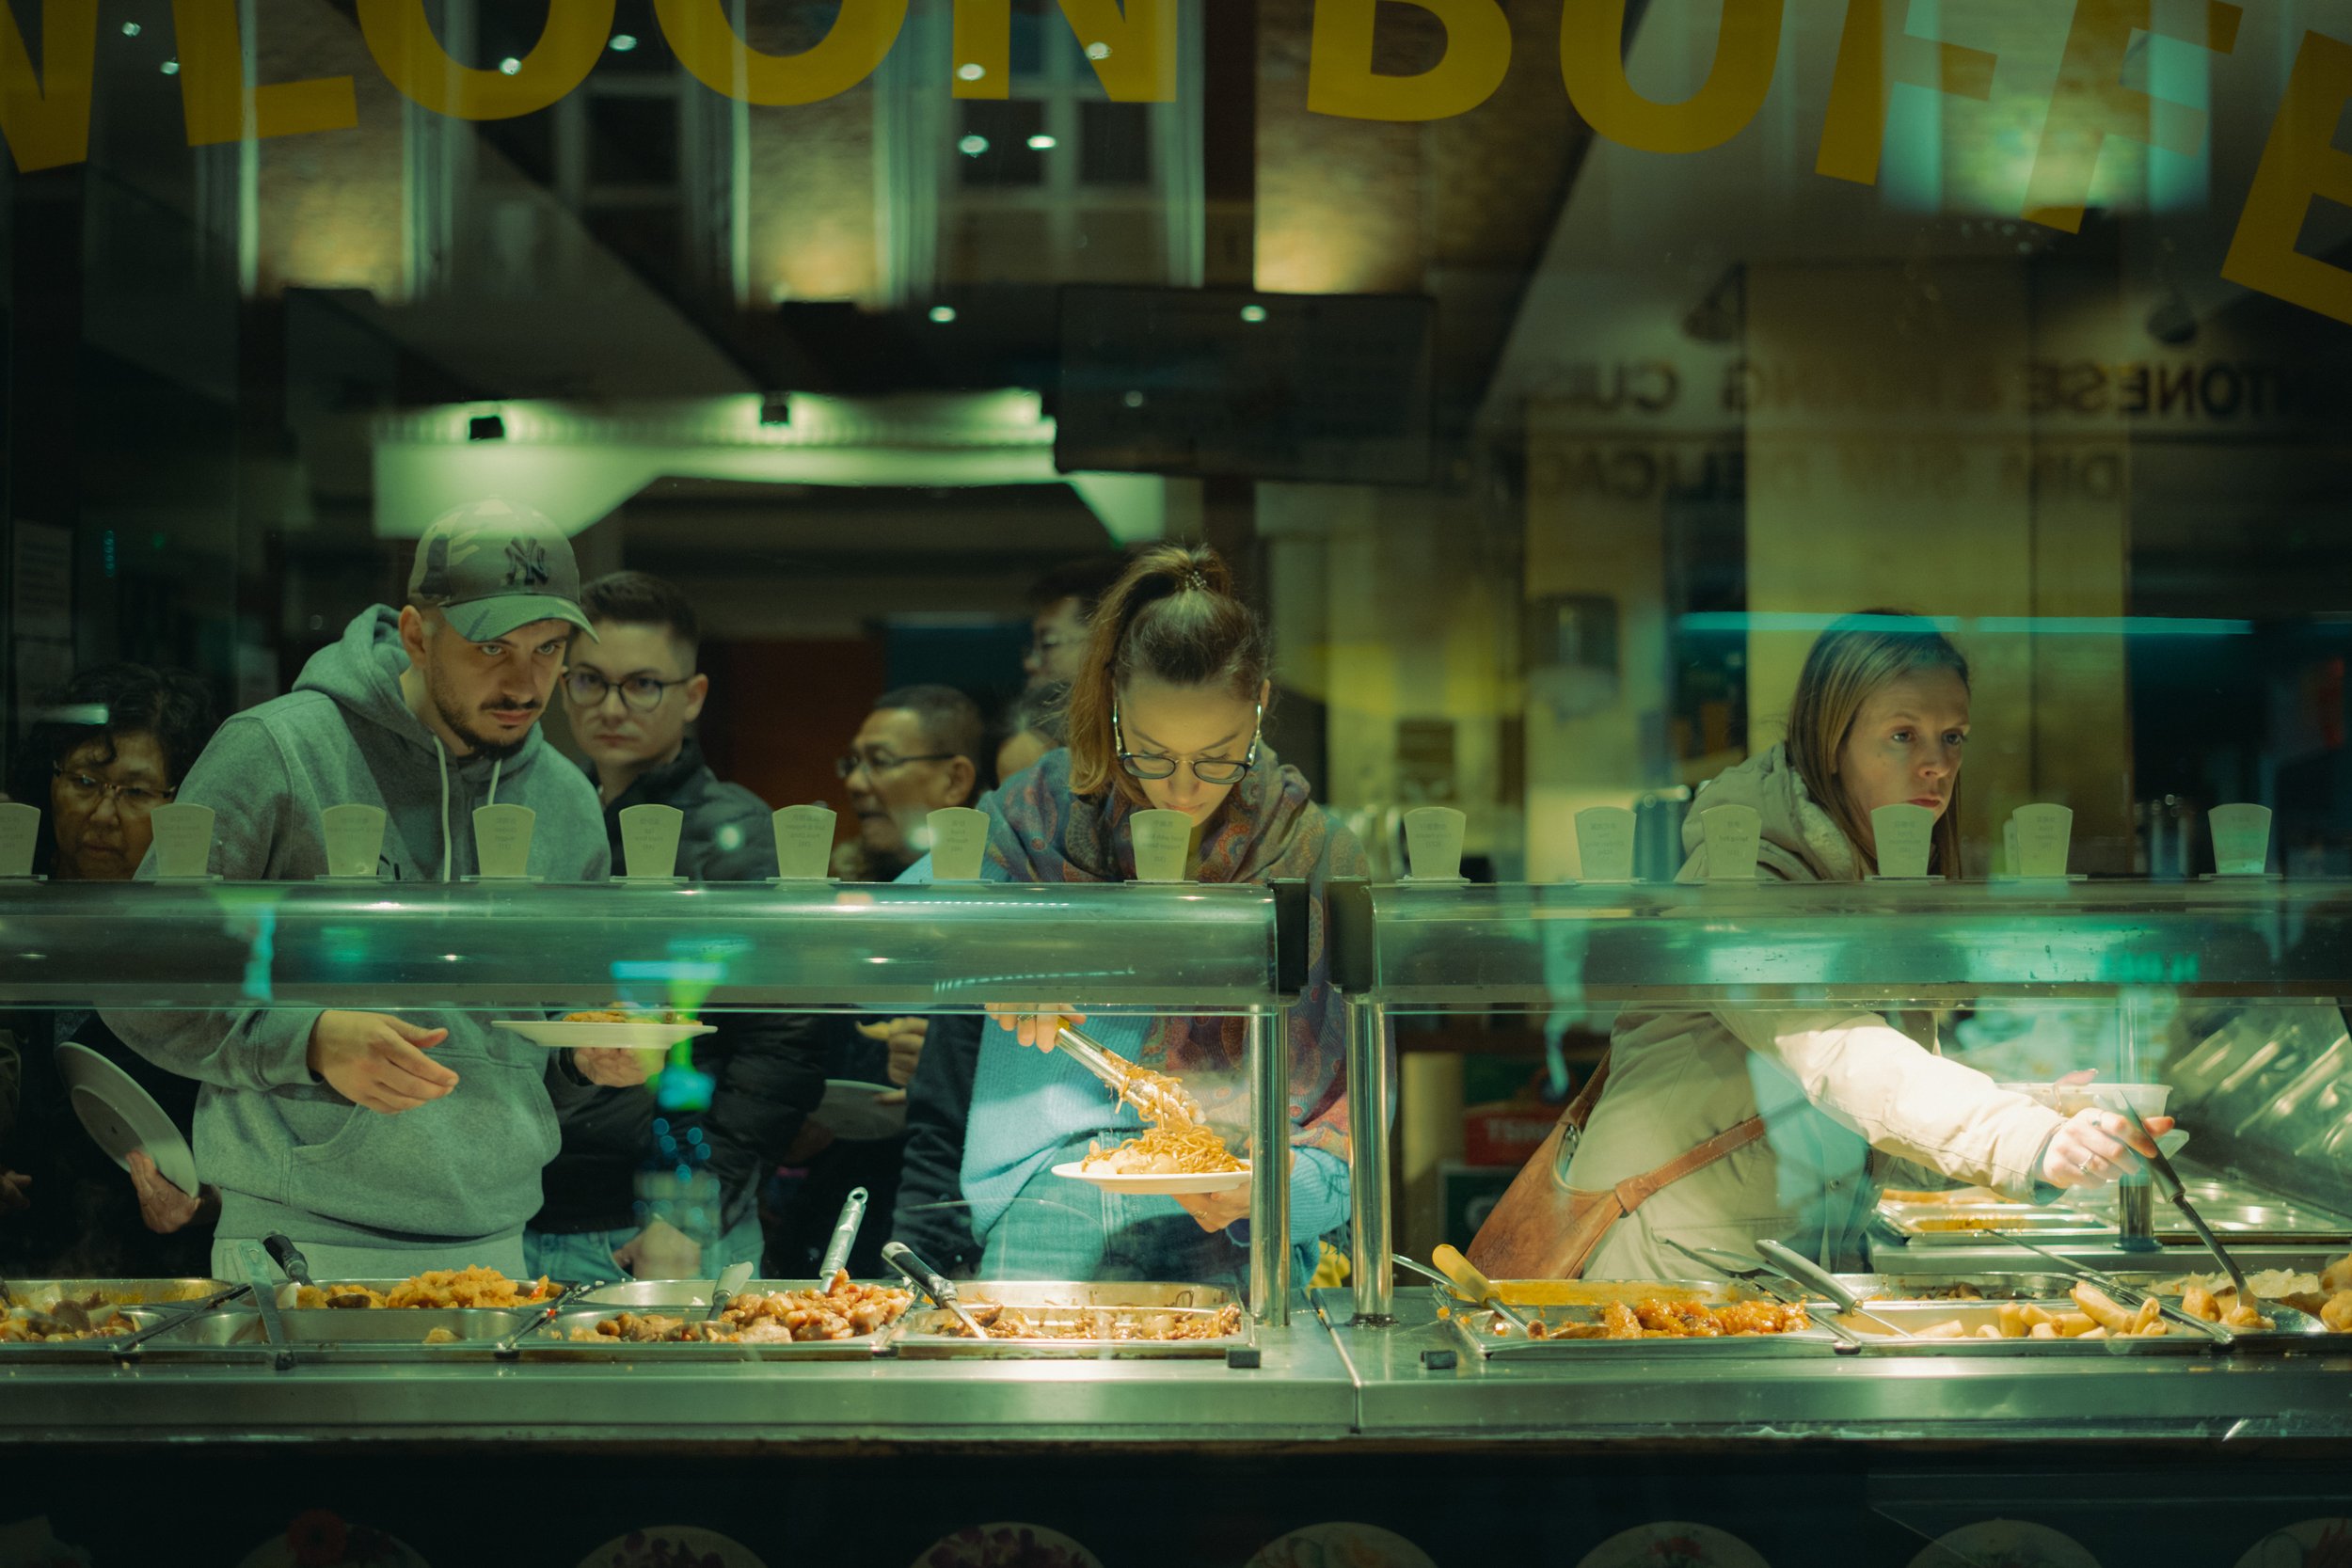
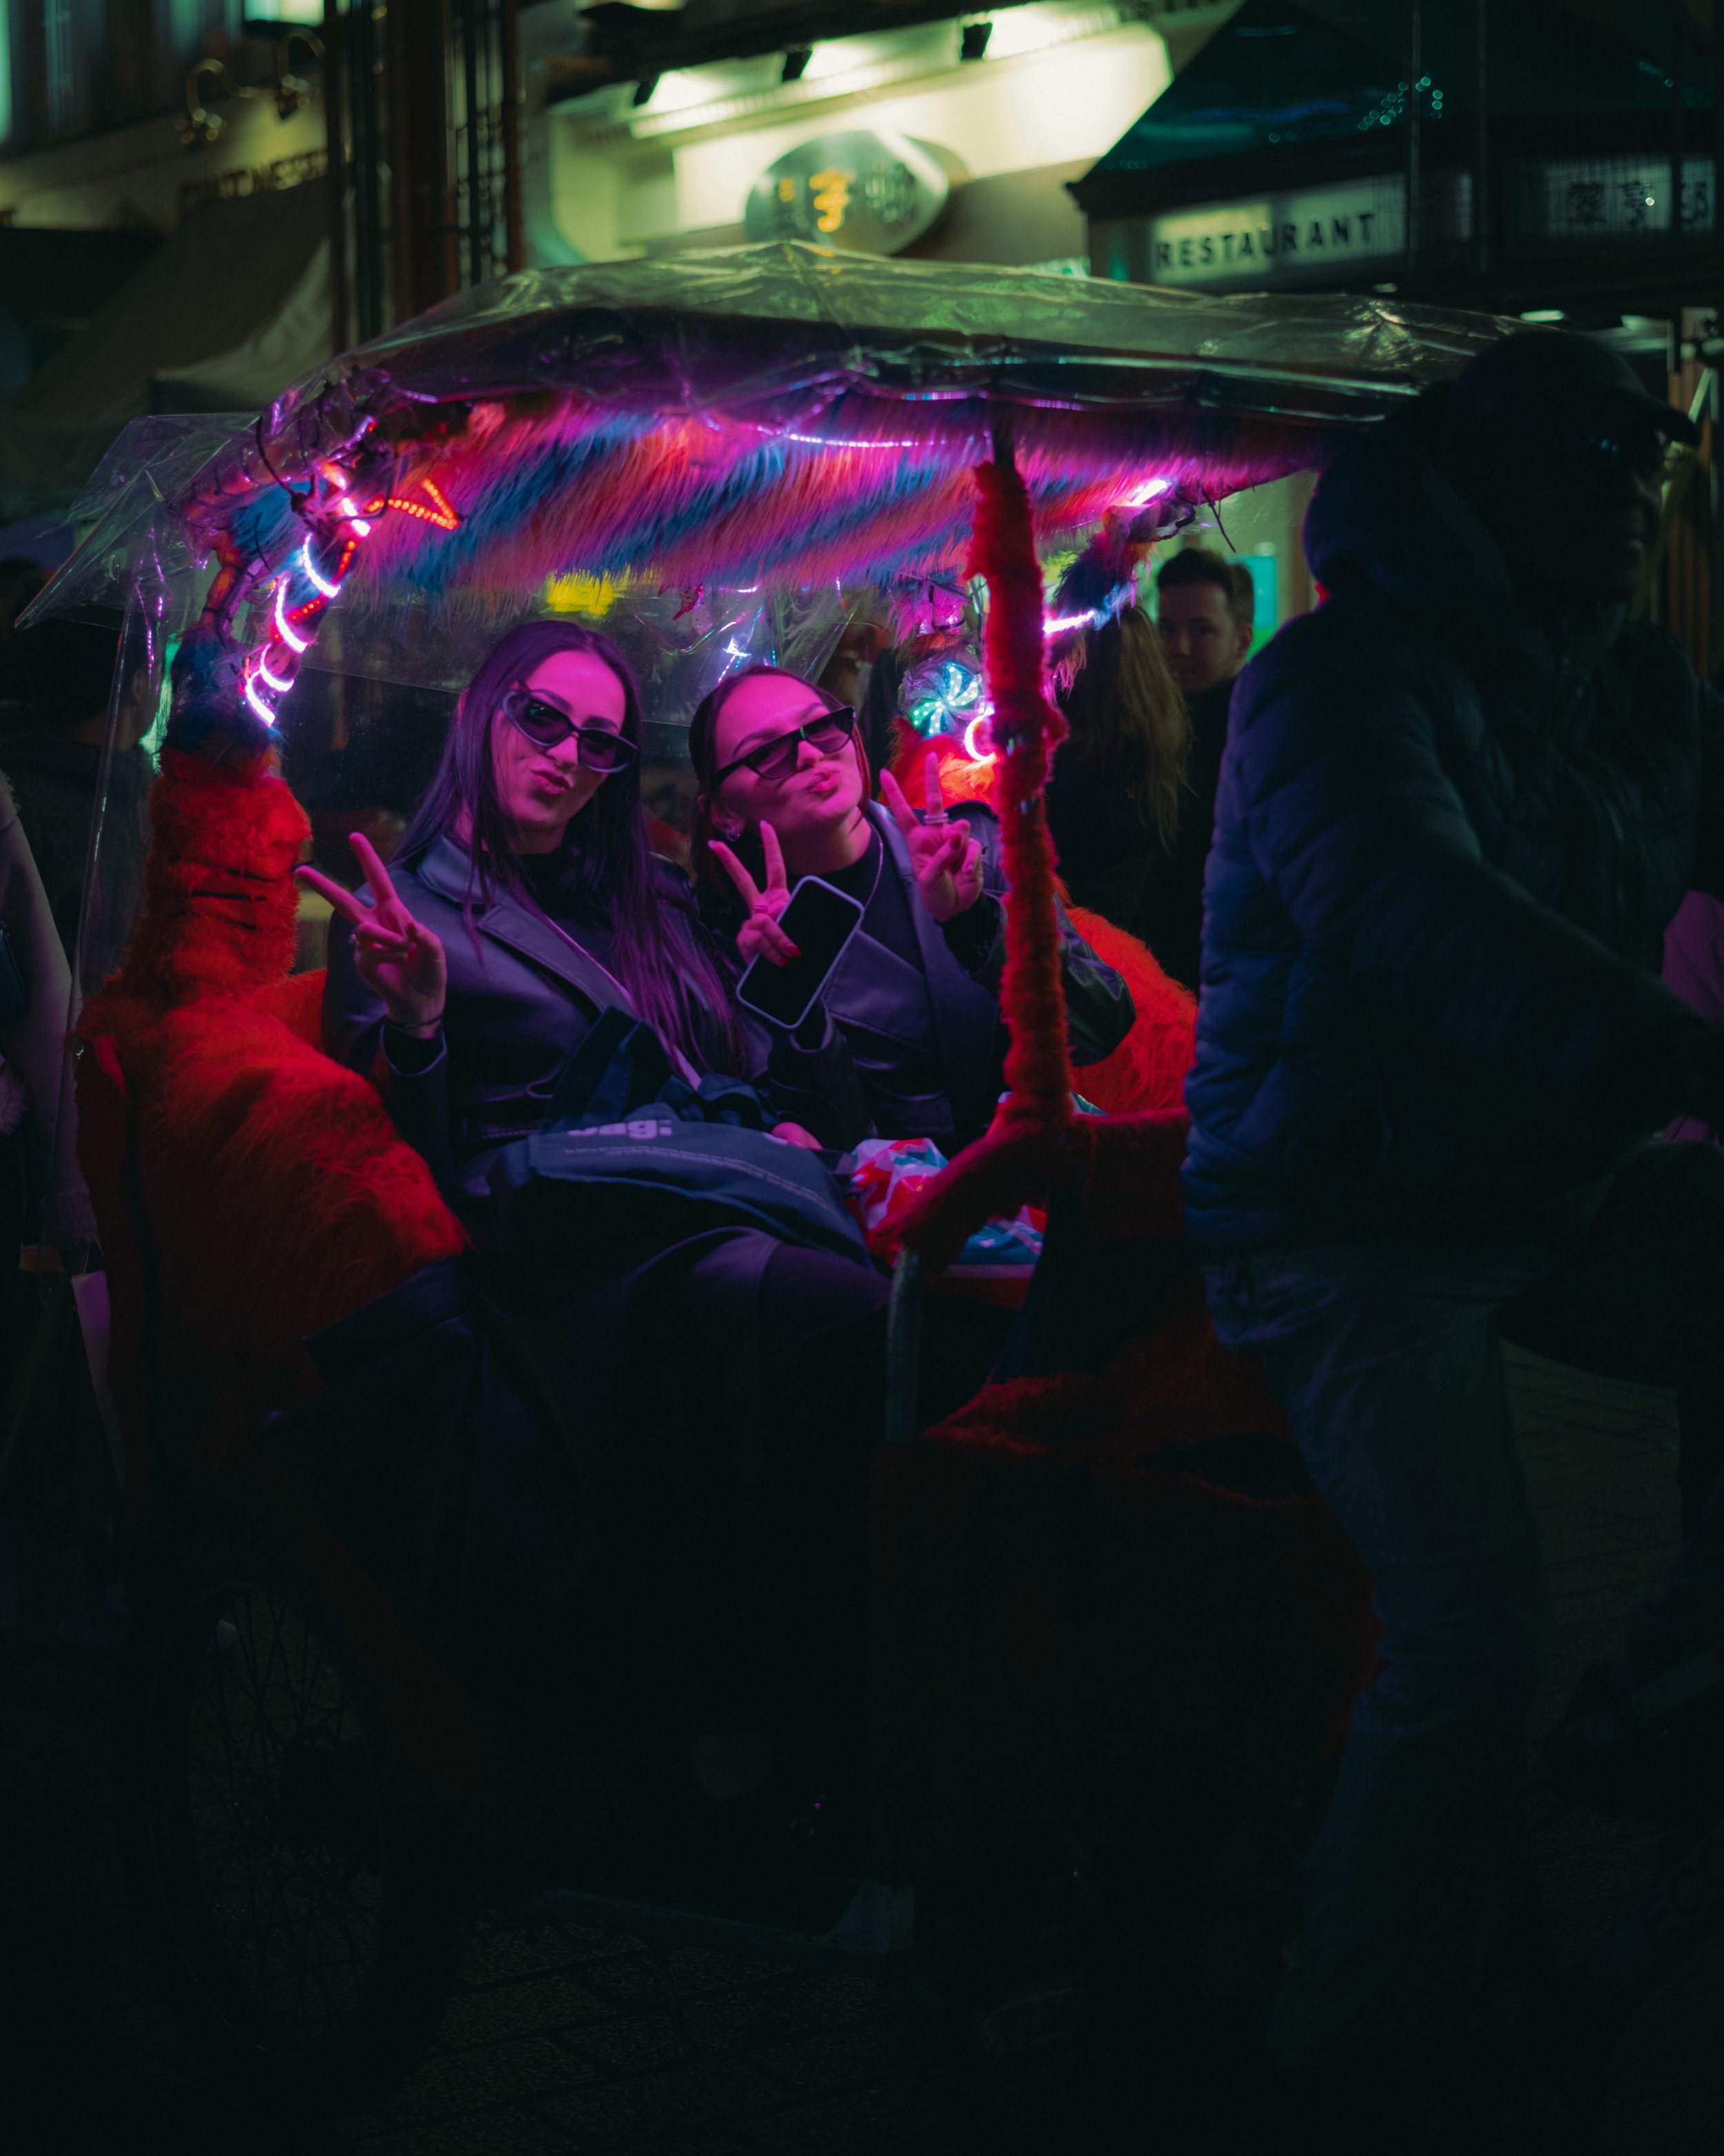
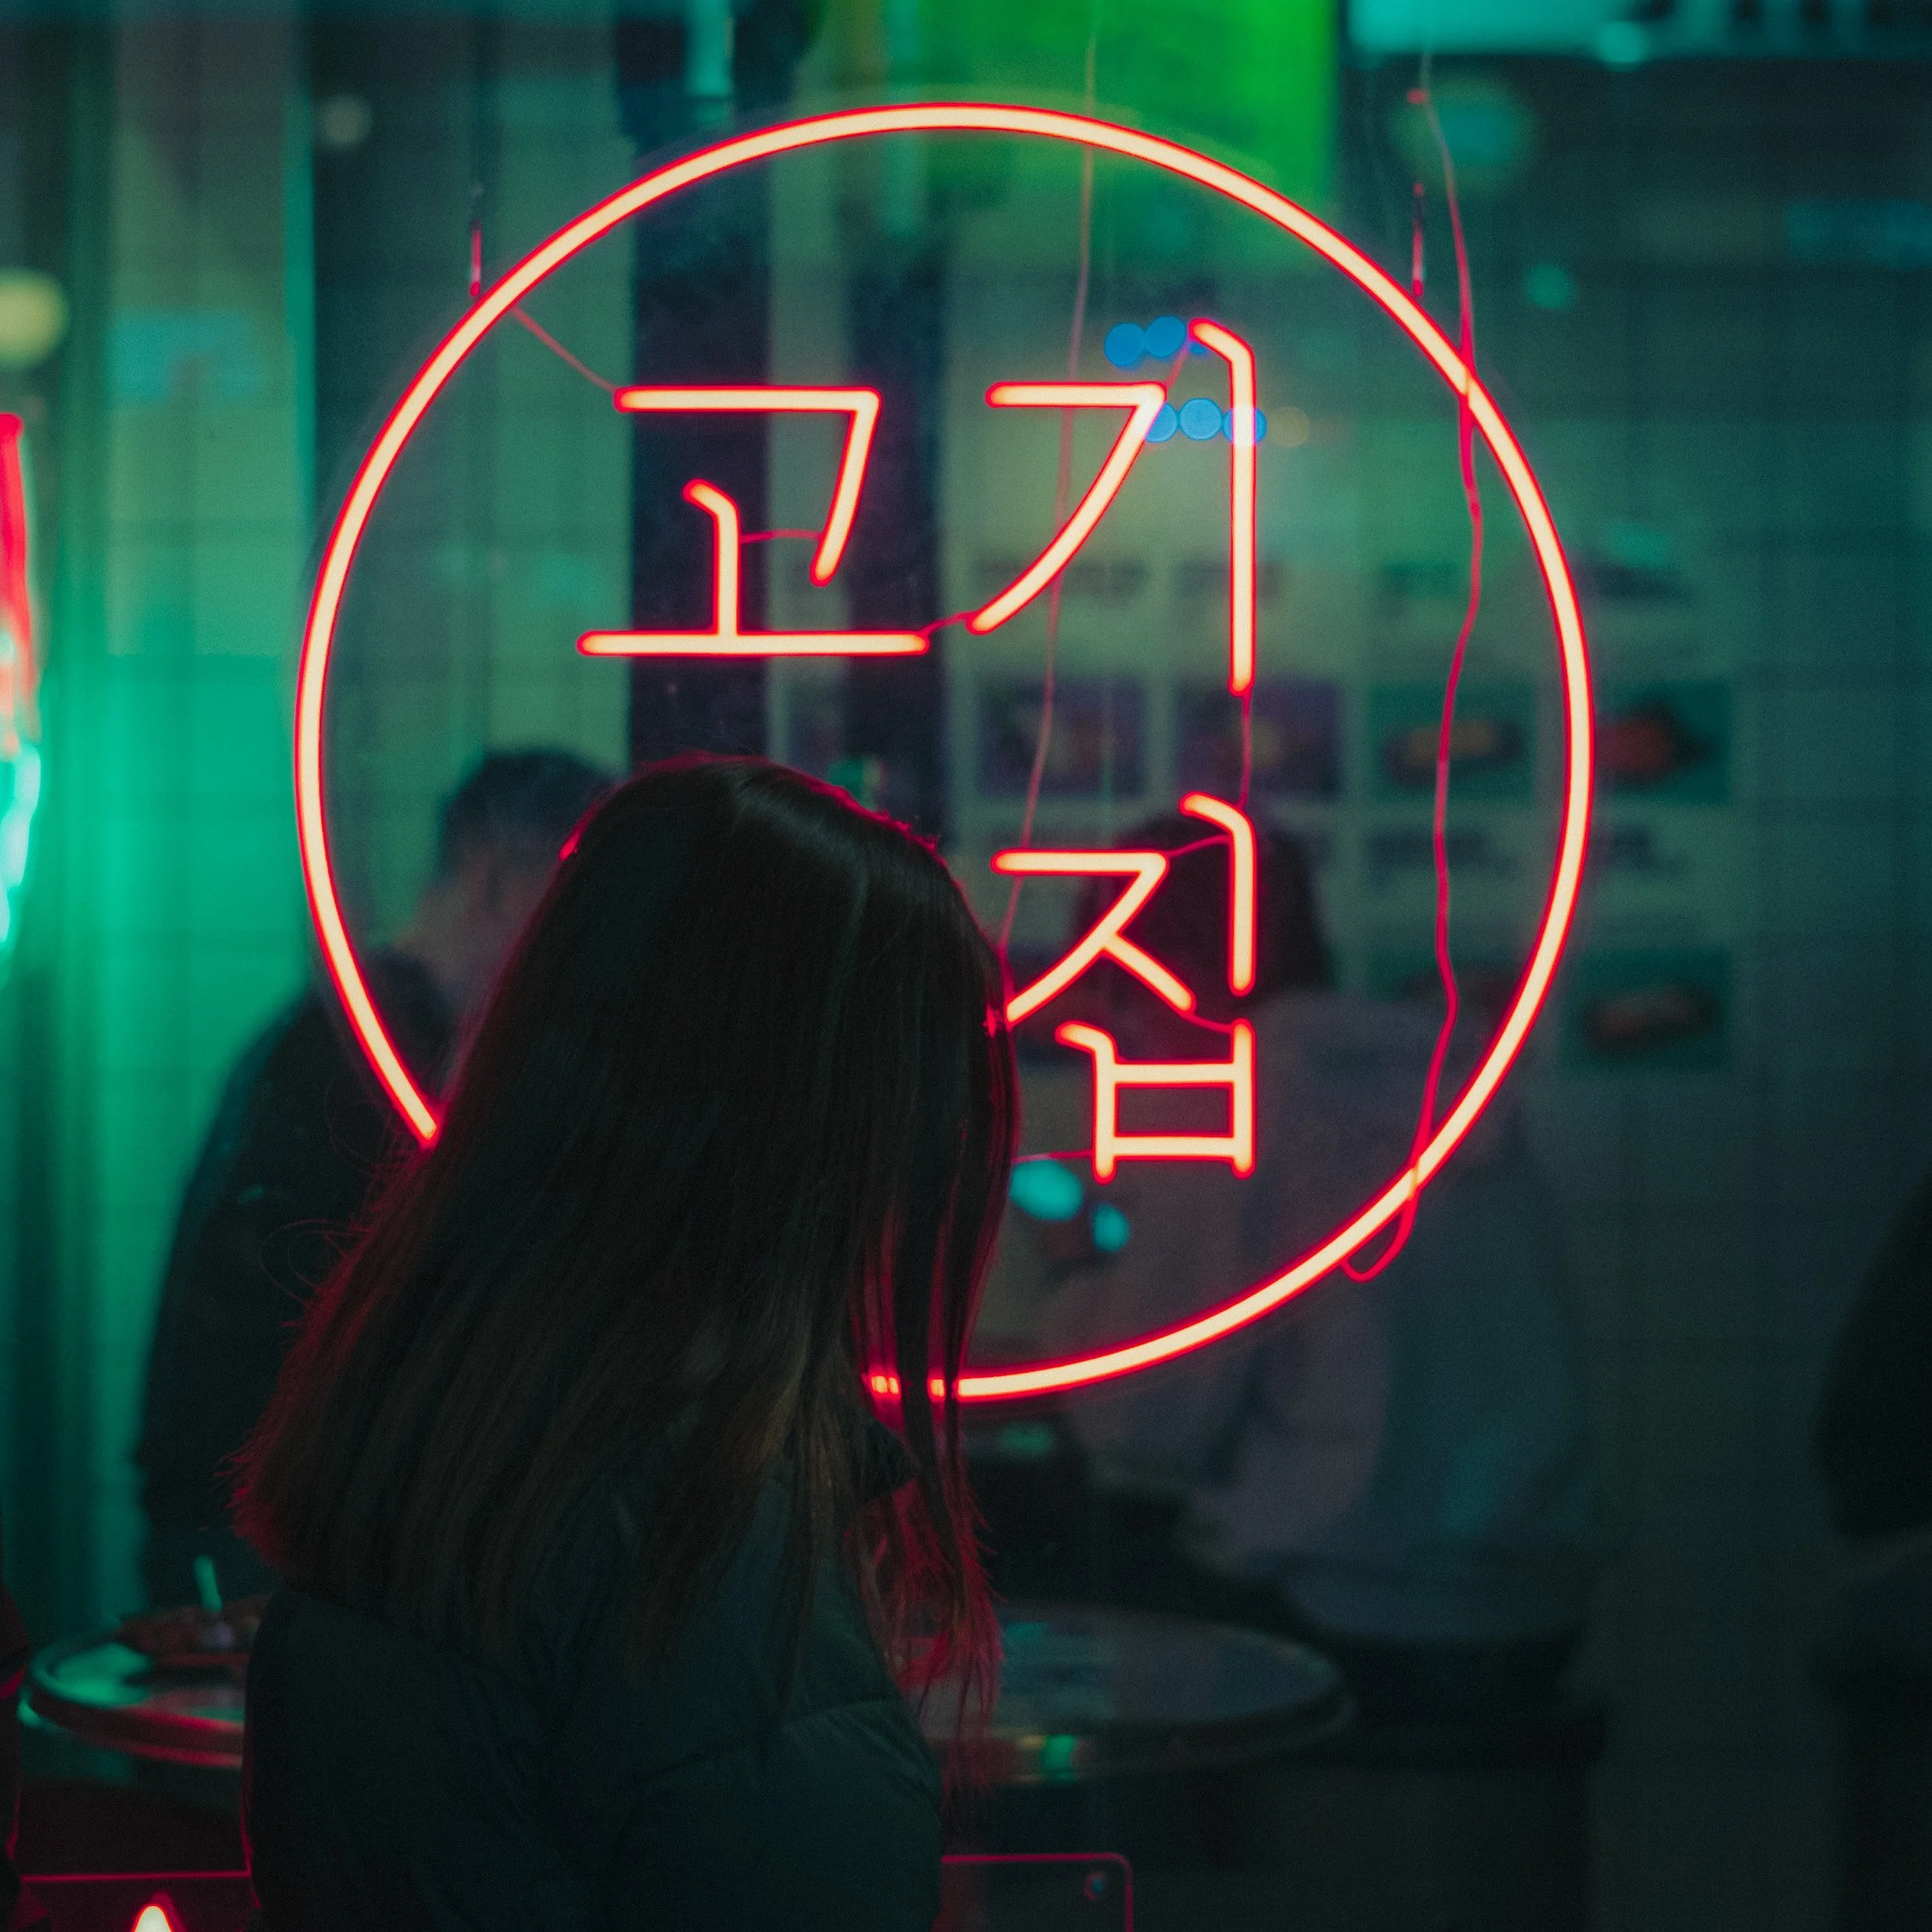
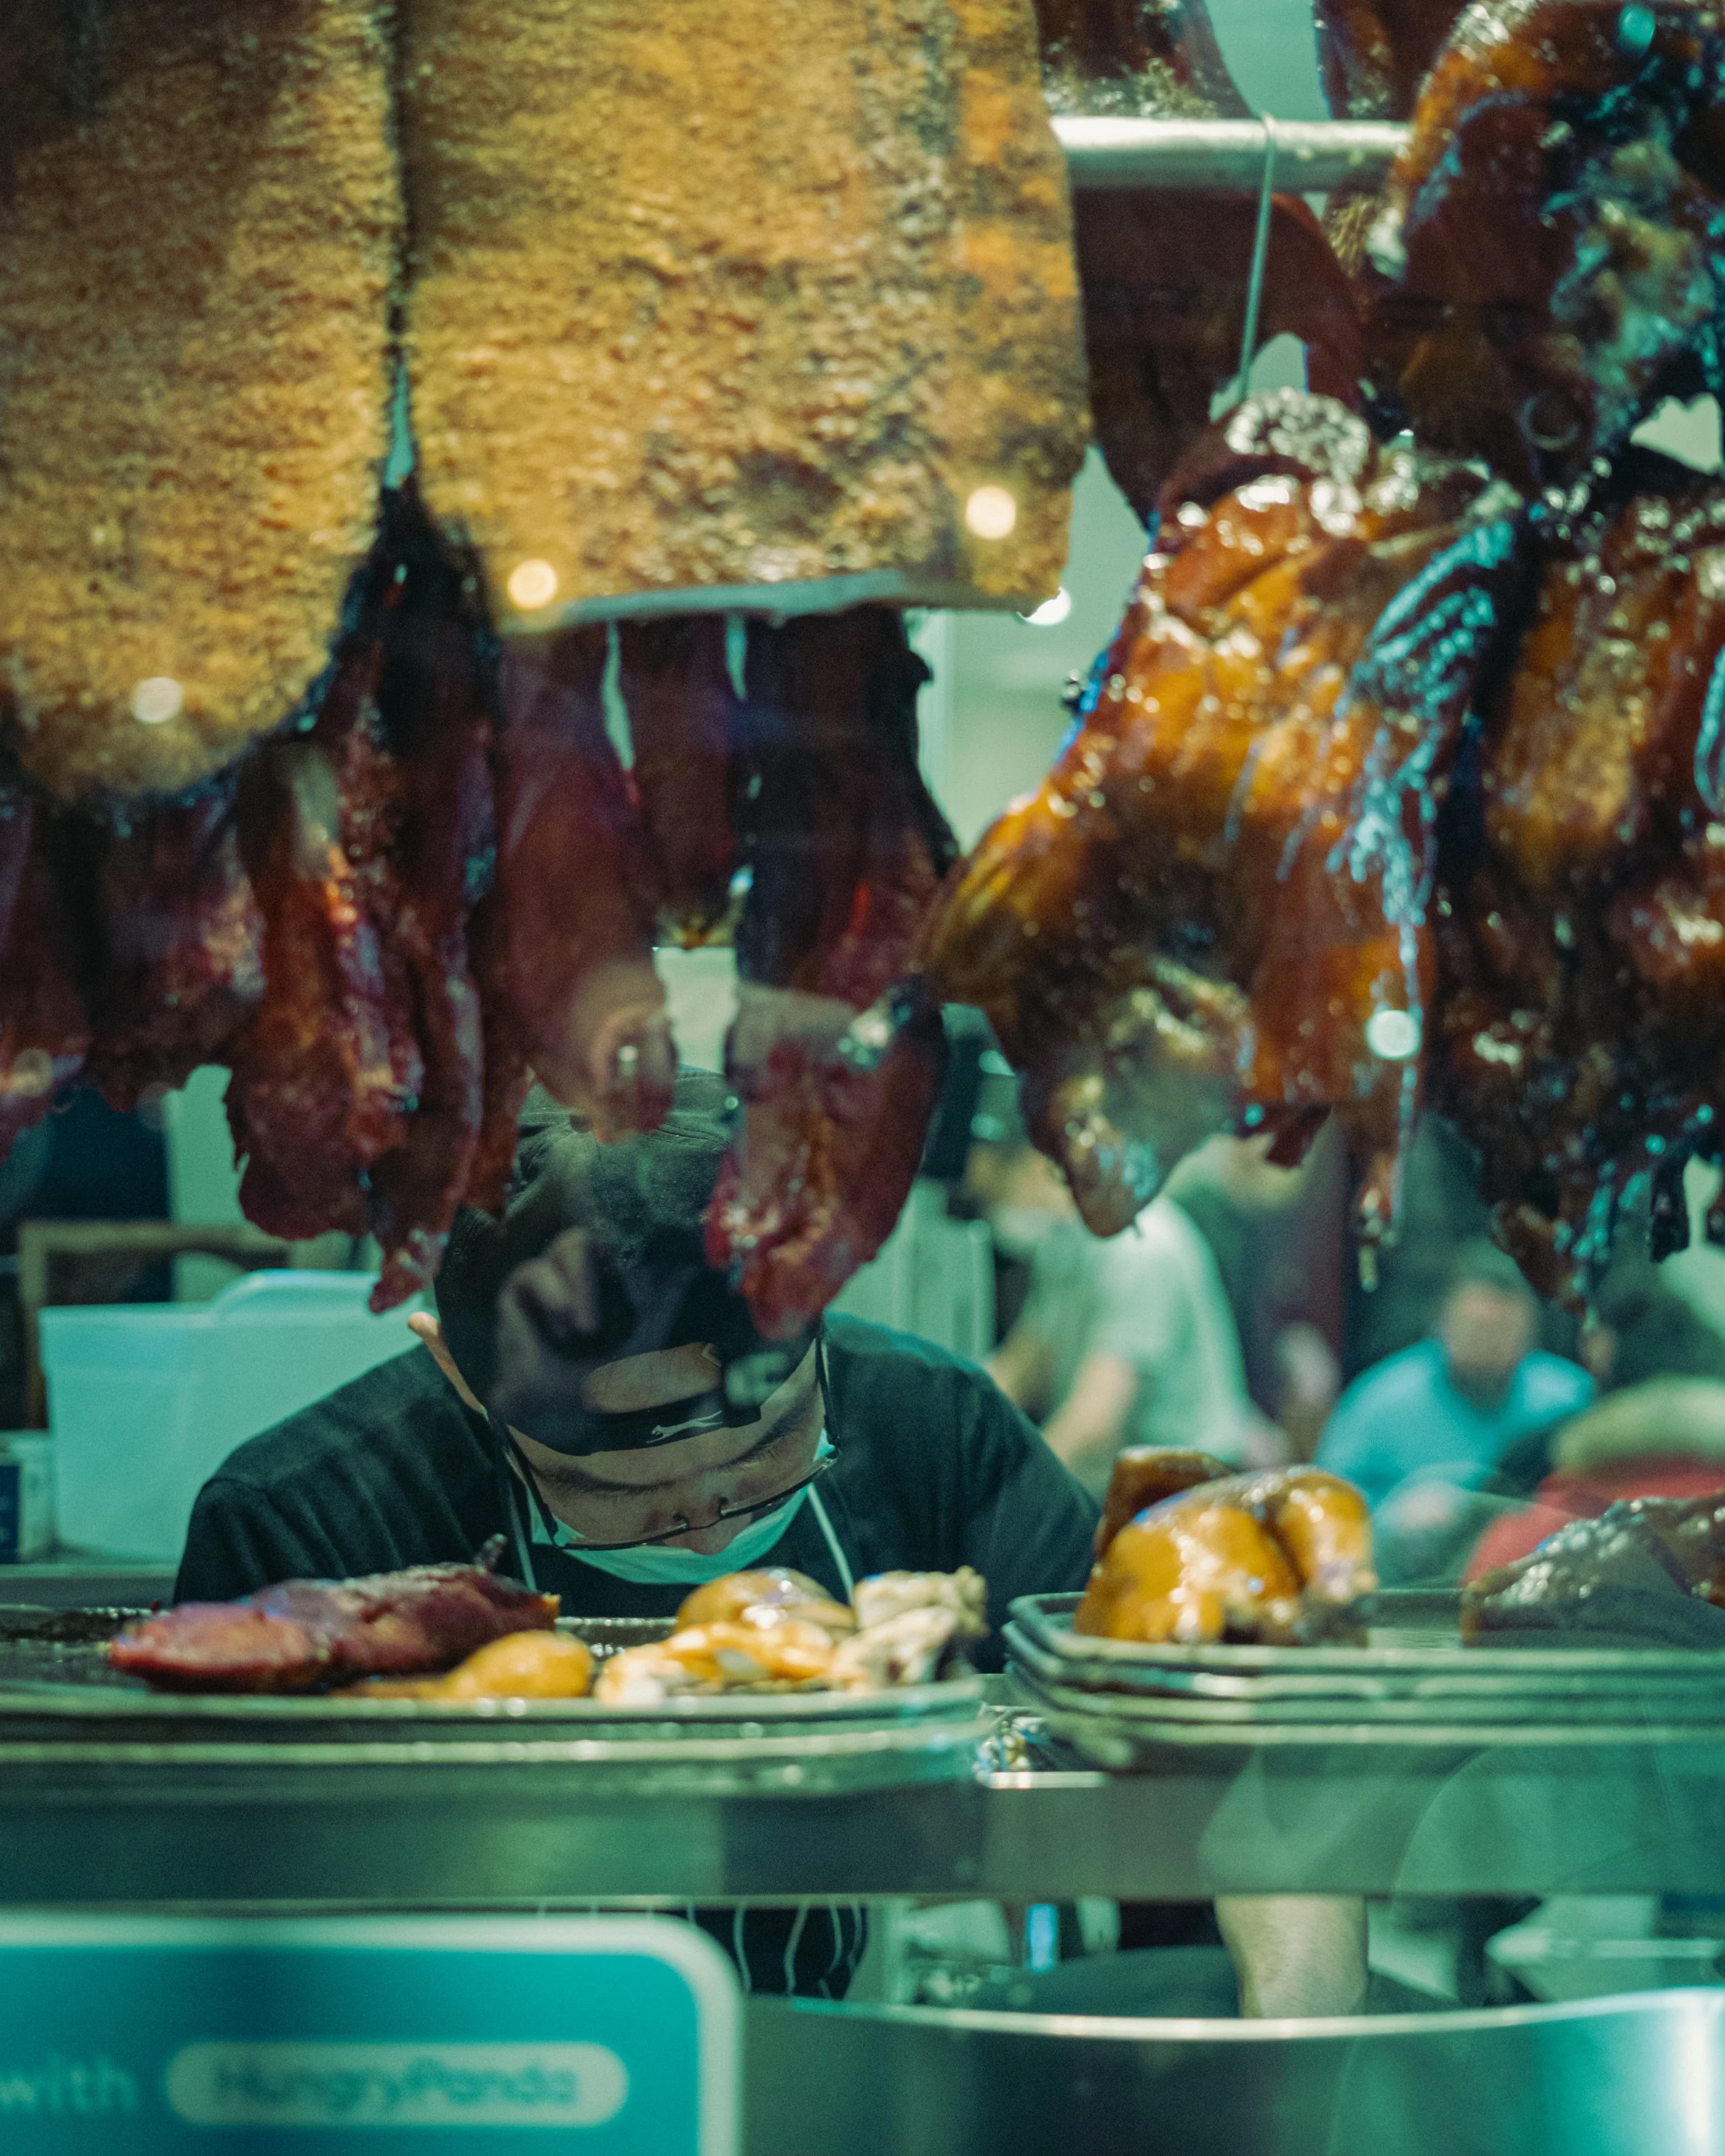
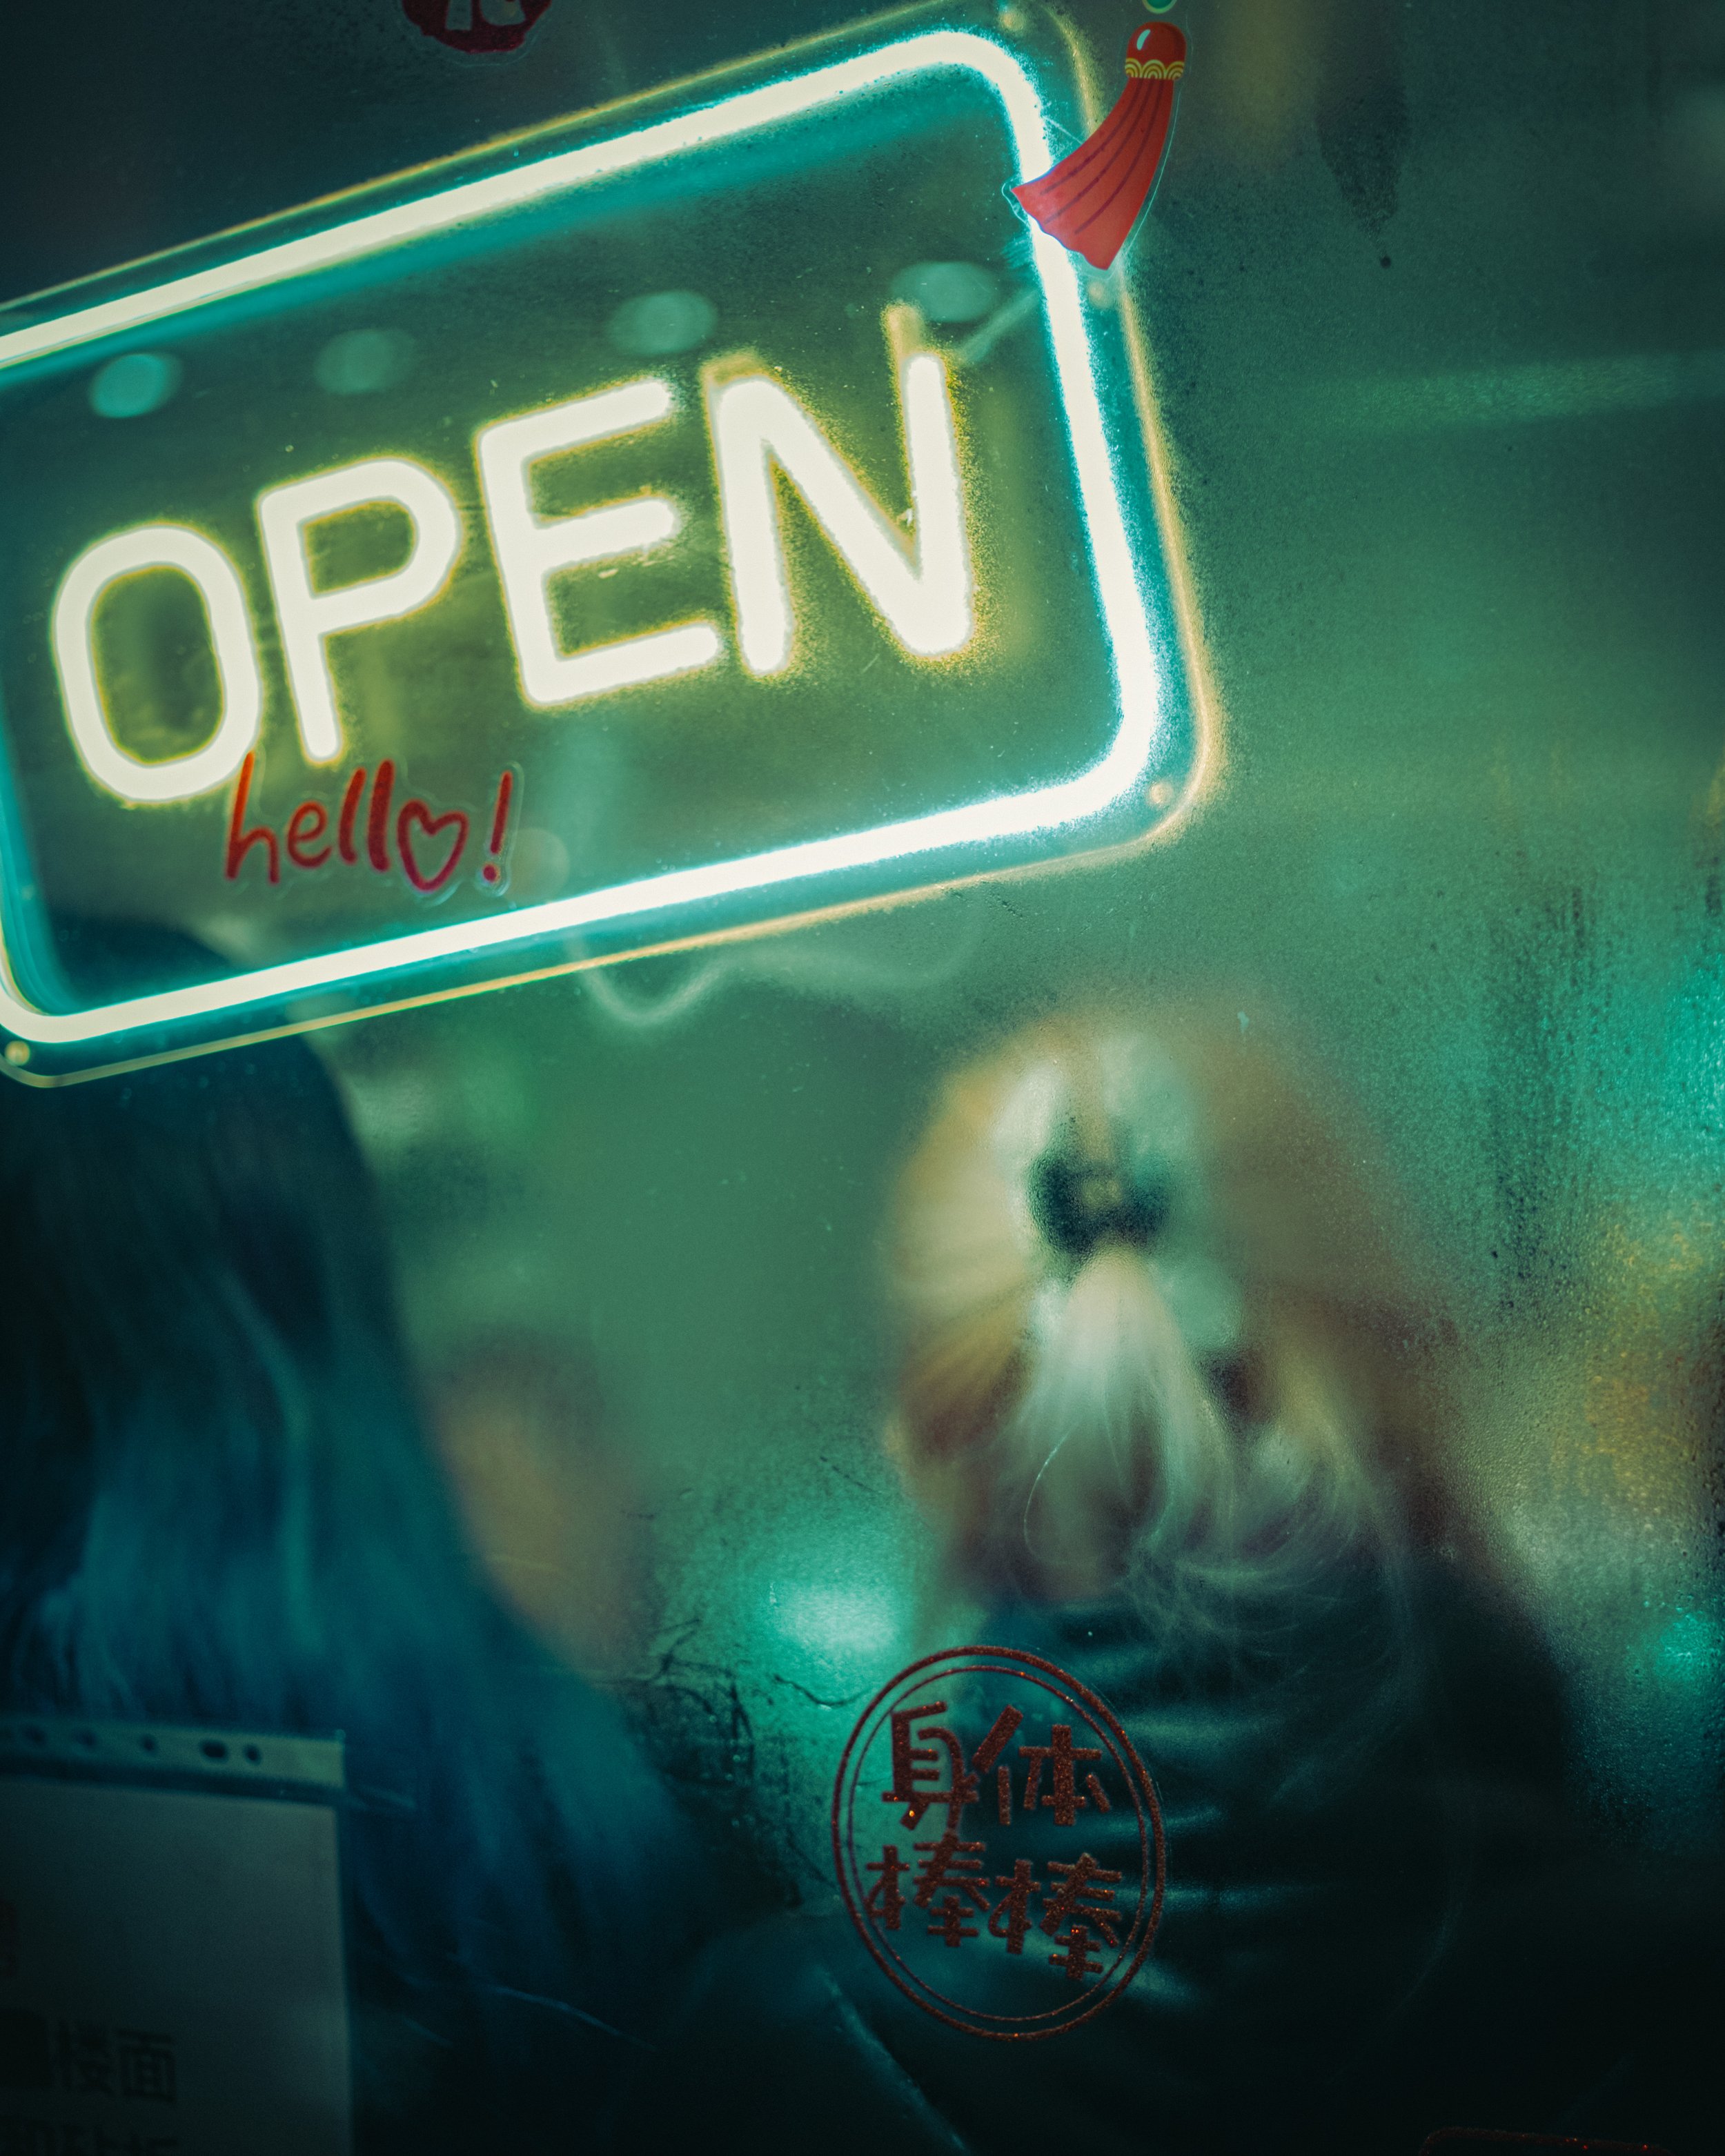
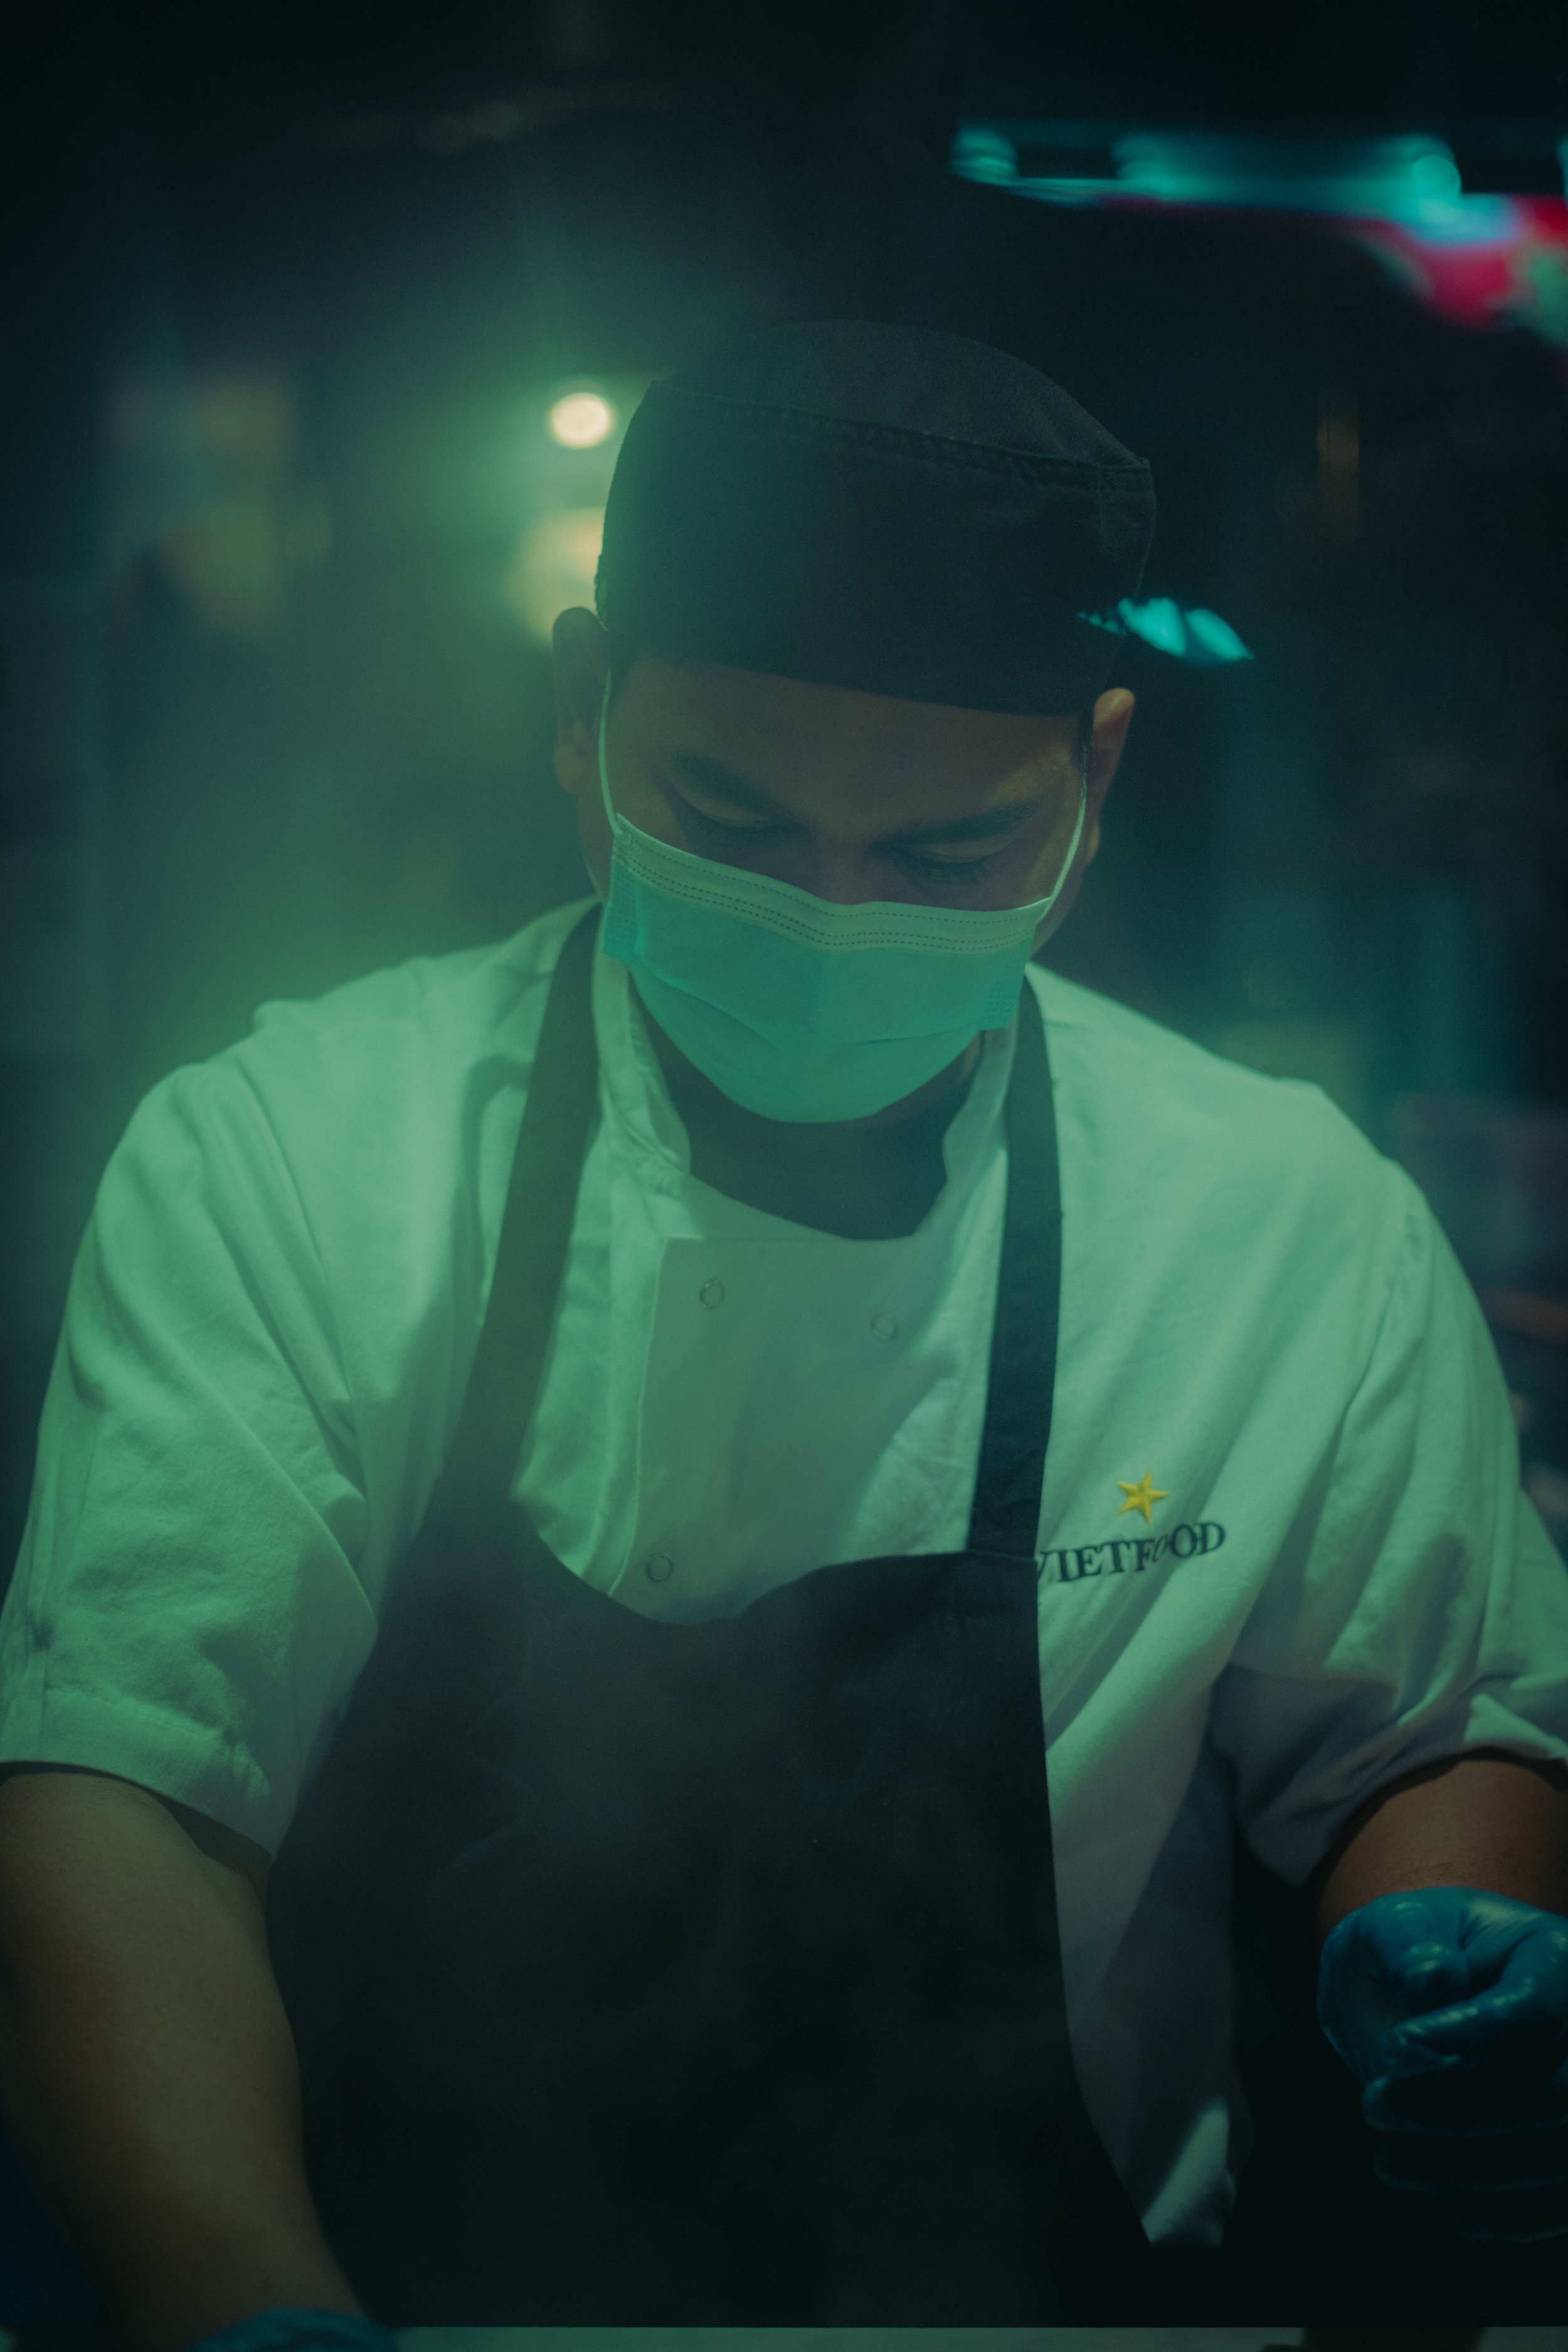
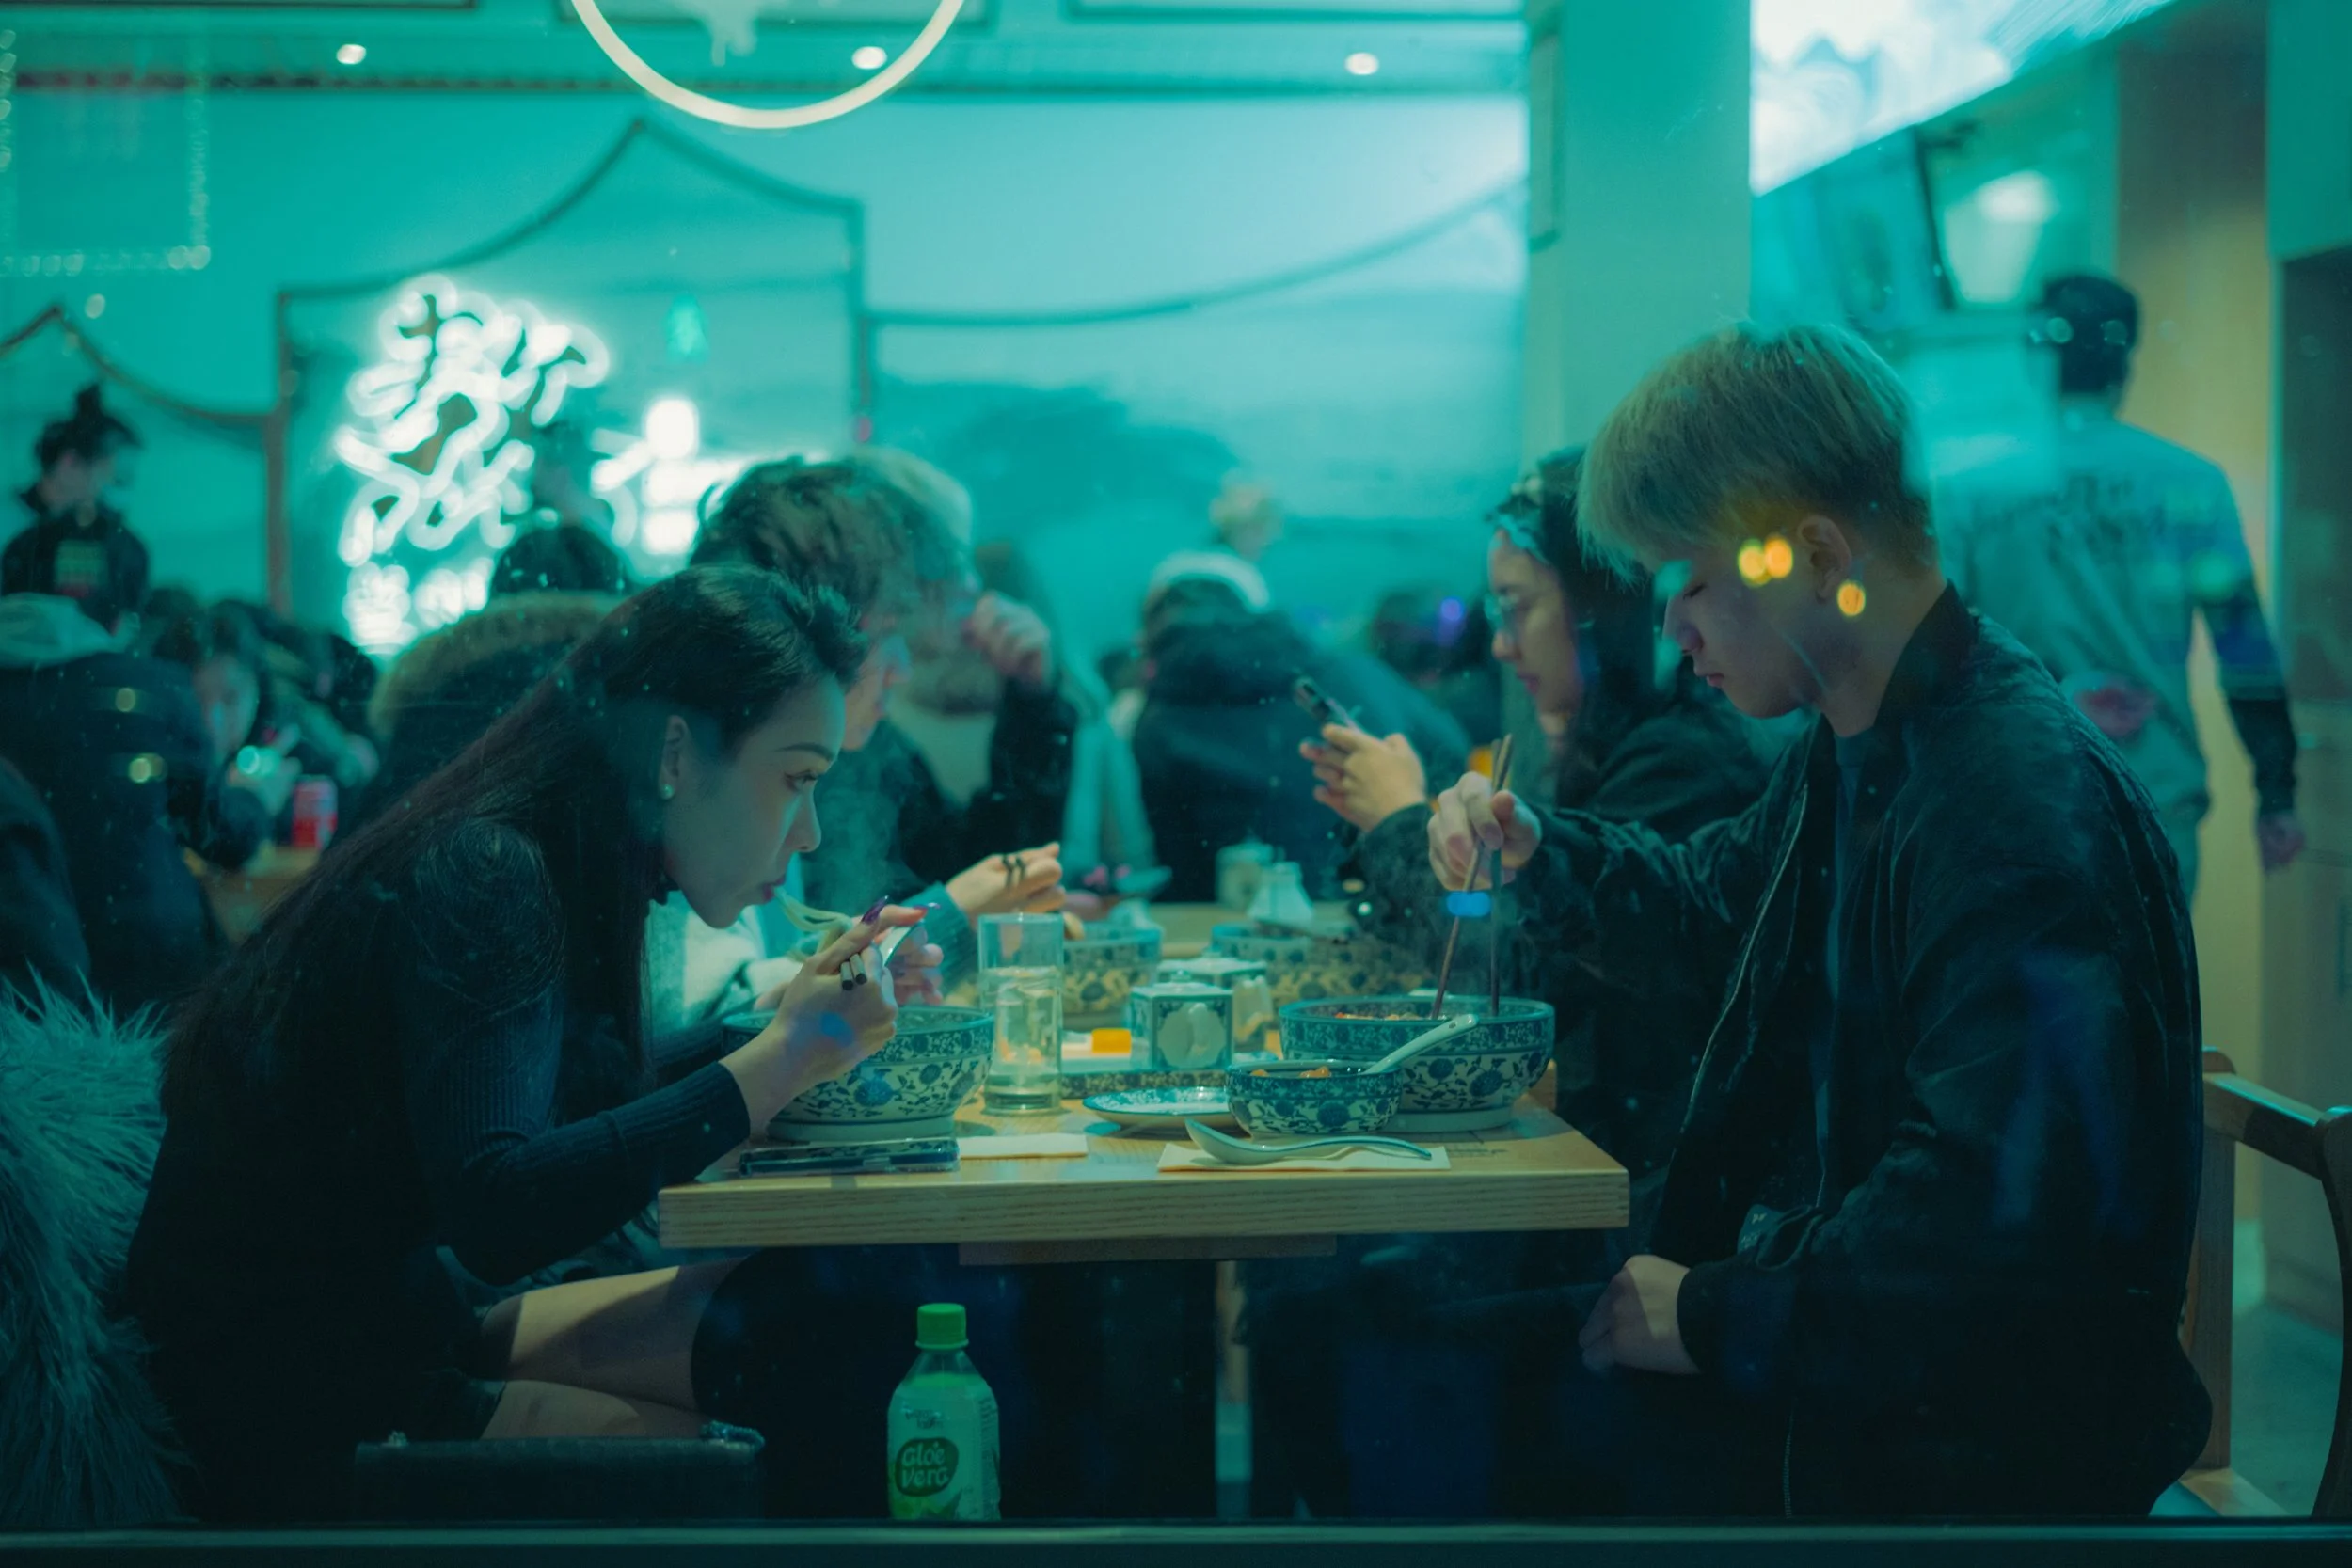
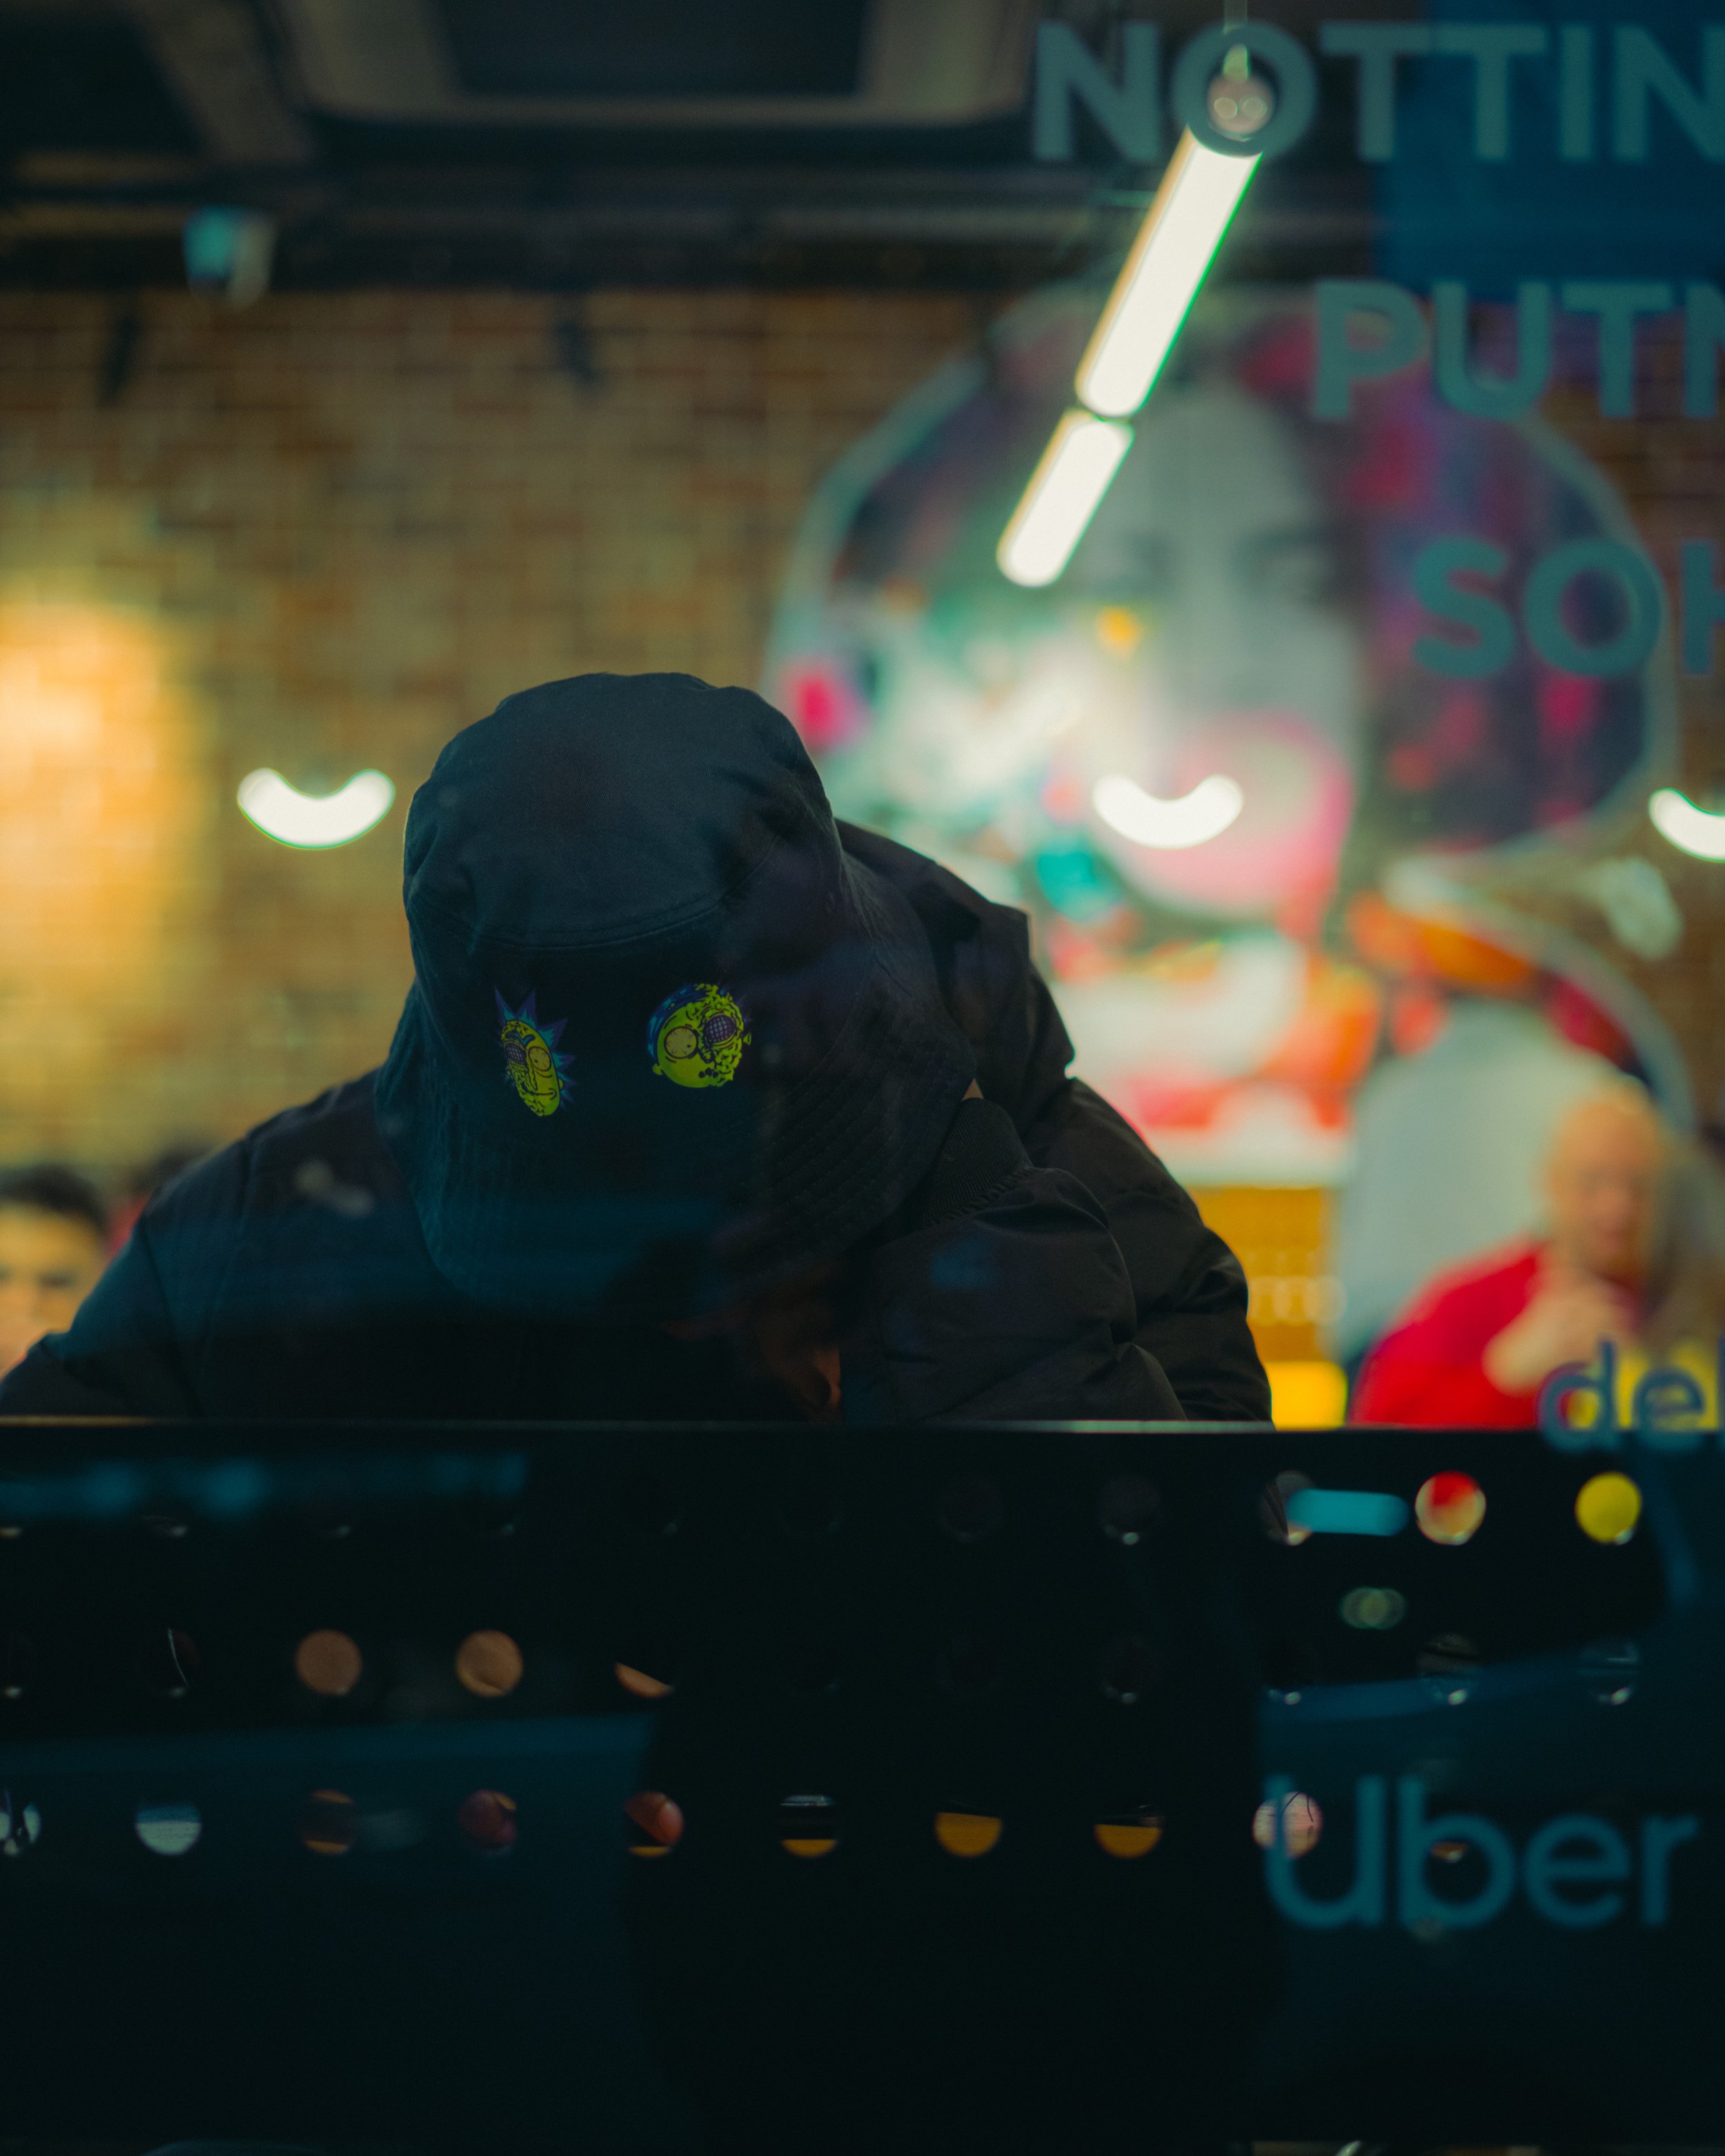
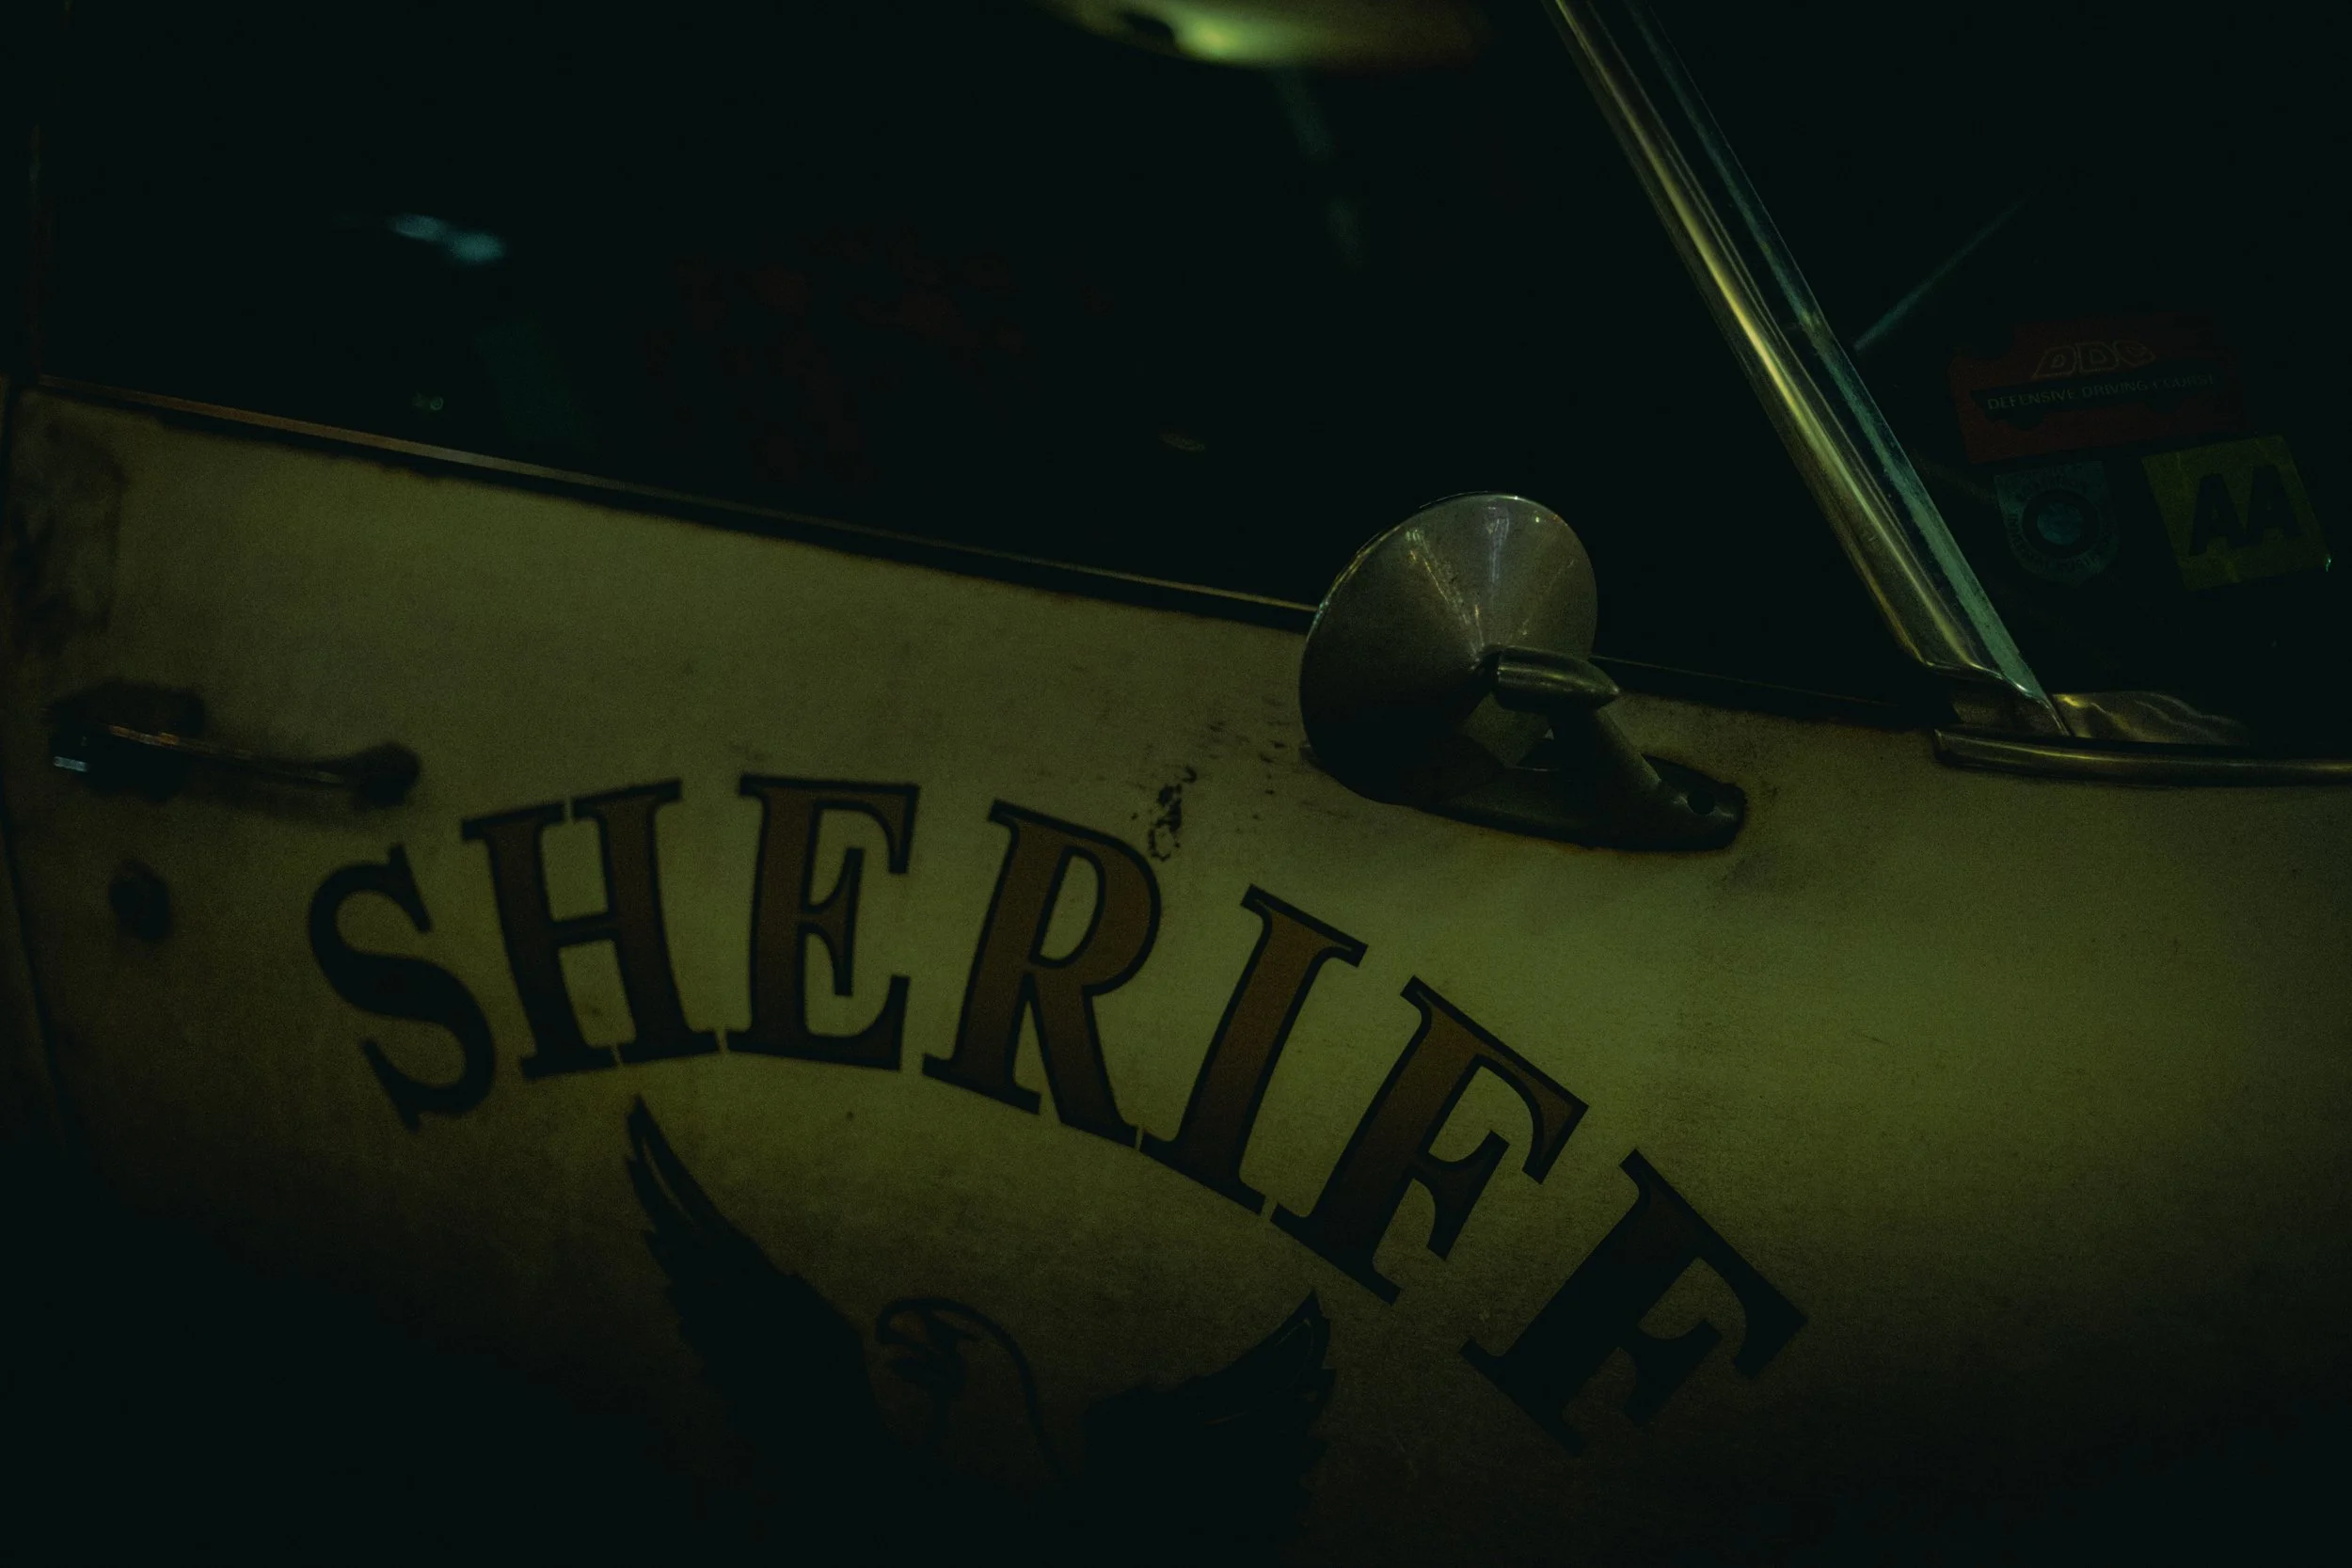
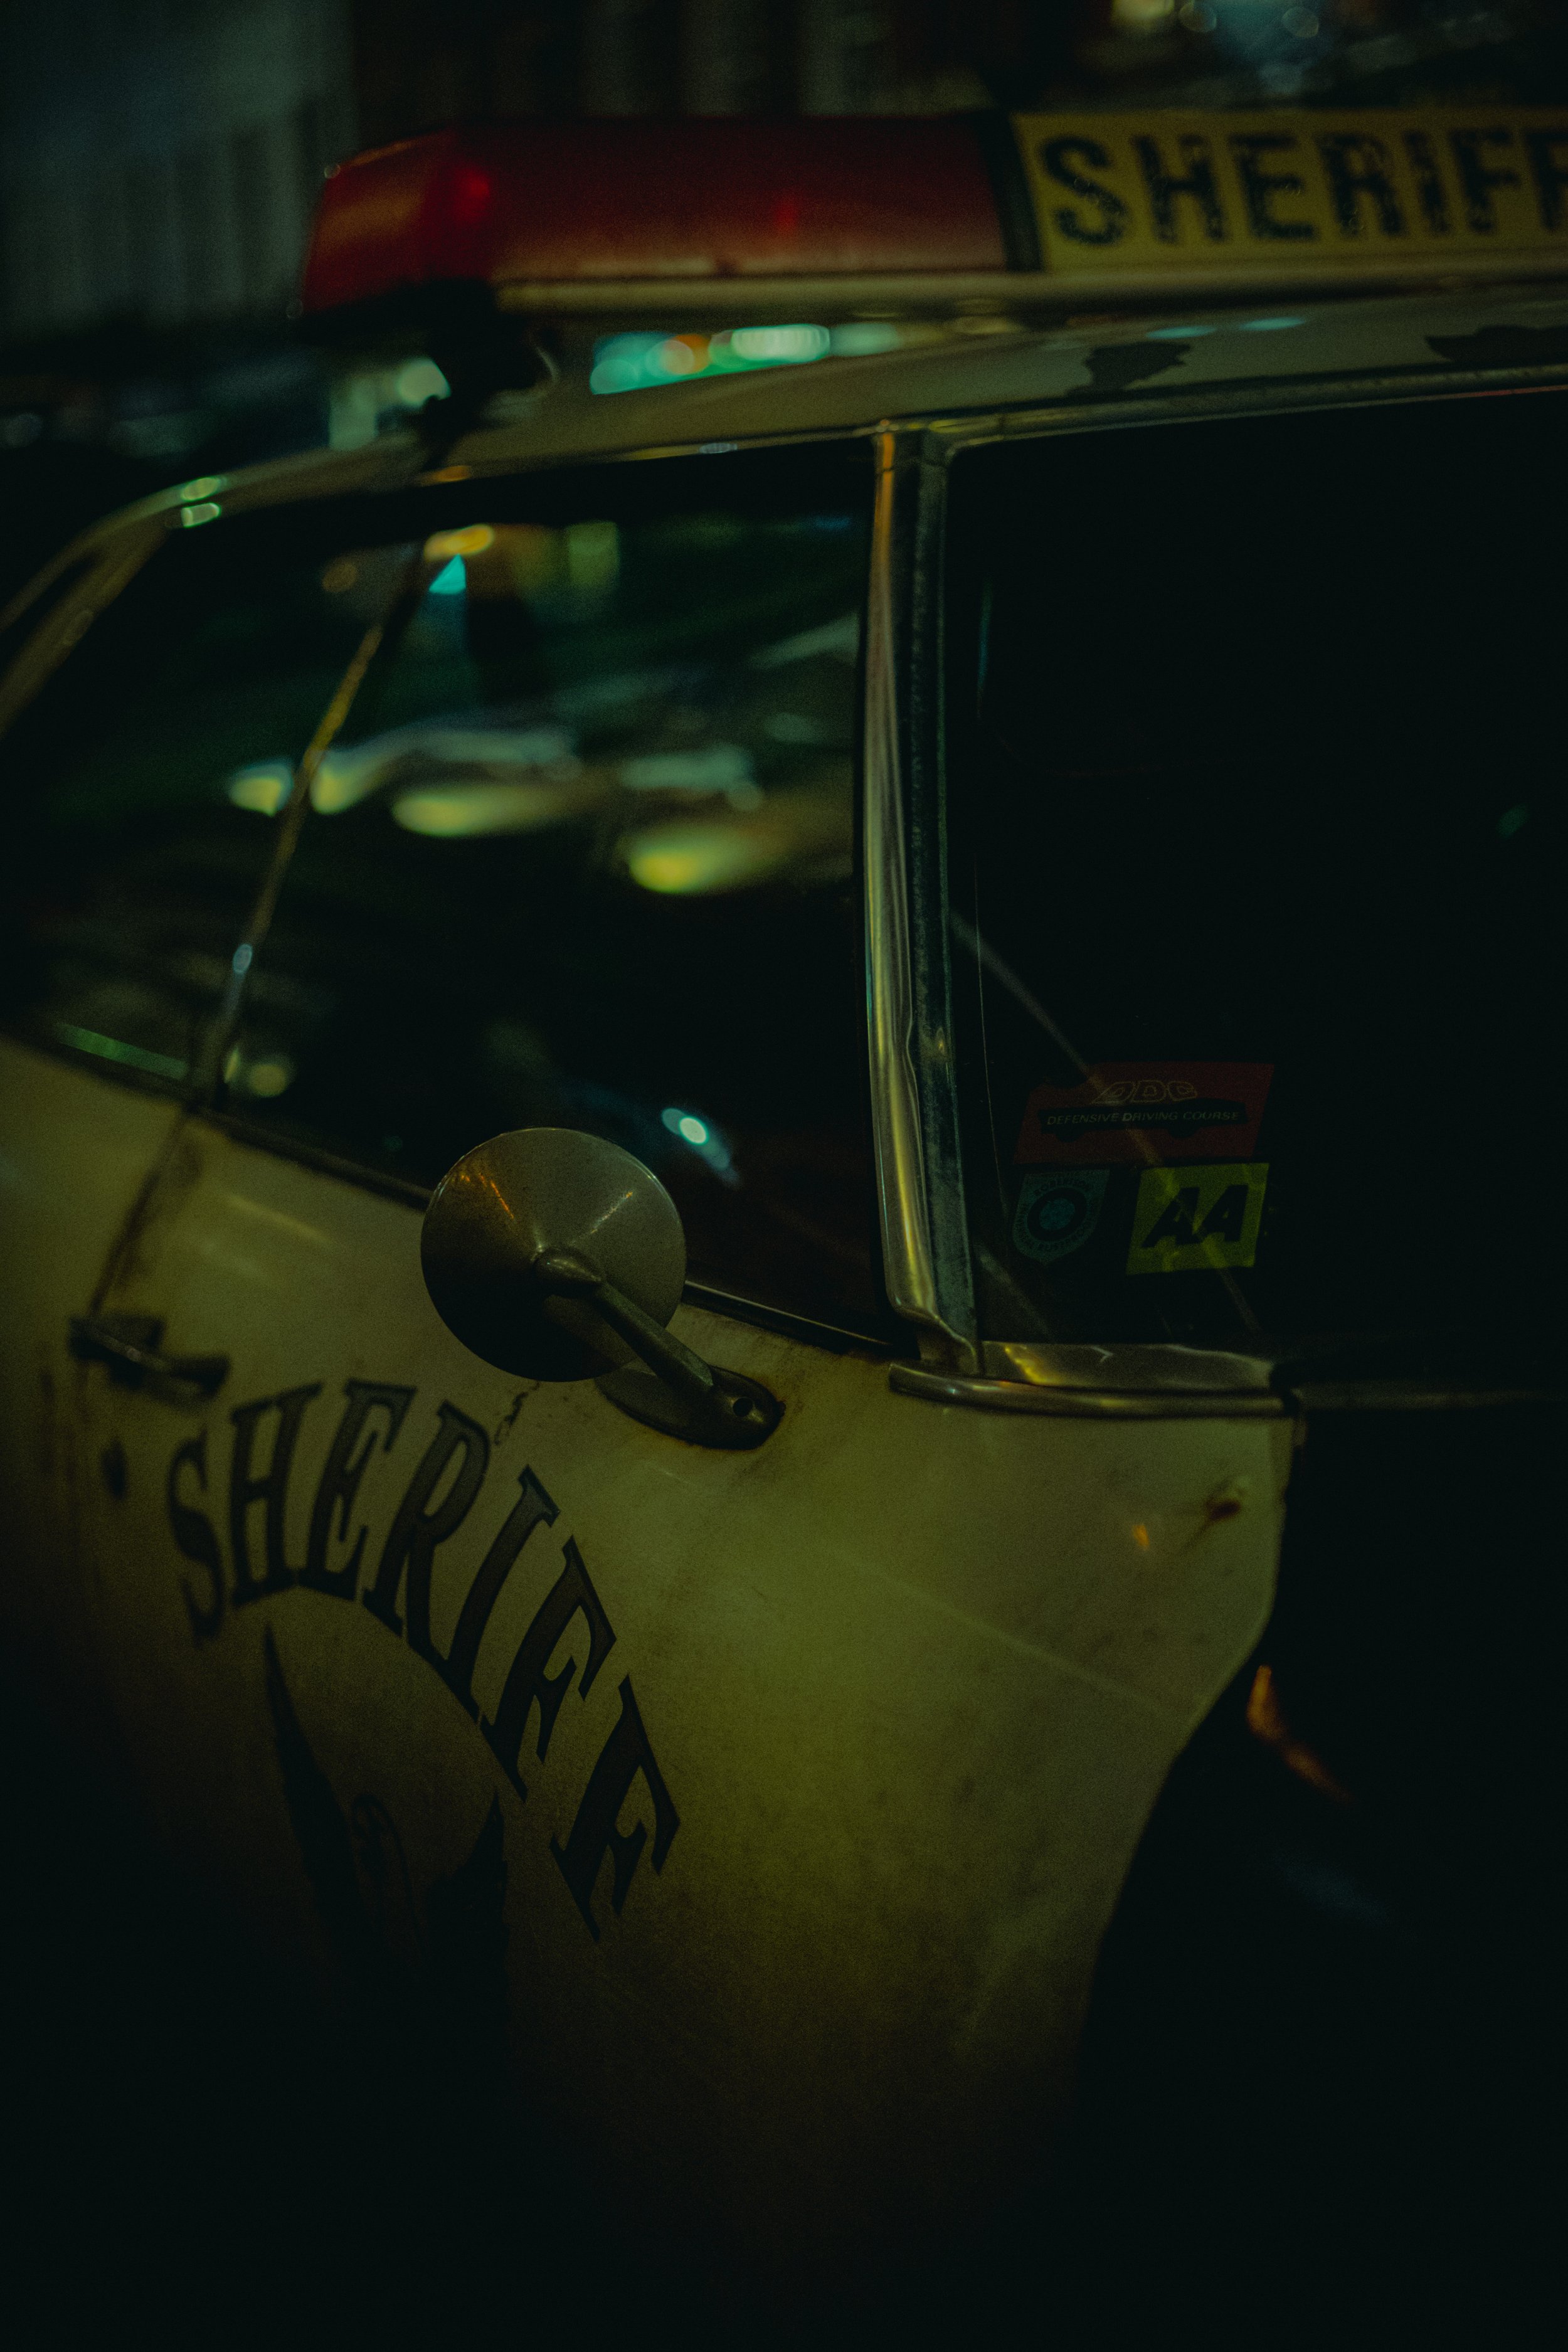
The past weekend I spent a bit of time in Margate and Whistable shooting, looking for low light shots, experimenting with reflections, and looking for abstract shots. The condensation window is, of course, my favourite, but I’m increasingly trying to look for other types of shot. That said, variety isn’t easy in a small town, so I make do with whatever I can find. We can’t all shoot every day on the streets of London, so sometimes you have to settle for making the best of the local streets. Although people may argue the streets of Whitstable aren’t quite as exciting as the streets of Soho, it doesn’t mean there aren’t shots to be had. You can find interesting compositions in any town or city at night. Sure London is vast with every street seemingly presenting an opportunity, but a bit of patience and you can find at least one composition that hits.
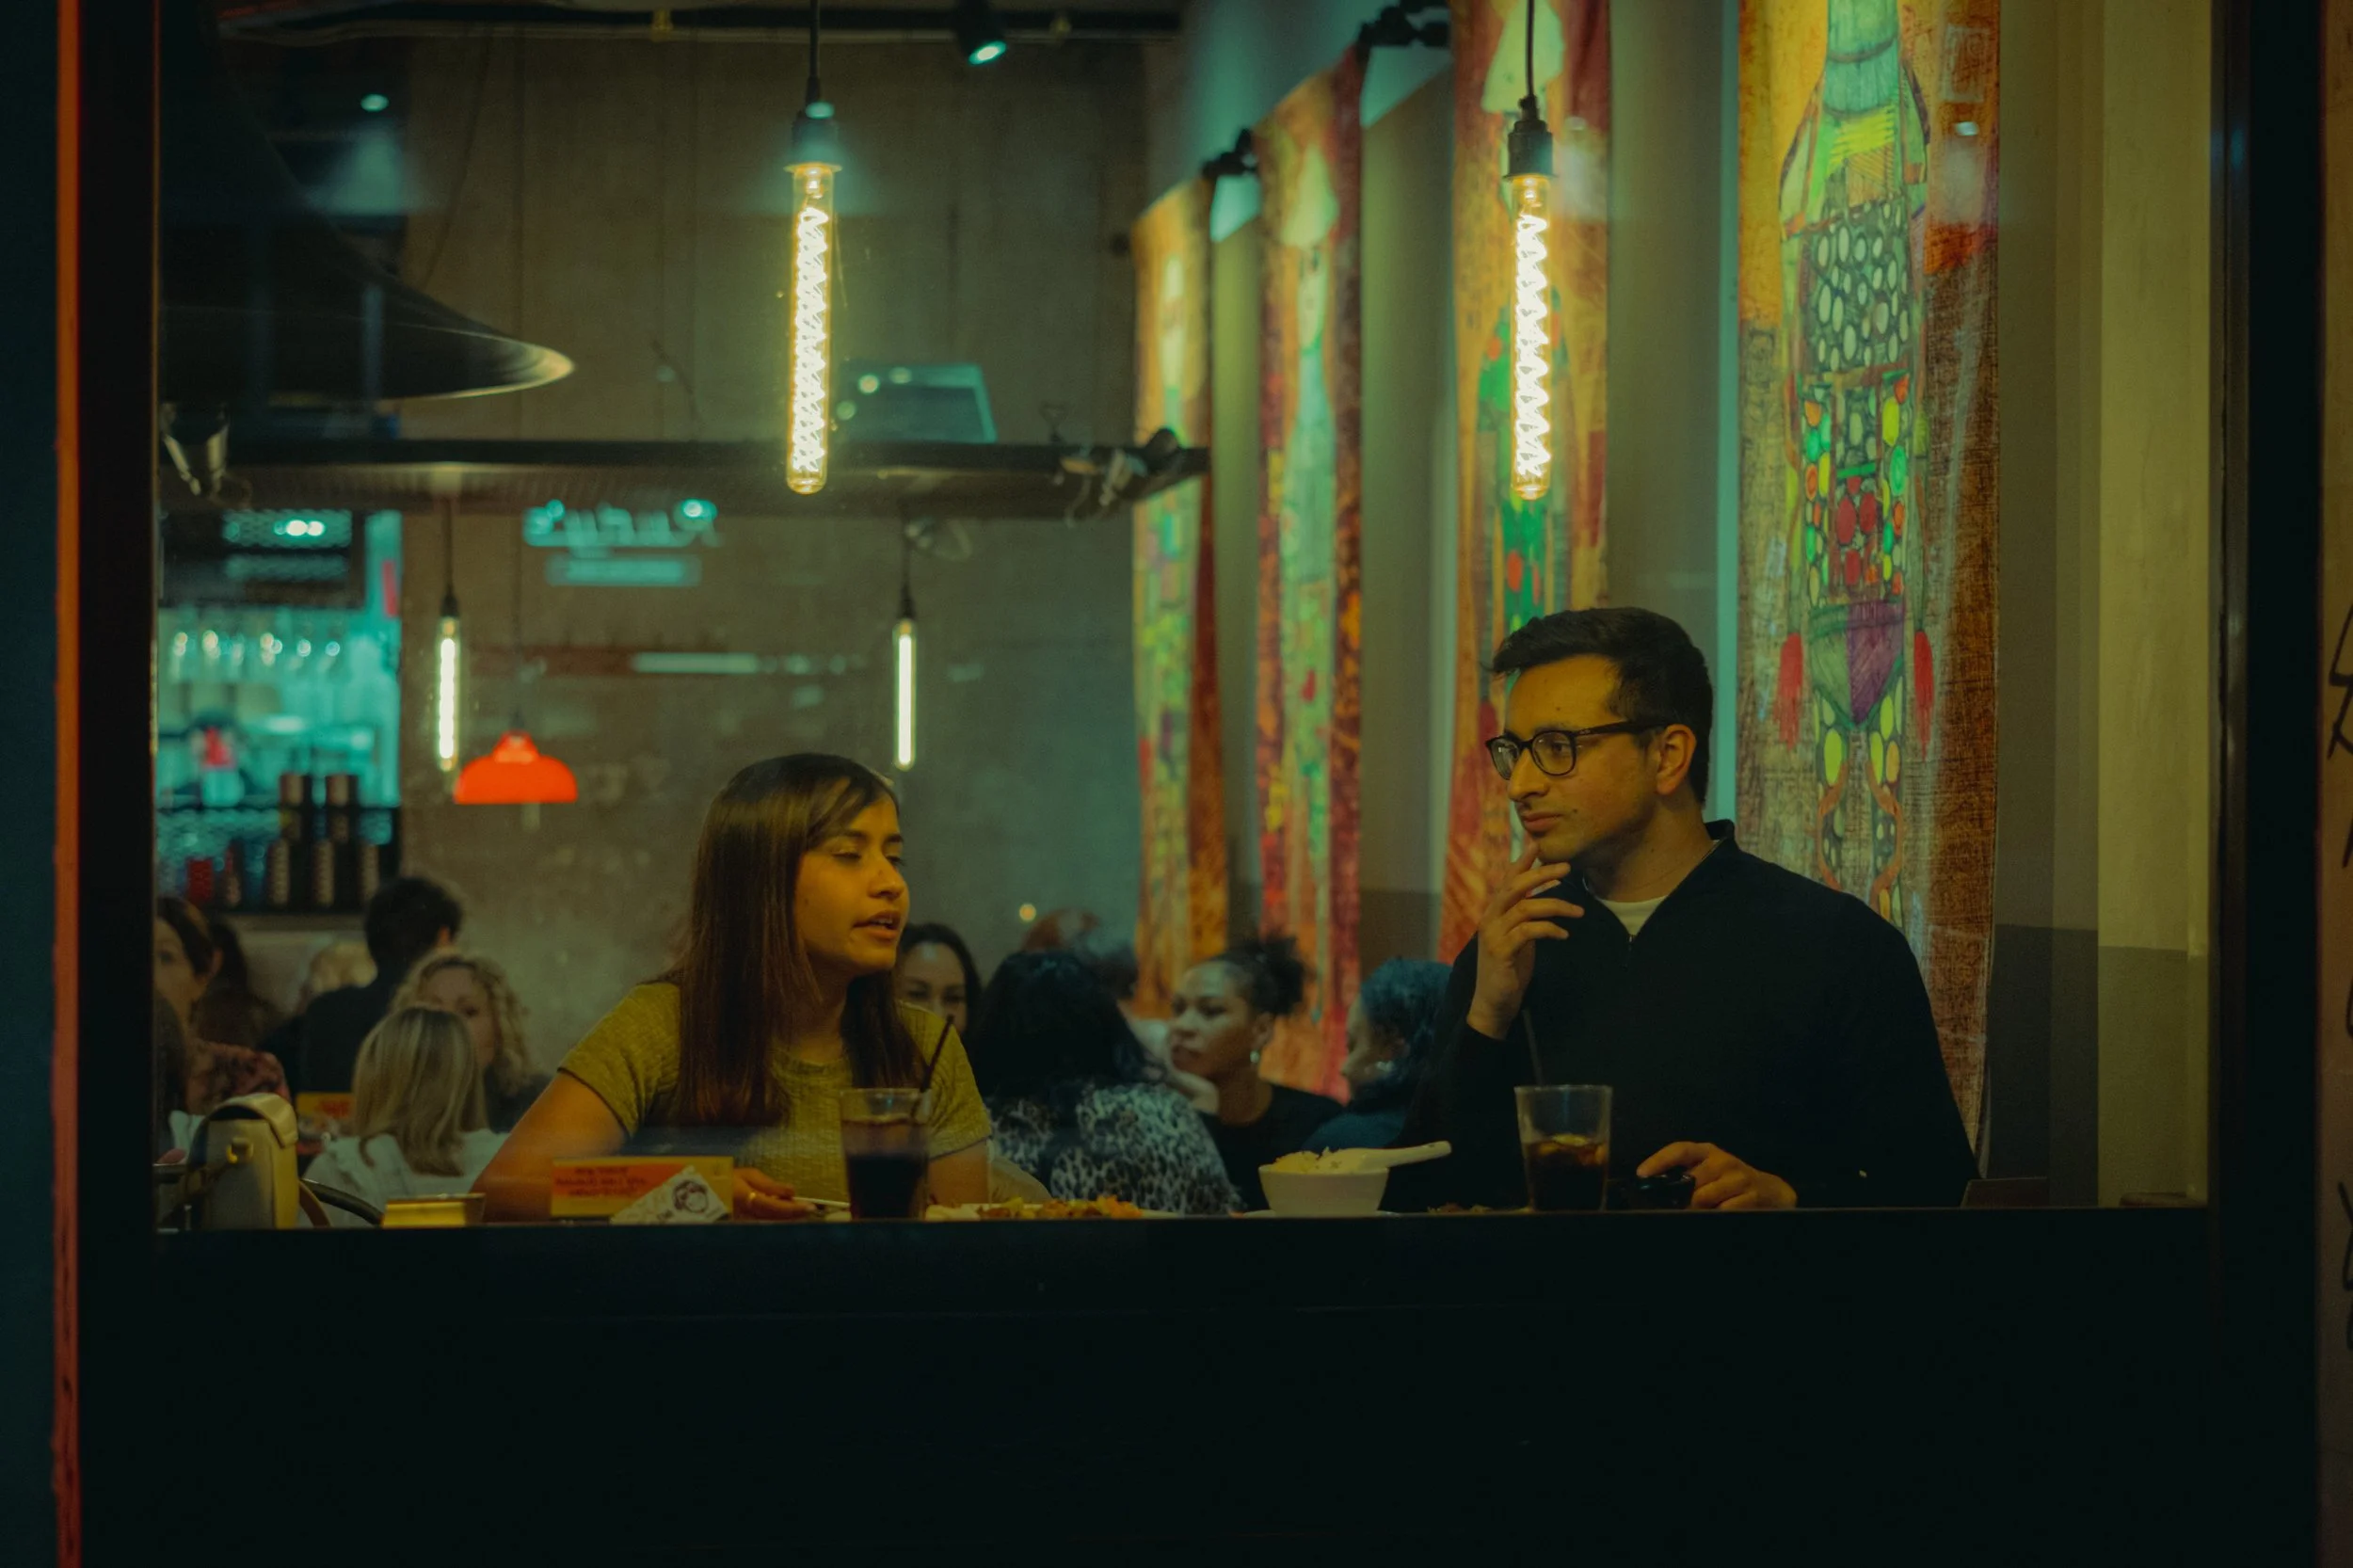
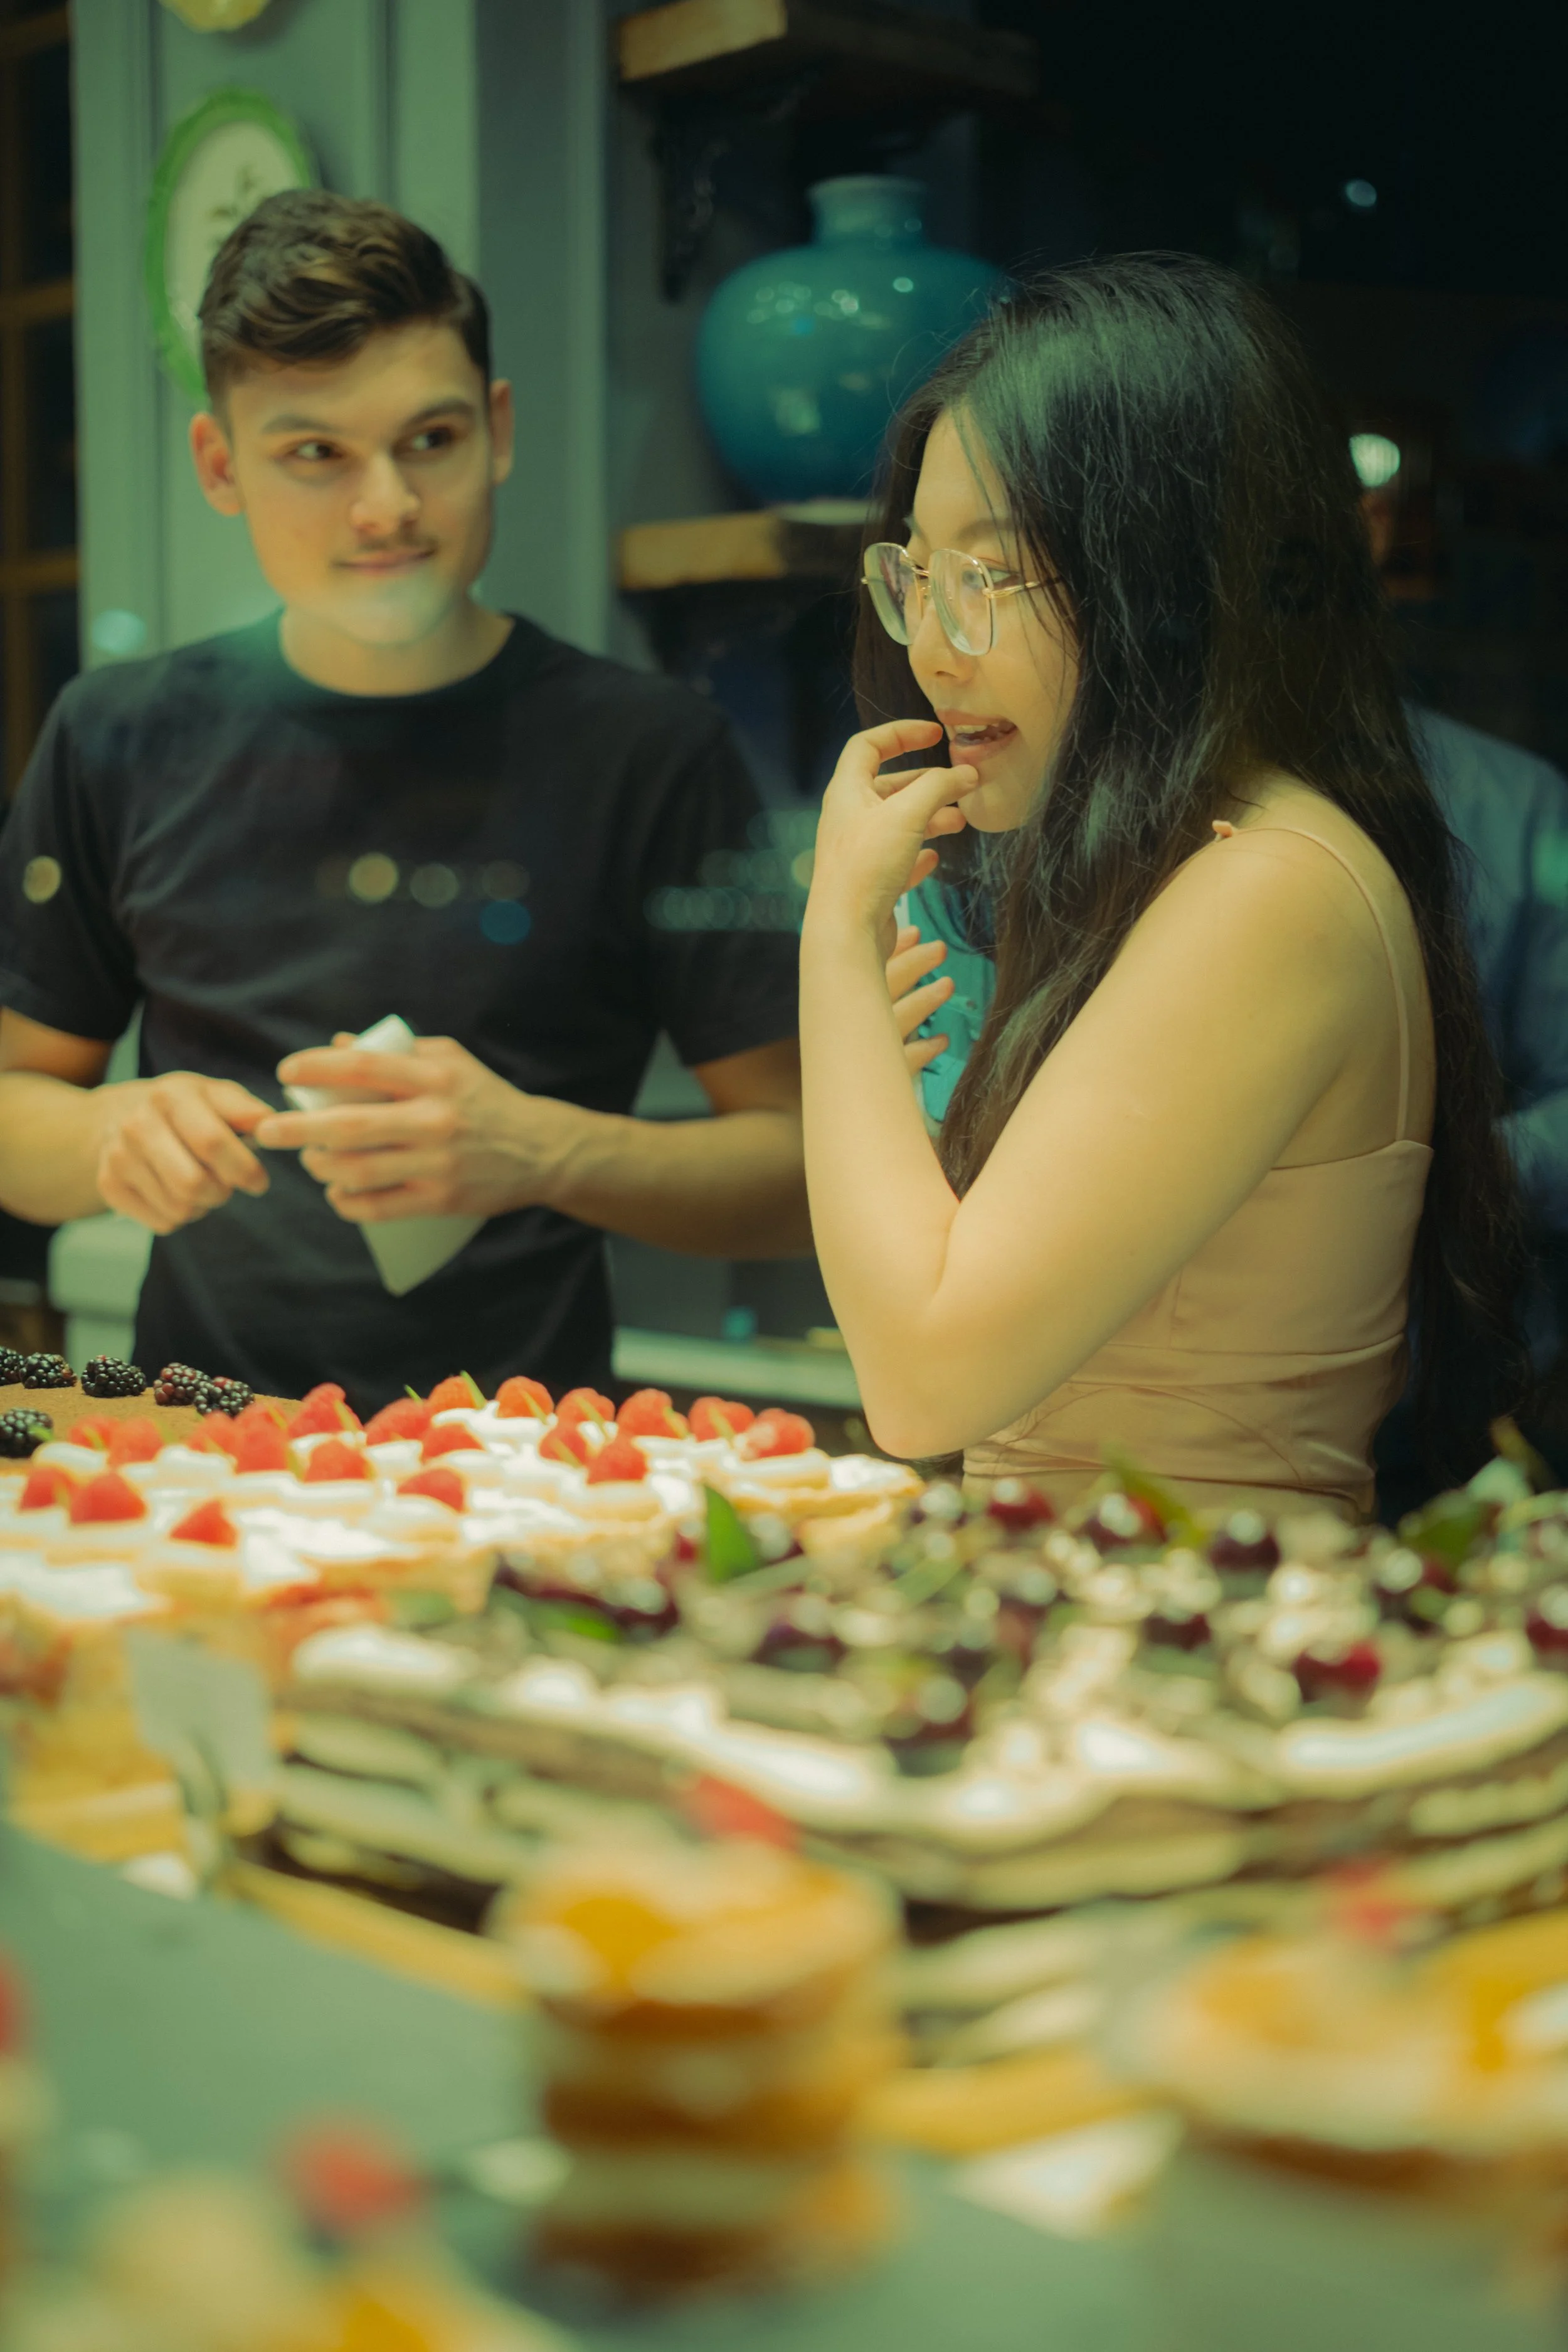
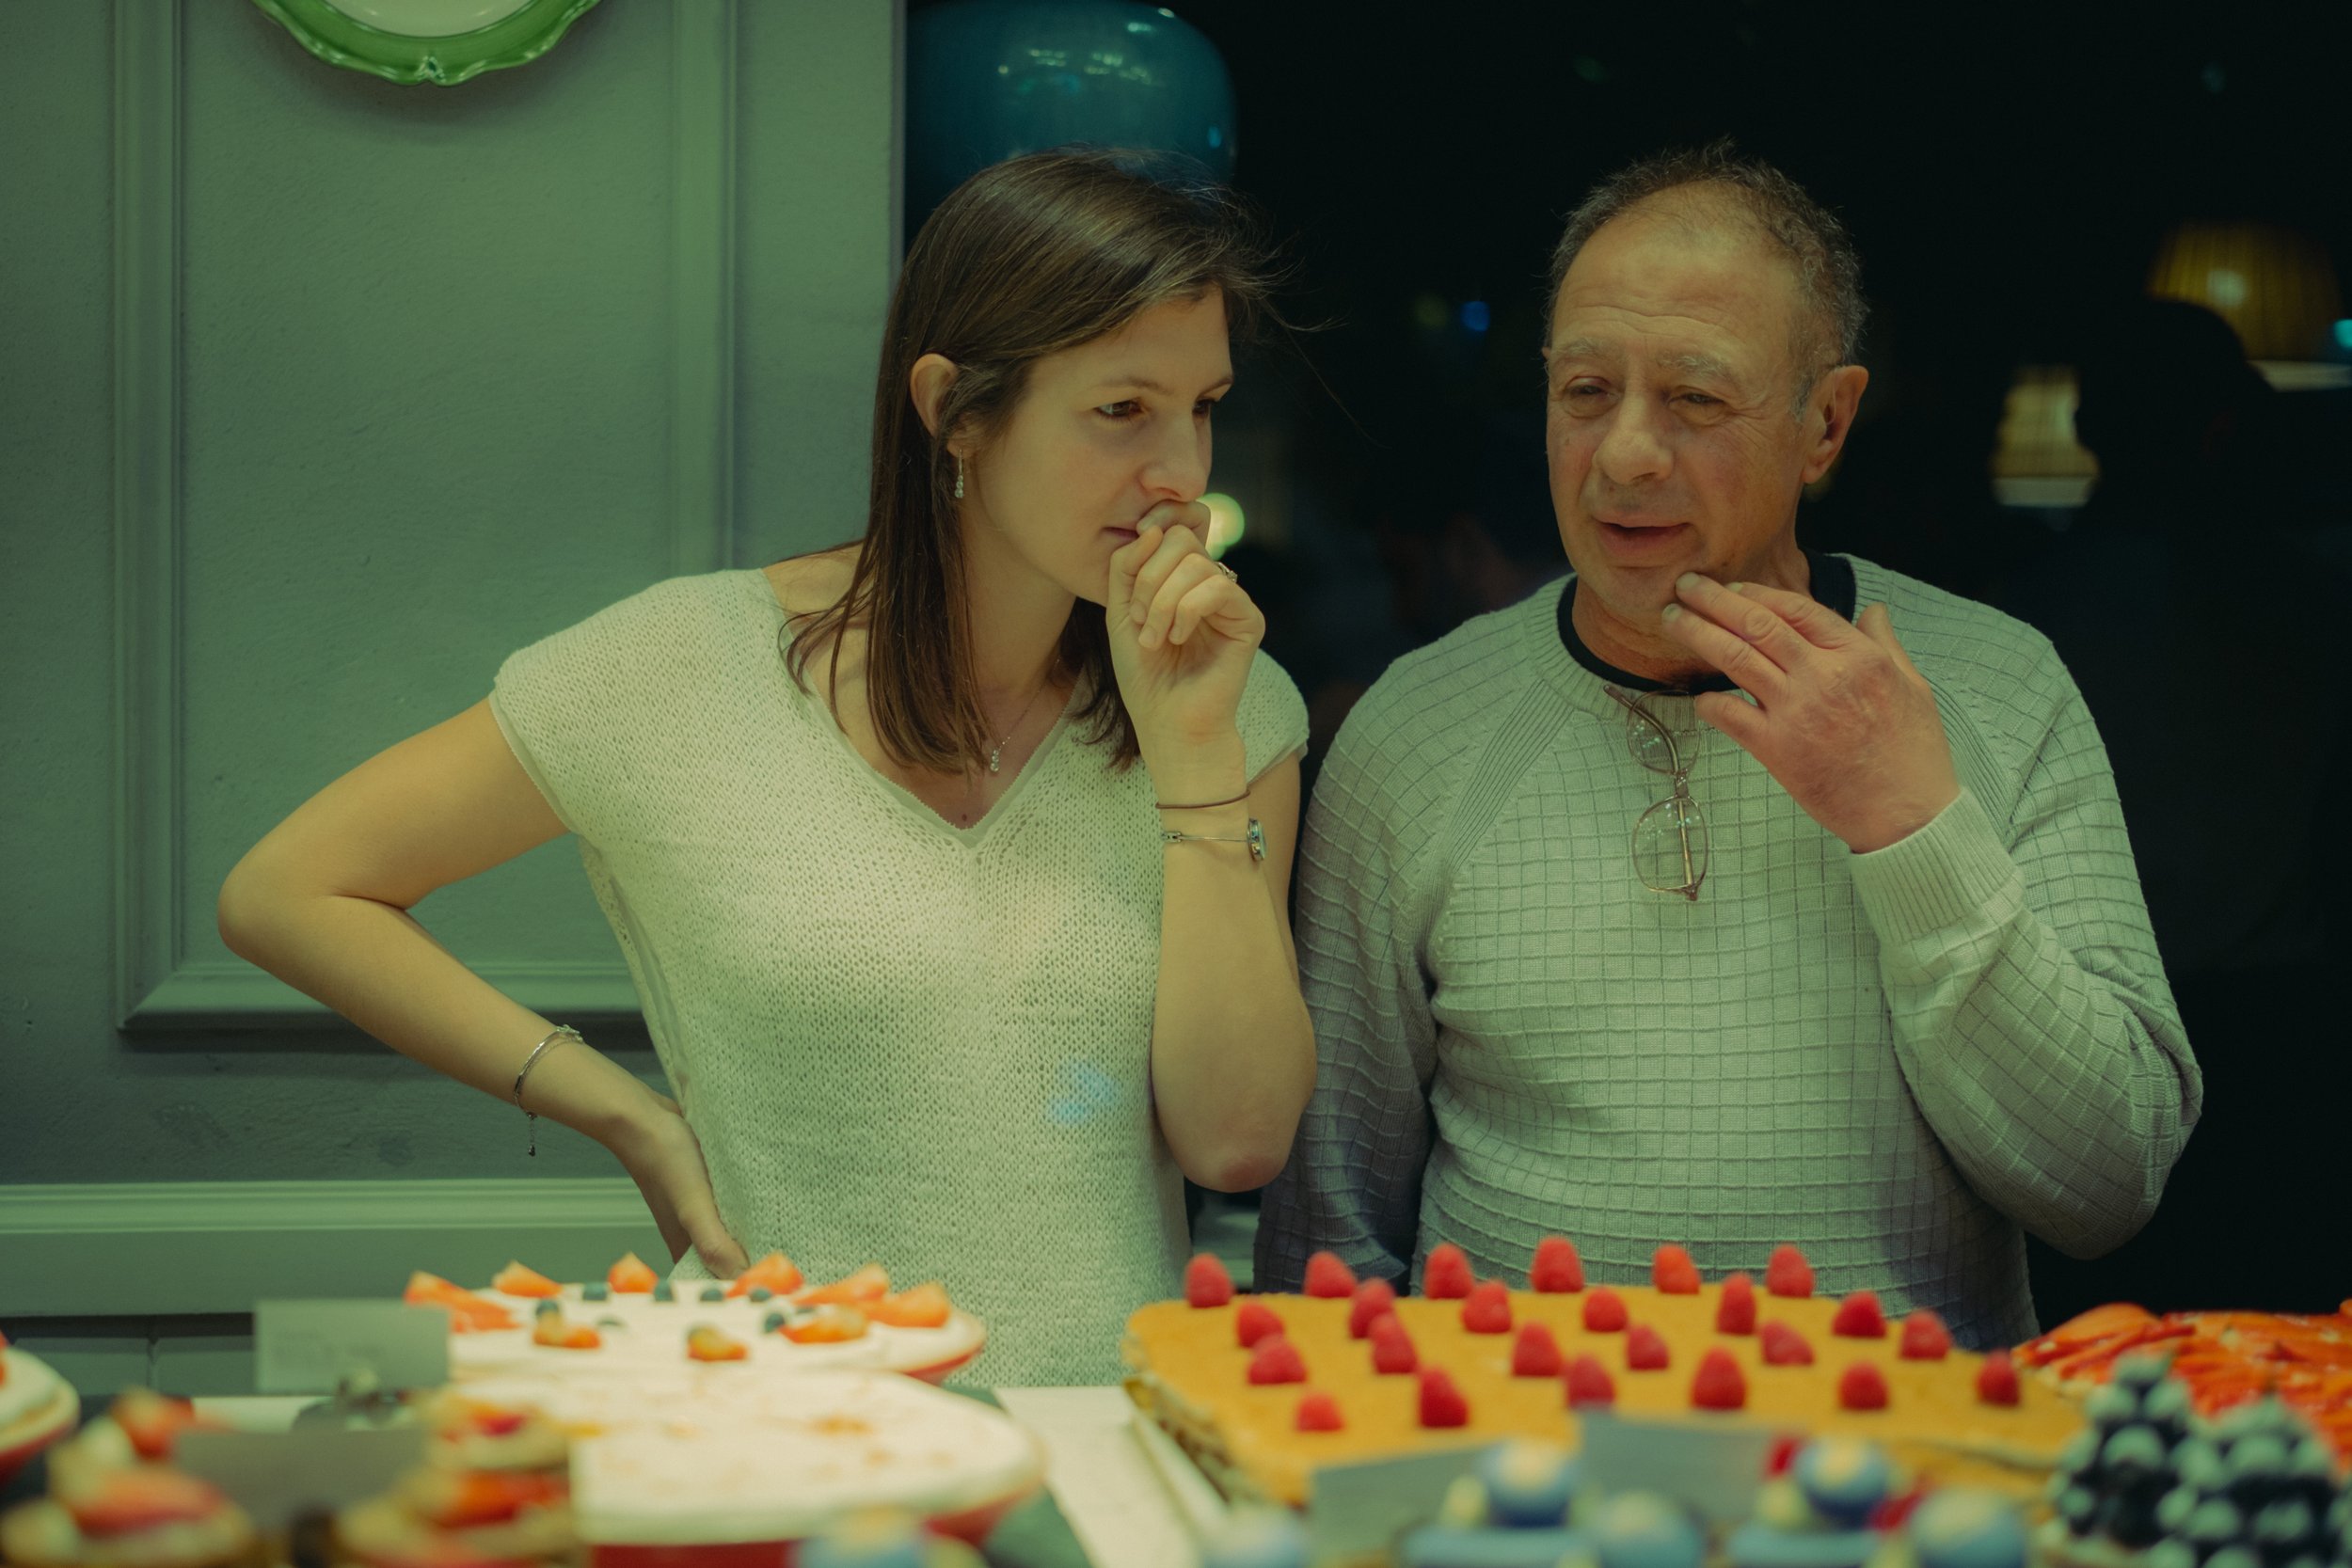
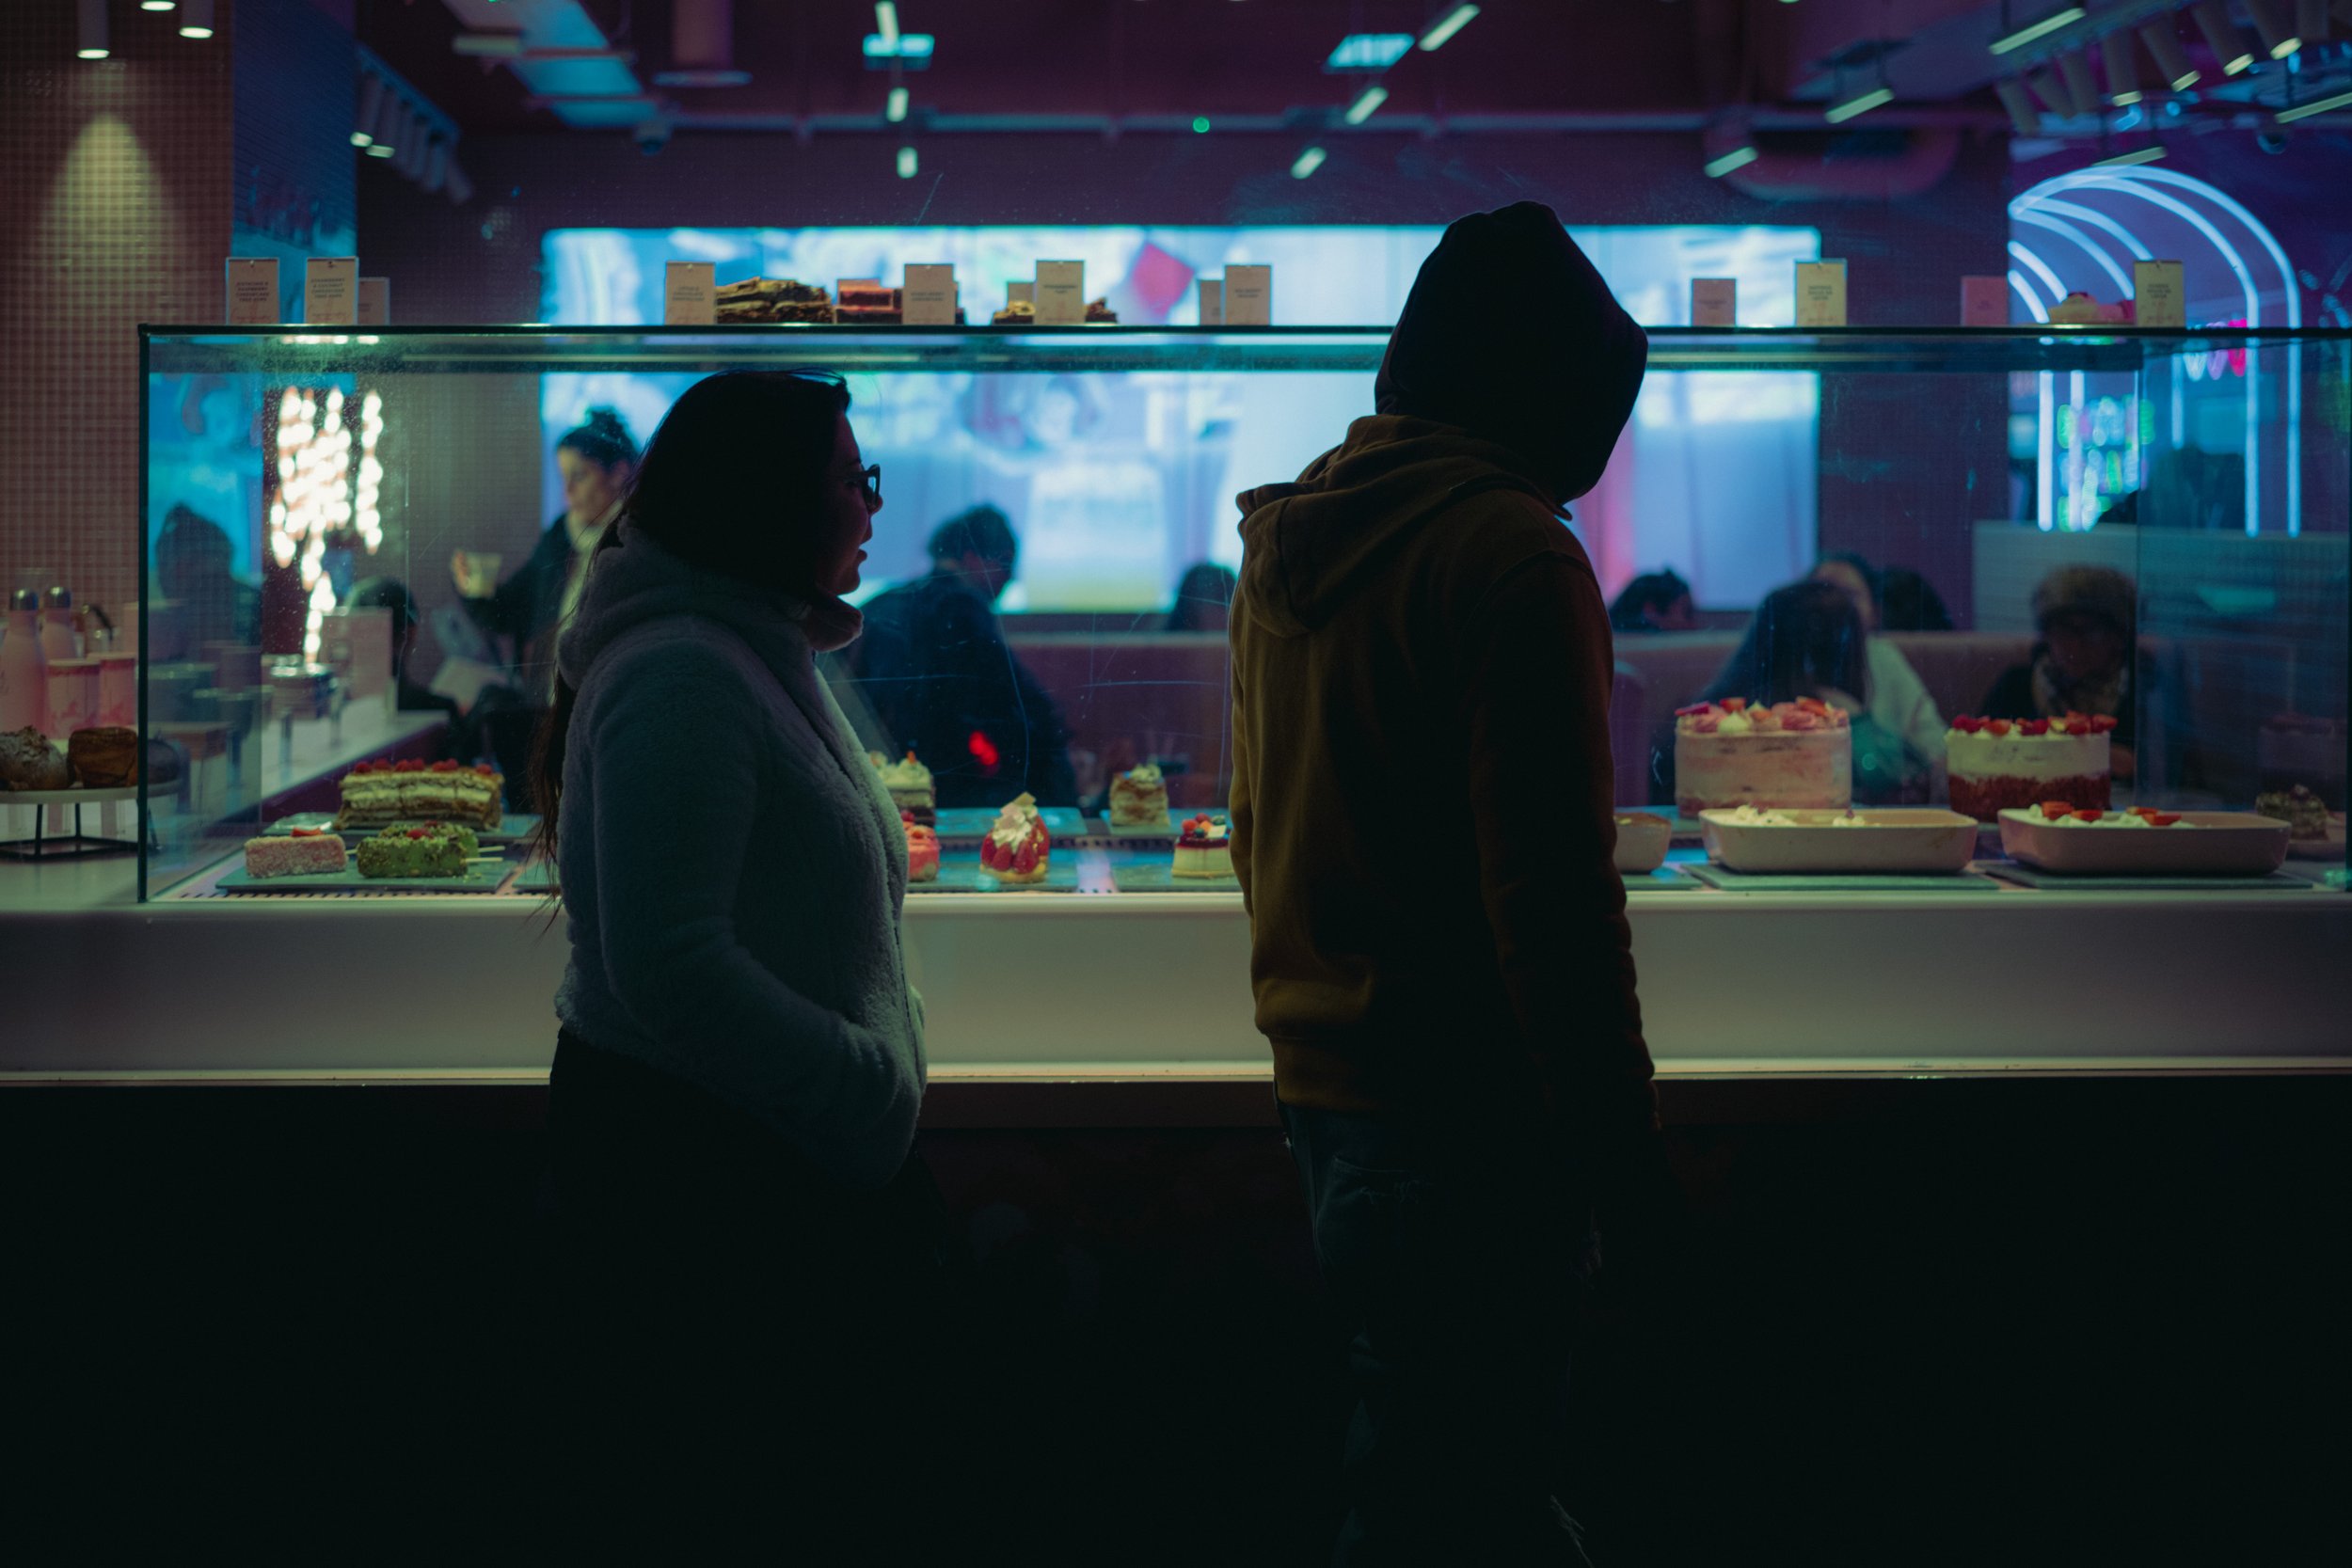
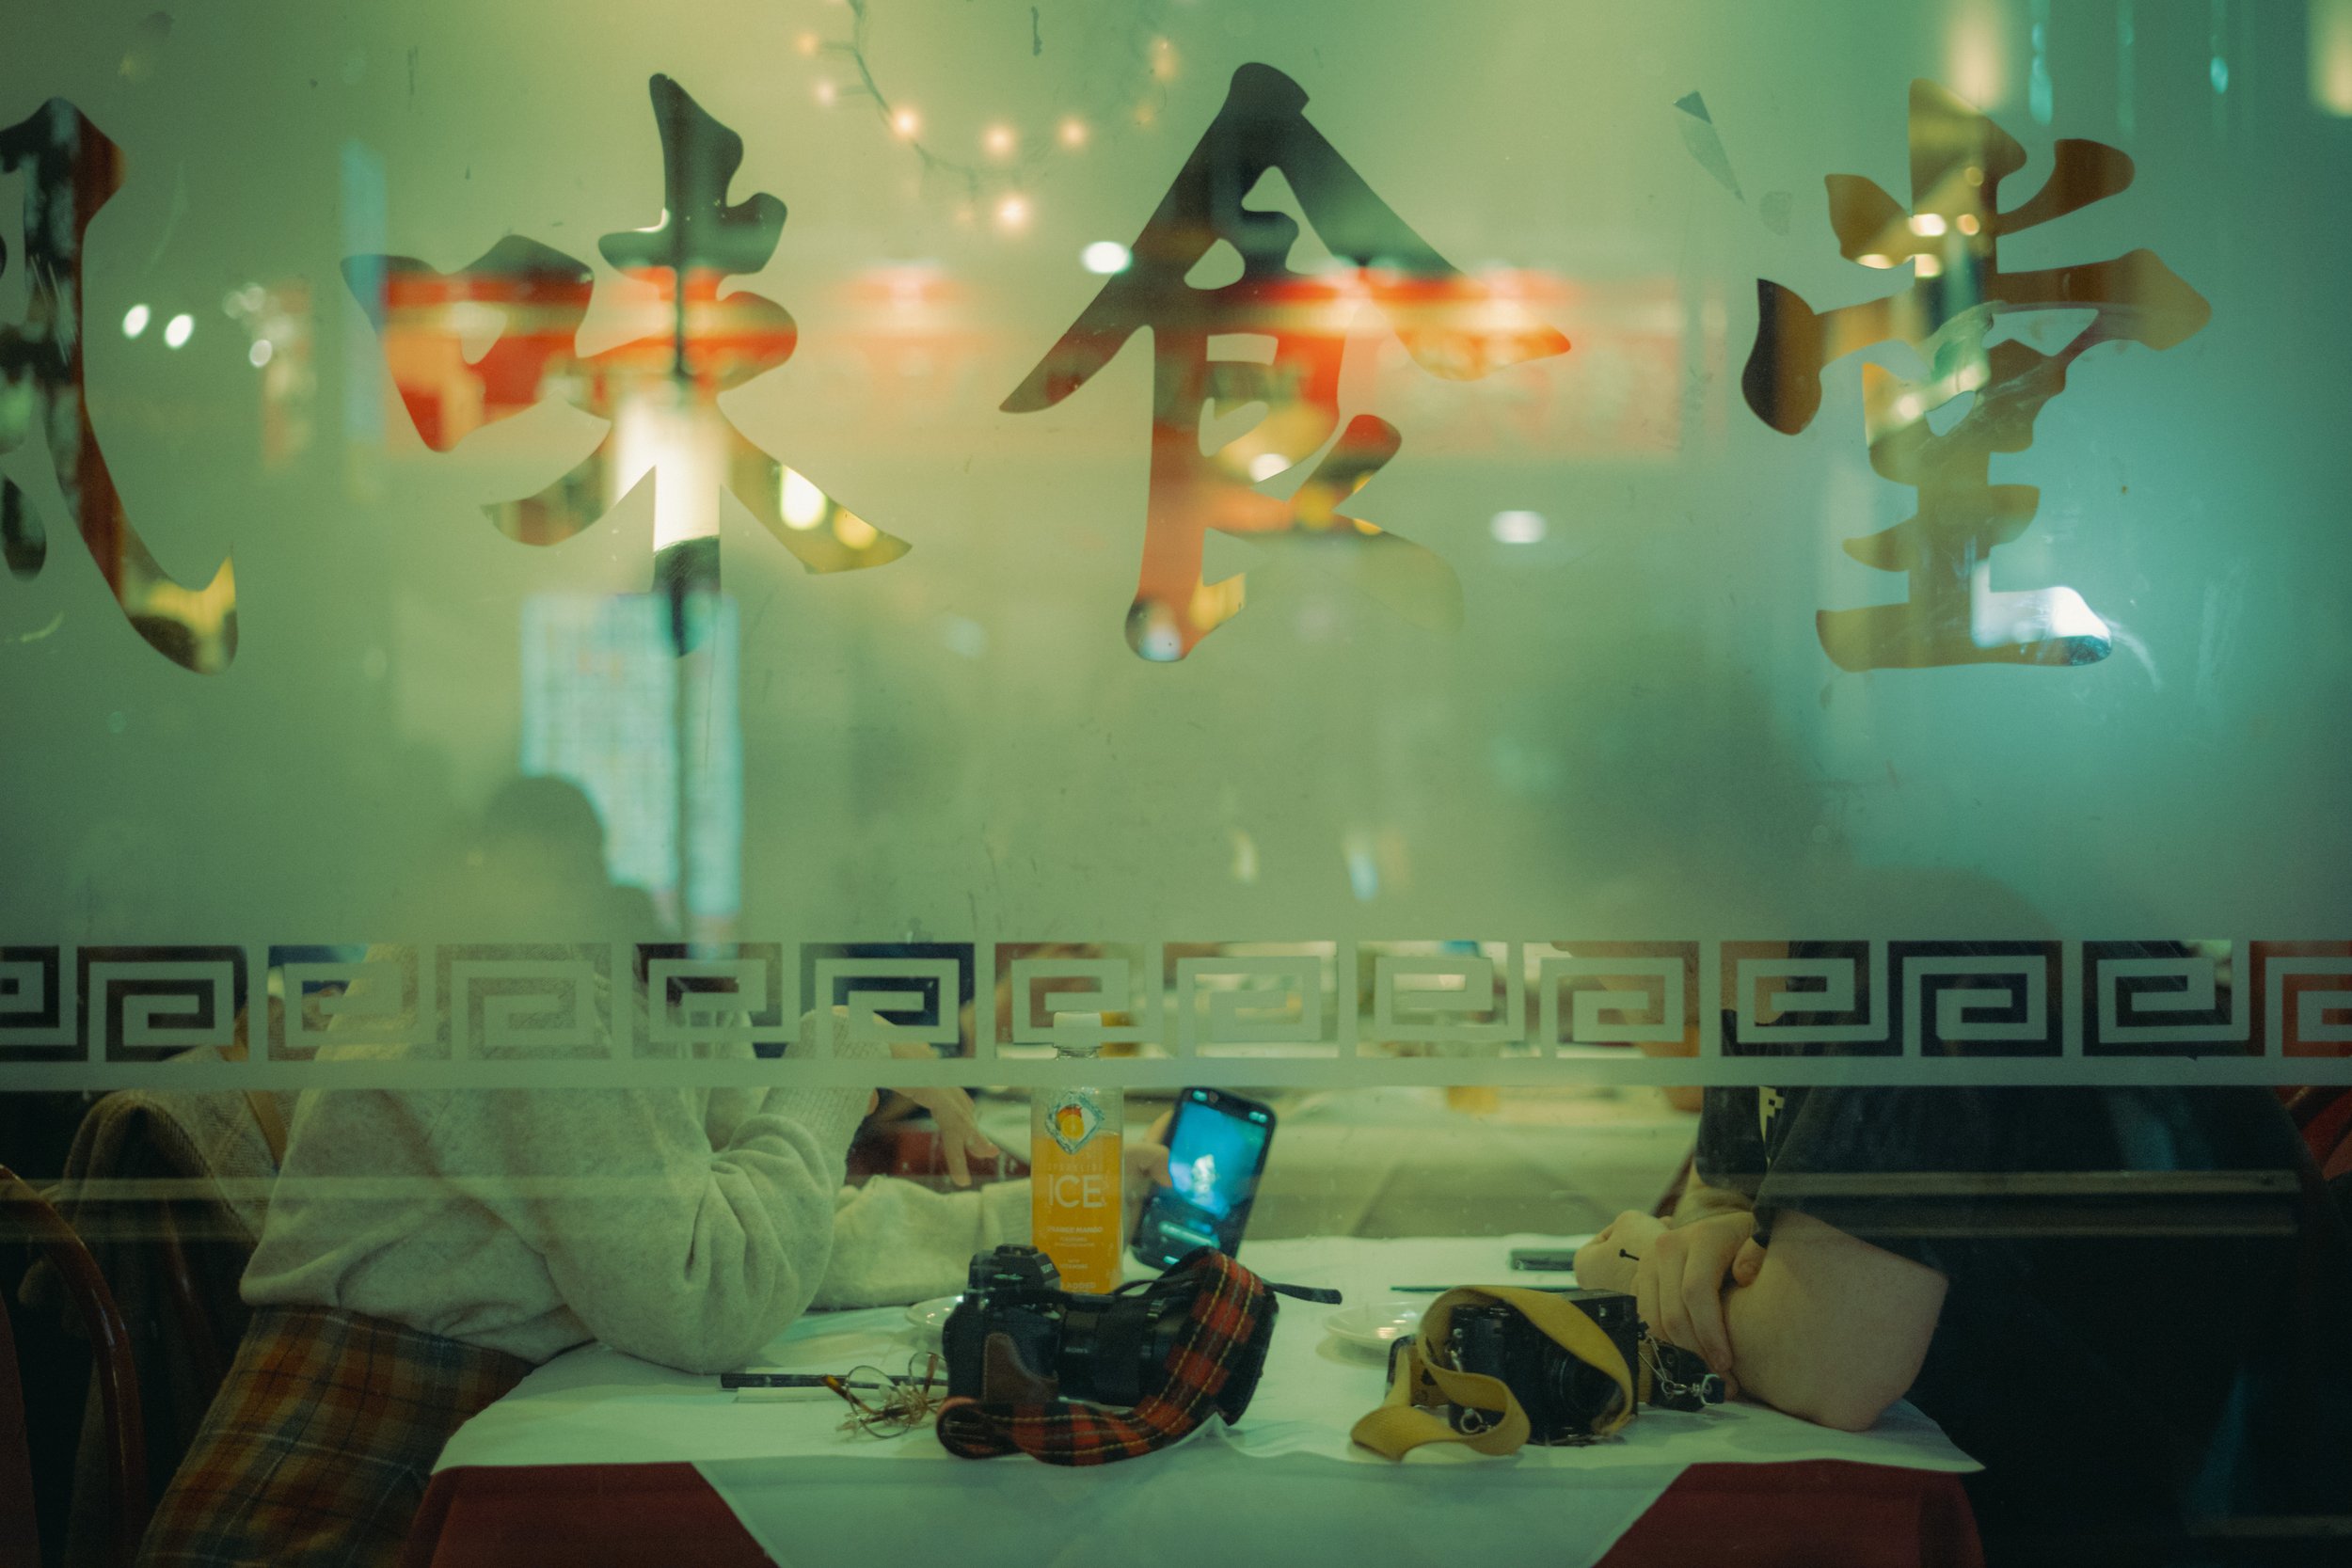
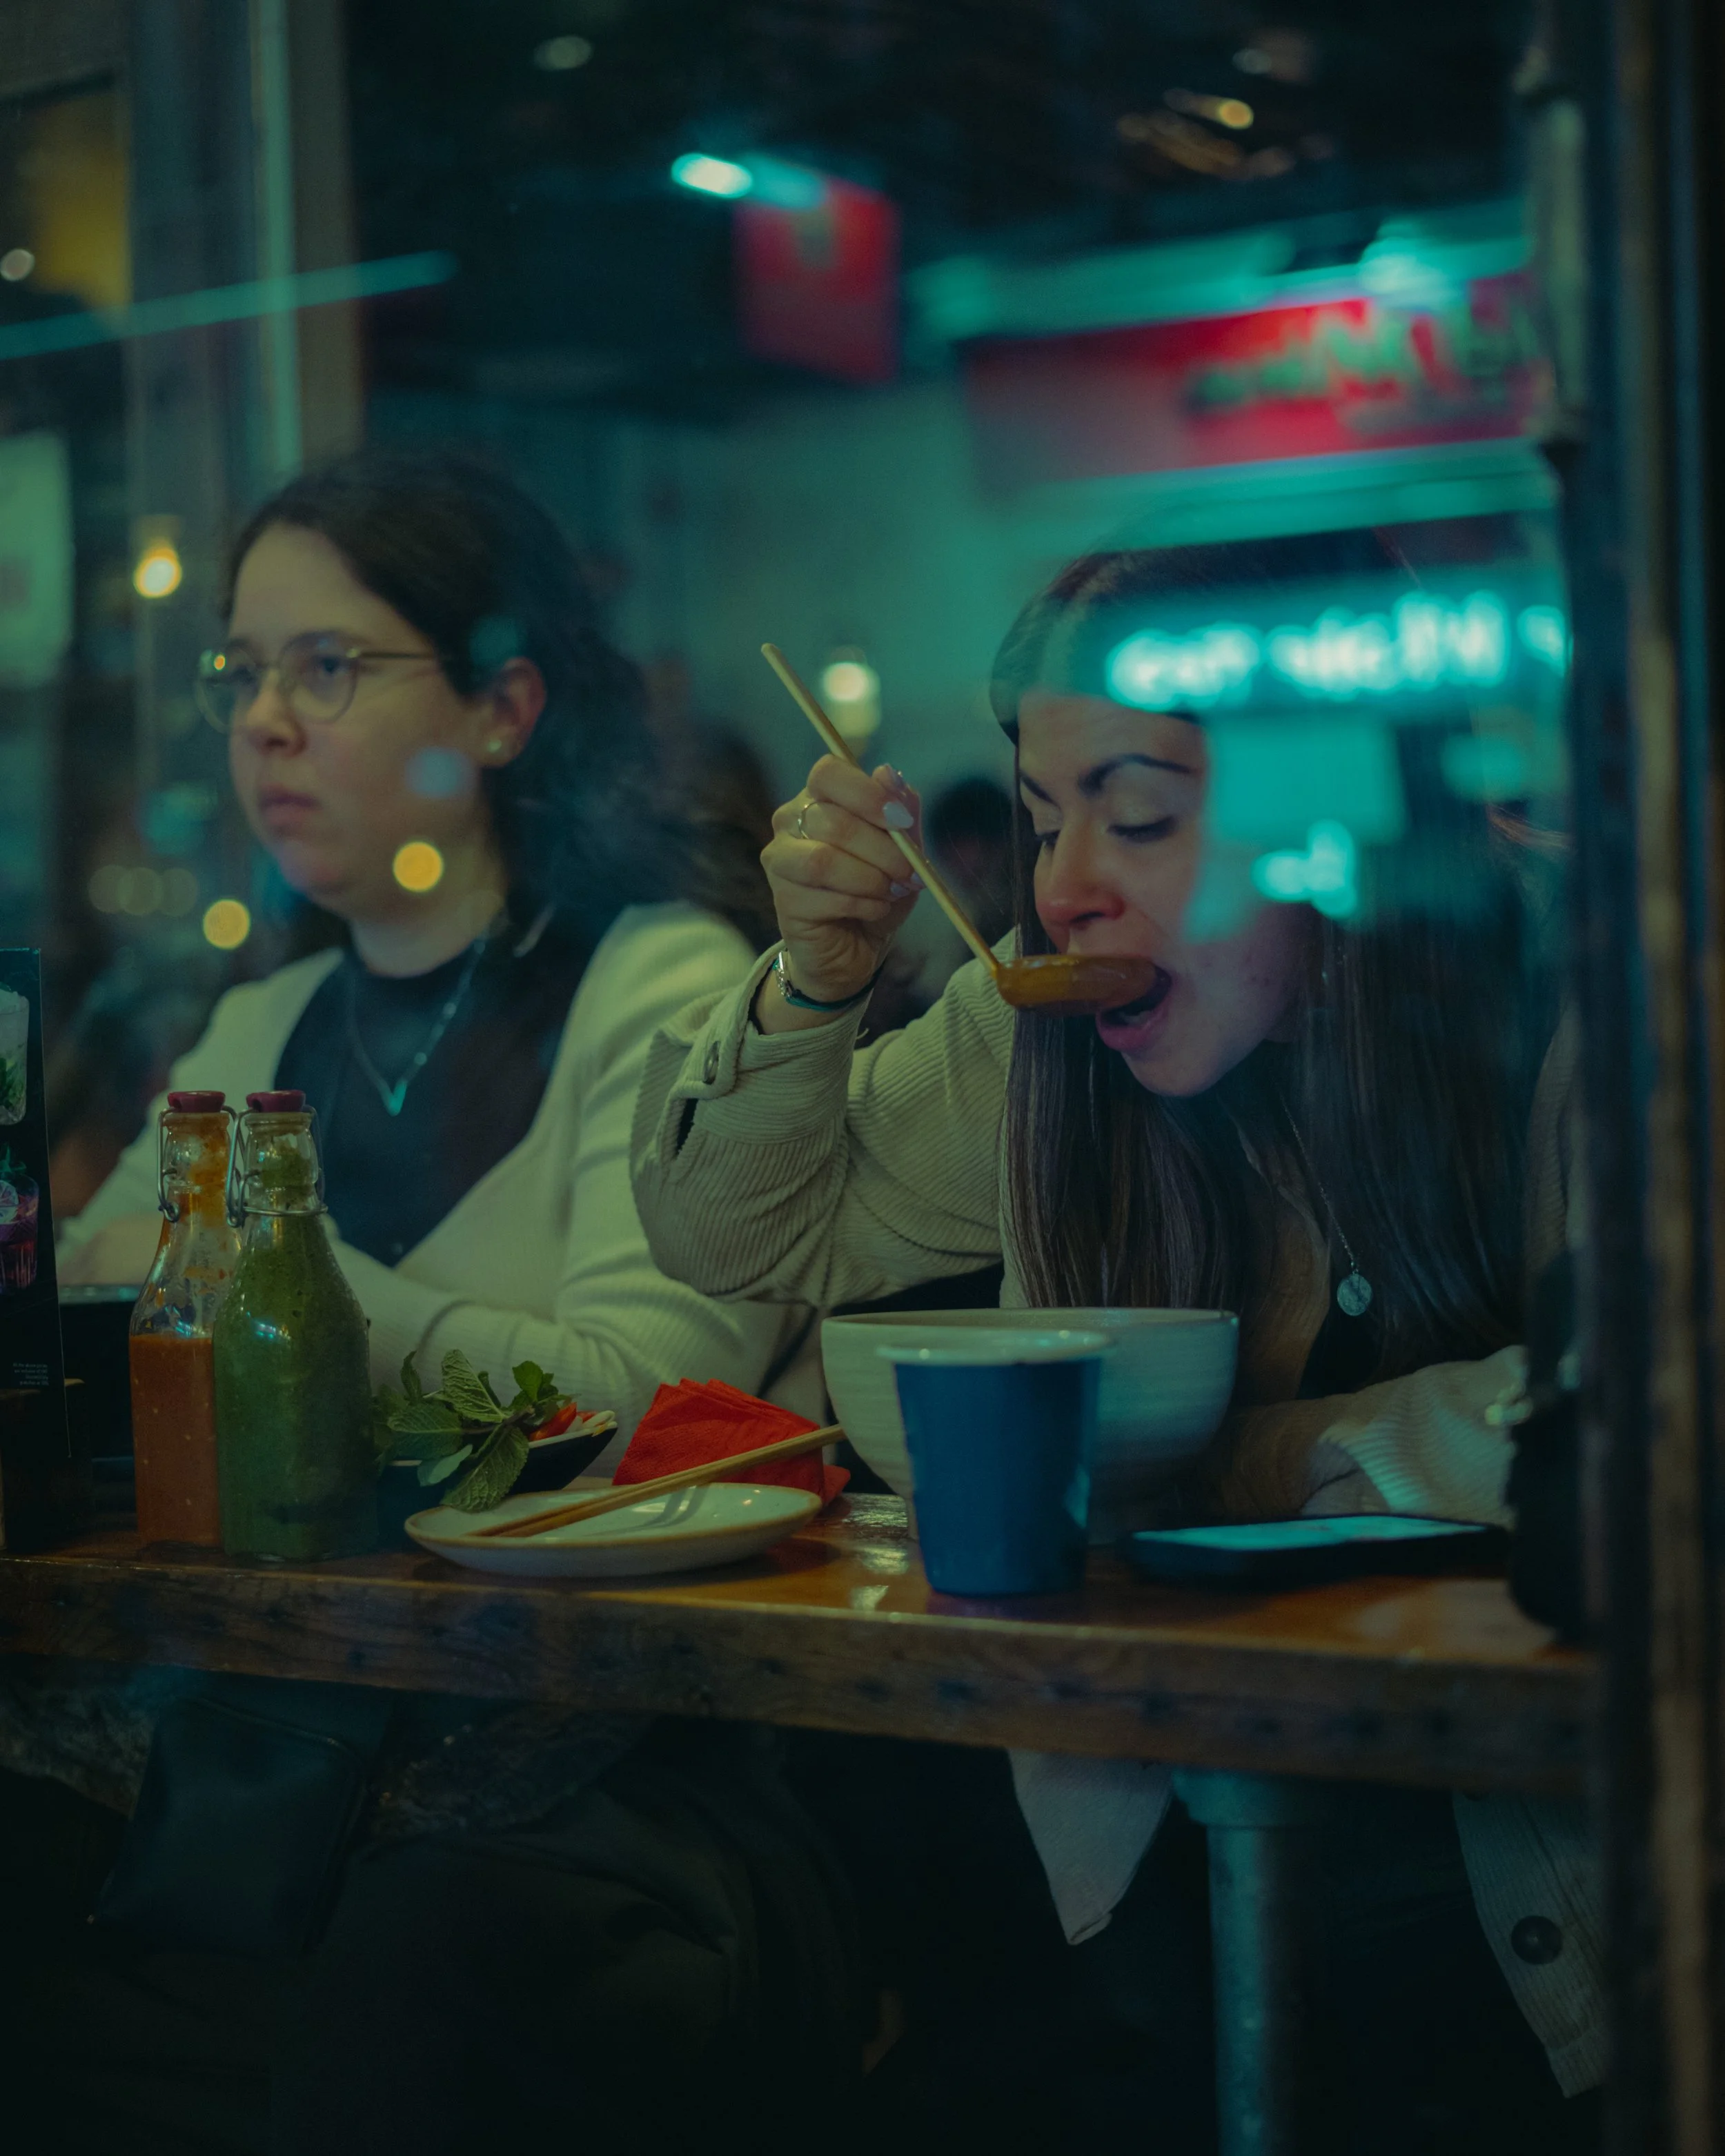
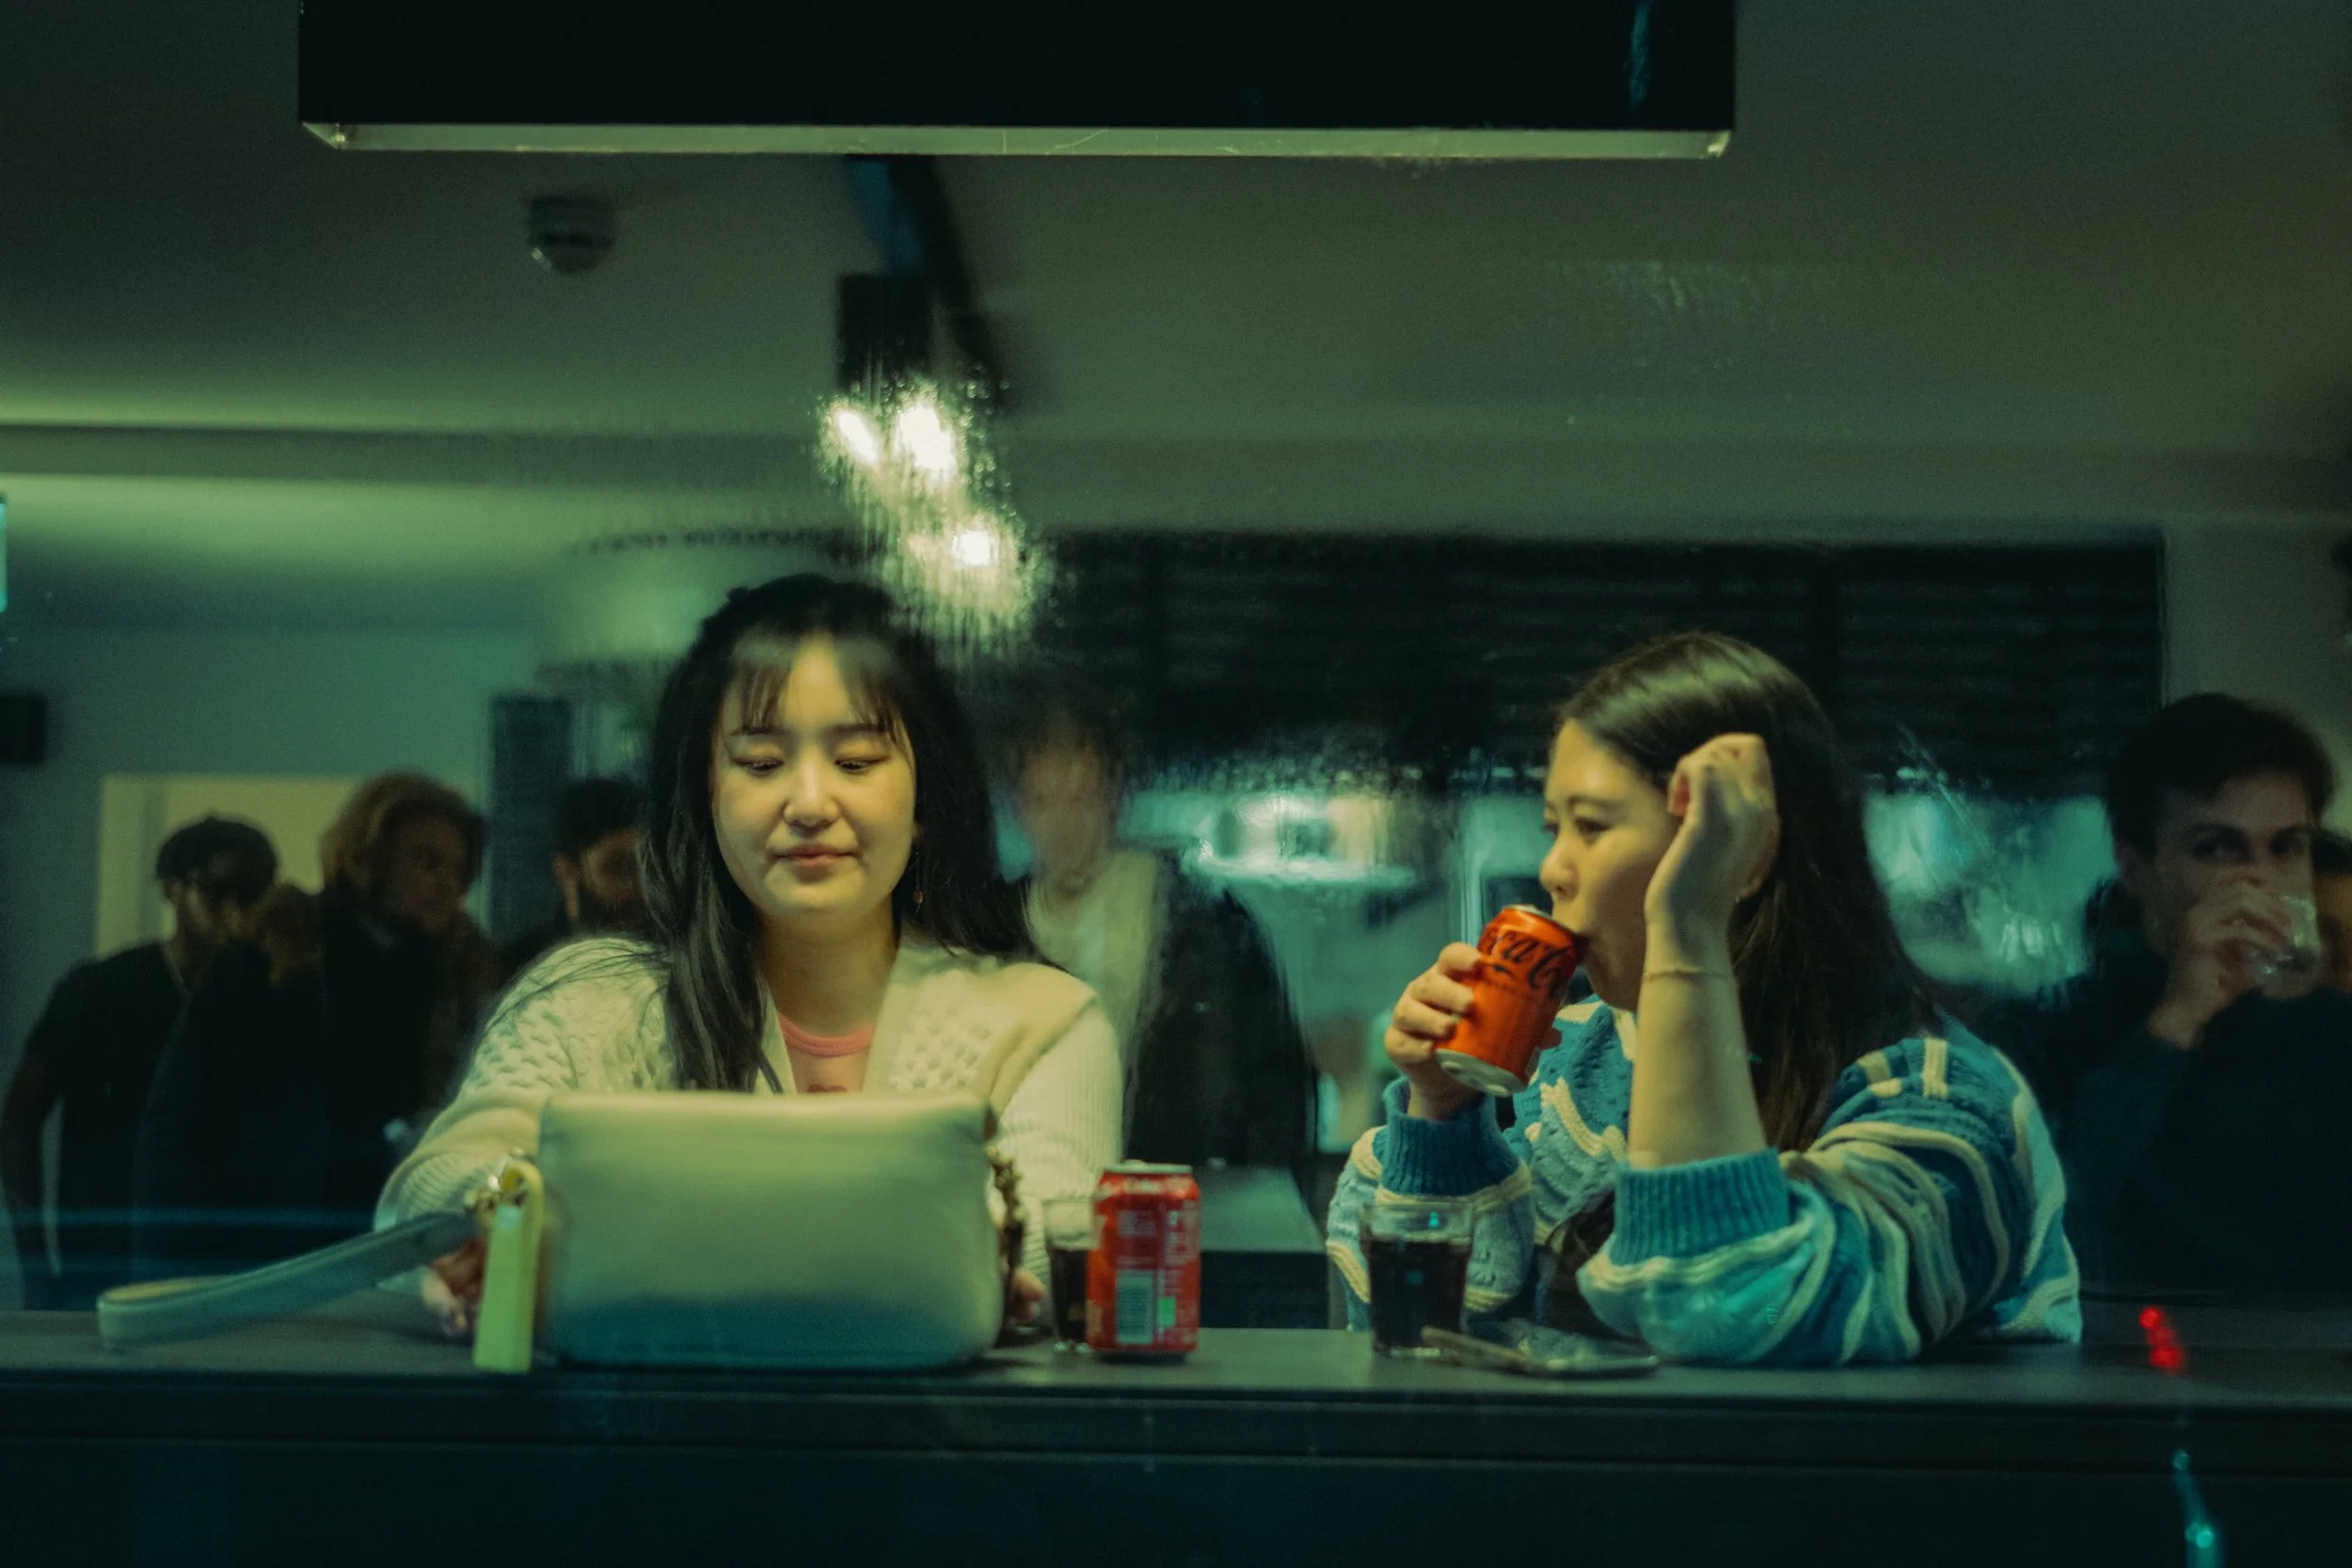
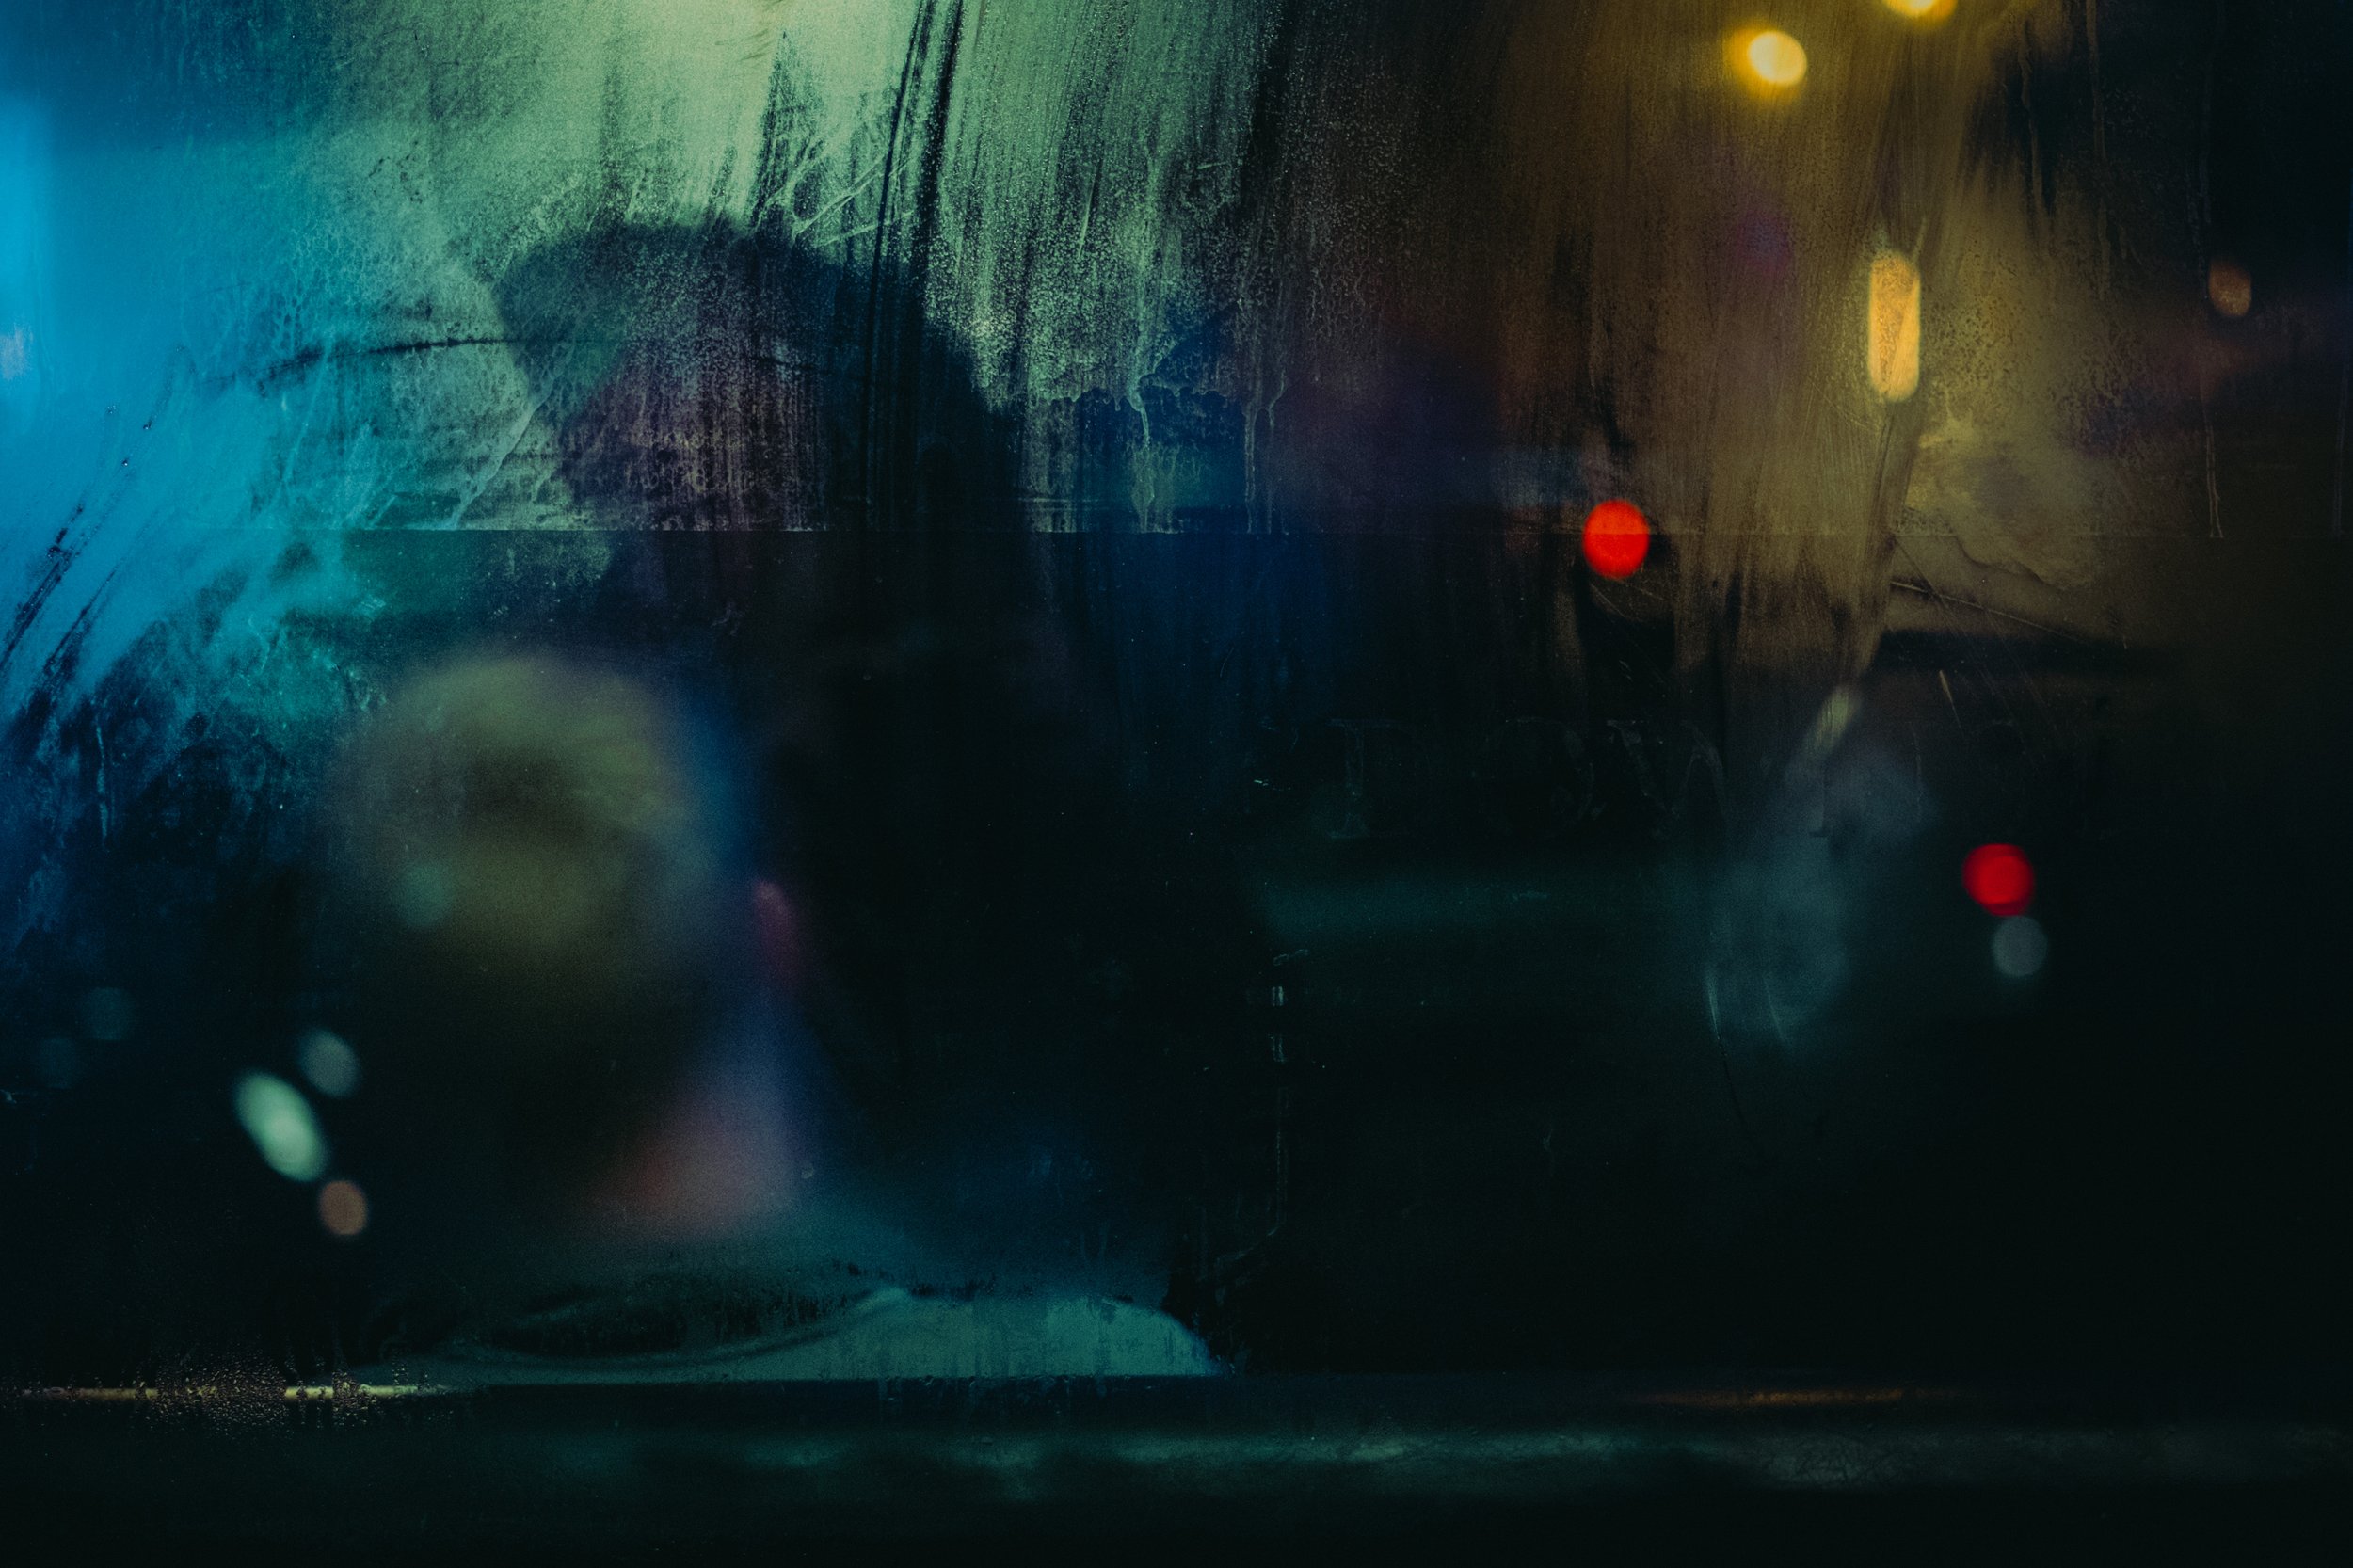
Quite often I go out and end up with around 100-200 photos on my SD card, but once I dig into them, there will be less than 4/5 that I’m pleased with. Sometimes I come back with nothing, sometimes with some I’m really pleased with. This last weekend was certainly no different. That said, I did manage to bag one I was really happy with…a shot through a window in Margate, with two figures sitting opposite each other at a table.
I think what I like most about this are the poses of the two individuals. One presumably looking down at a menu, one seemingly deep in thought. It seems to me there is some kind of story here, a feeling in a moment. What is the figure on the right thinking? Has something been said beforehand? Is there some tension? Who knows. The lighting in the background also really helps I think. The blue and the red seem quite a striking combination in the background.
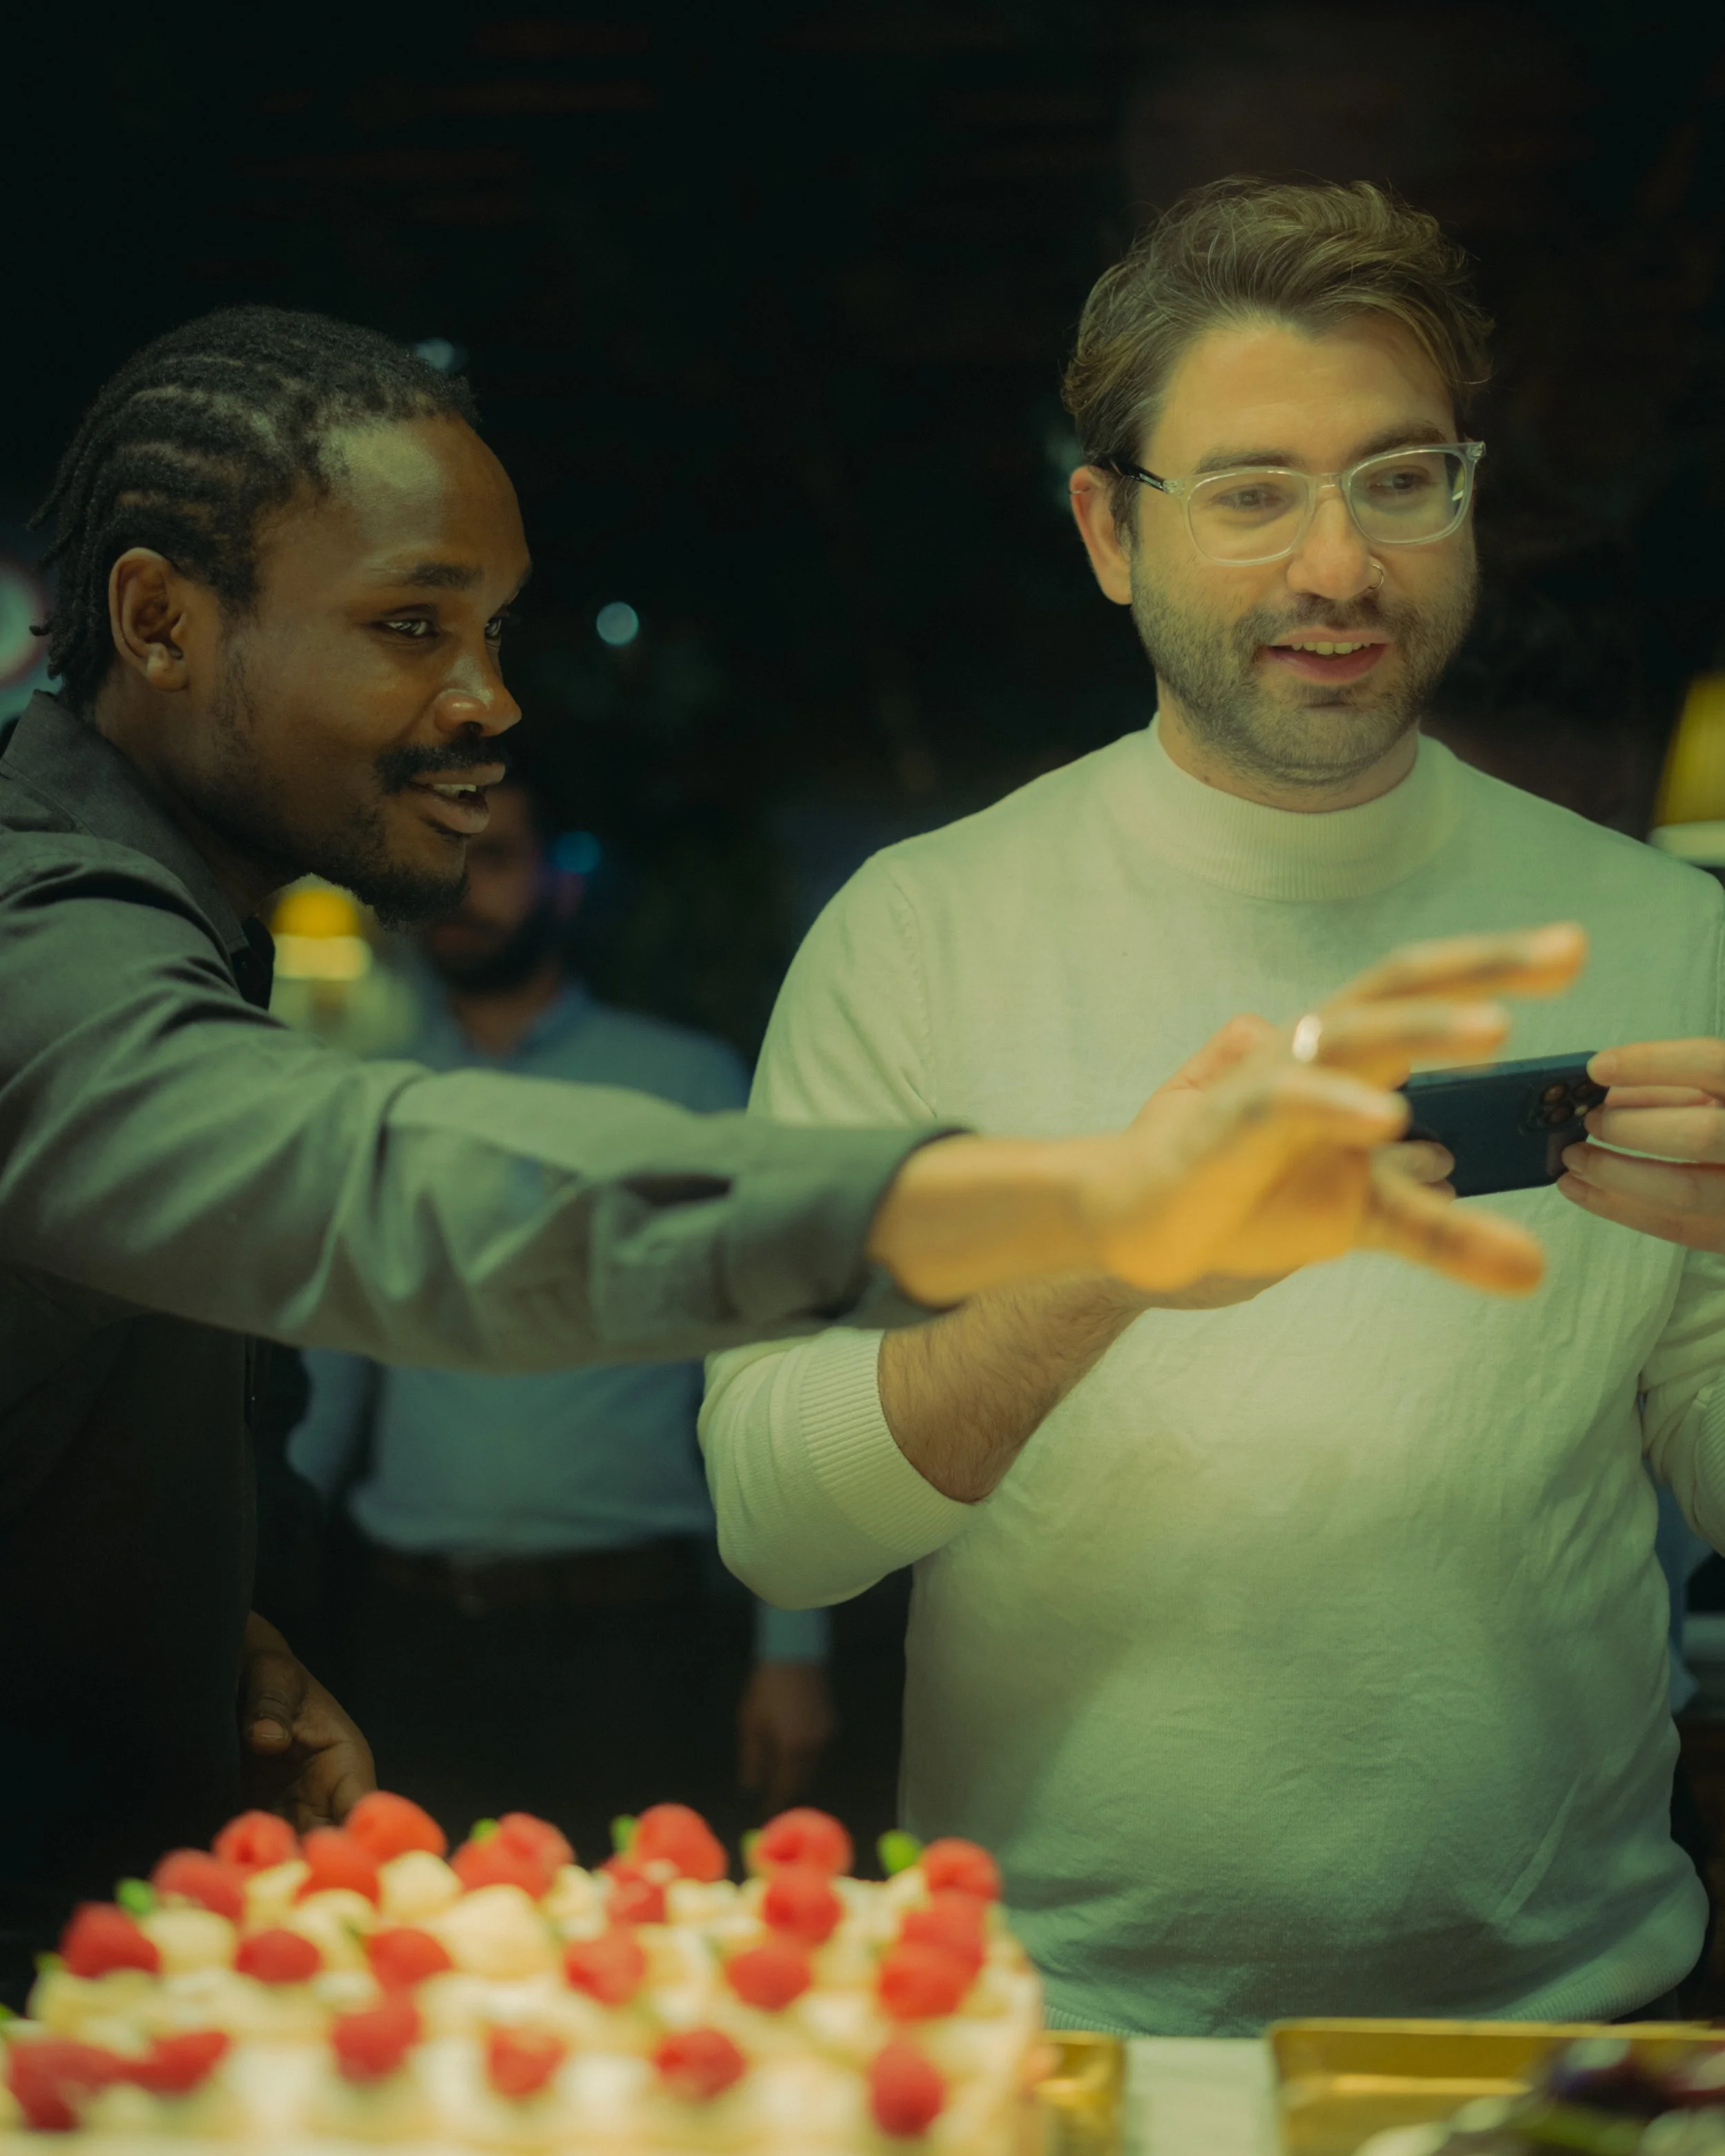
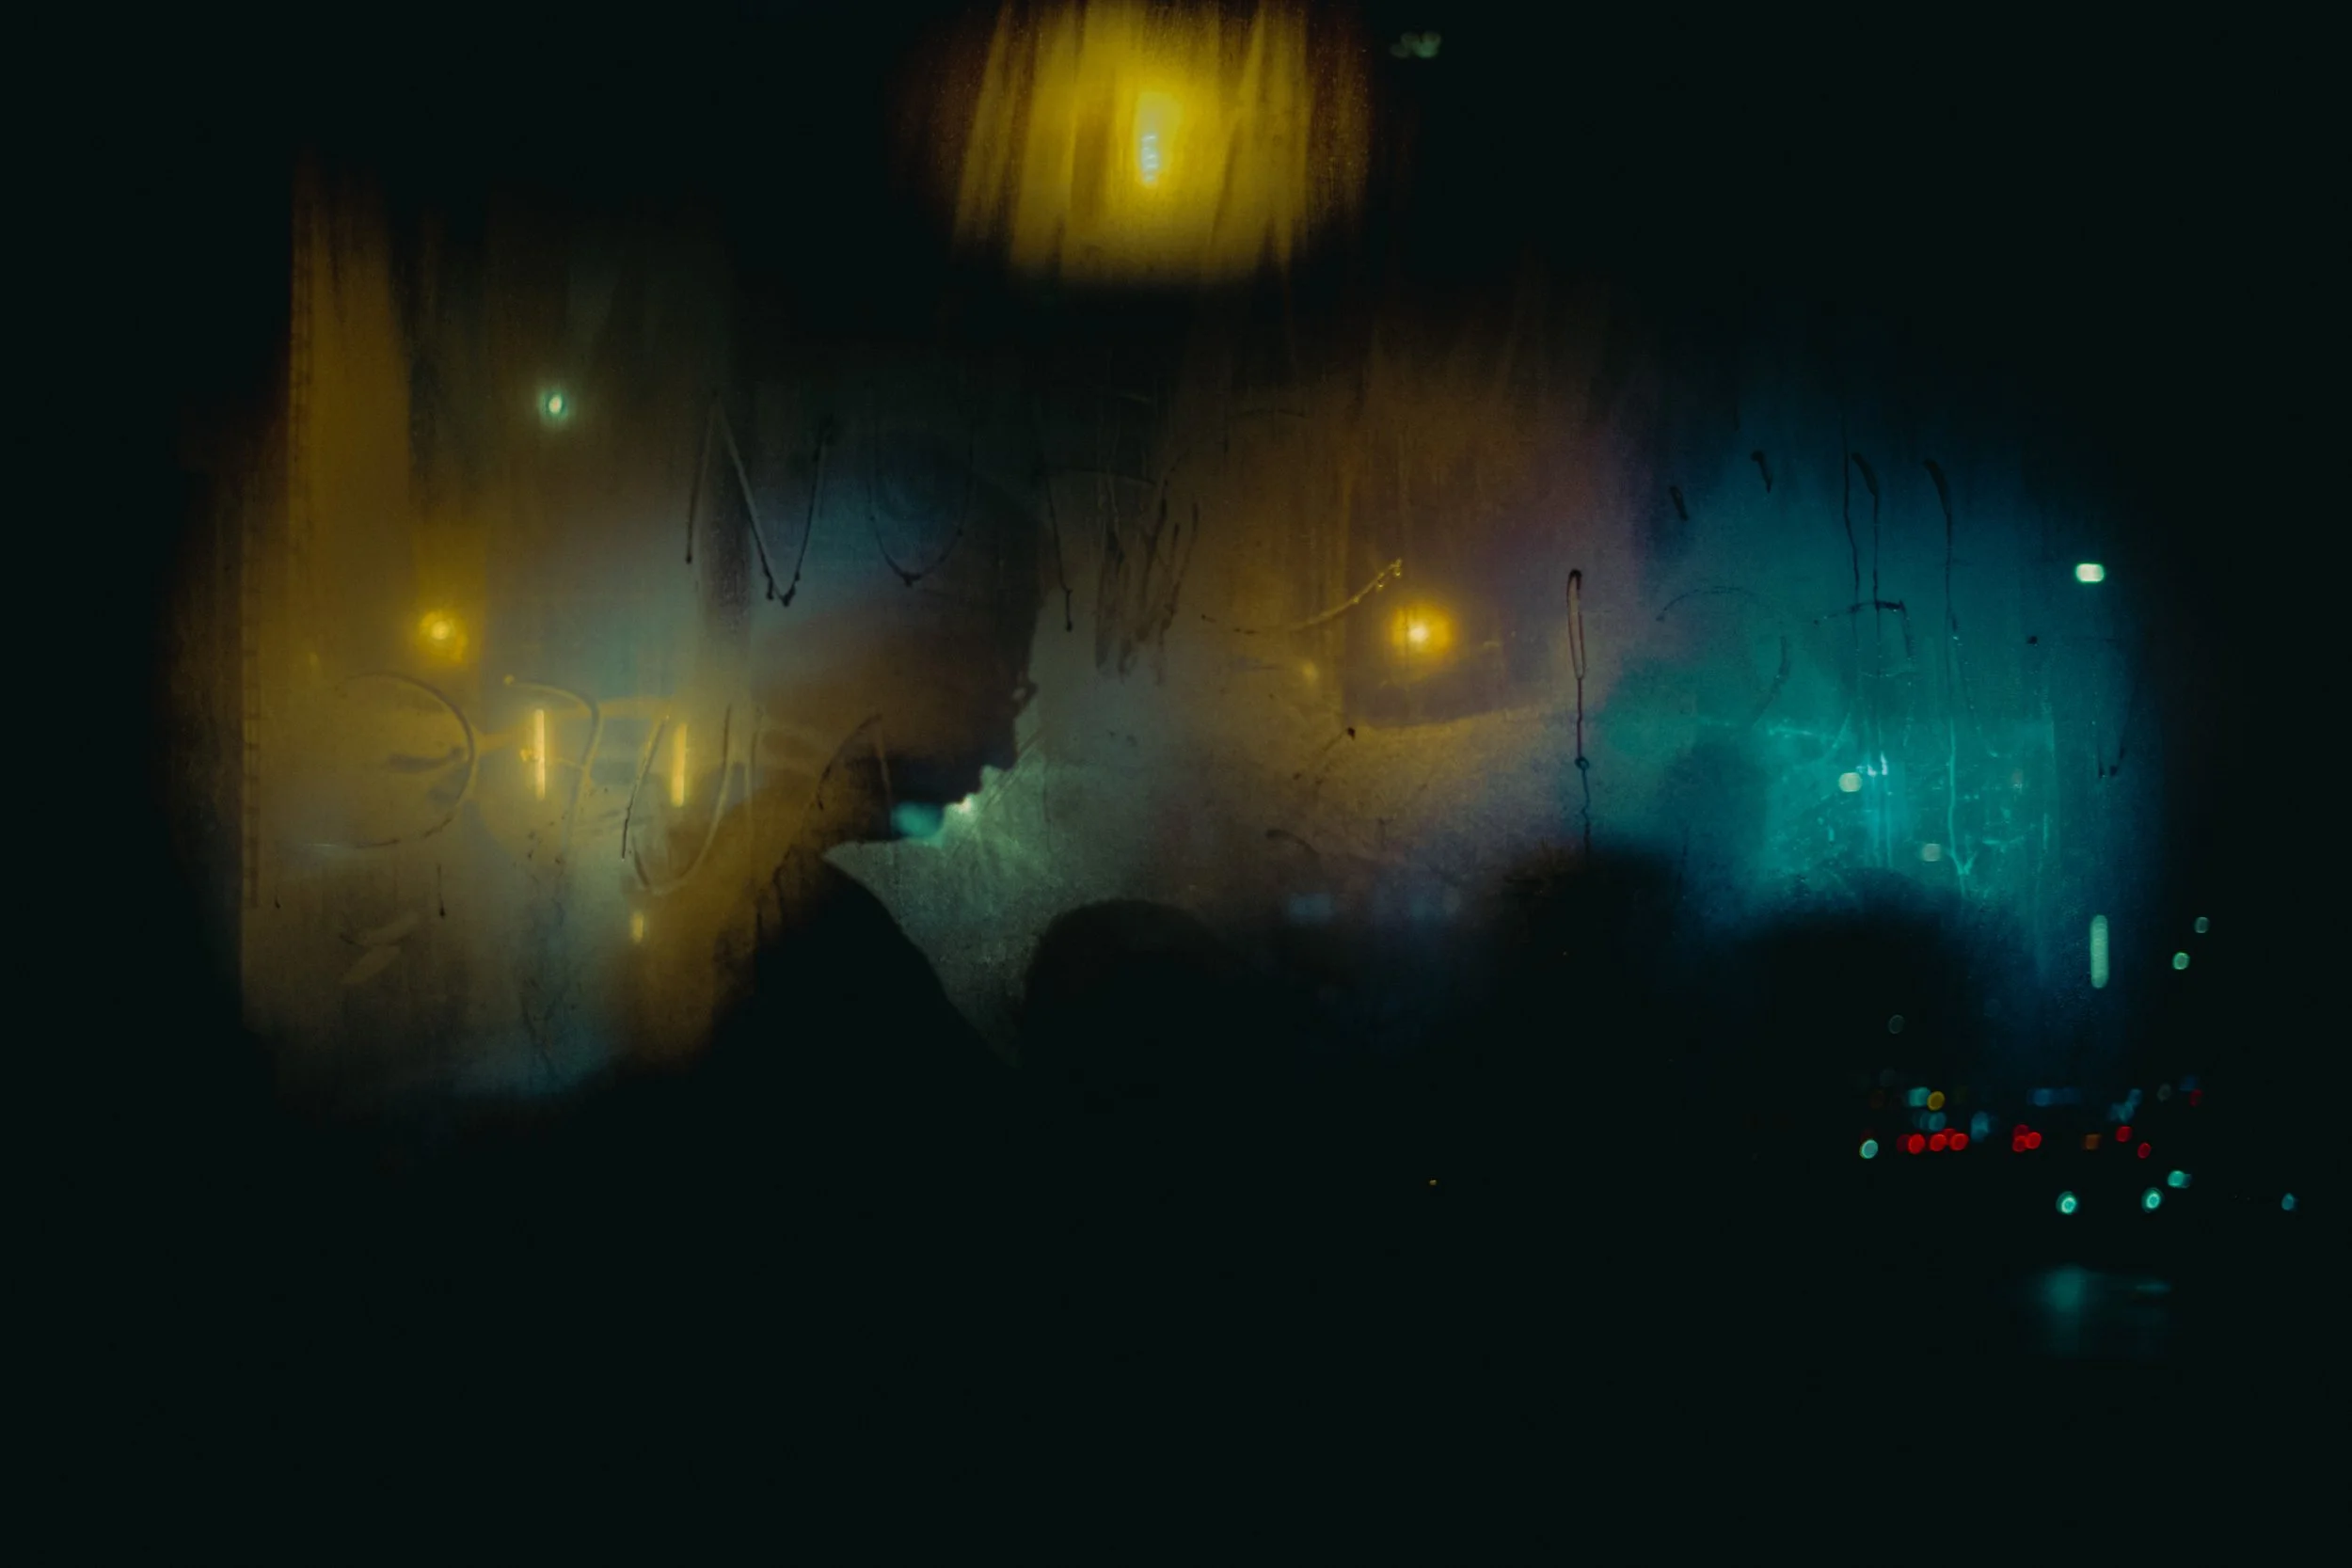
That was definitely my favourite of the shots taken in the evening over the weekend. There were a few others that were ok, but I think this is the strongest of them all. I’ll post the rest below (both Whitstable and Margate), let me know what you think.