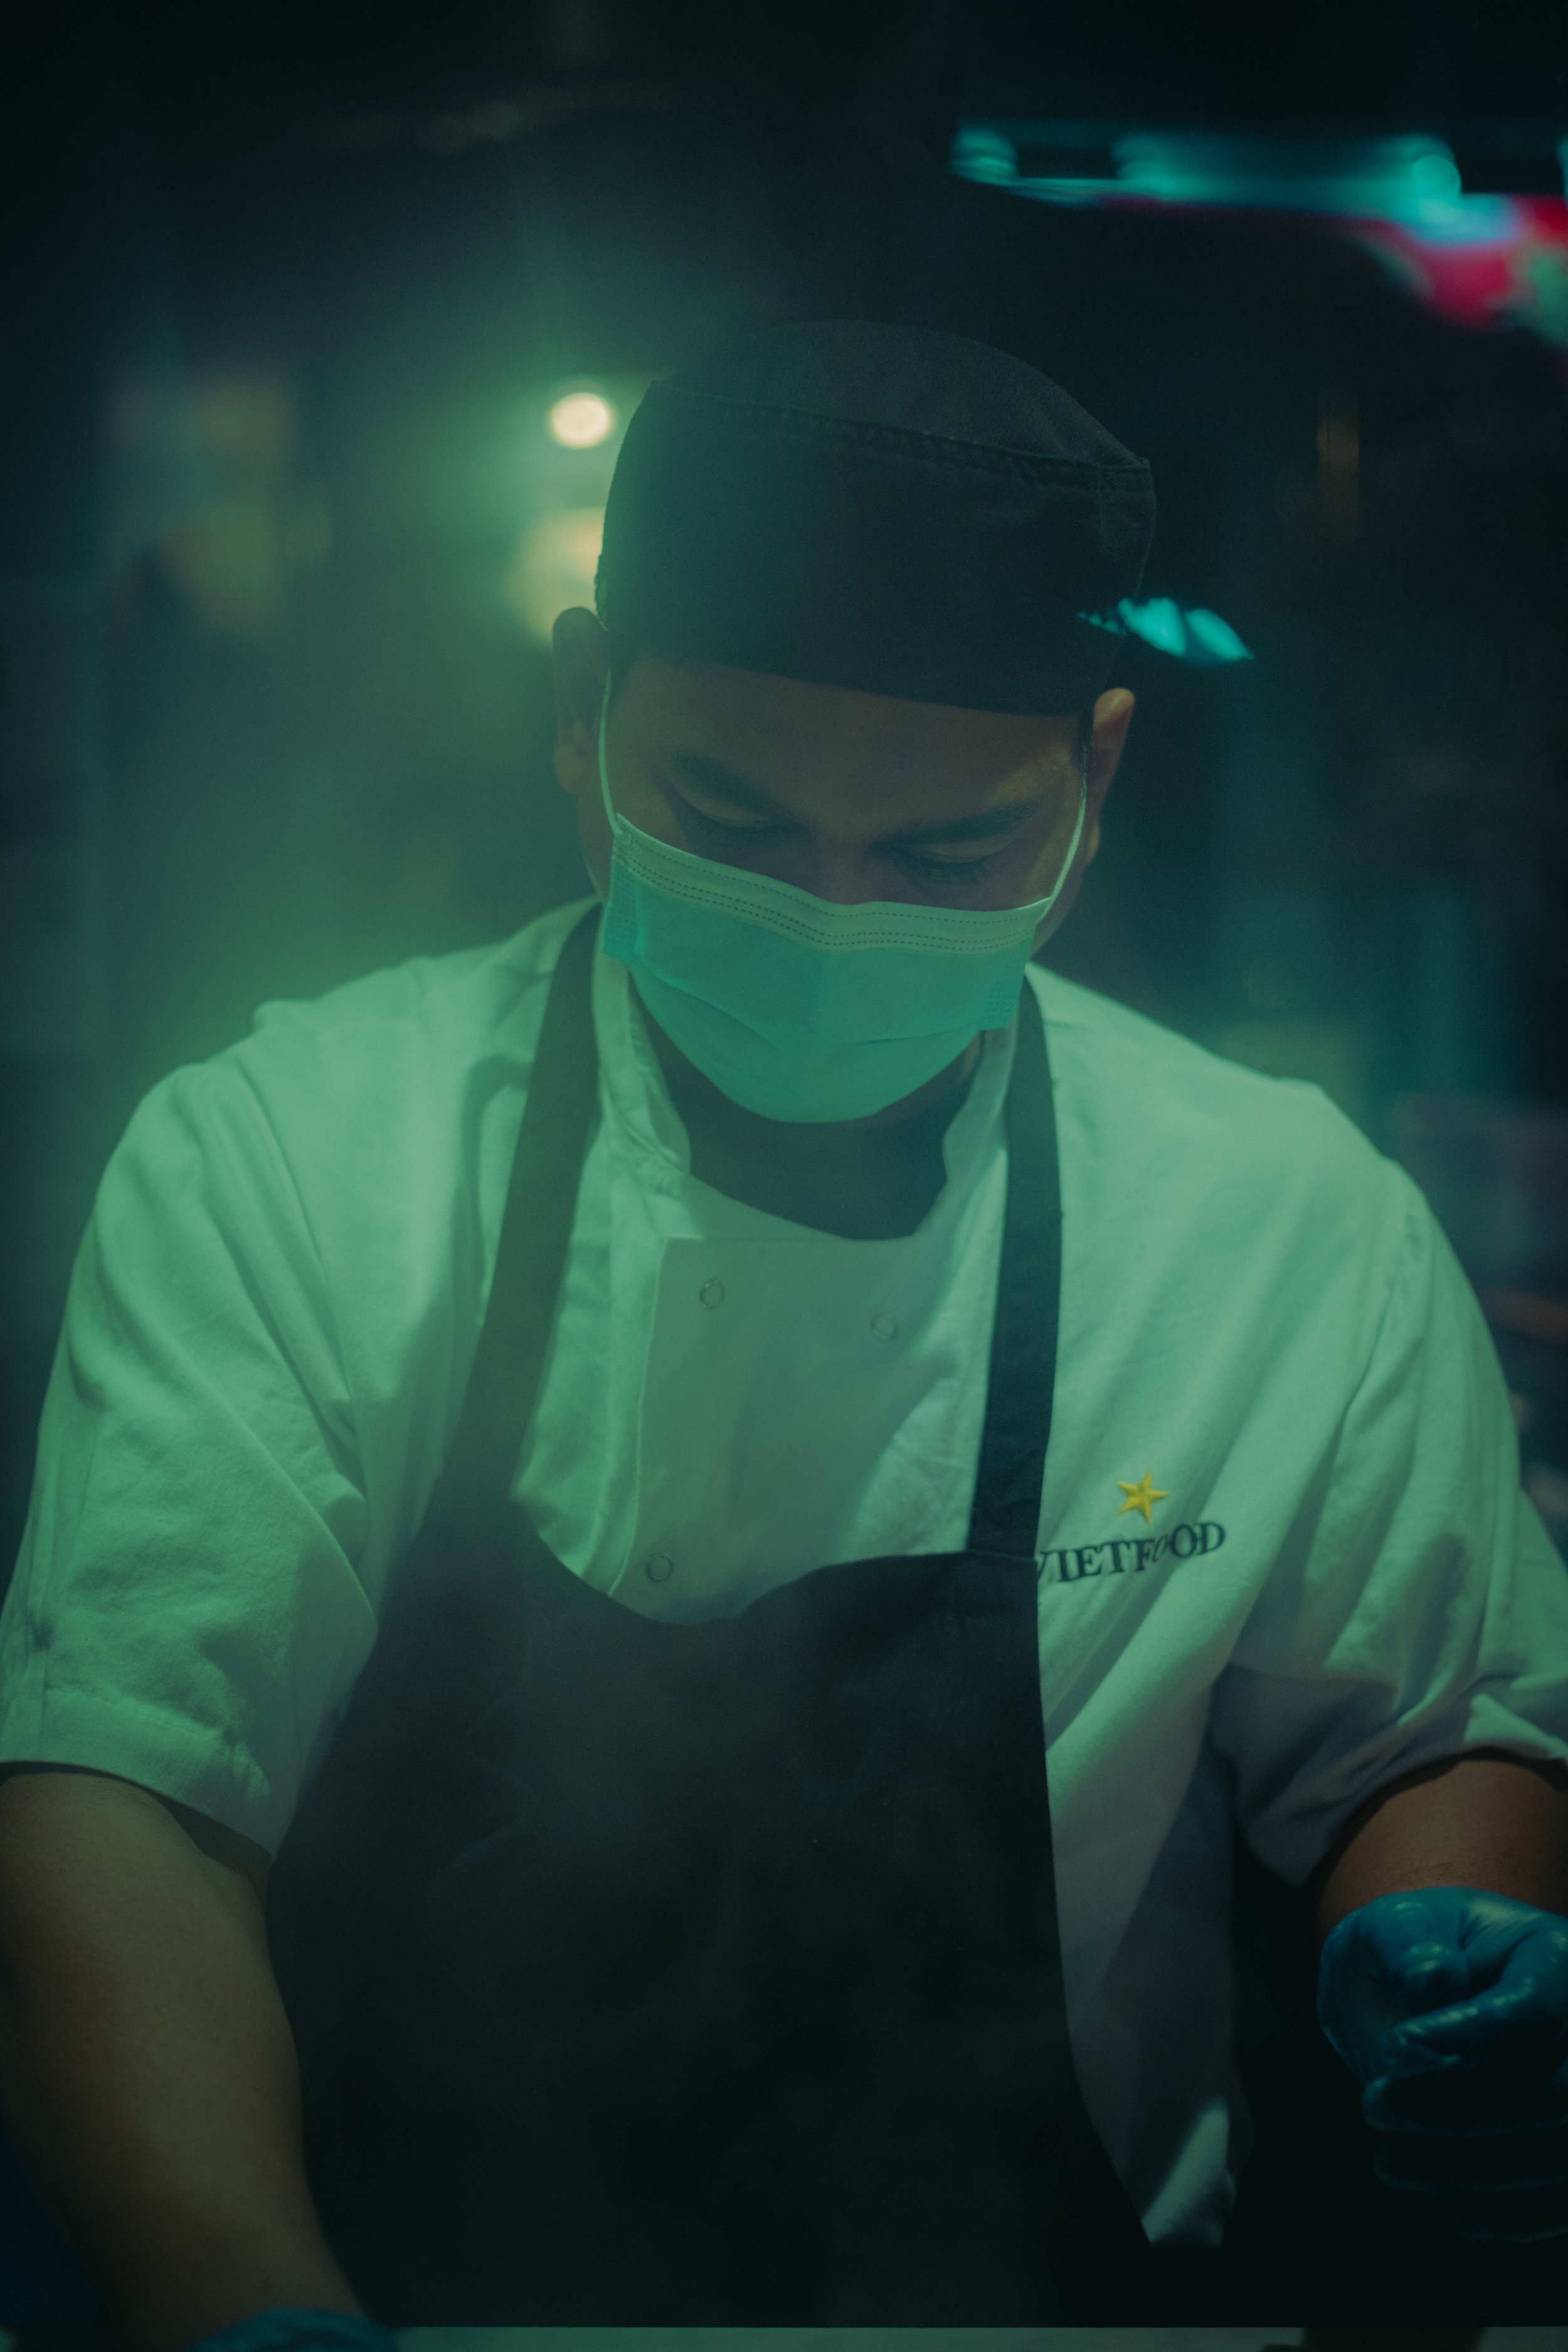
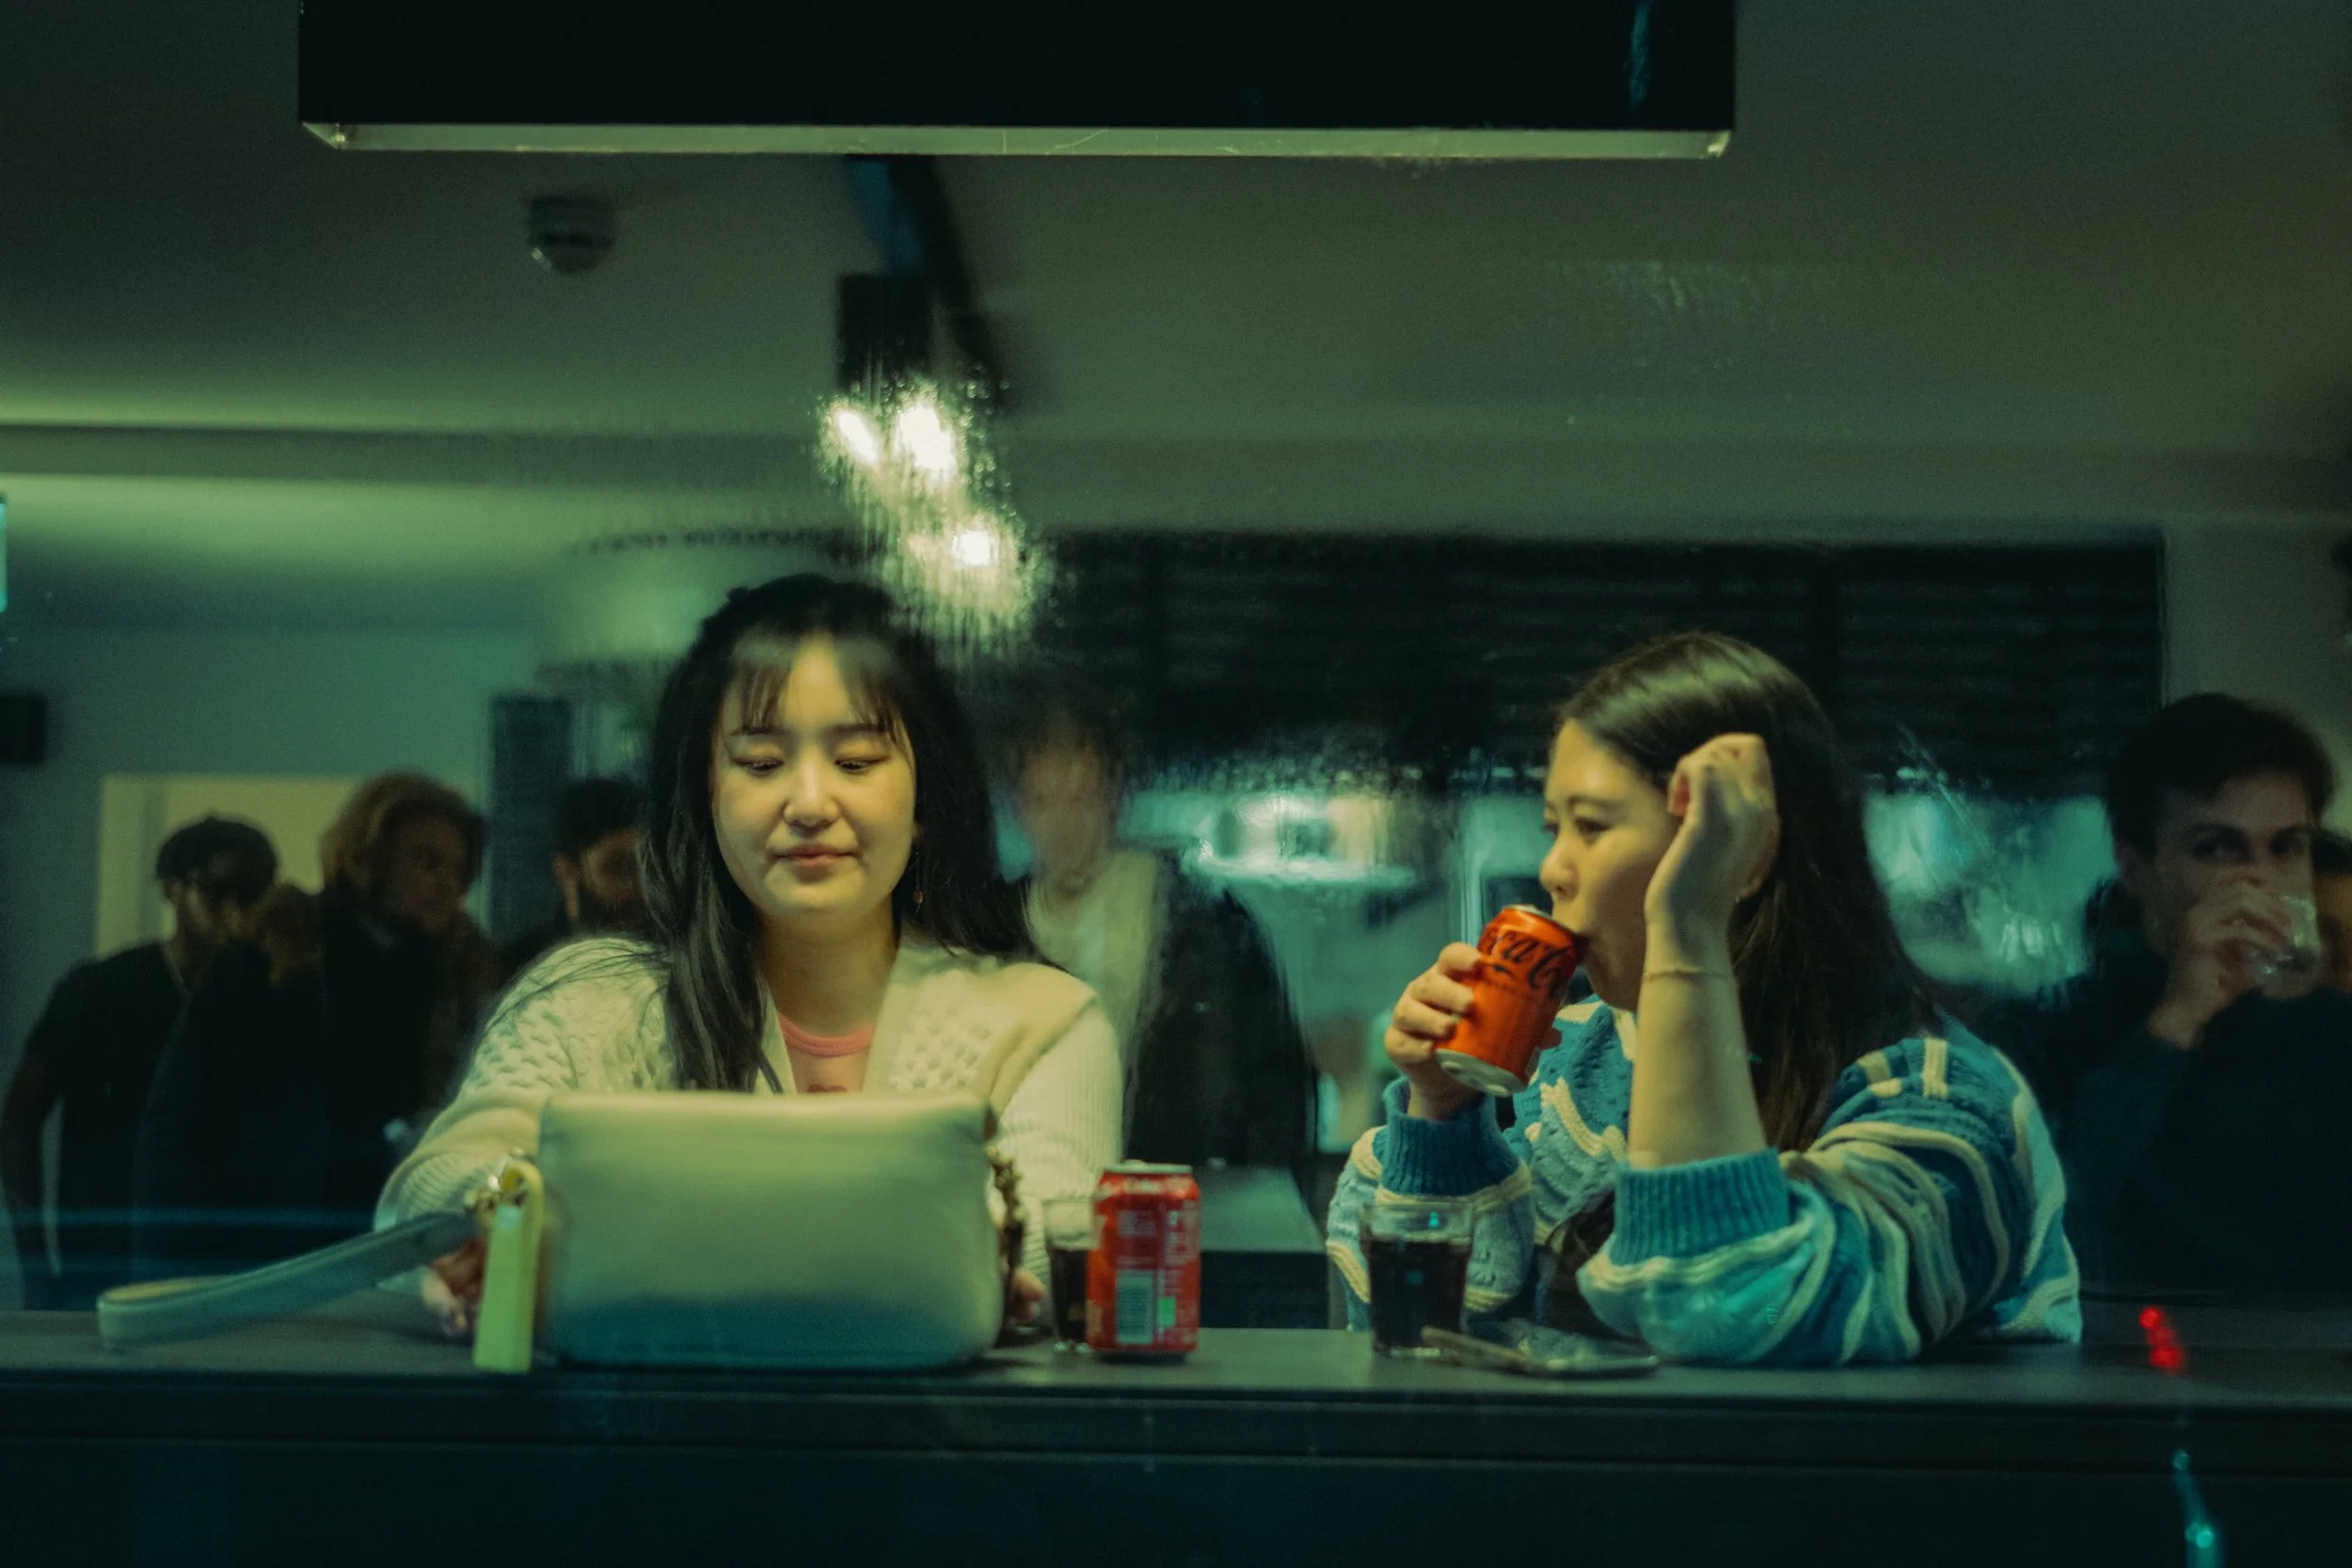
As regular readers will know, I rediscovered my Olympus Mju II a few months back and I’ve been periodically buying a roll of film, working my way through it then getting the film developed and scanned. So far, the experience has been ok, but I’ve been frustrated by the lack of really good shots and rolls full of either average shots or out of focus ones. Now I’ve received my third roll of film back, I’m pleased to find some improvement and some decent shots (in amongst all the standard average ones).
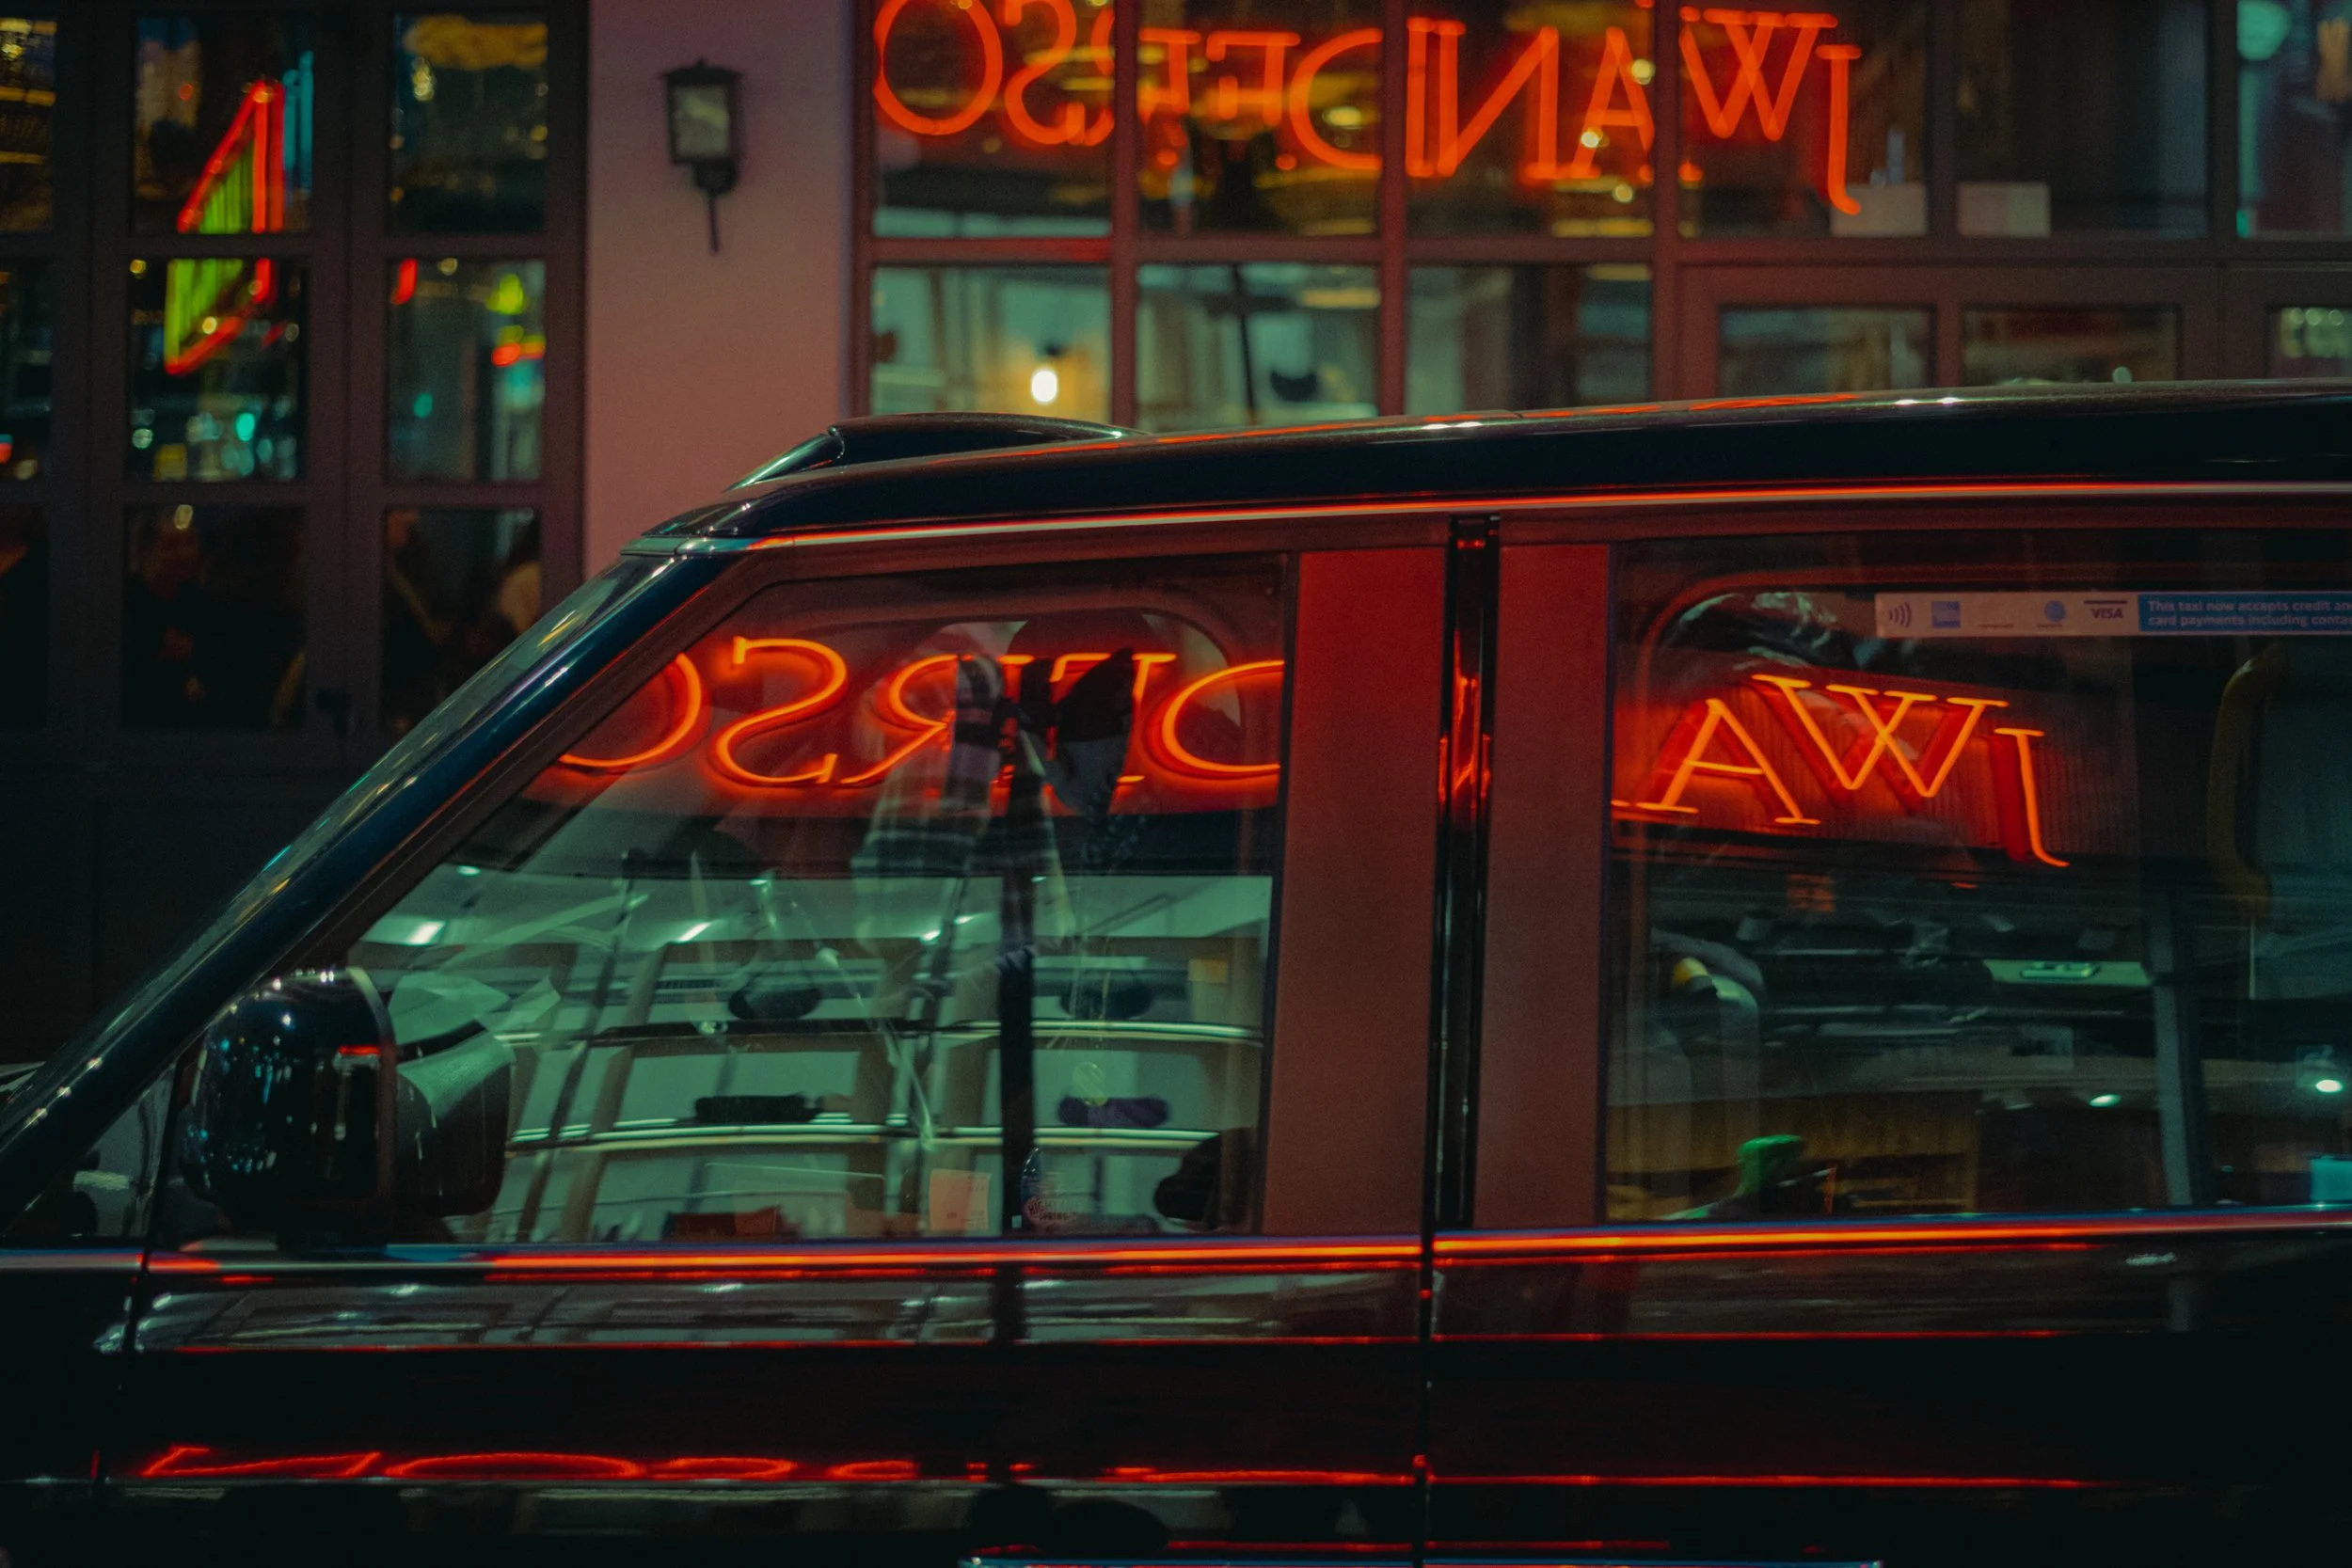
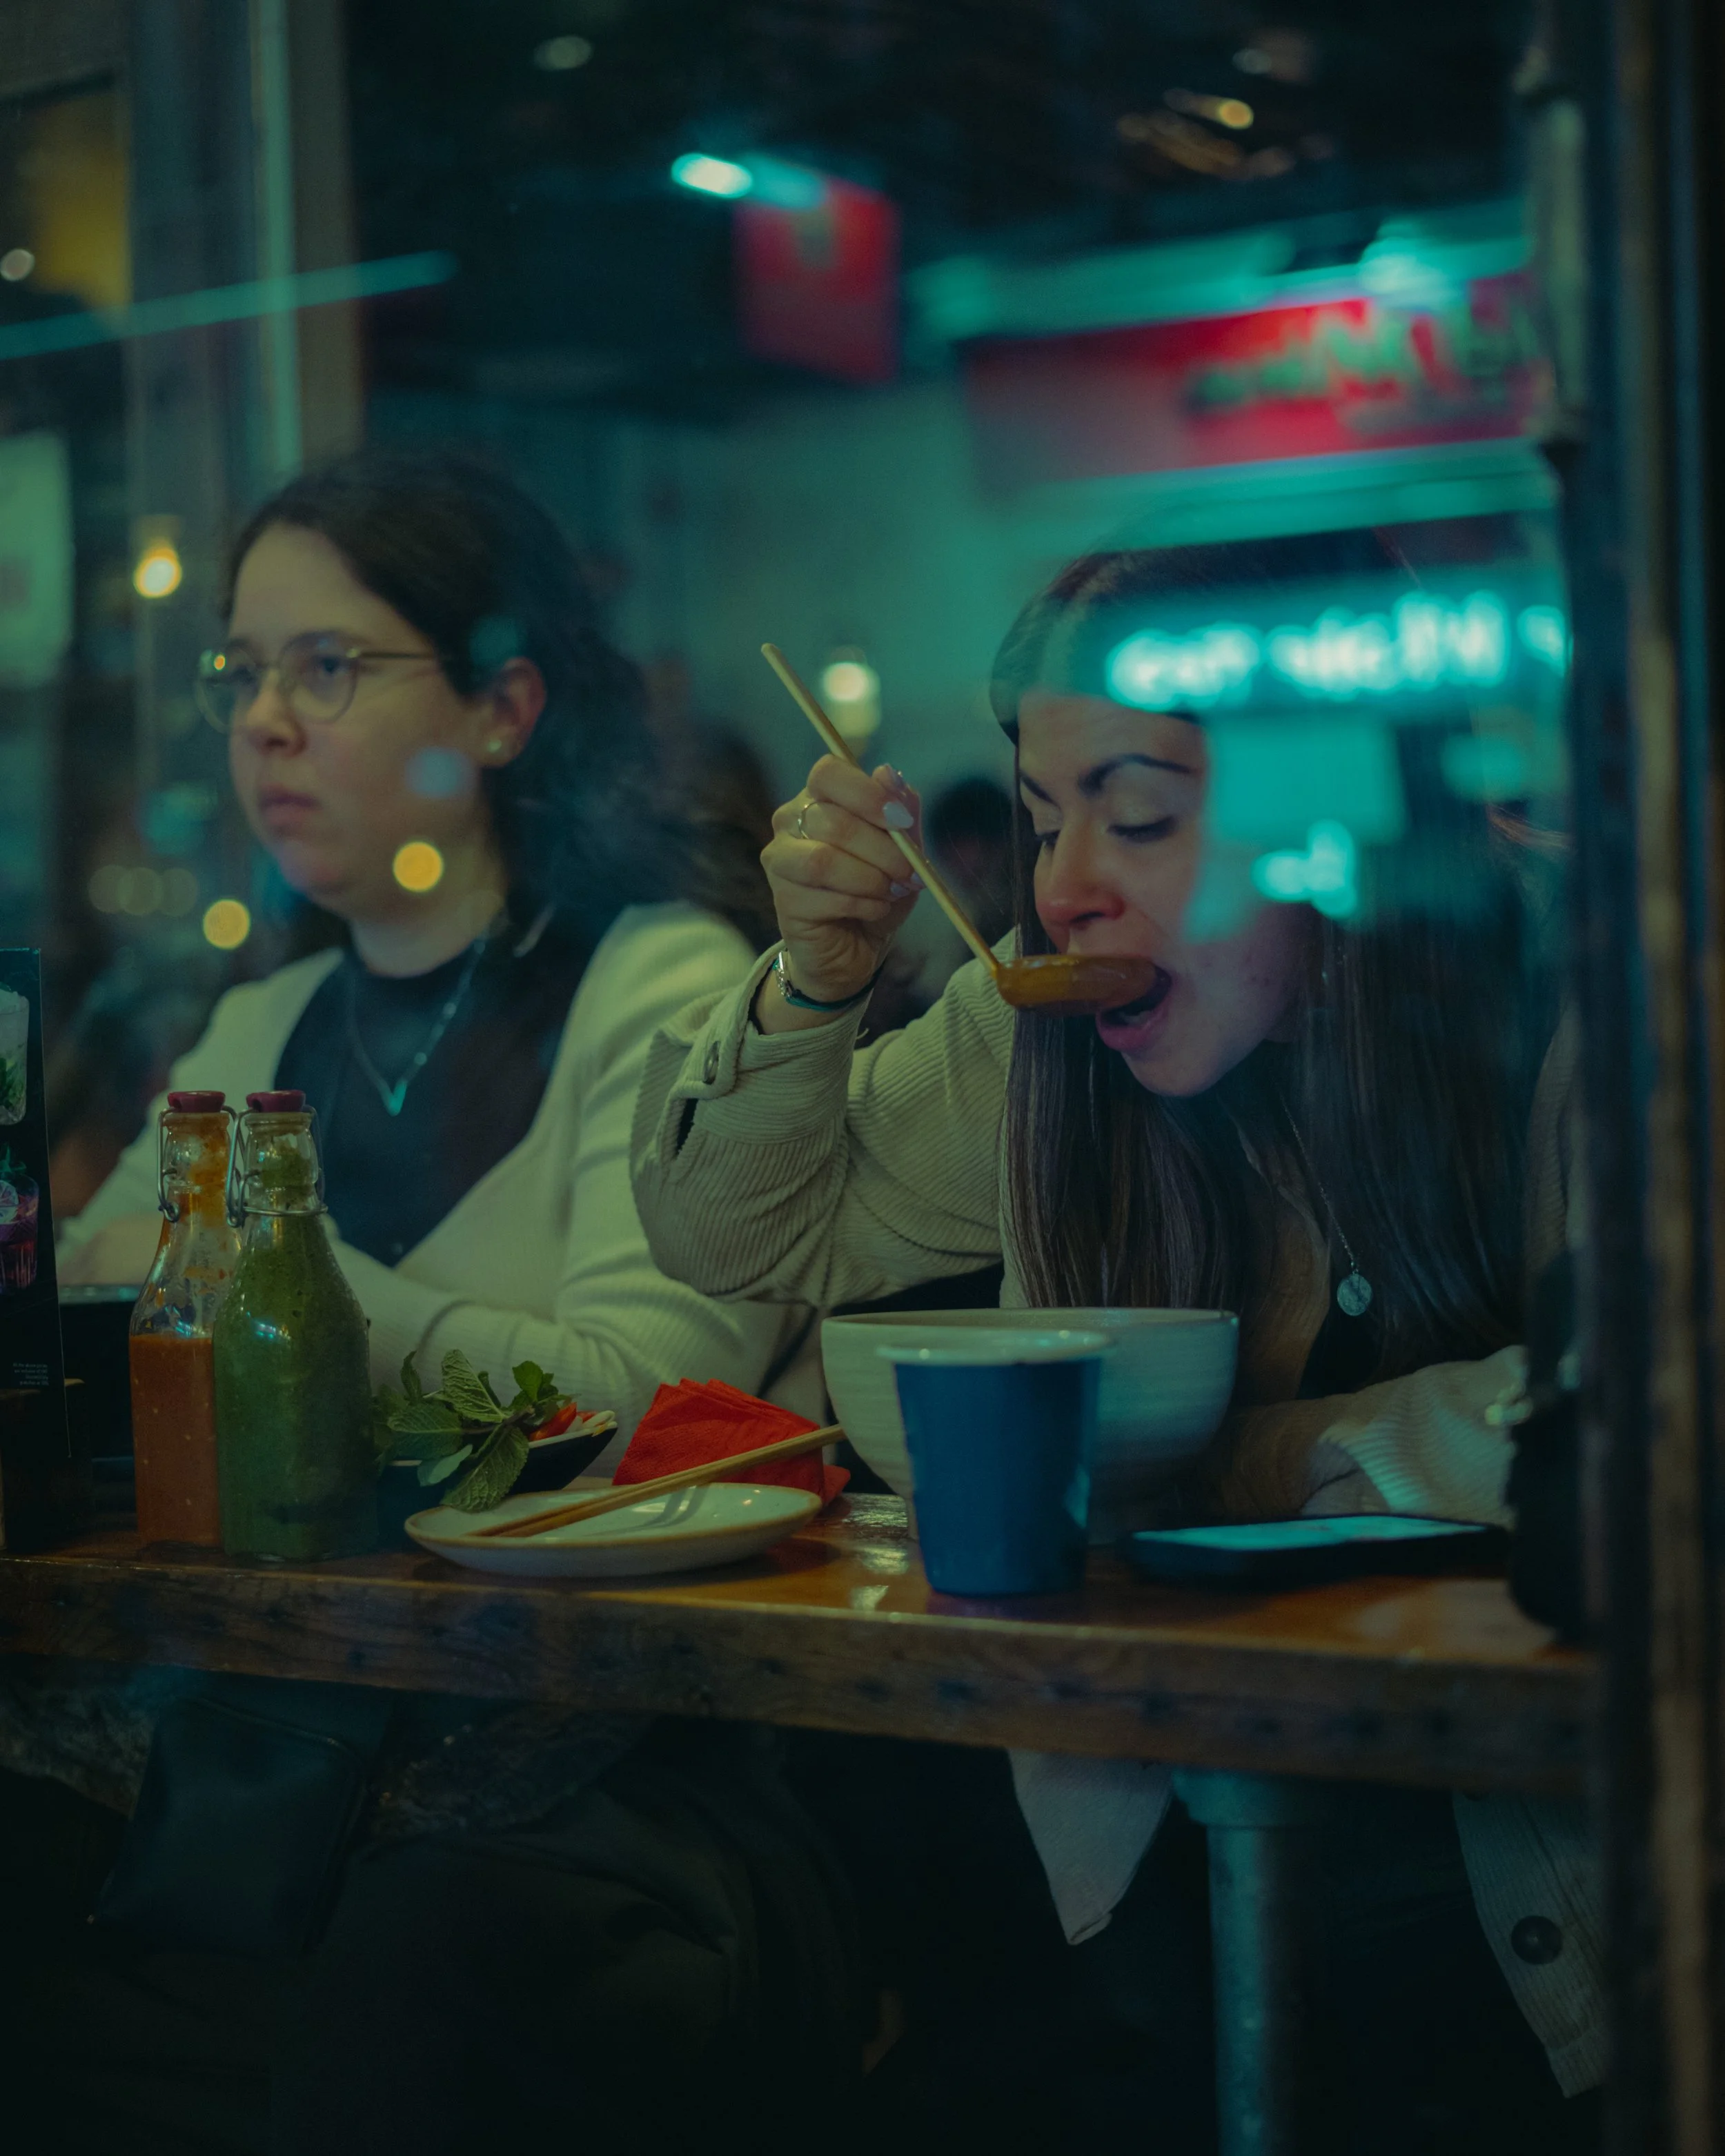
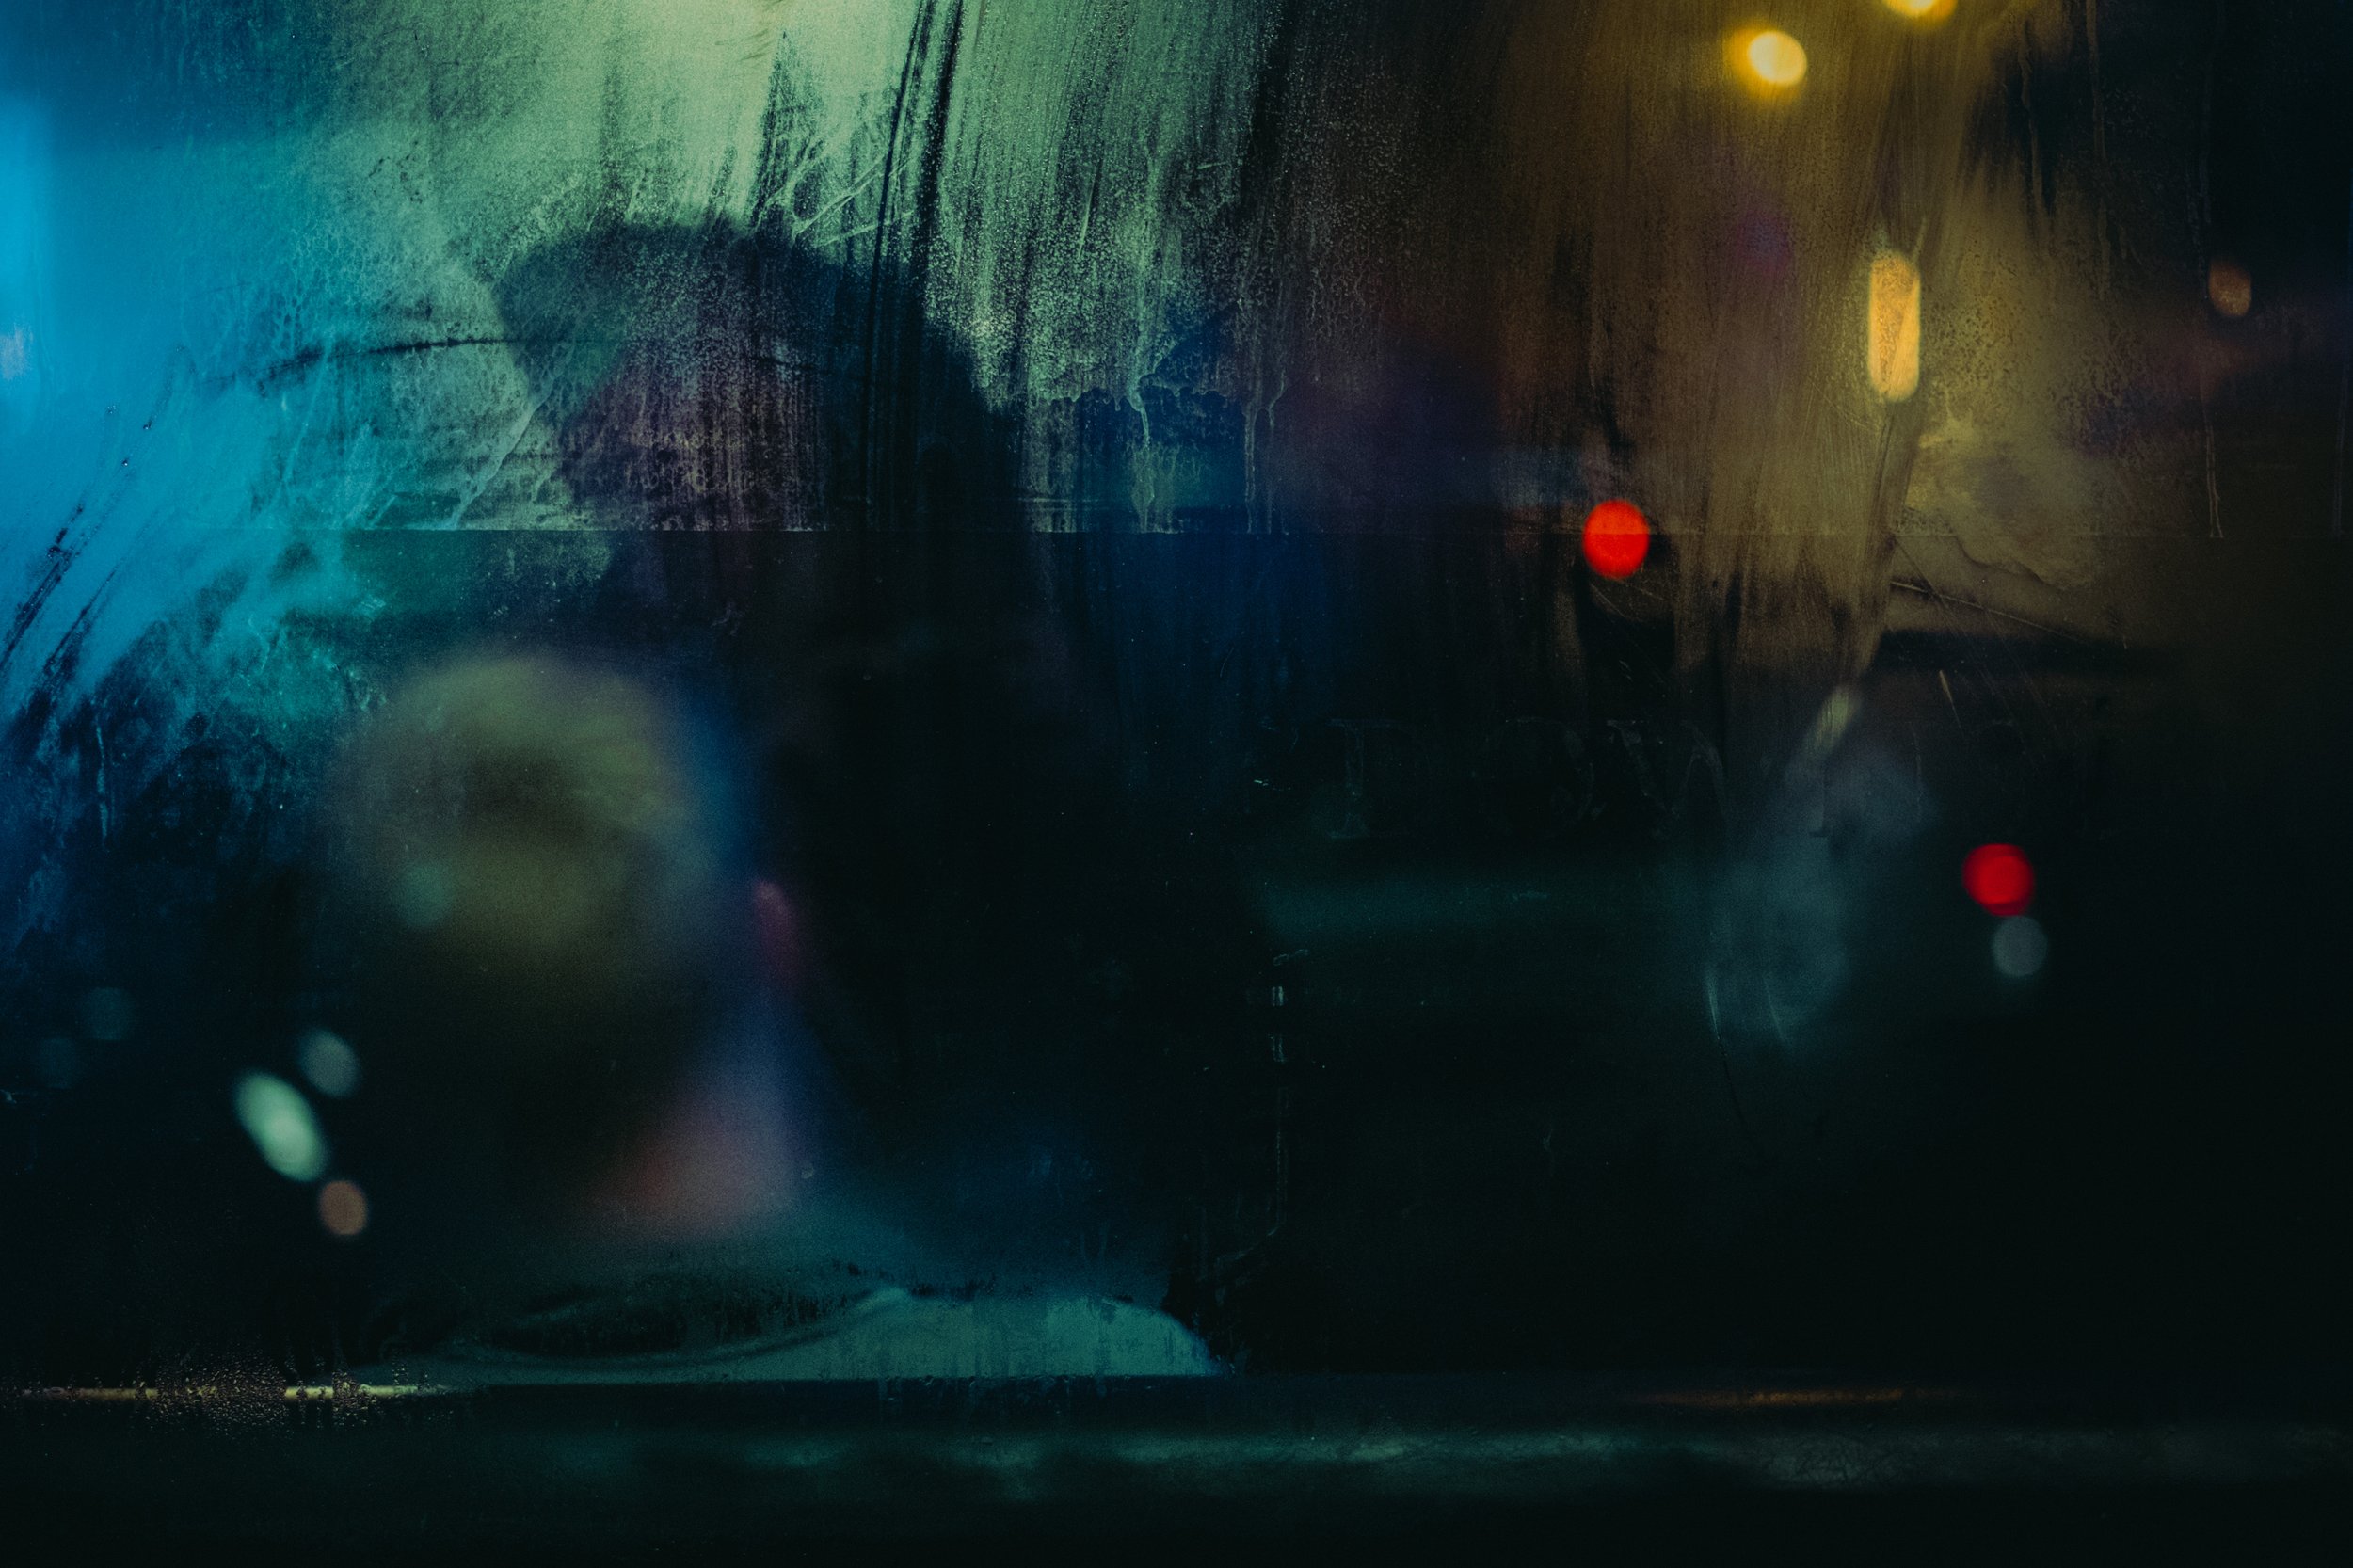
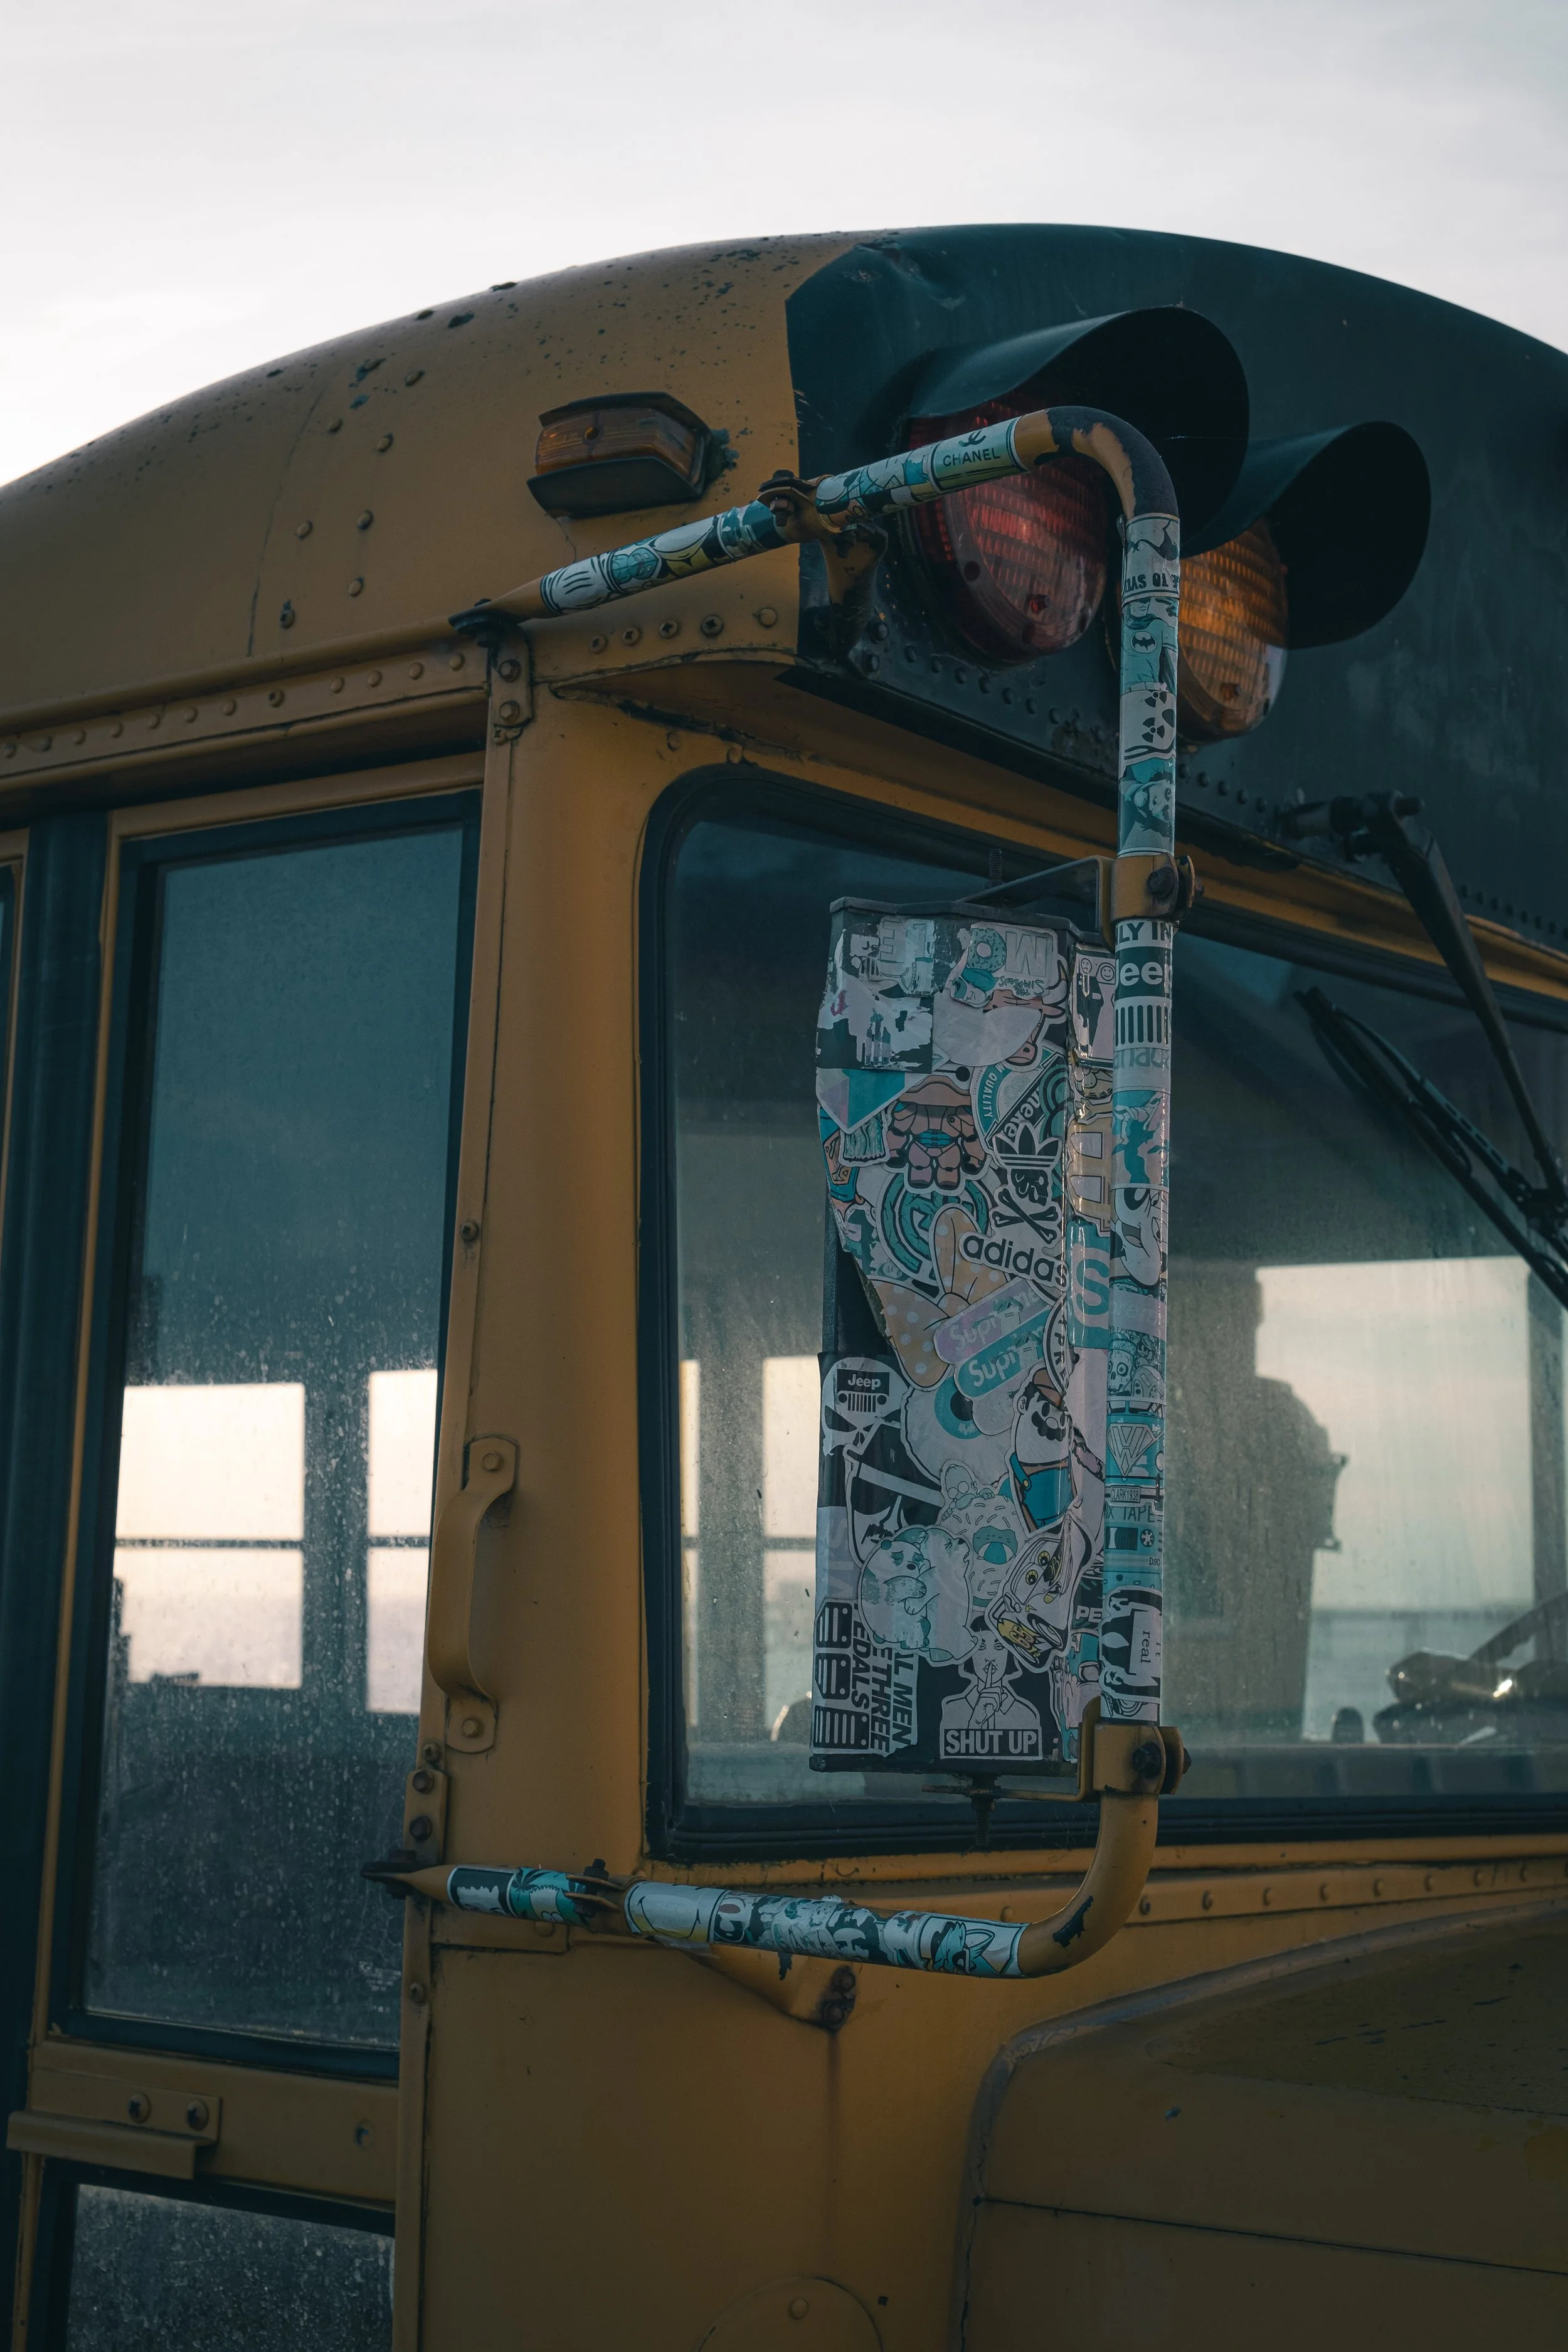
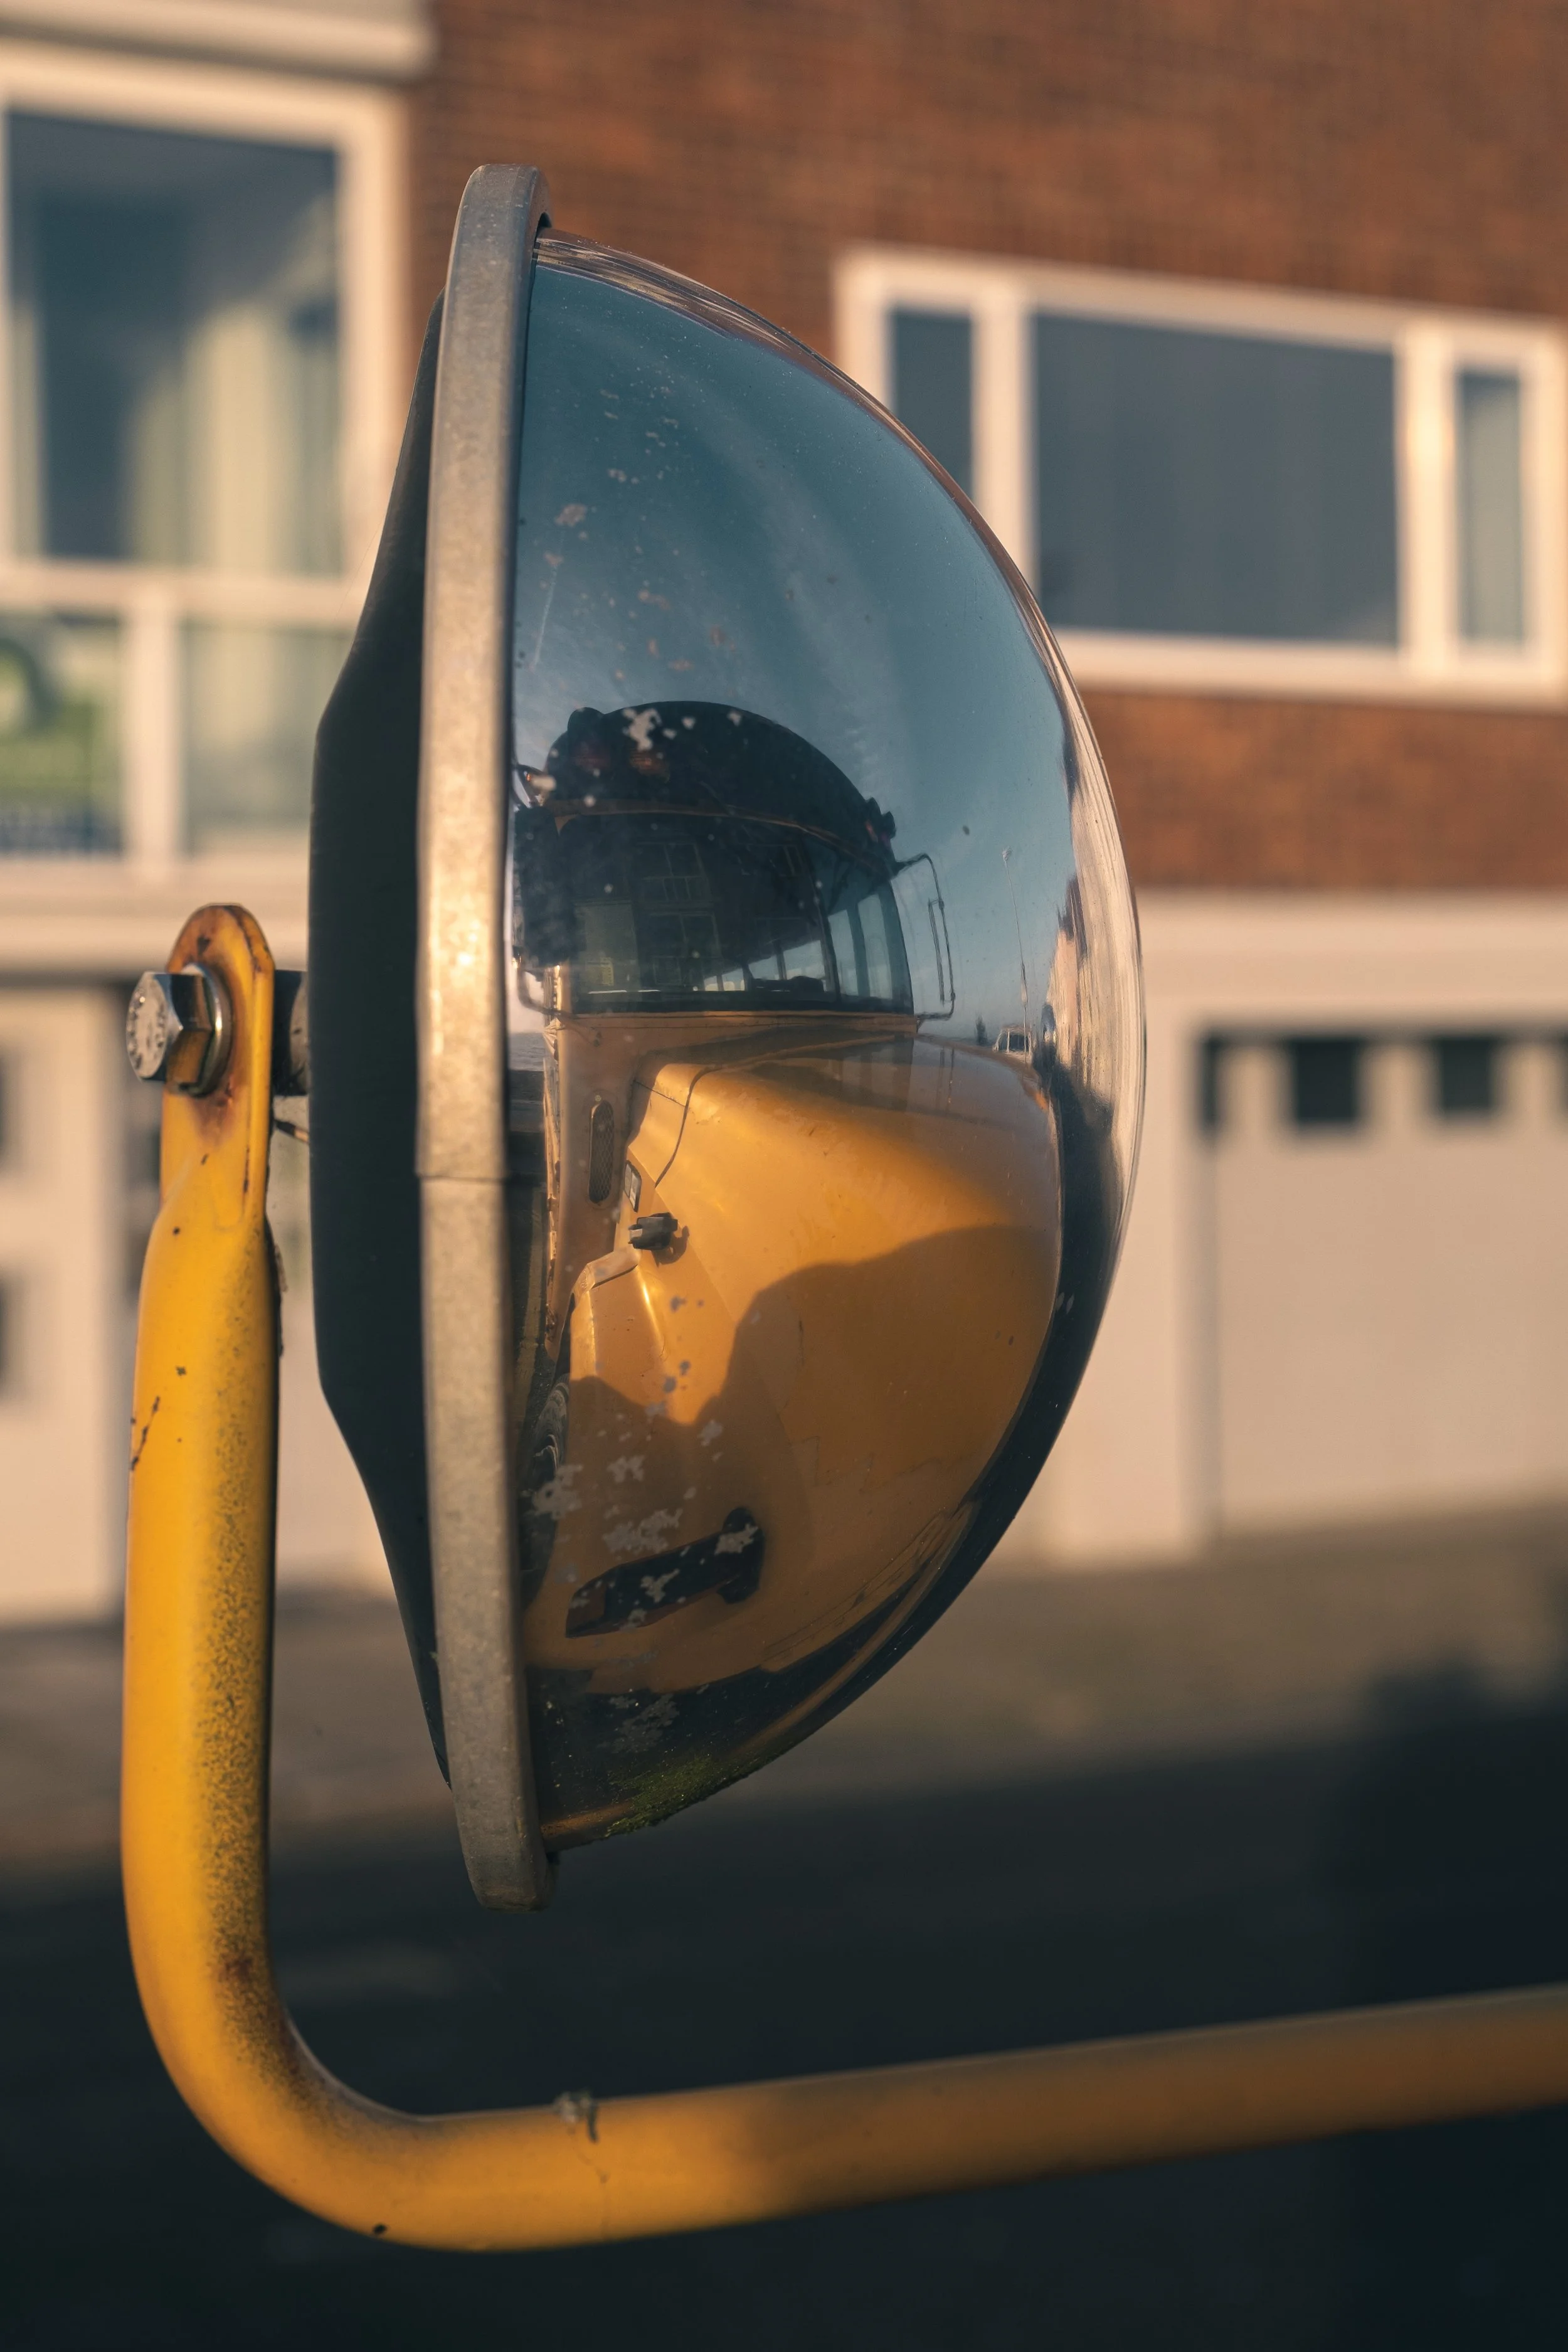
My favourite shot of all the ones I have taken so far, from that first roll a few months ago was the kind of shot I like to get when I’m on the streets using my Fuji. And, surprisingly, it’s the first ever shot I’ve managed to get of this sort, looking directly into a bus. I had been hoping for such an opportunity for some time (I walk on a bus route to work) and on this occasion I got the look I was hoping for and a bus stopping in a convenient location. Happy days!
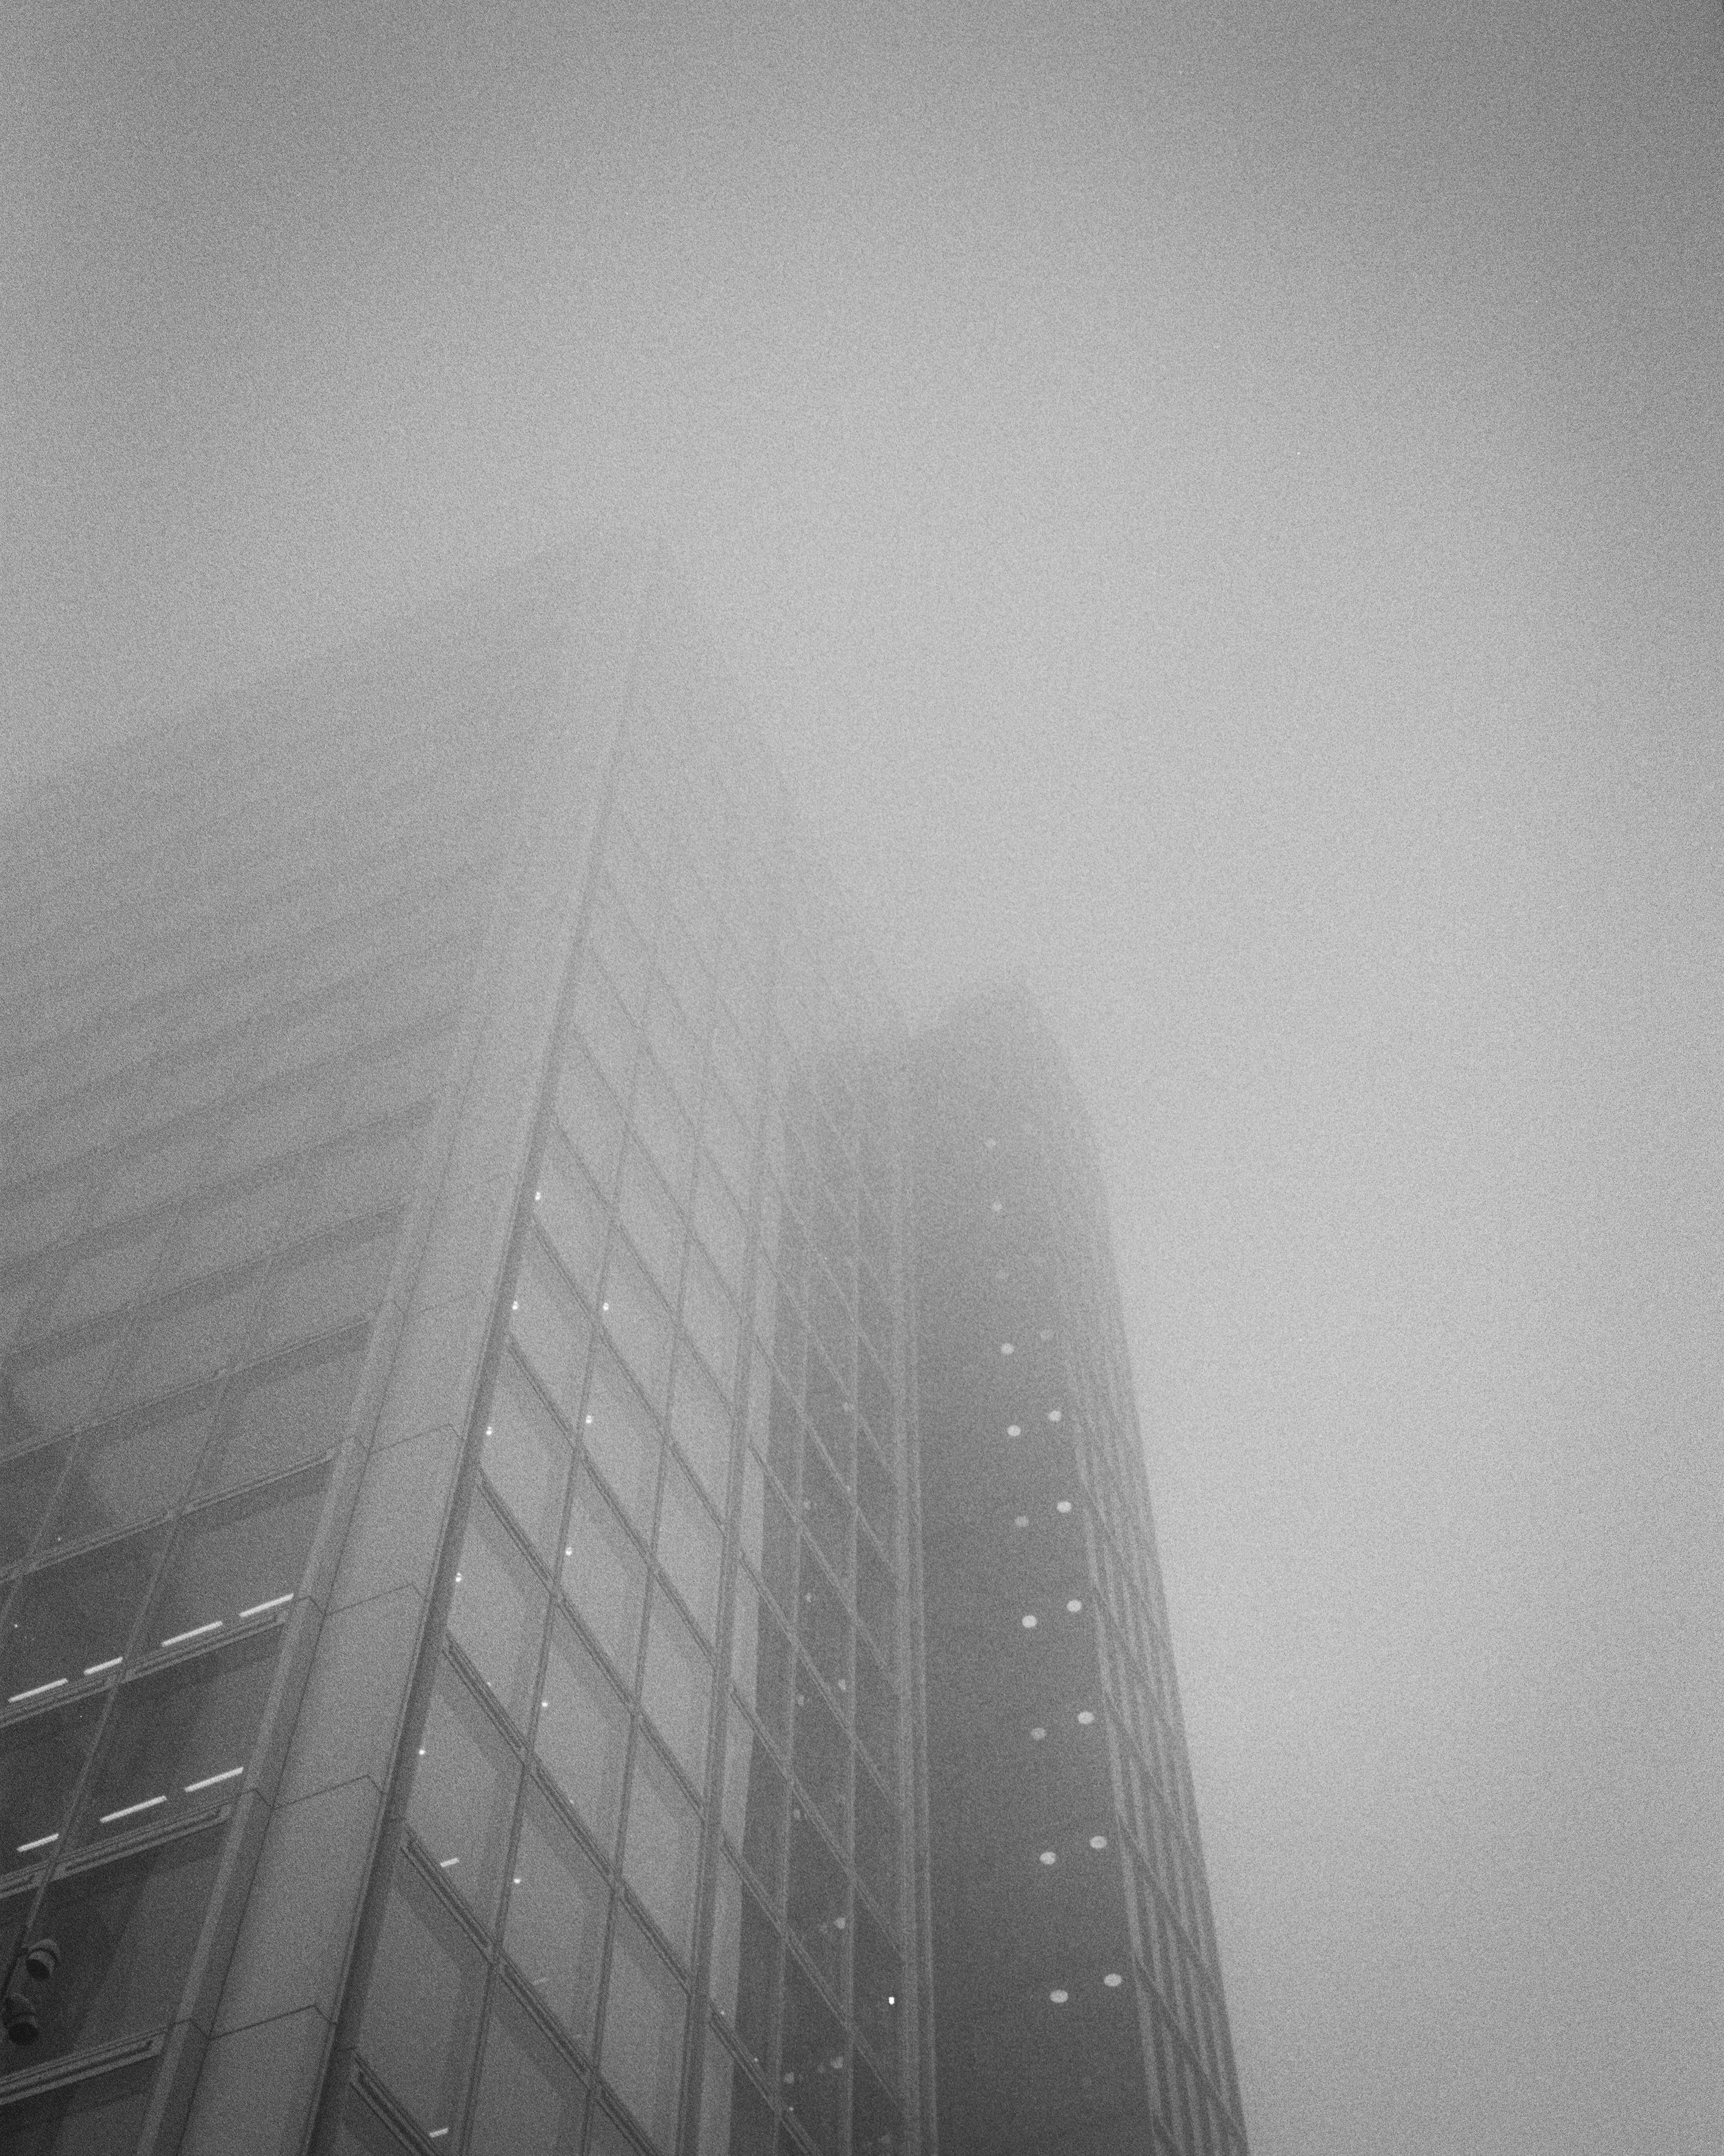
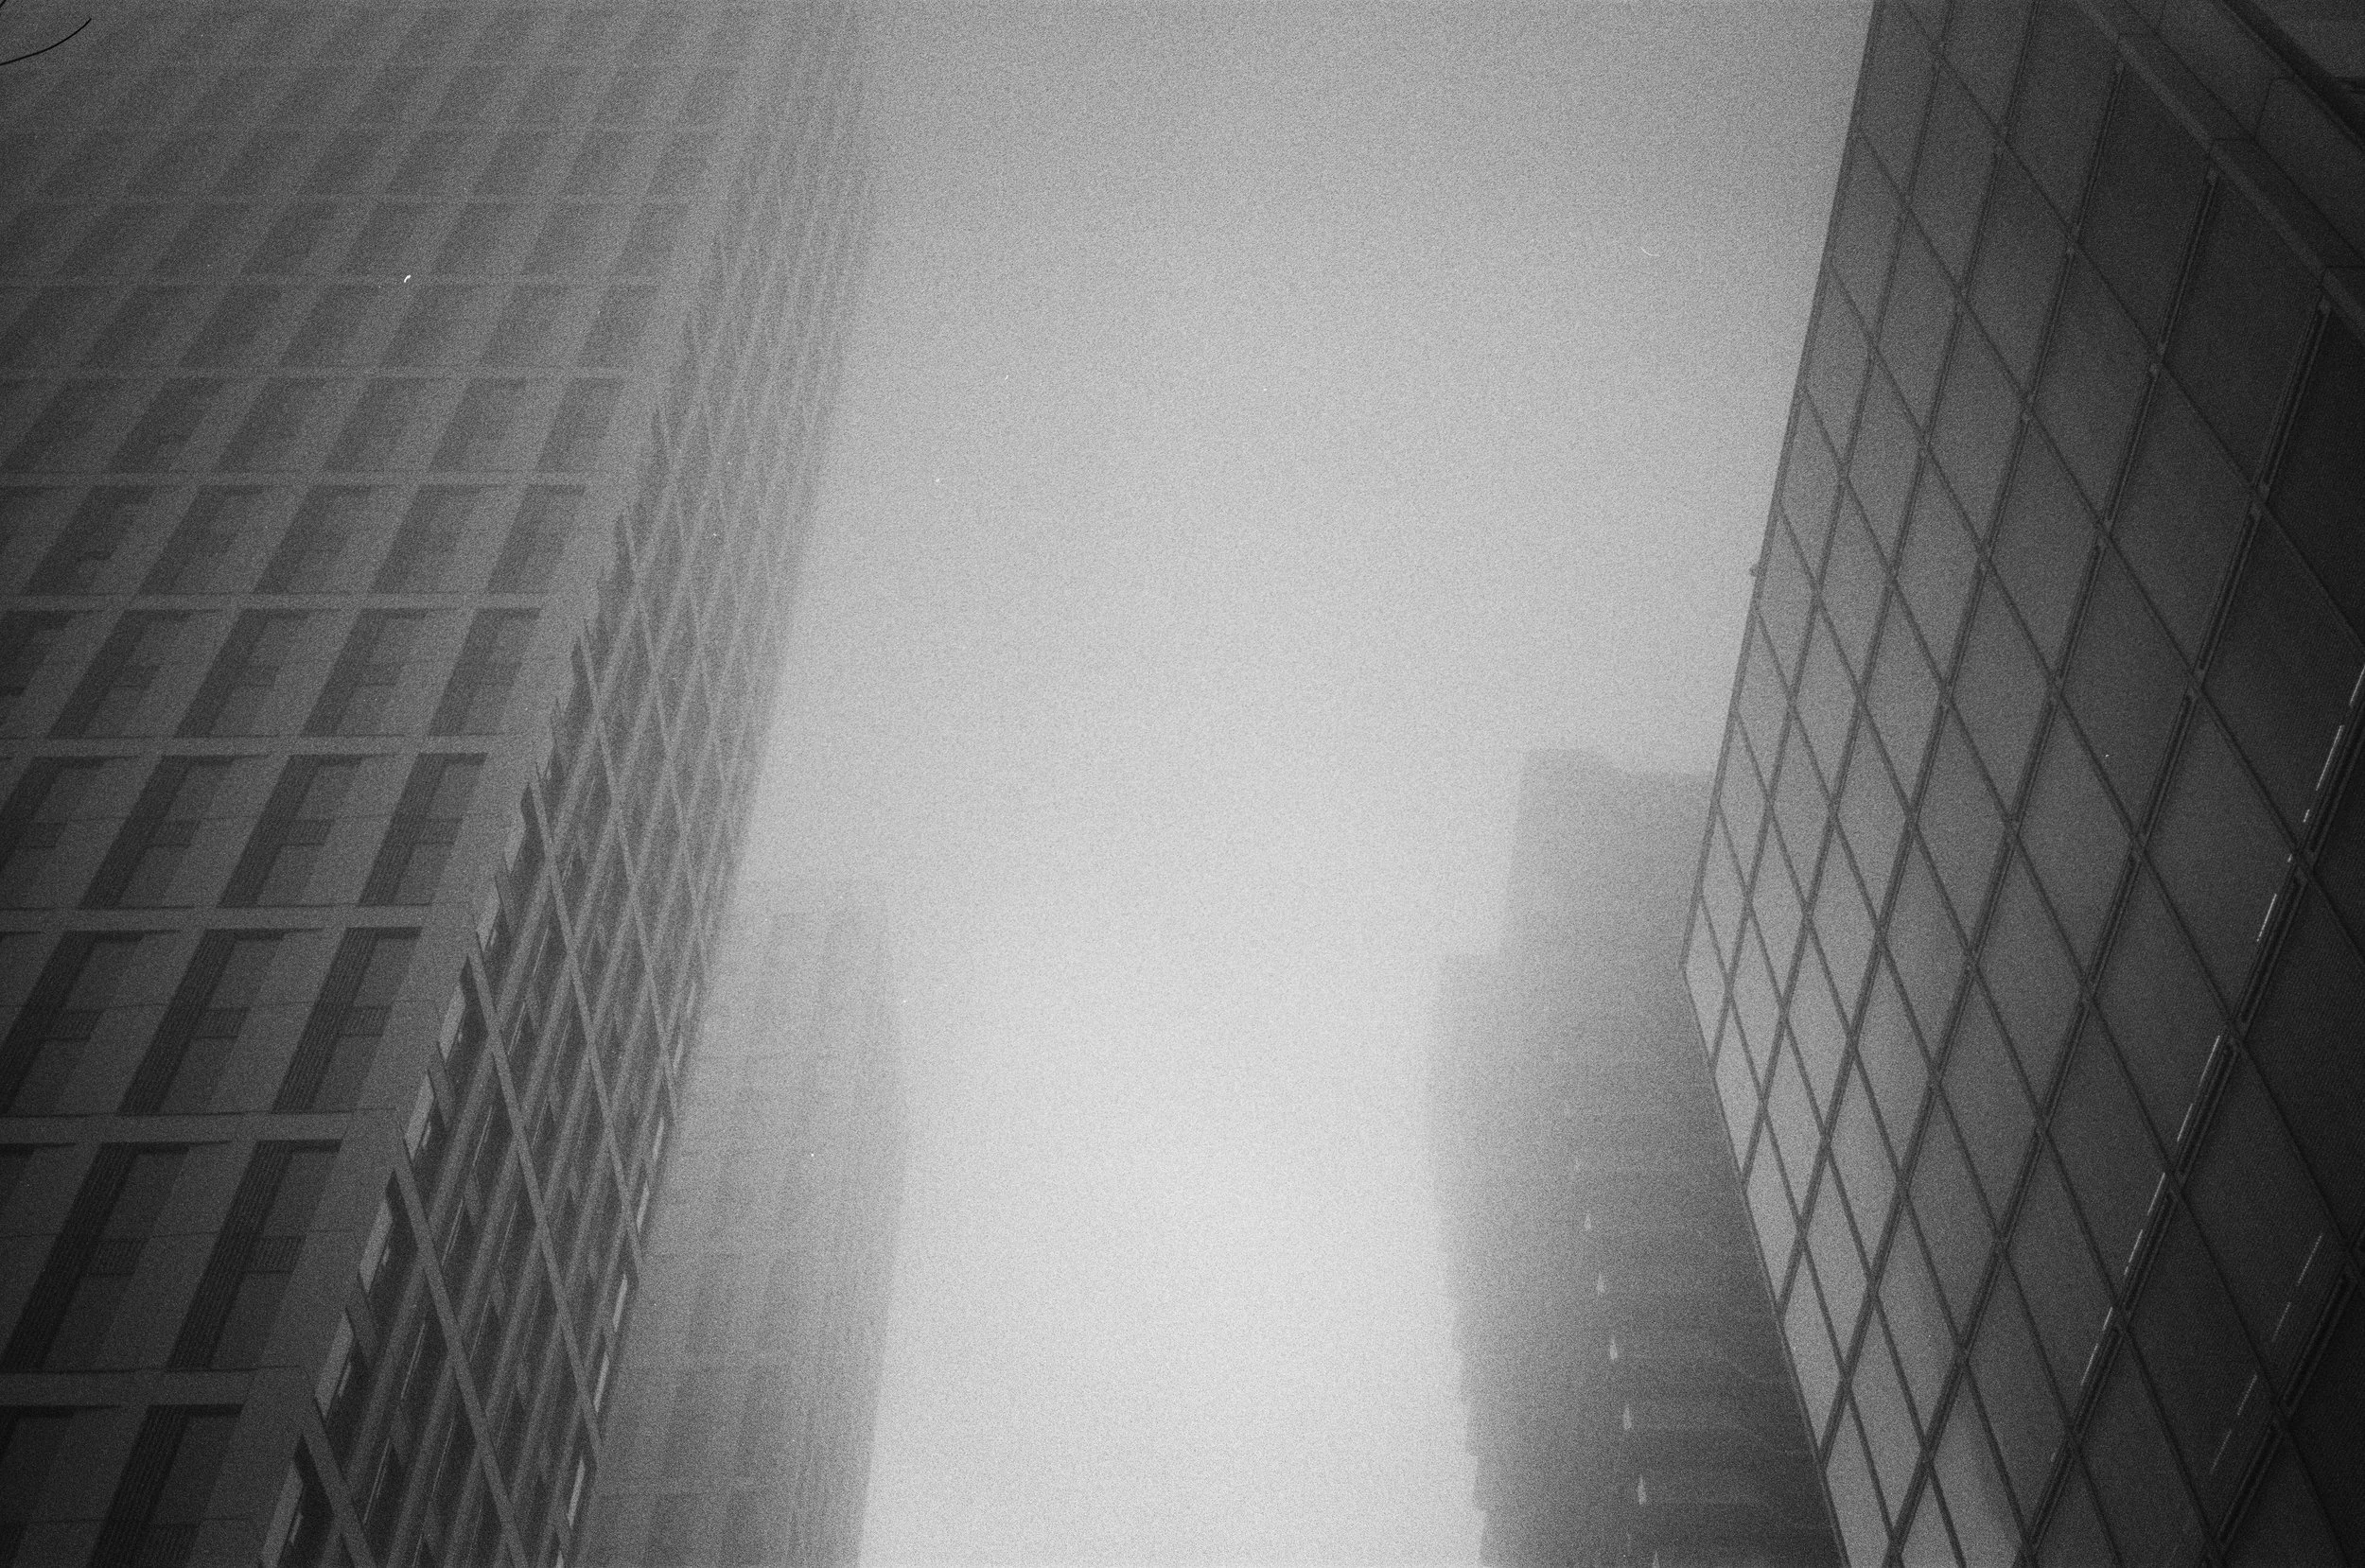
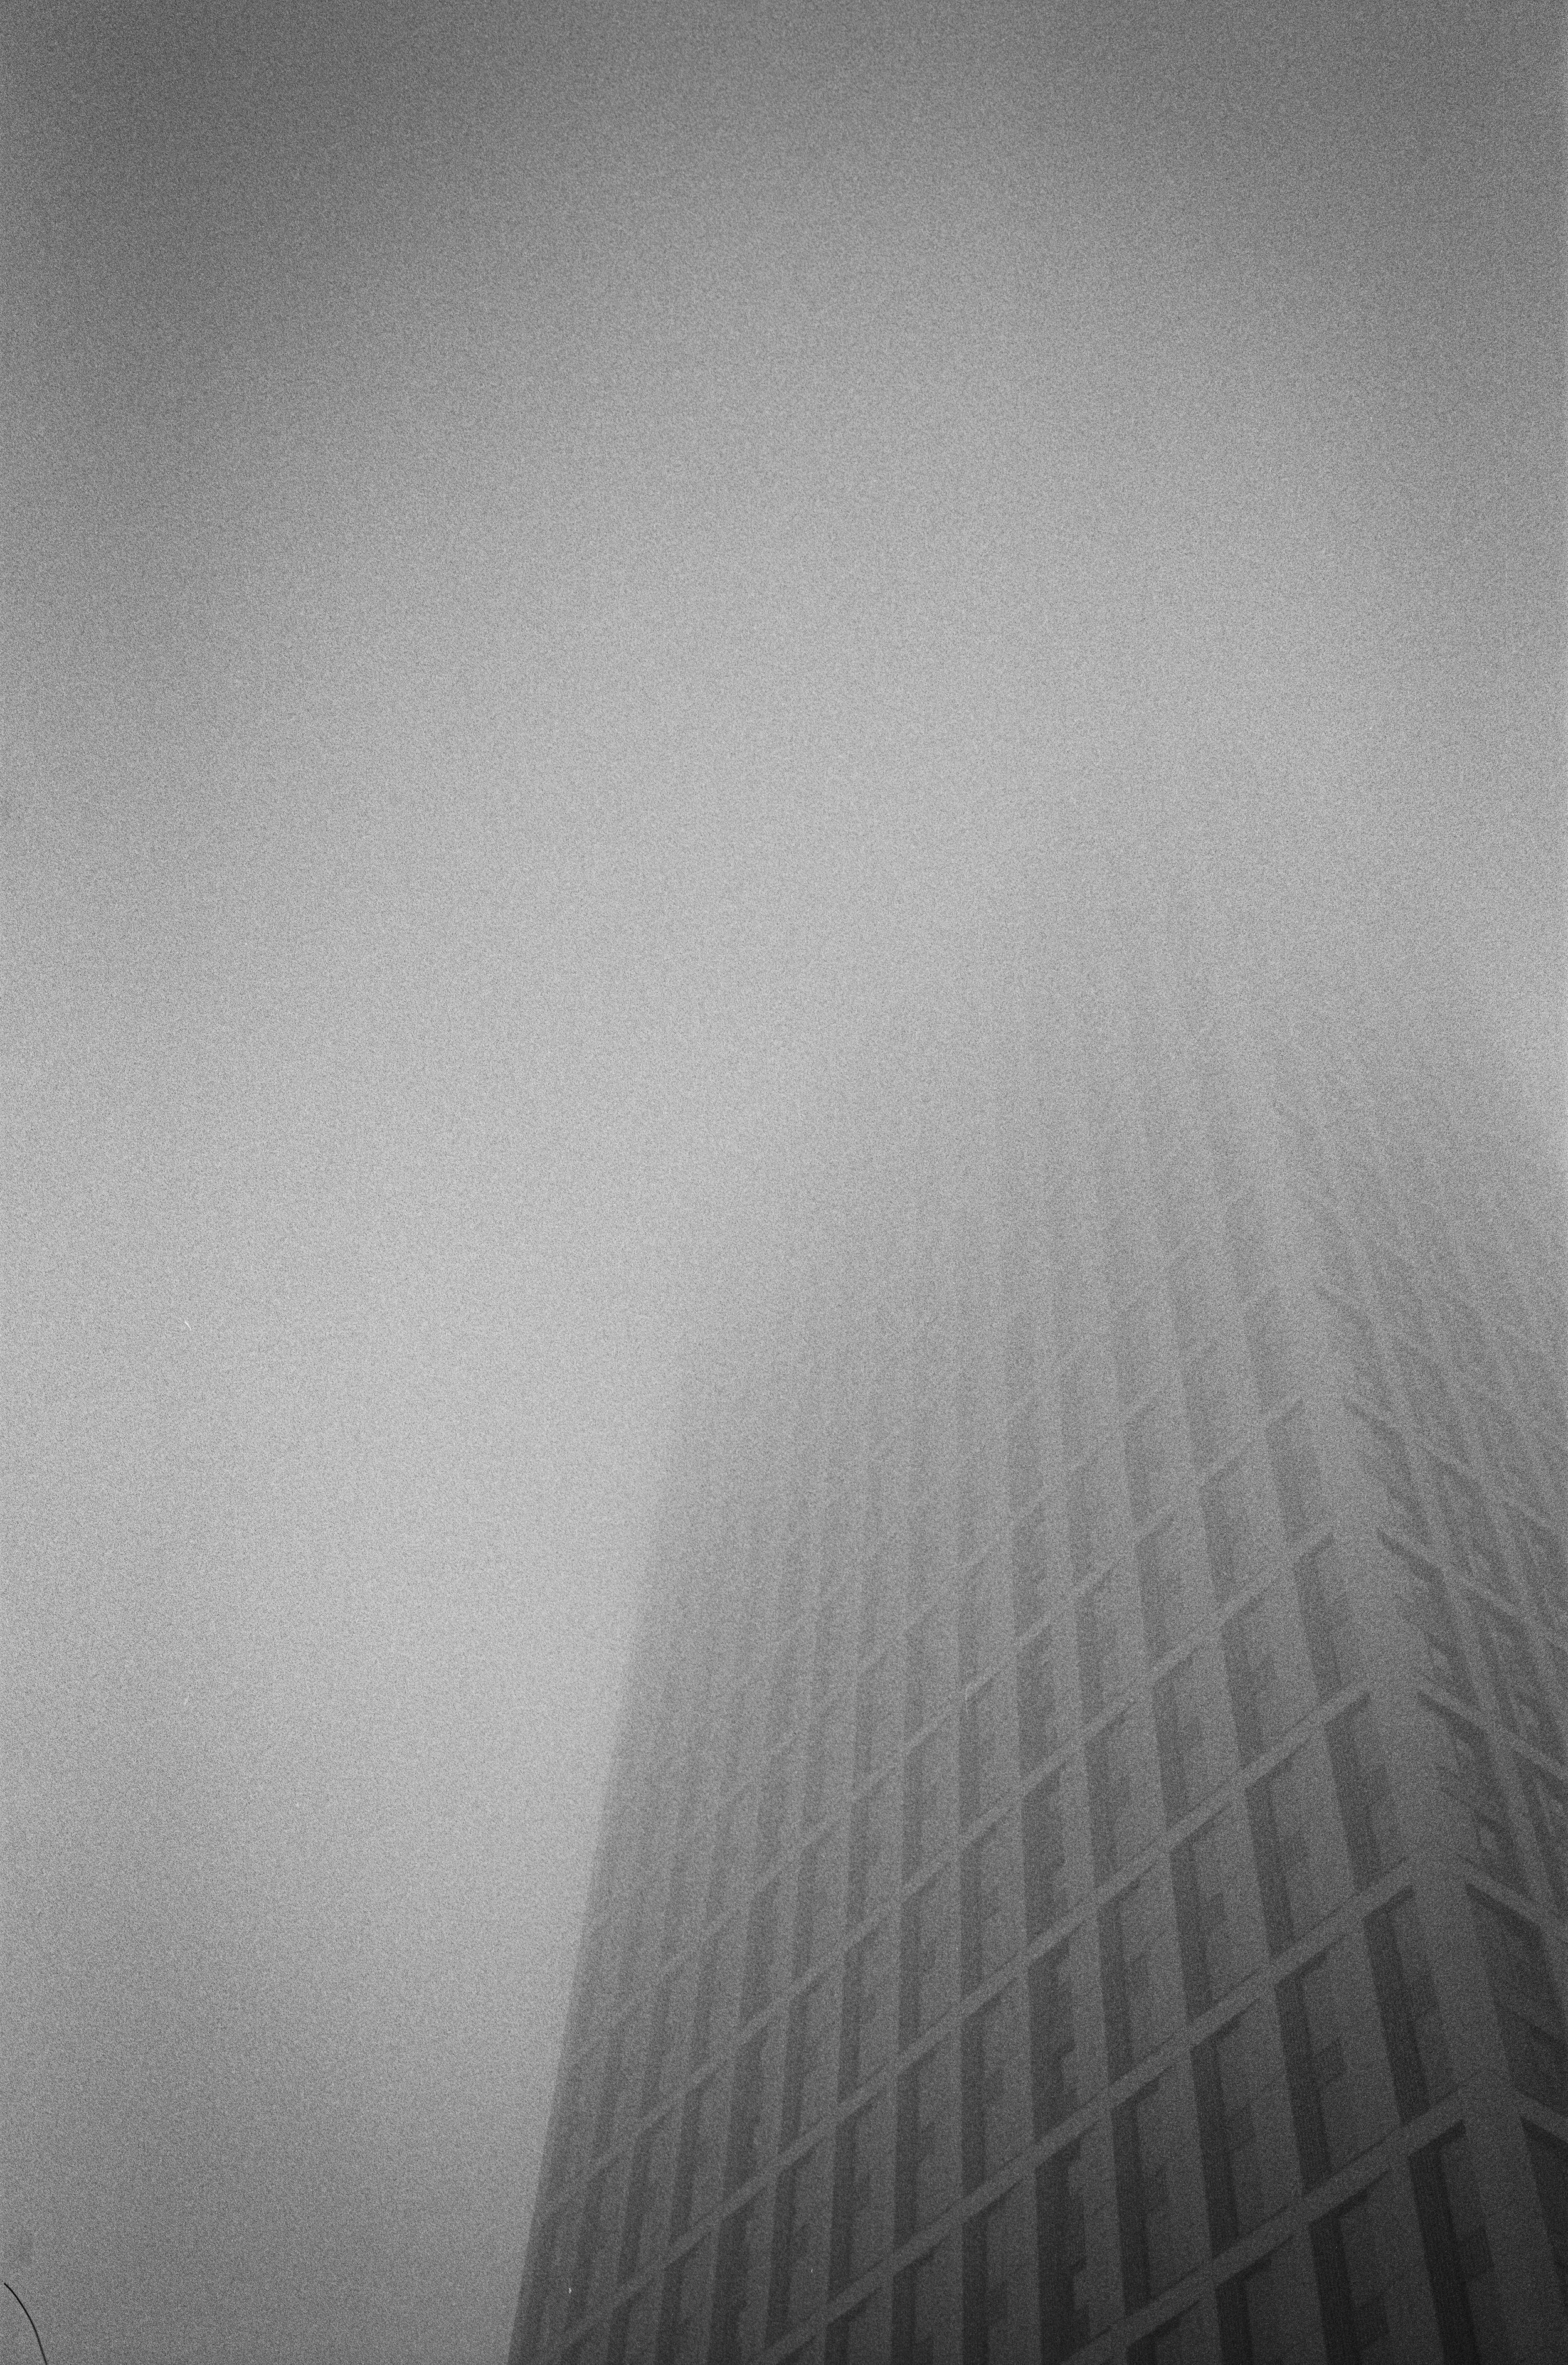
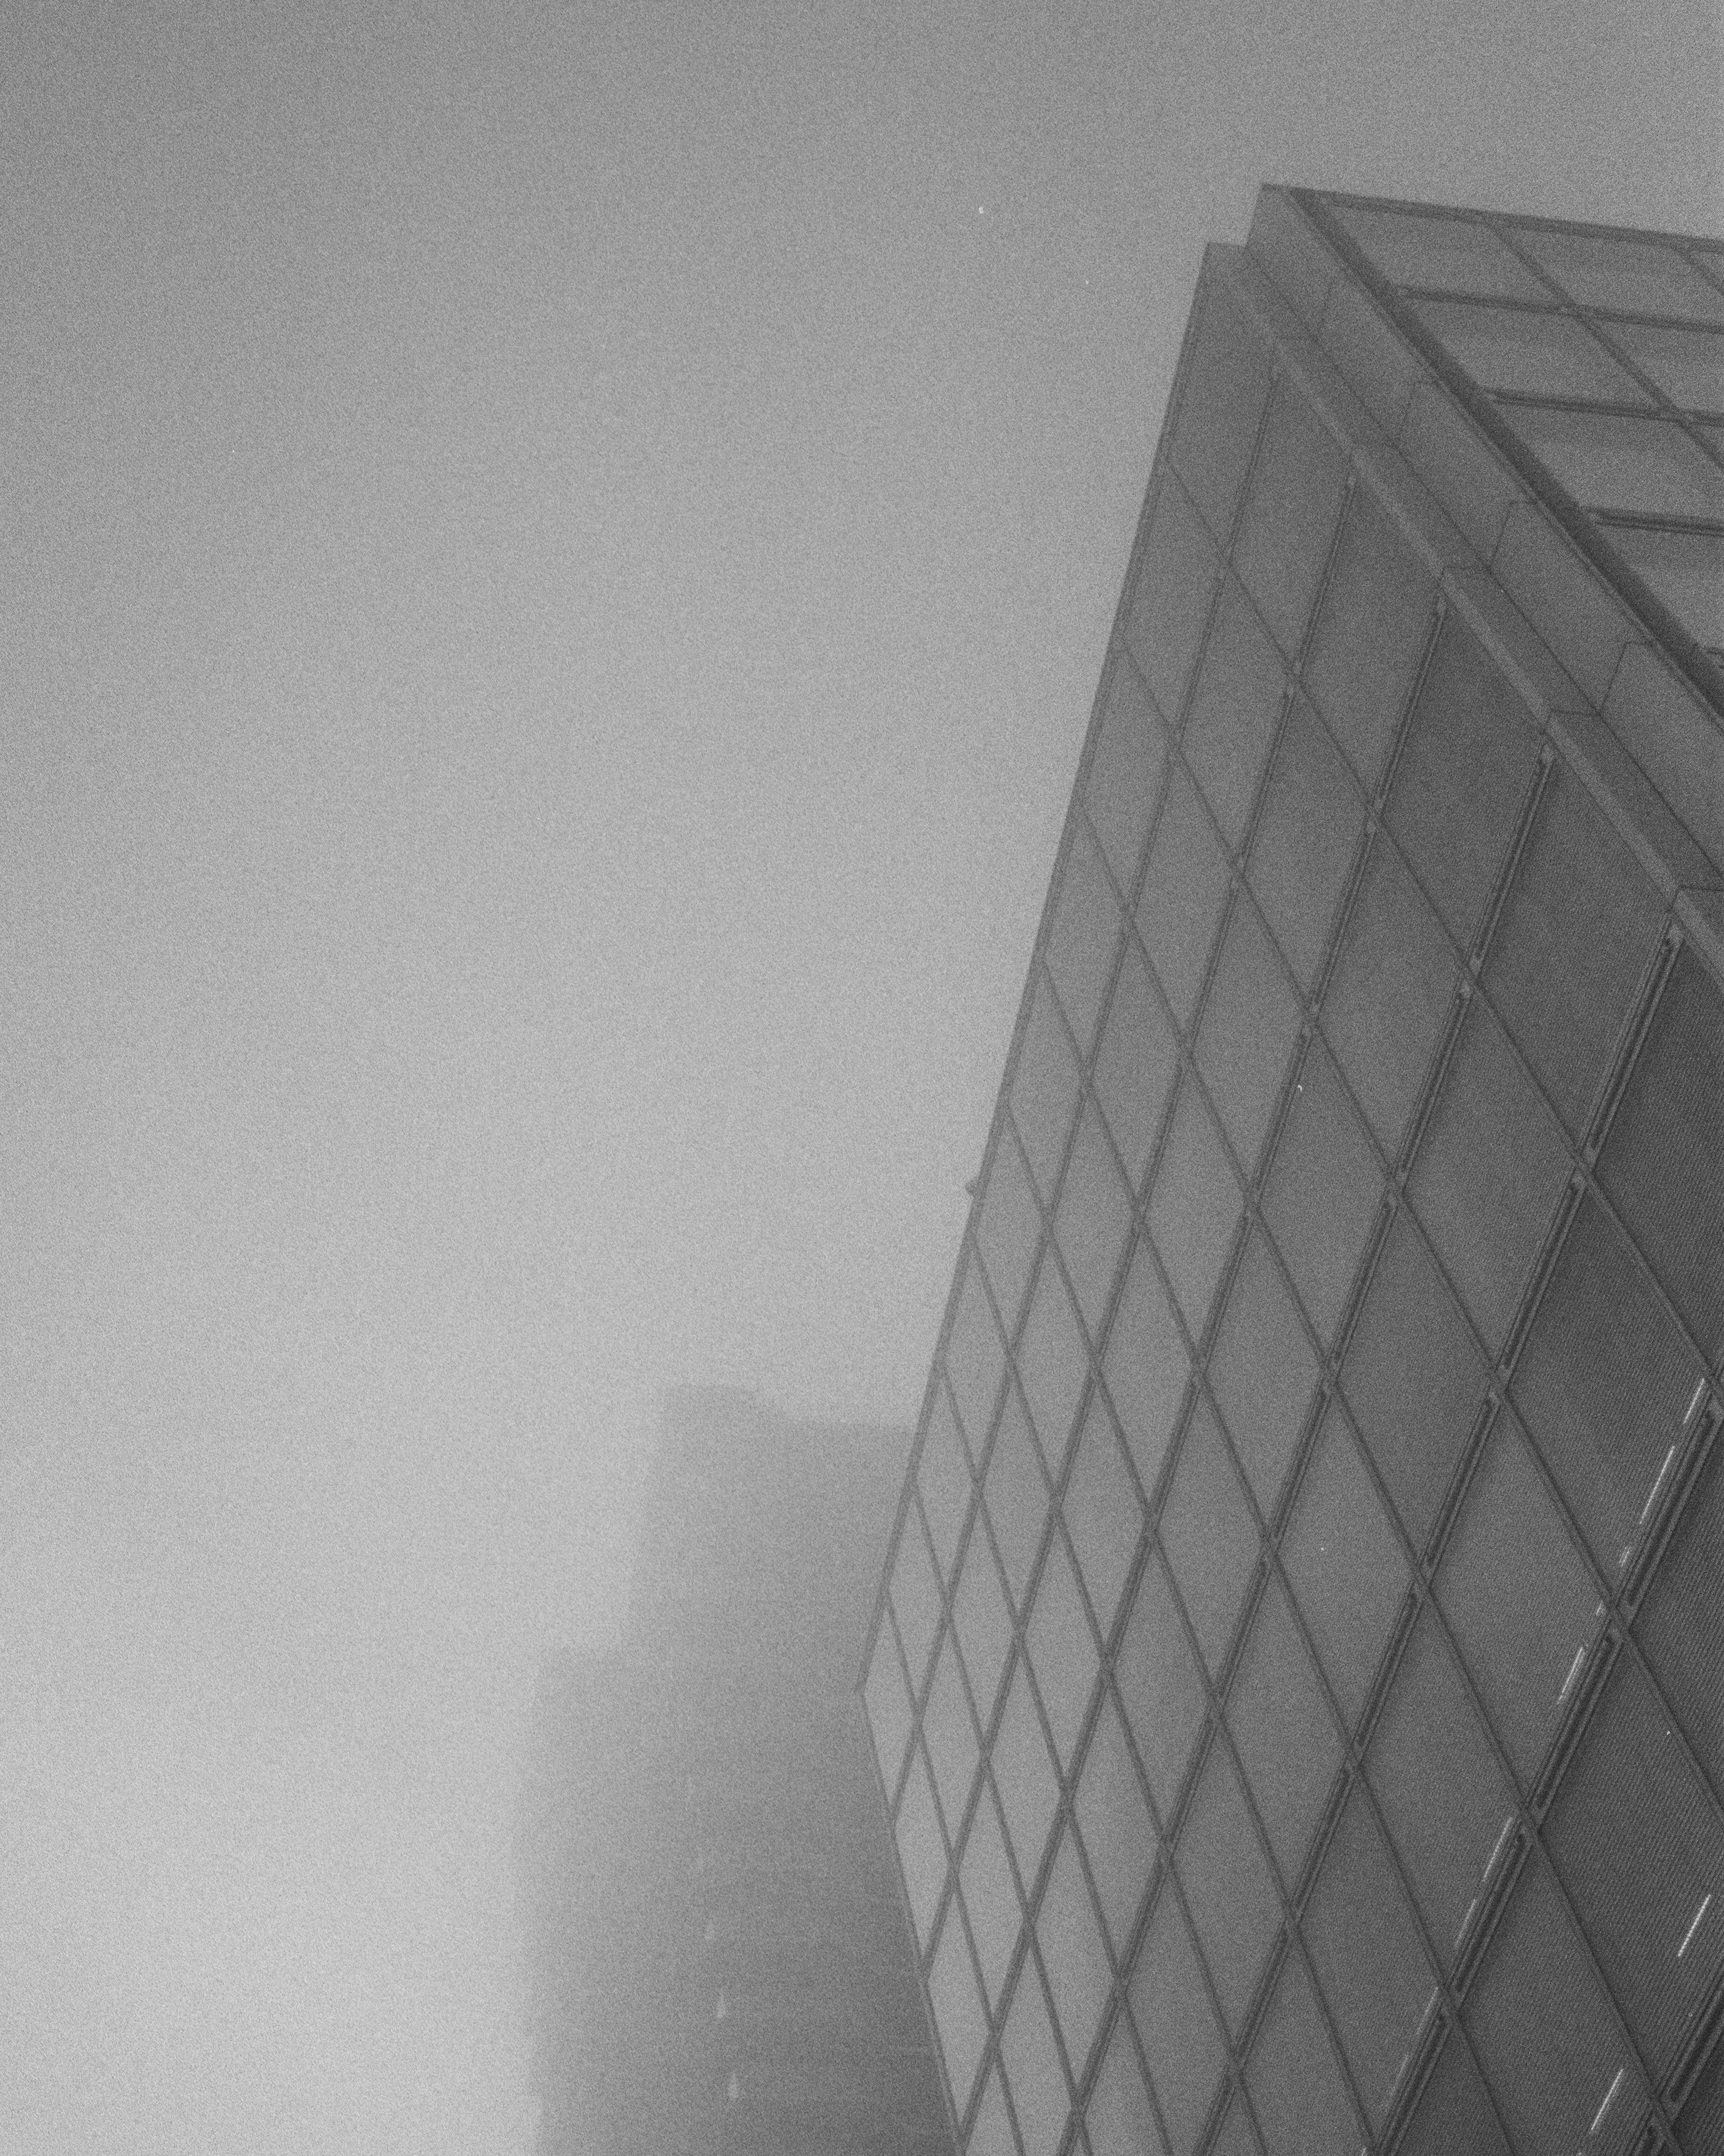
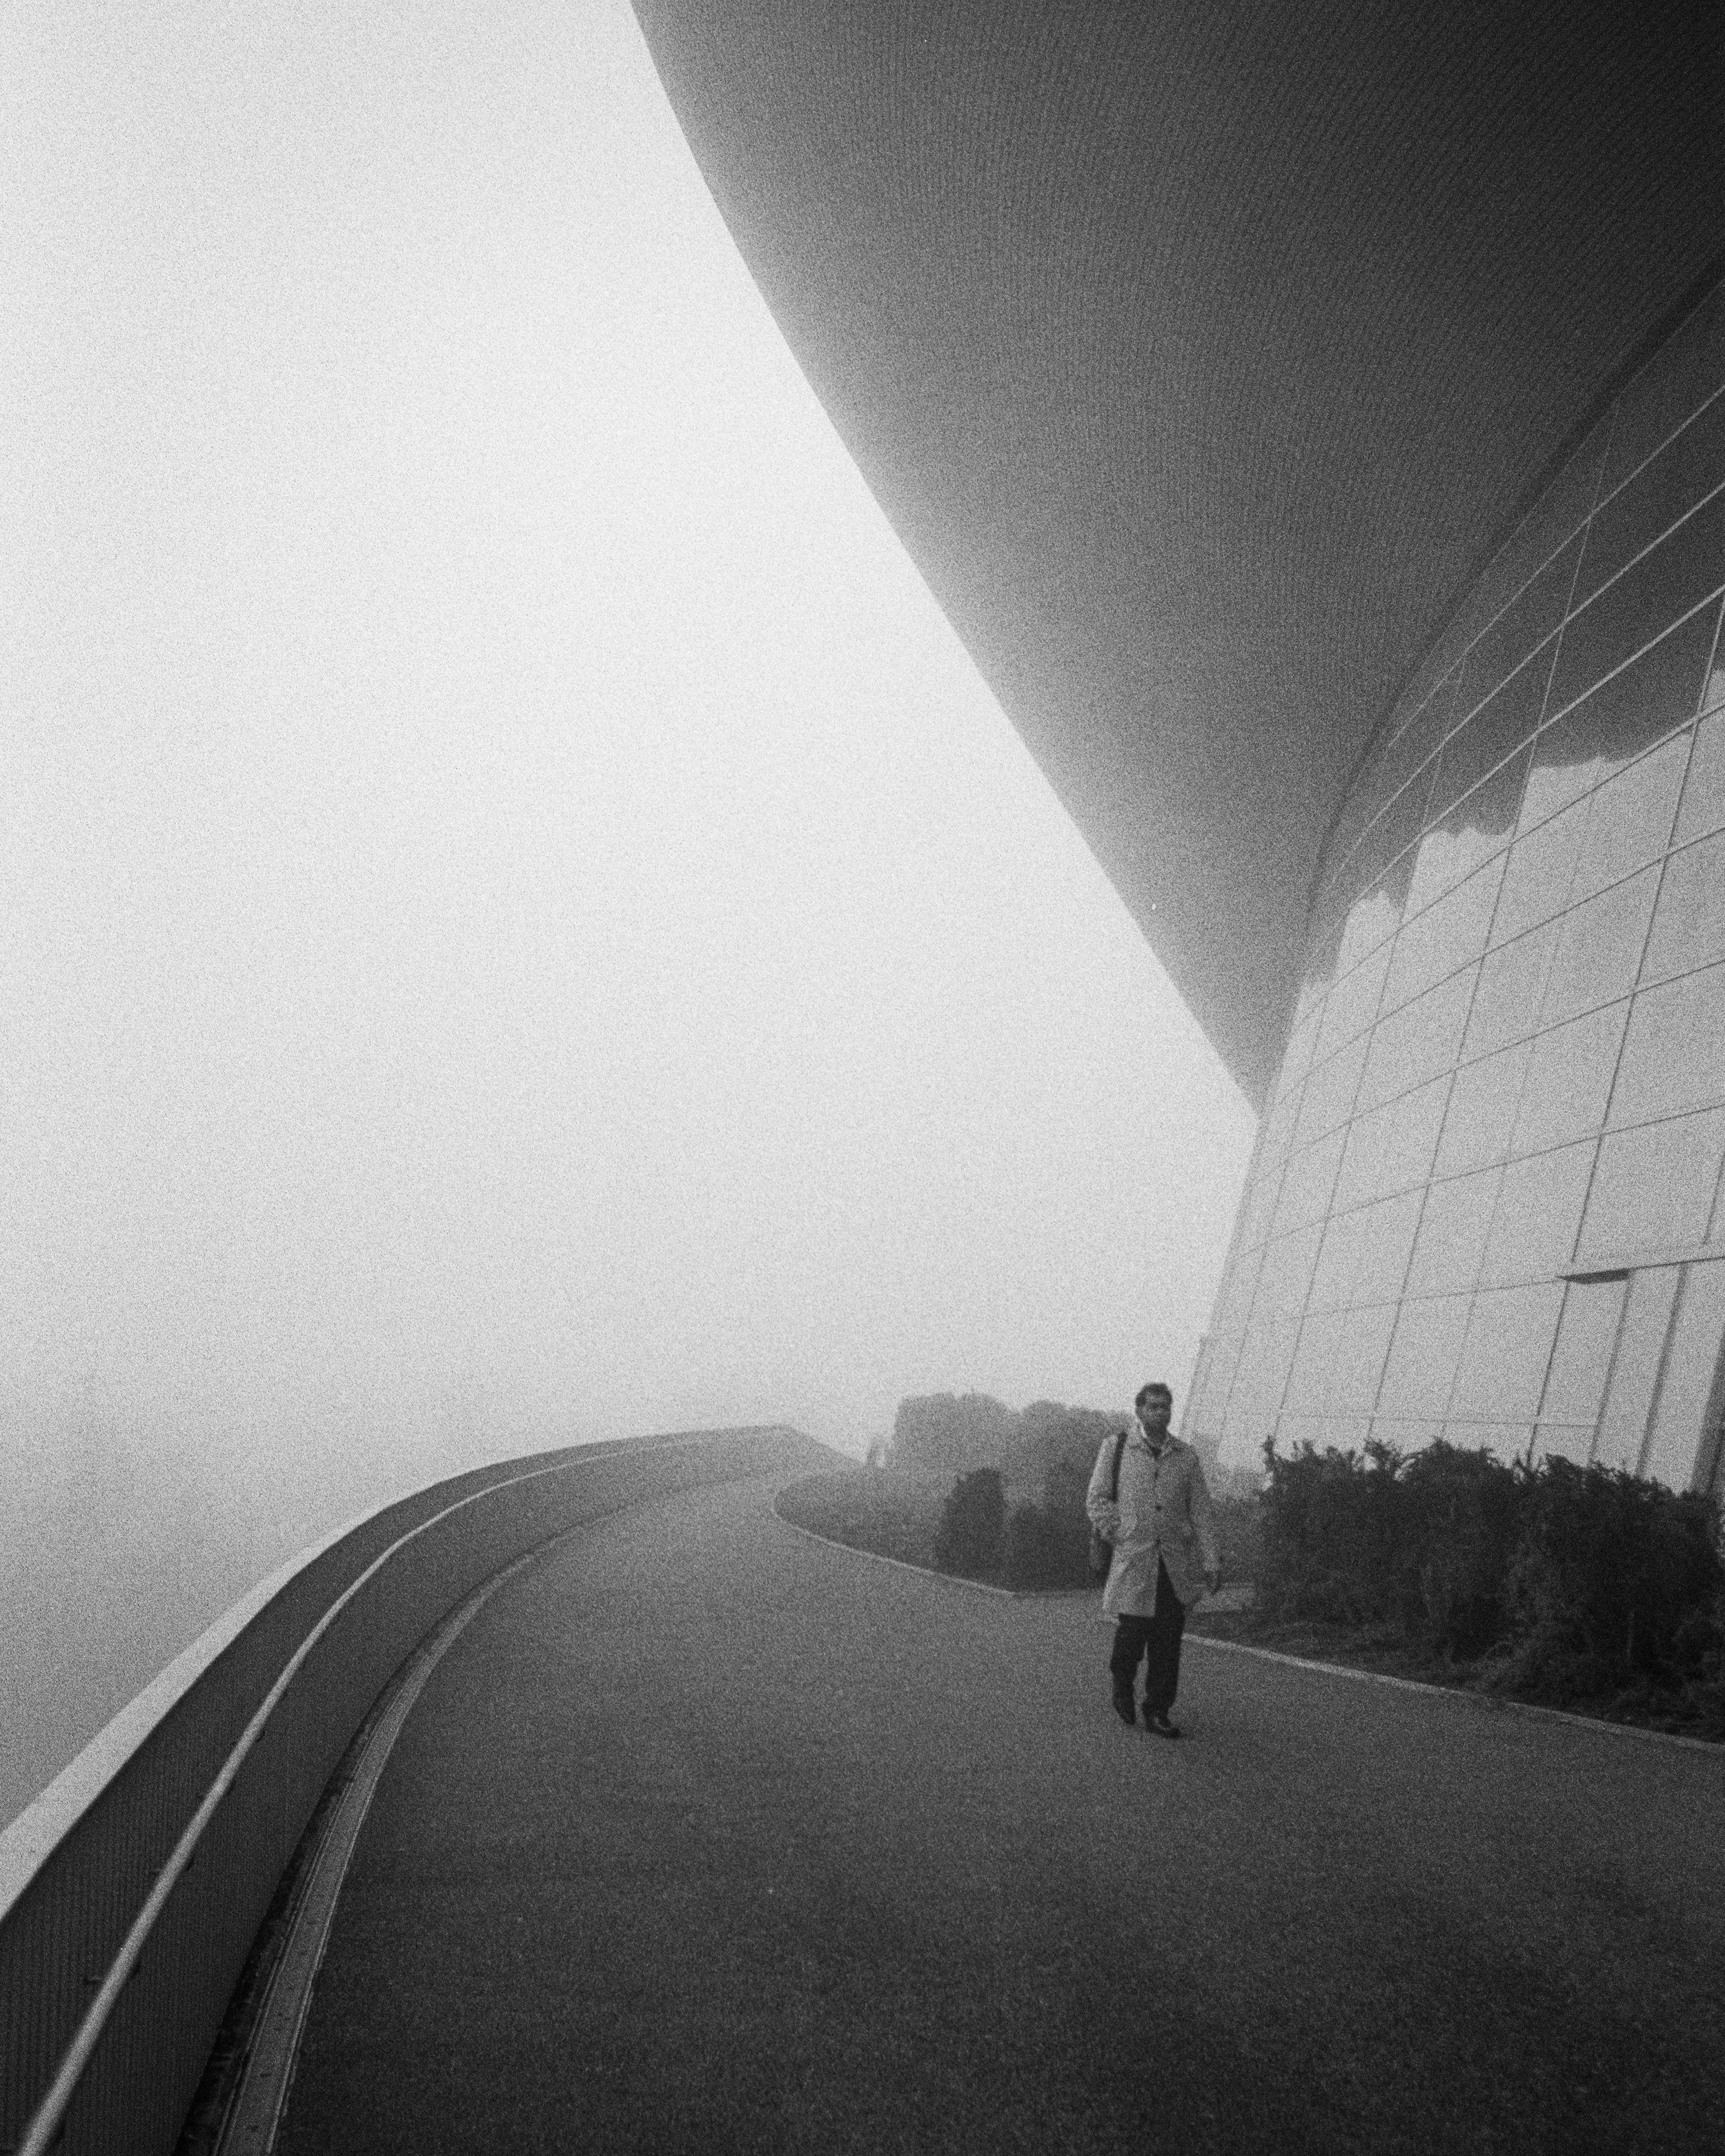
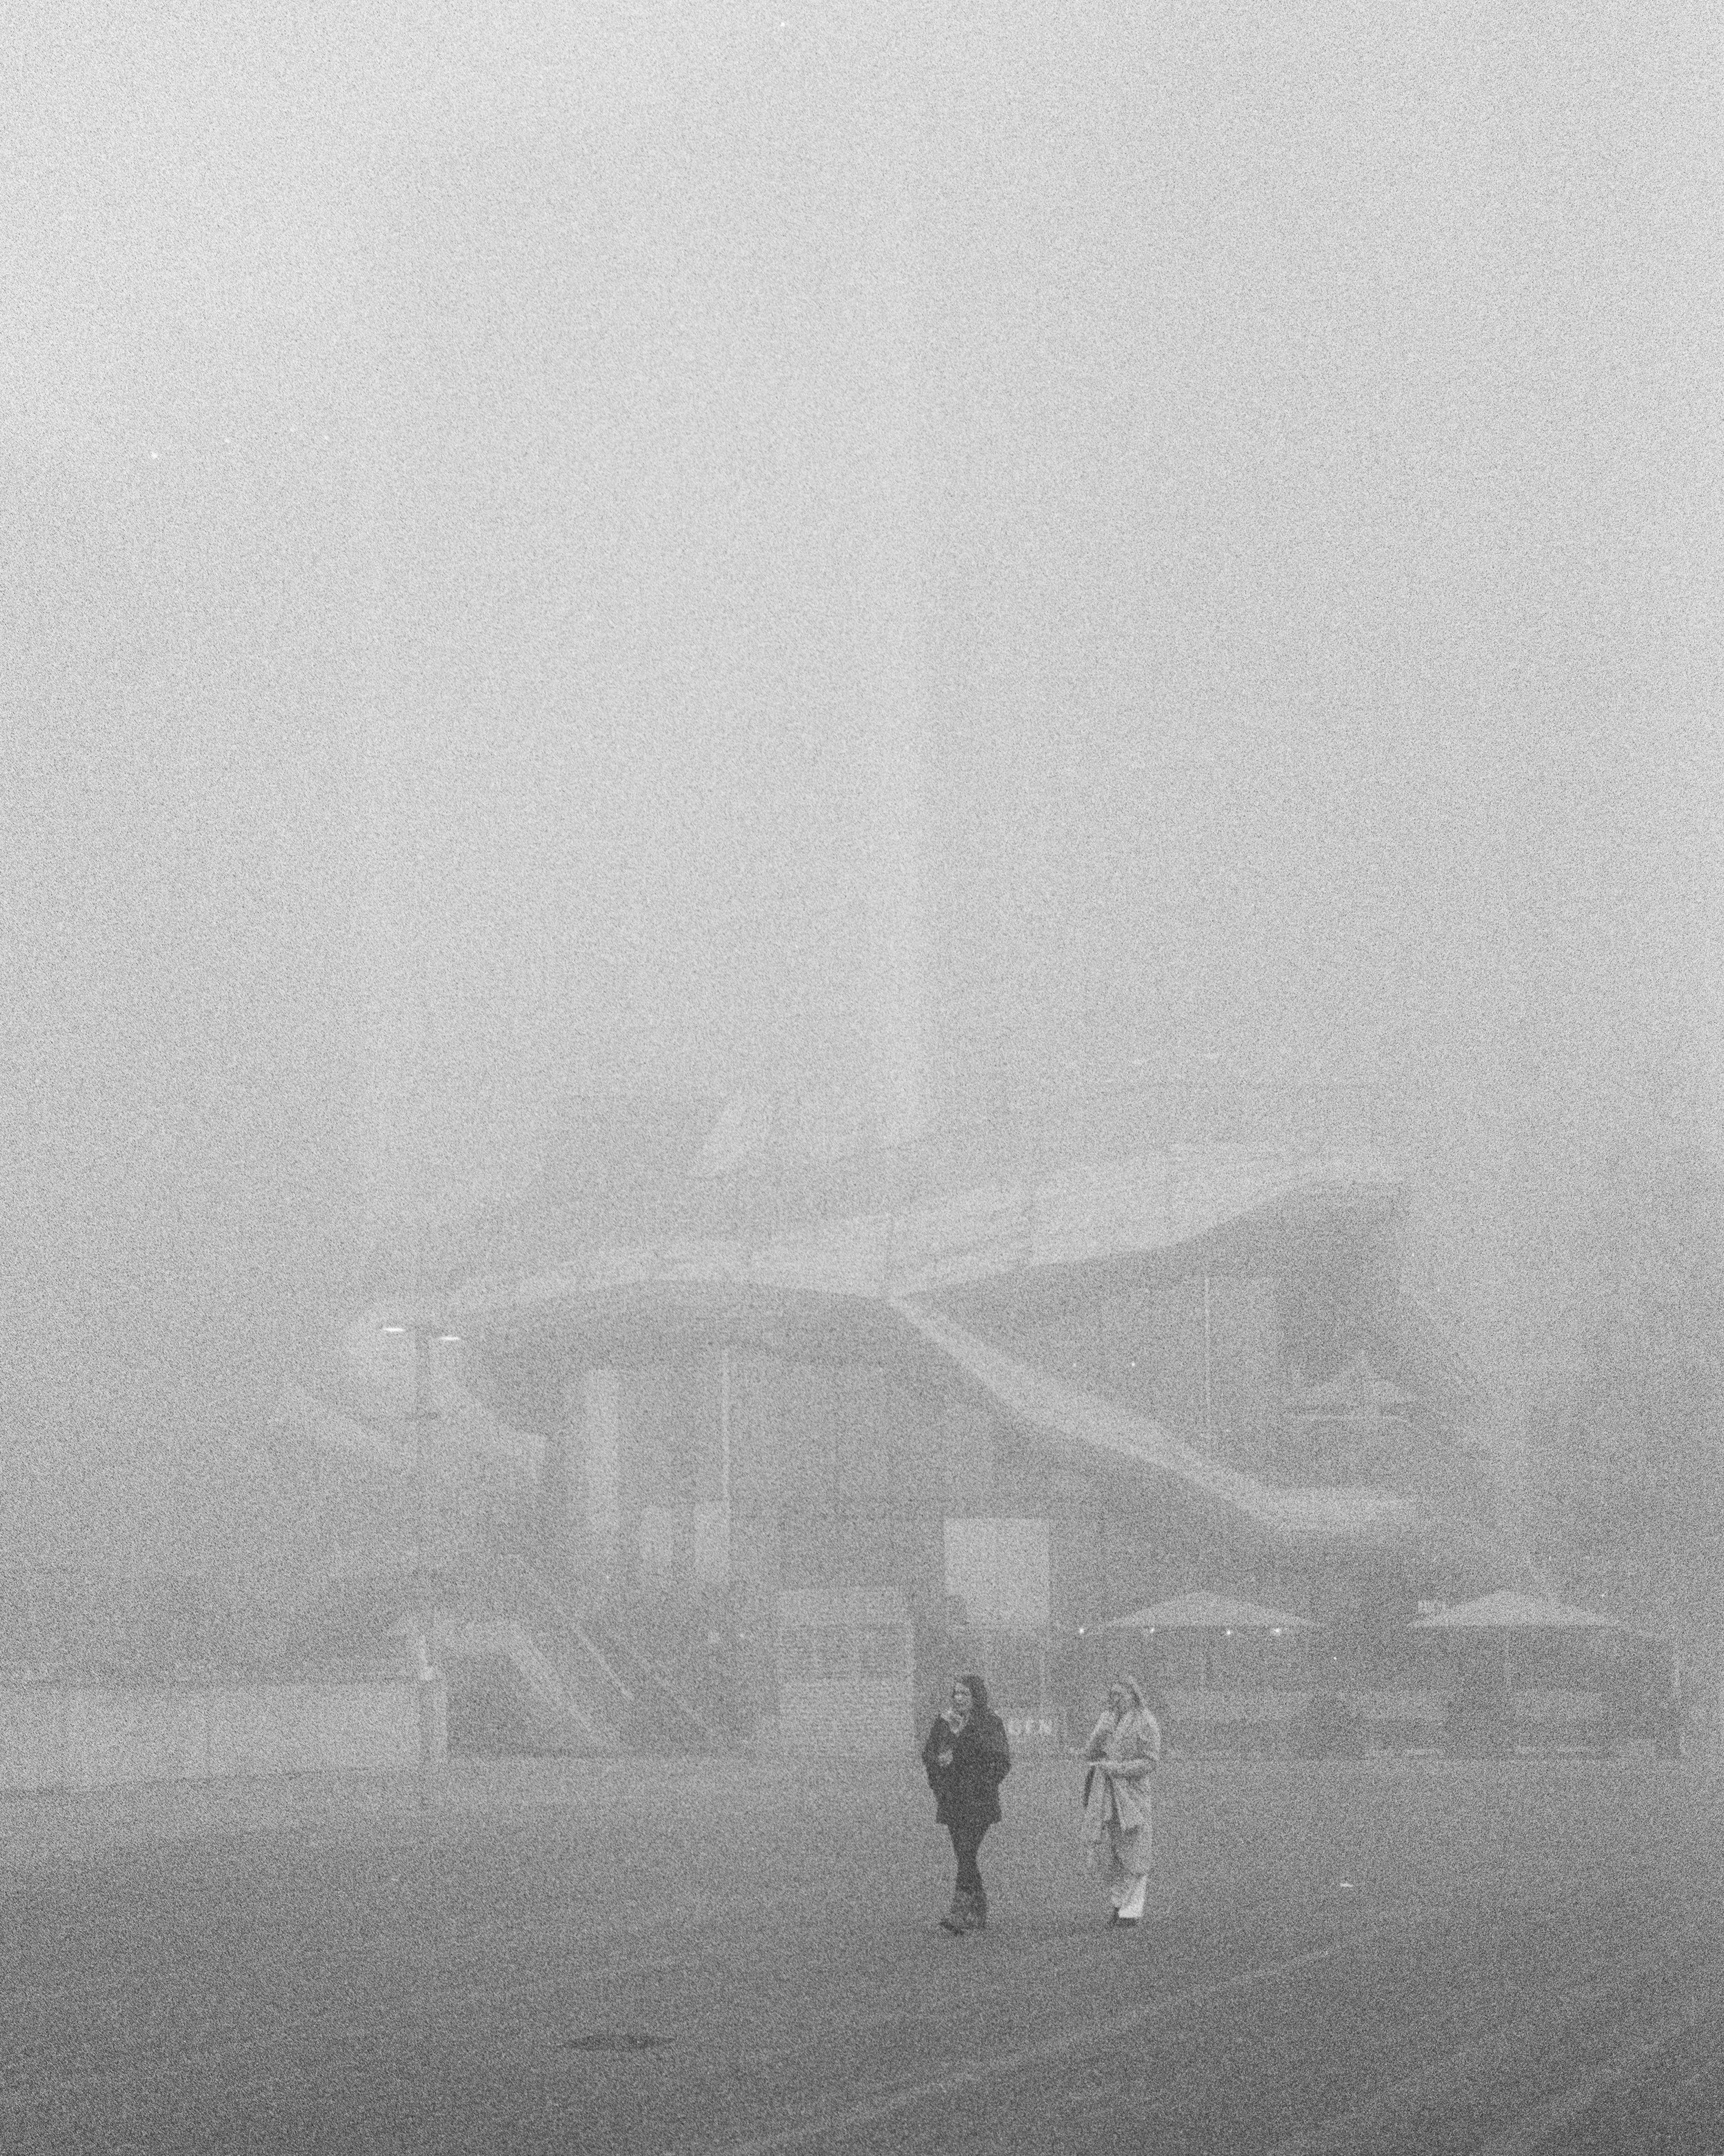
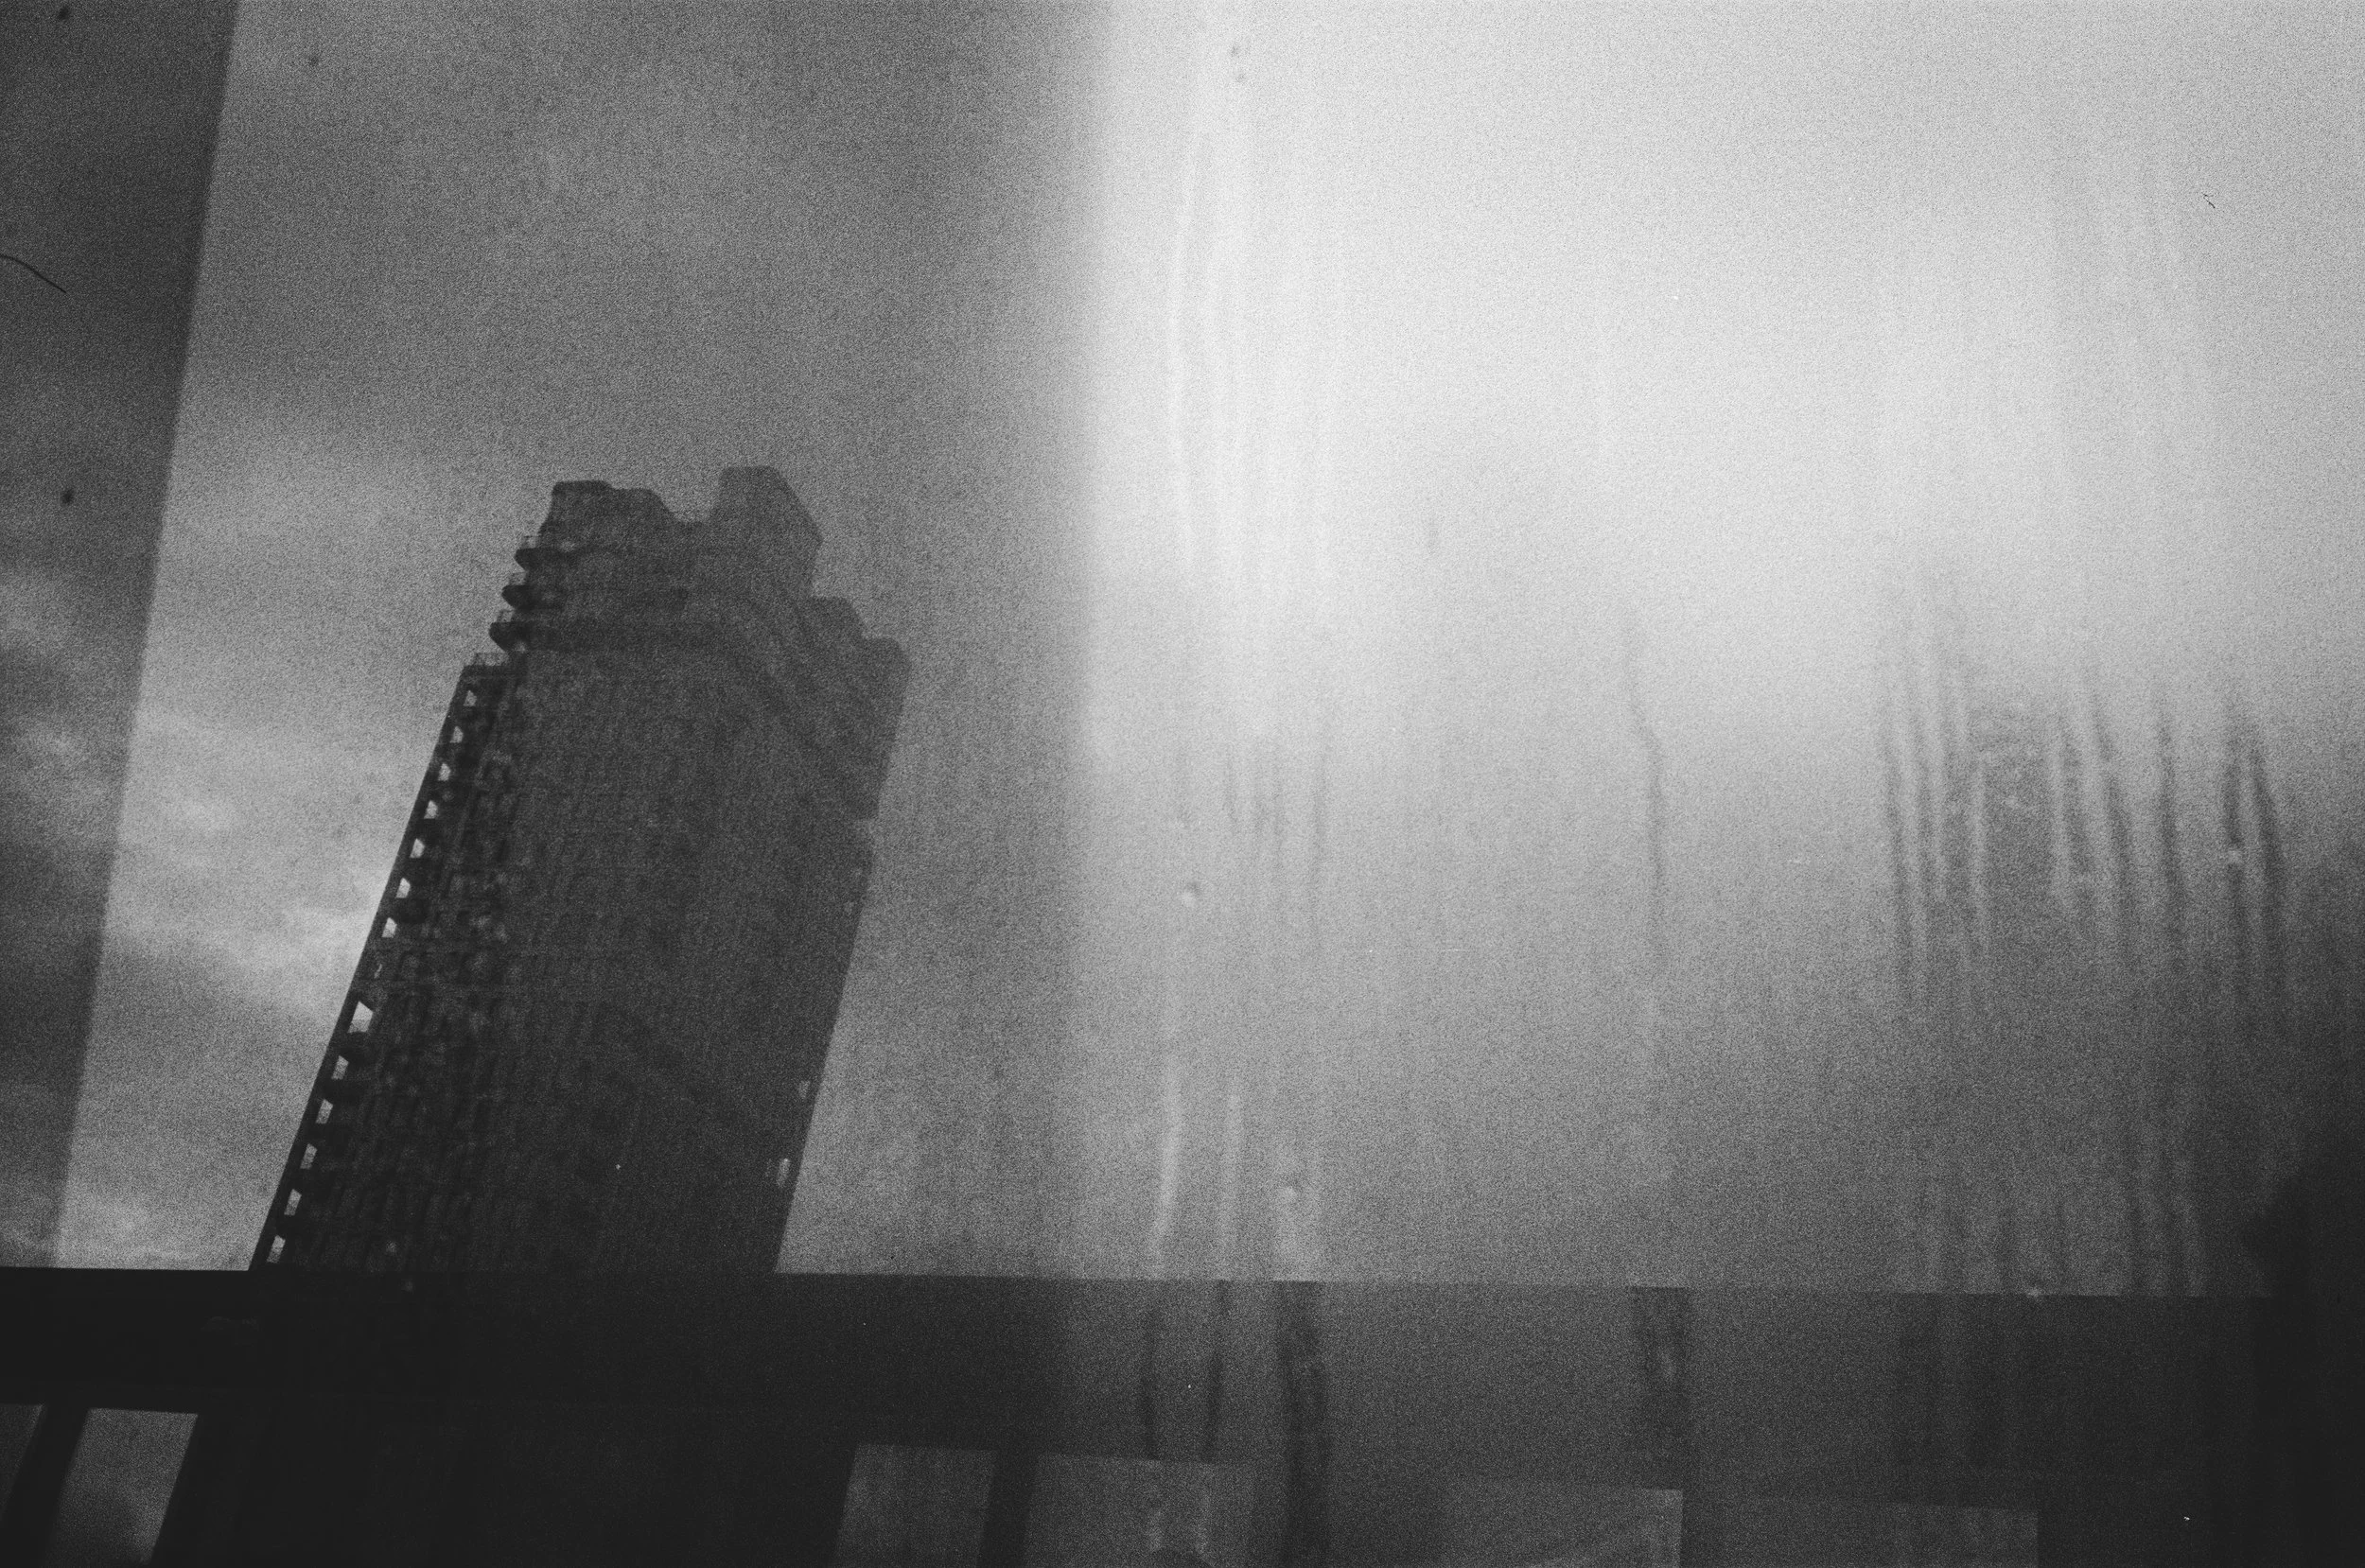
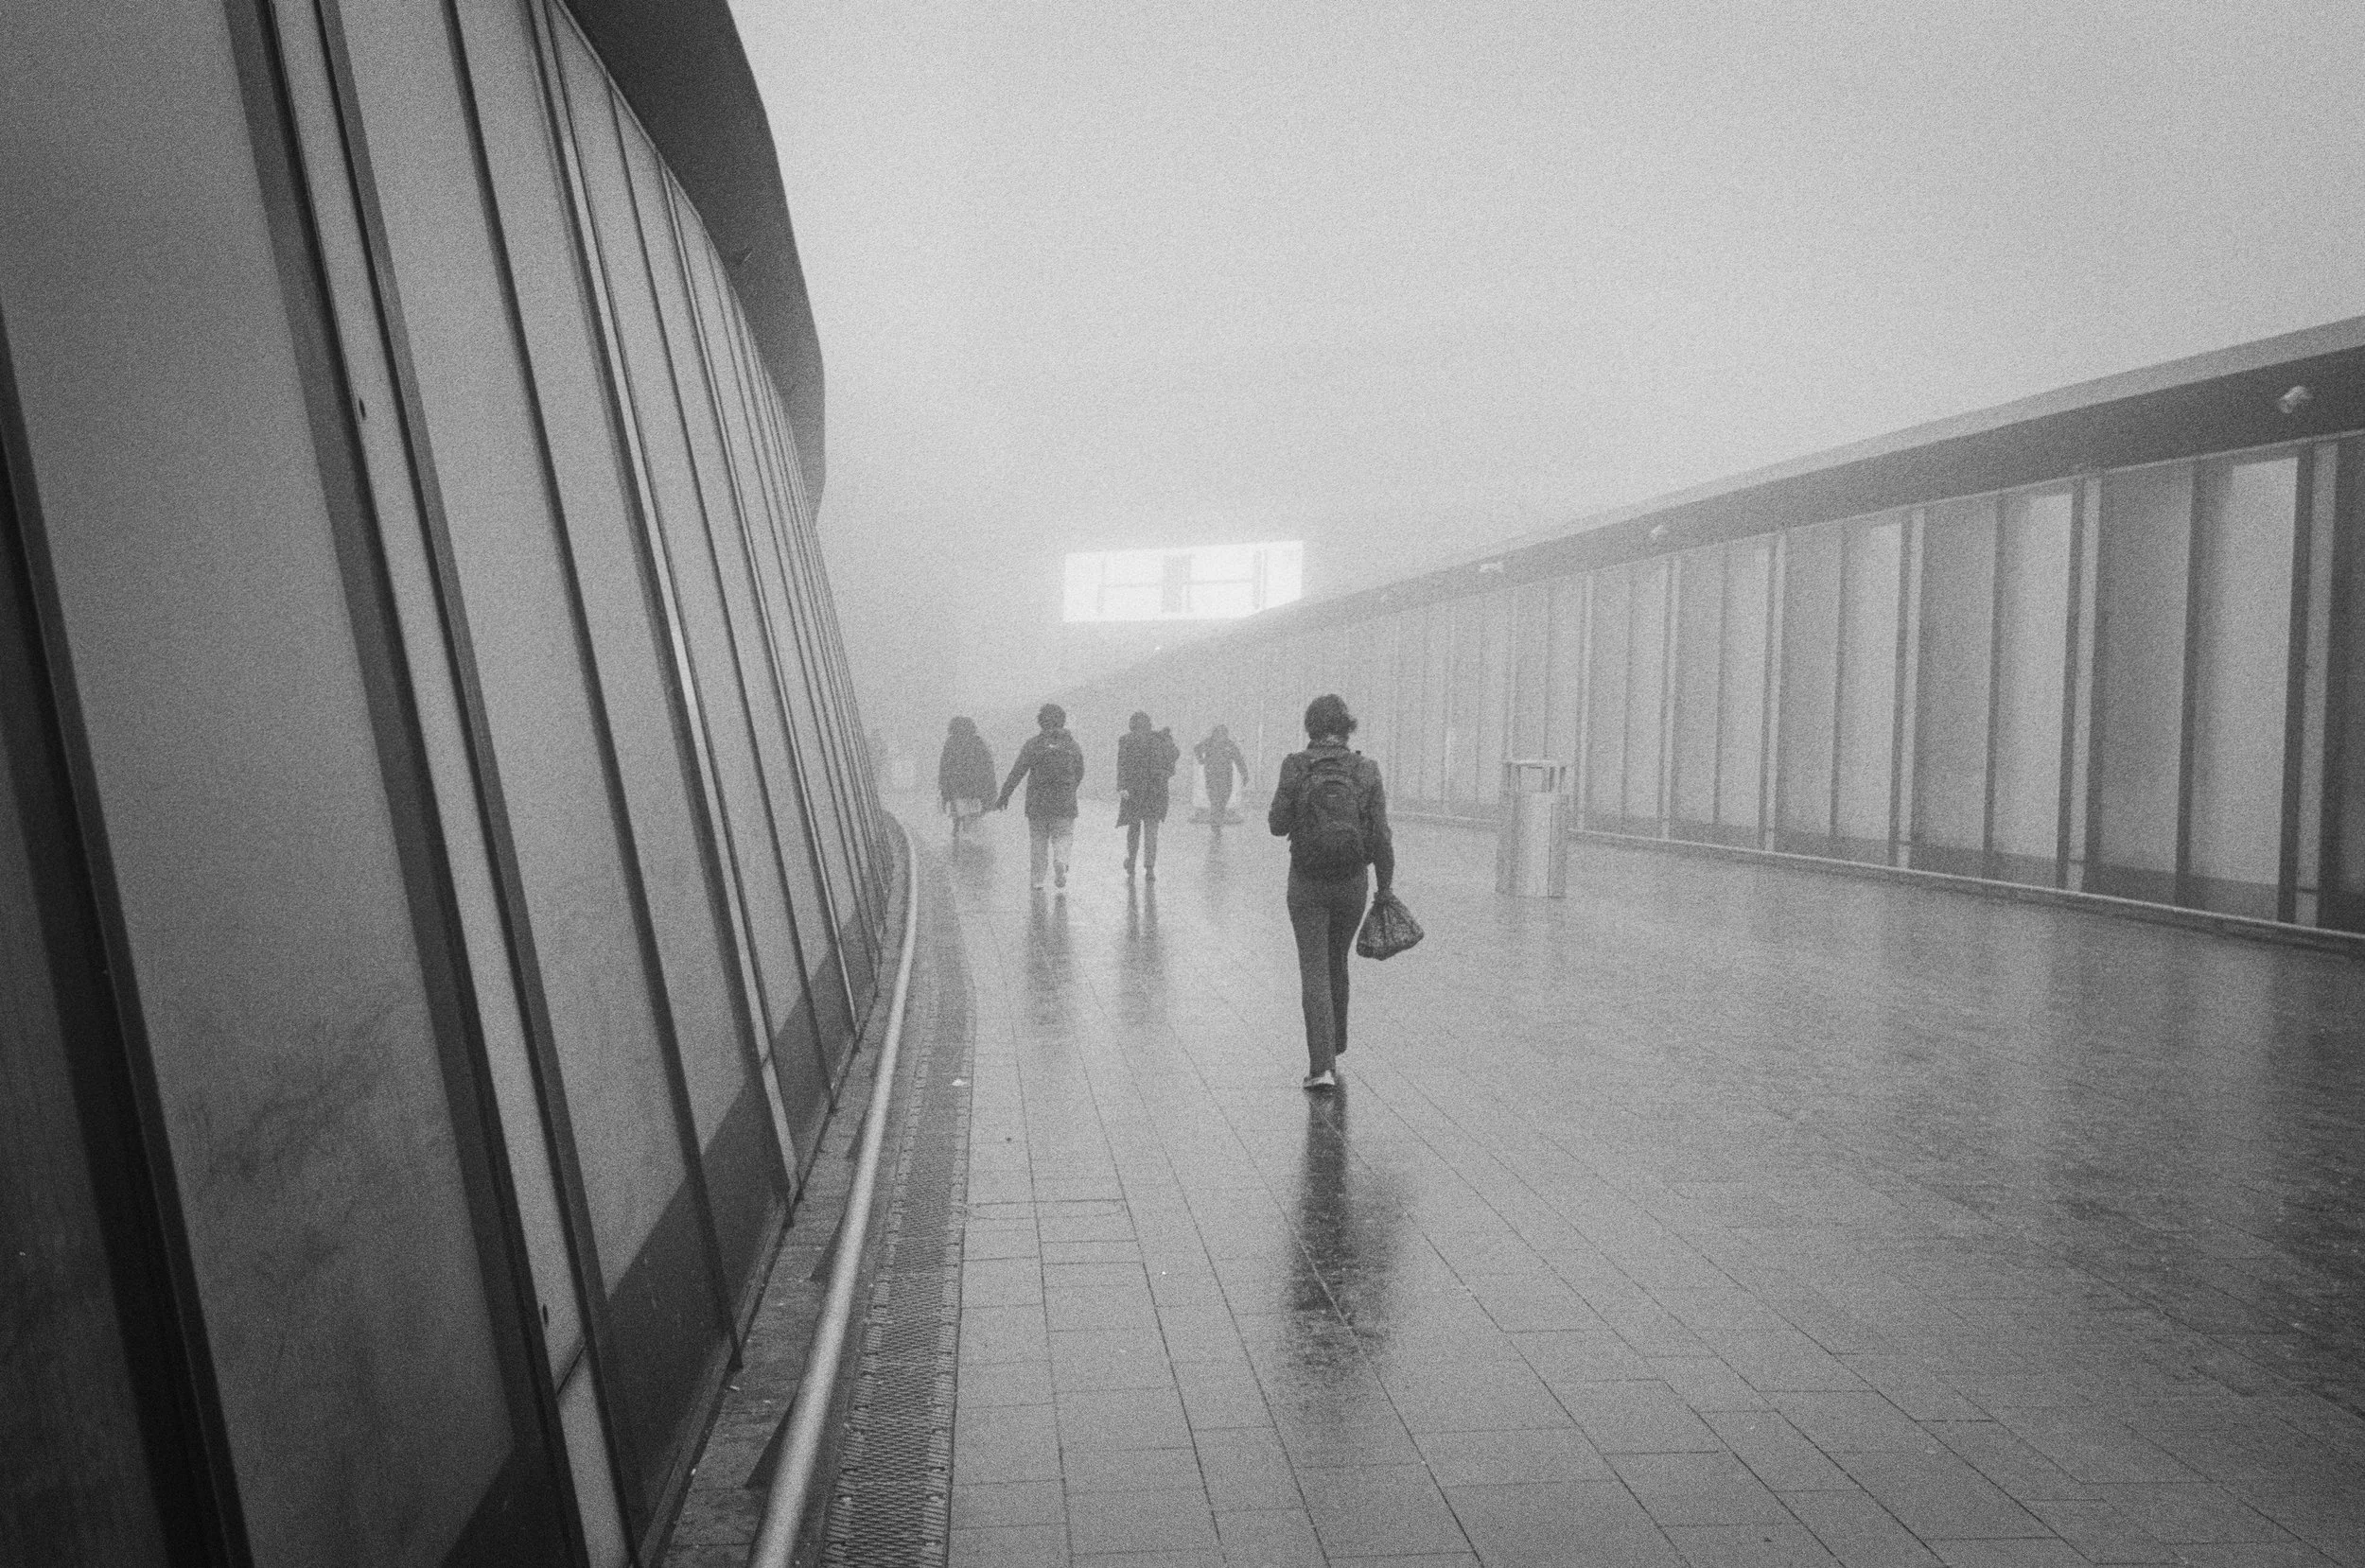
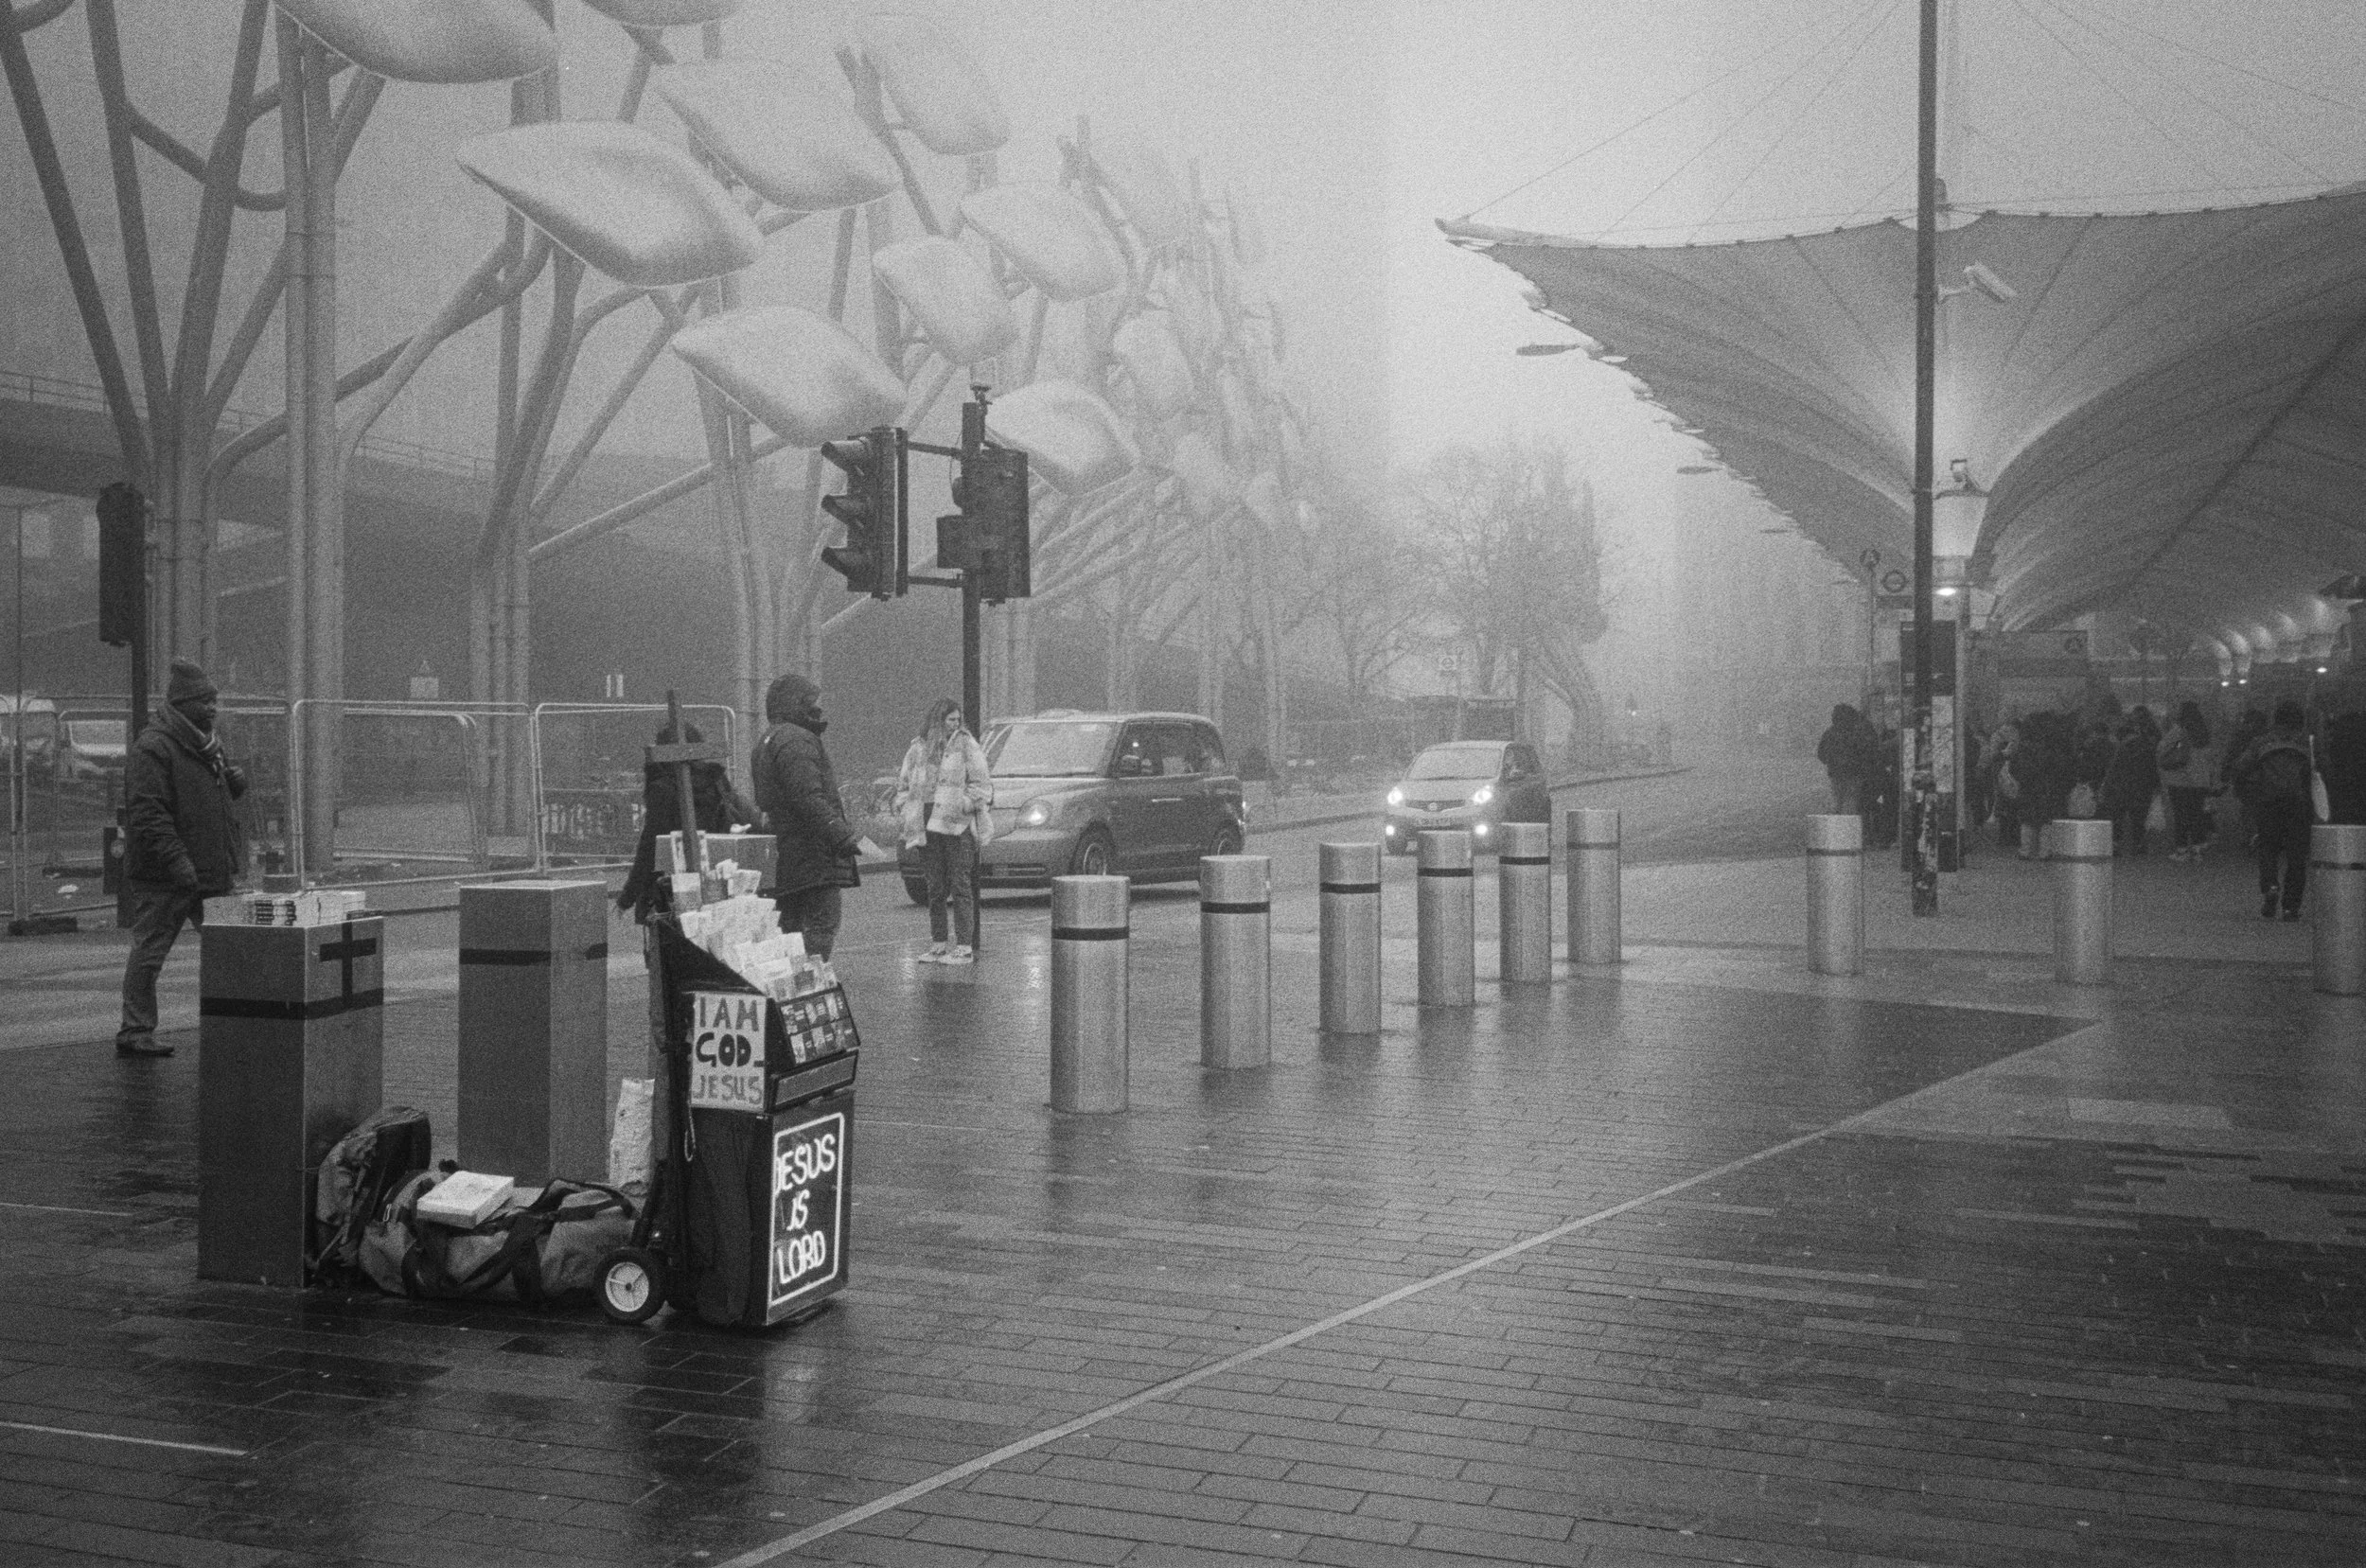
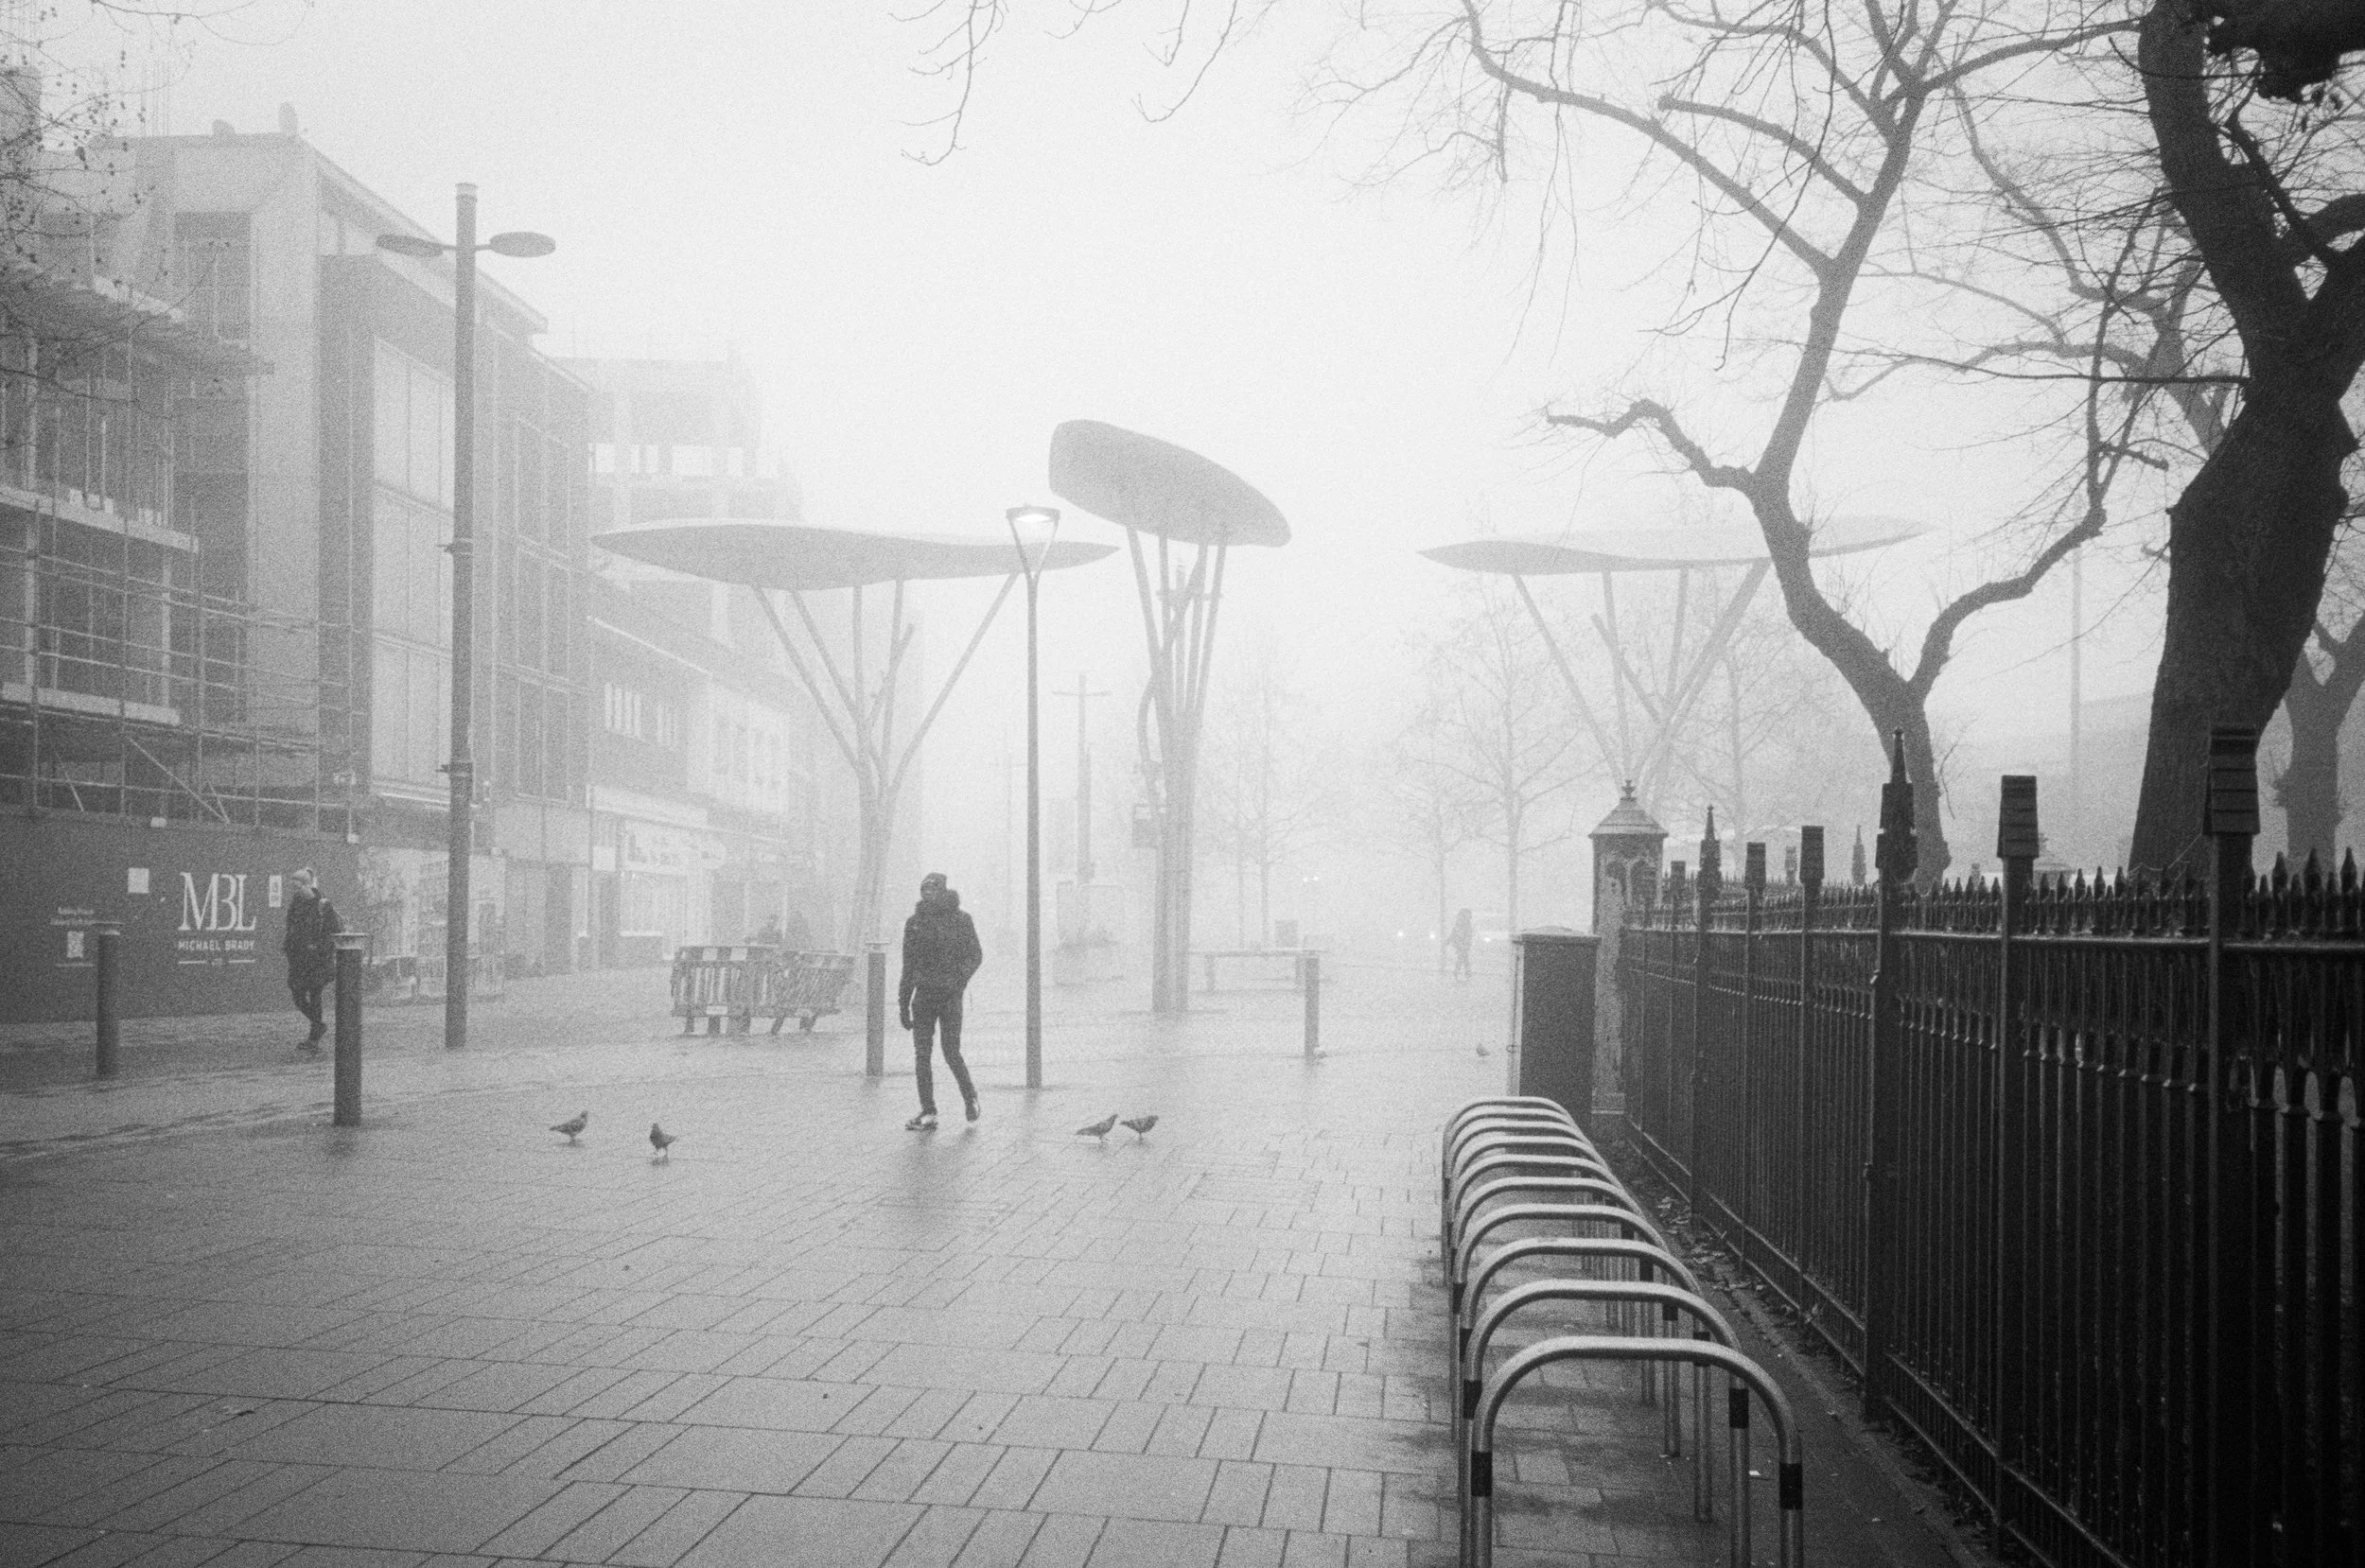
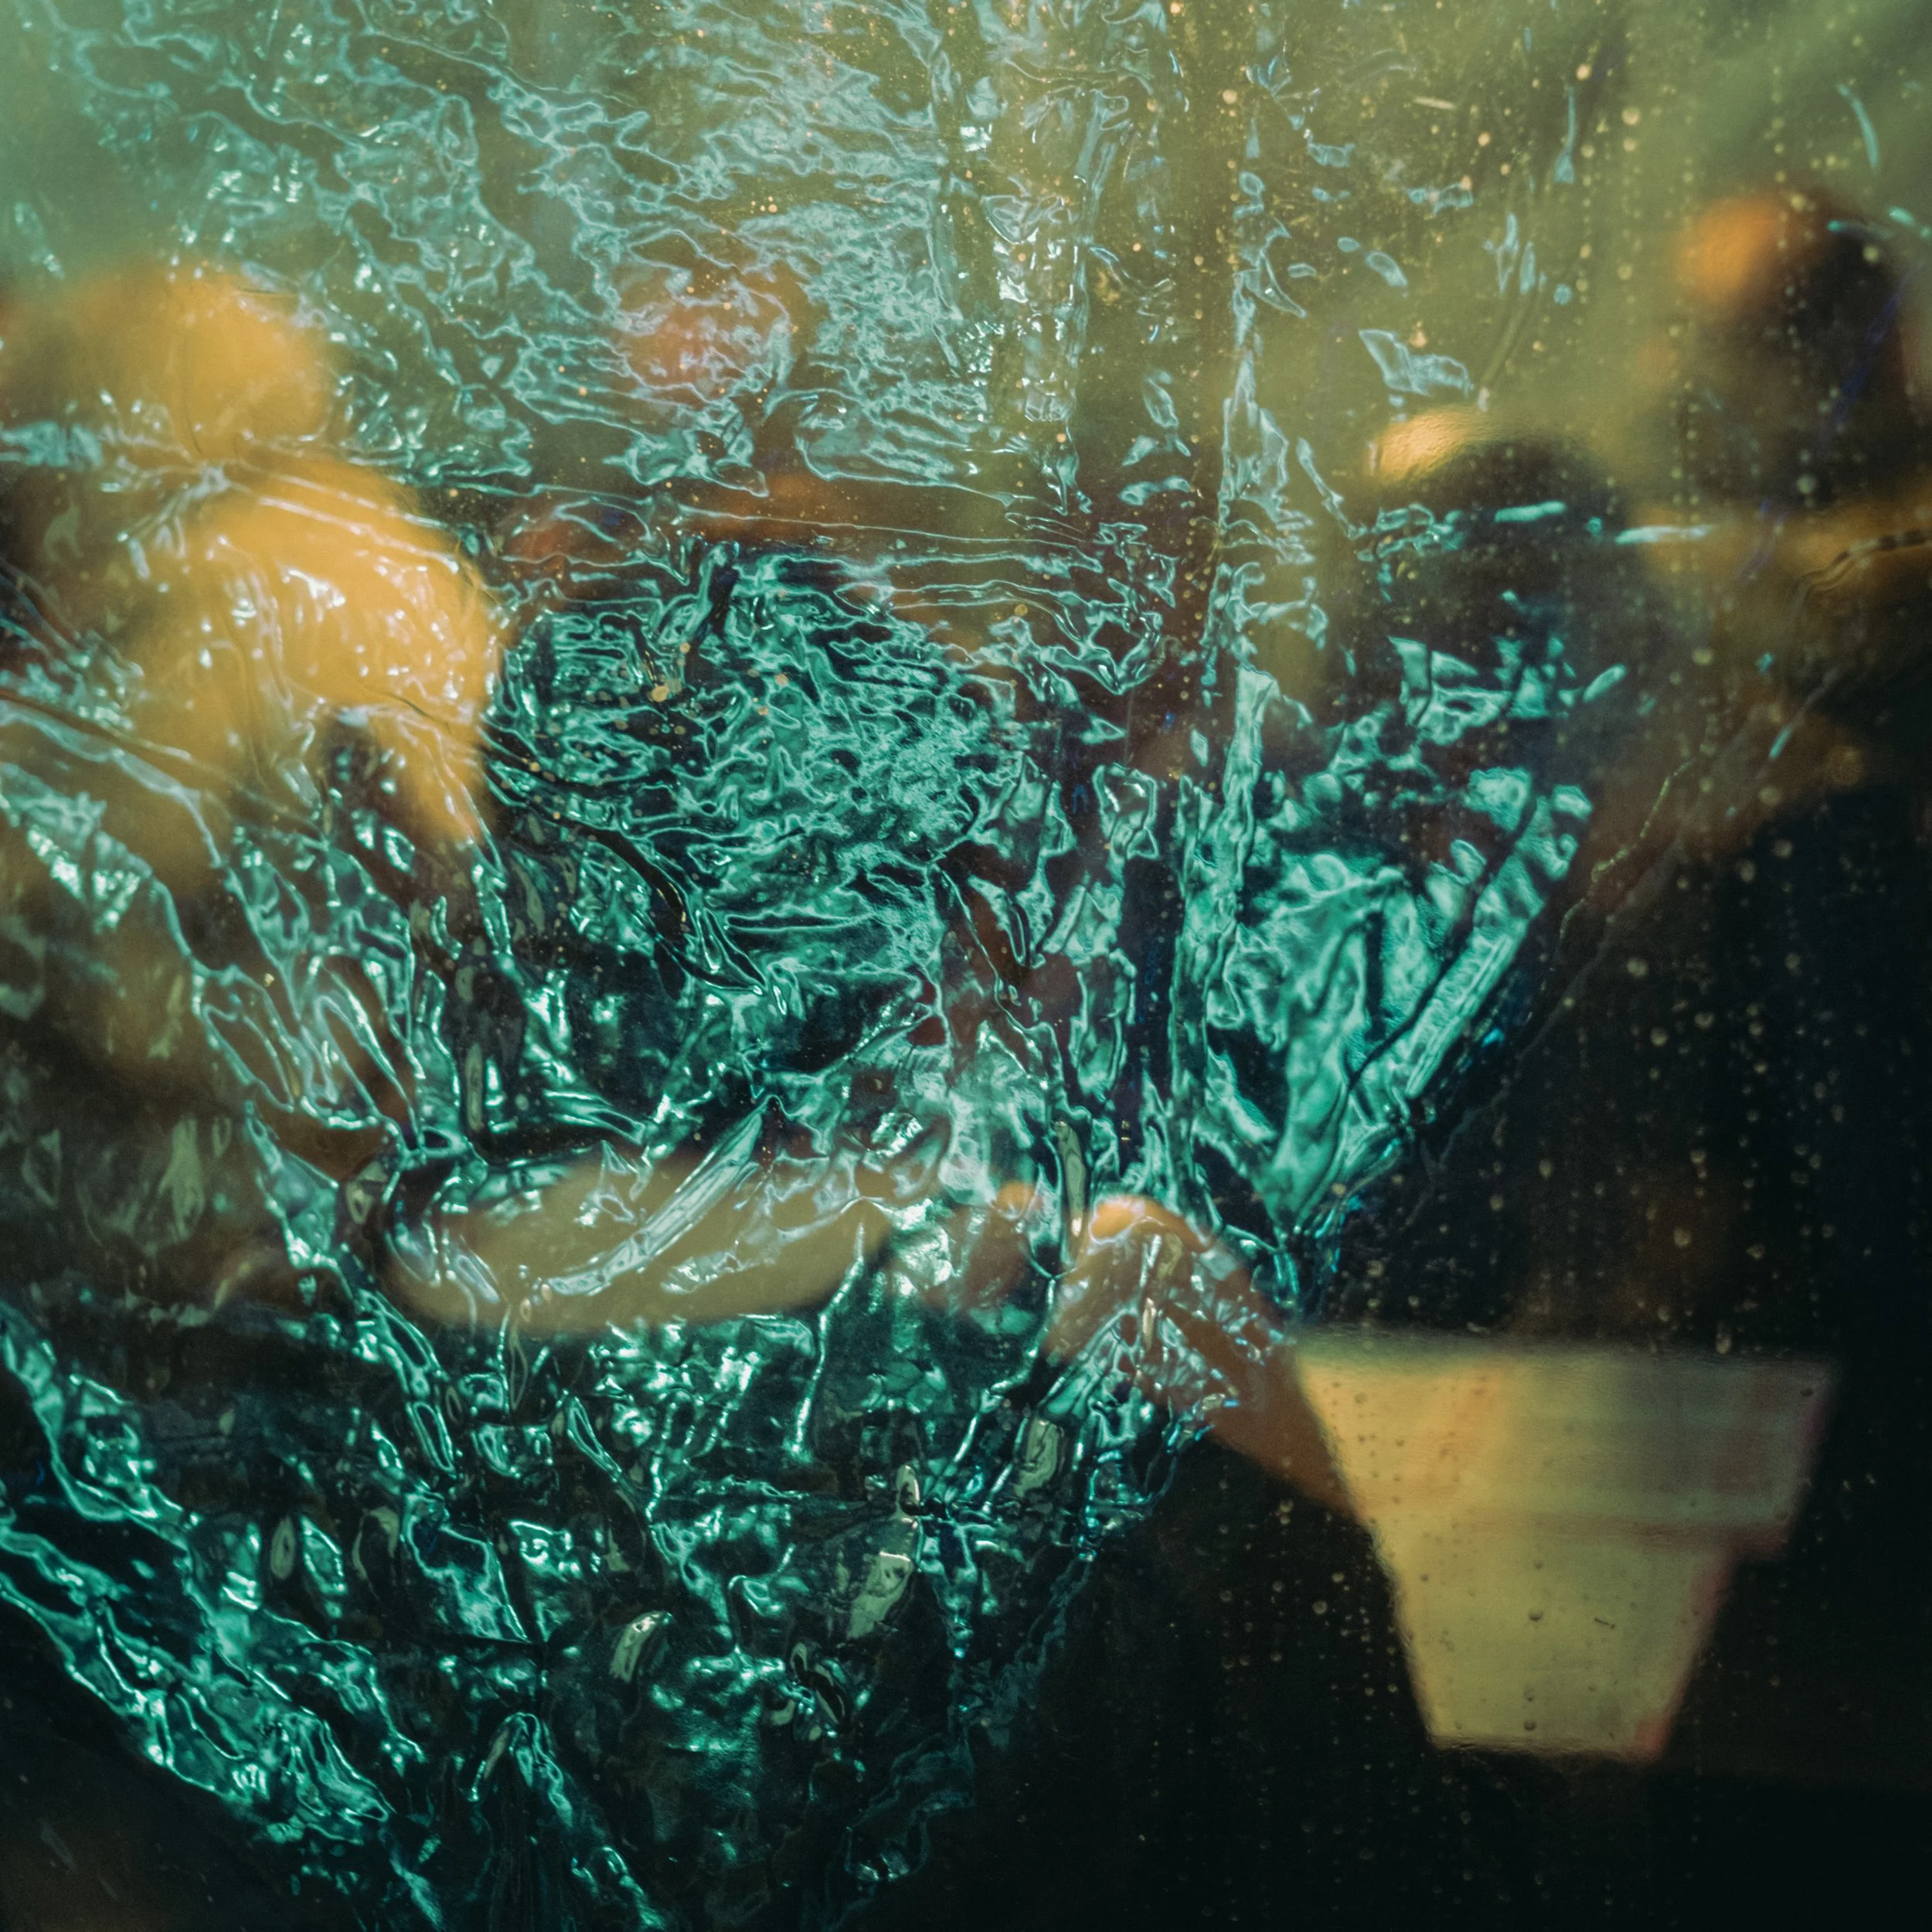
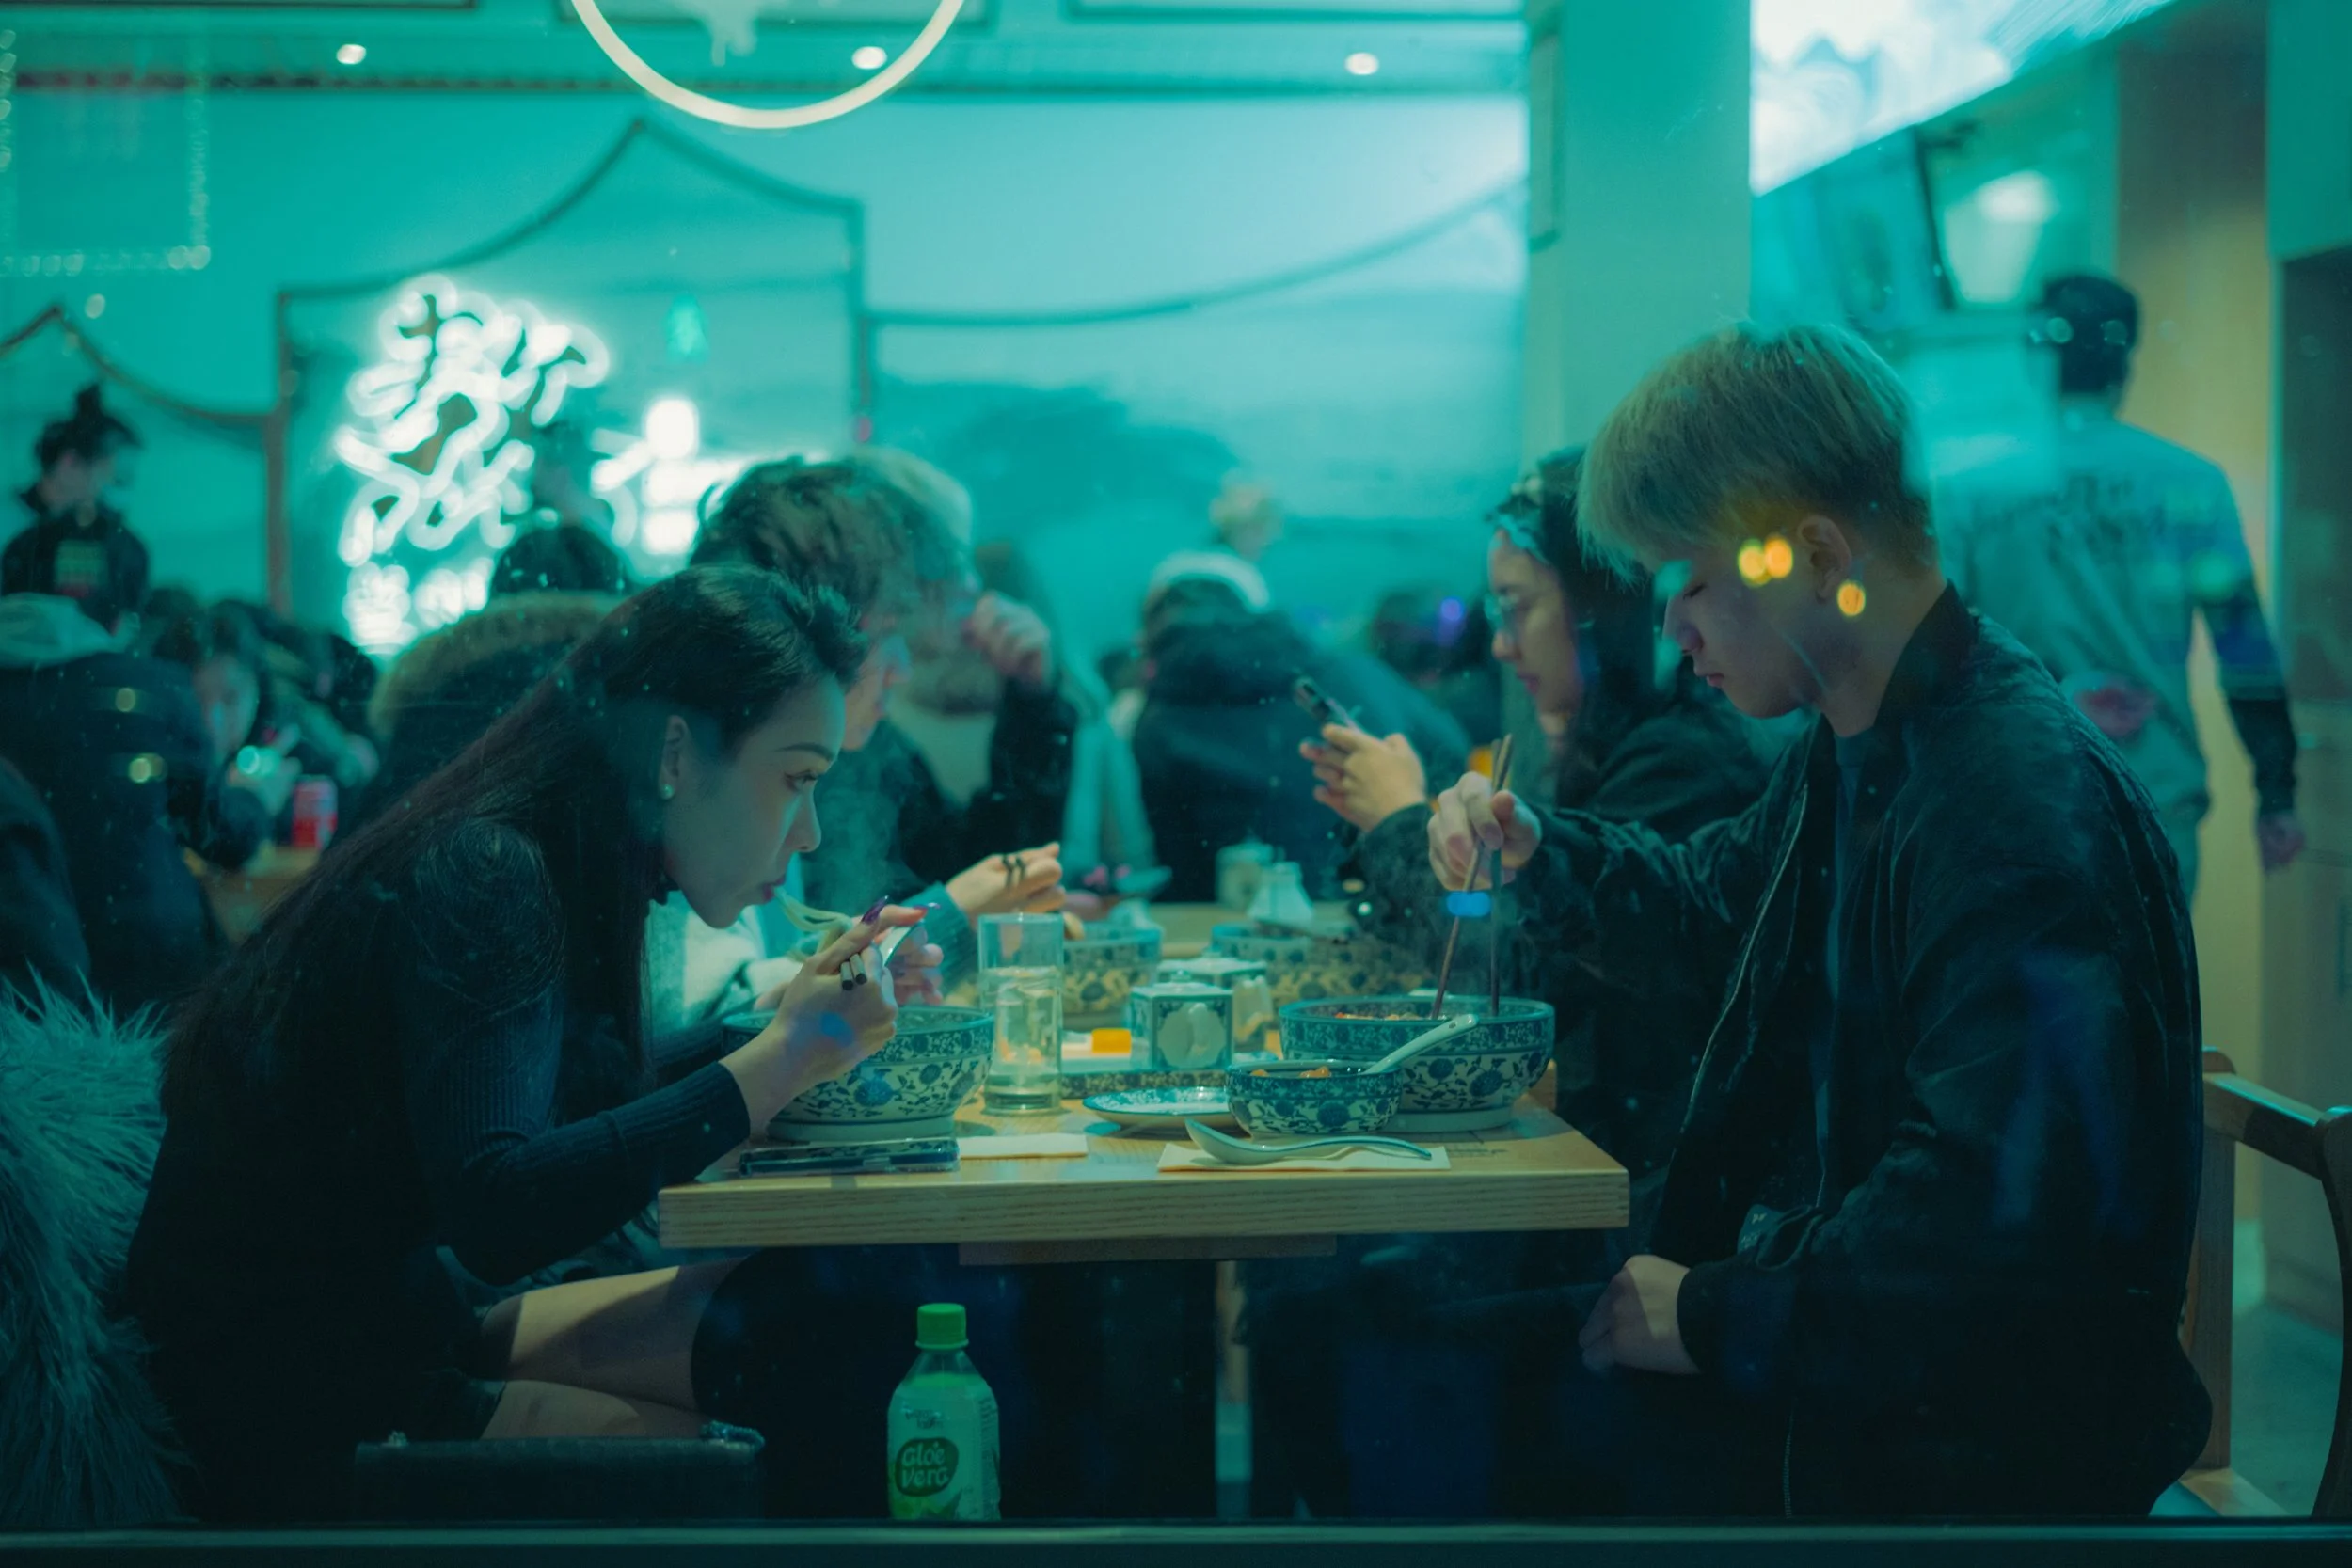
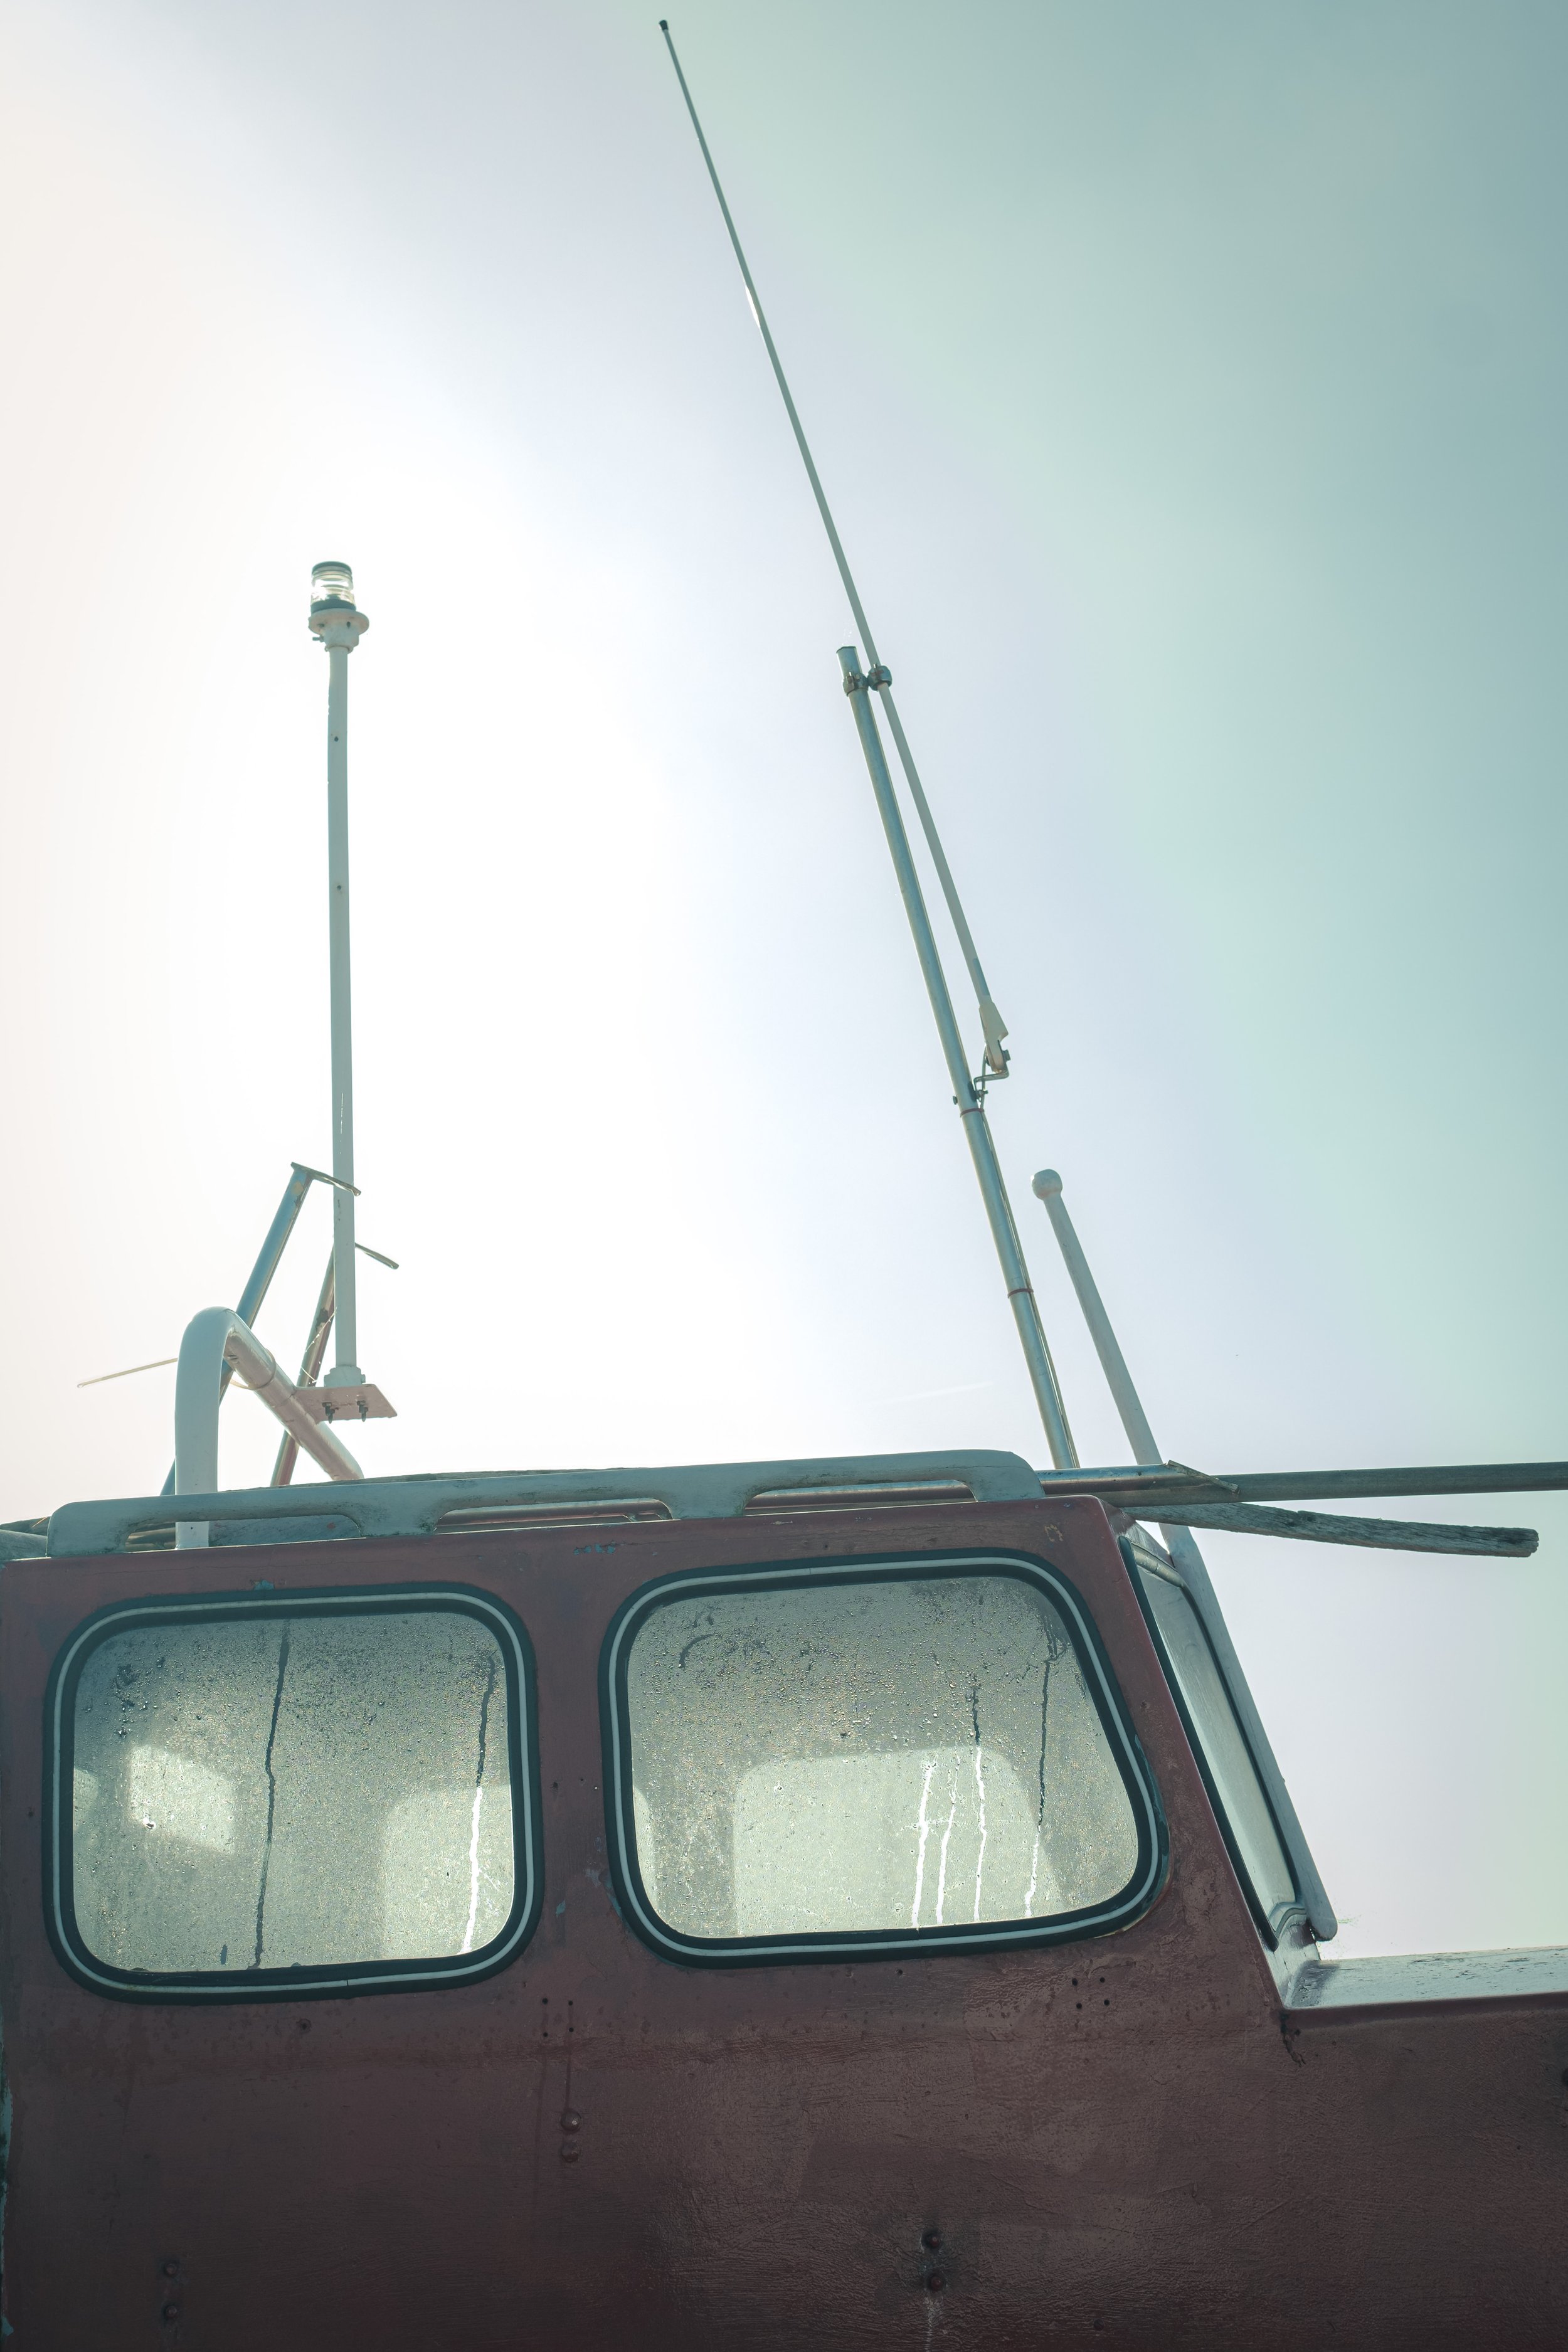
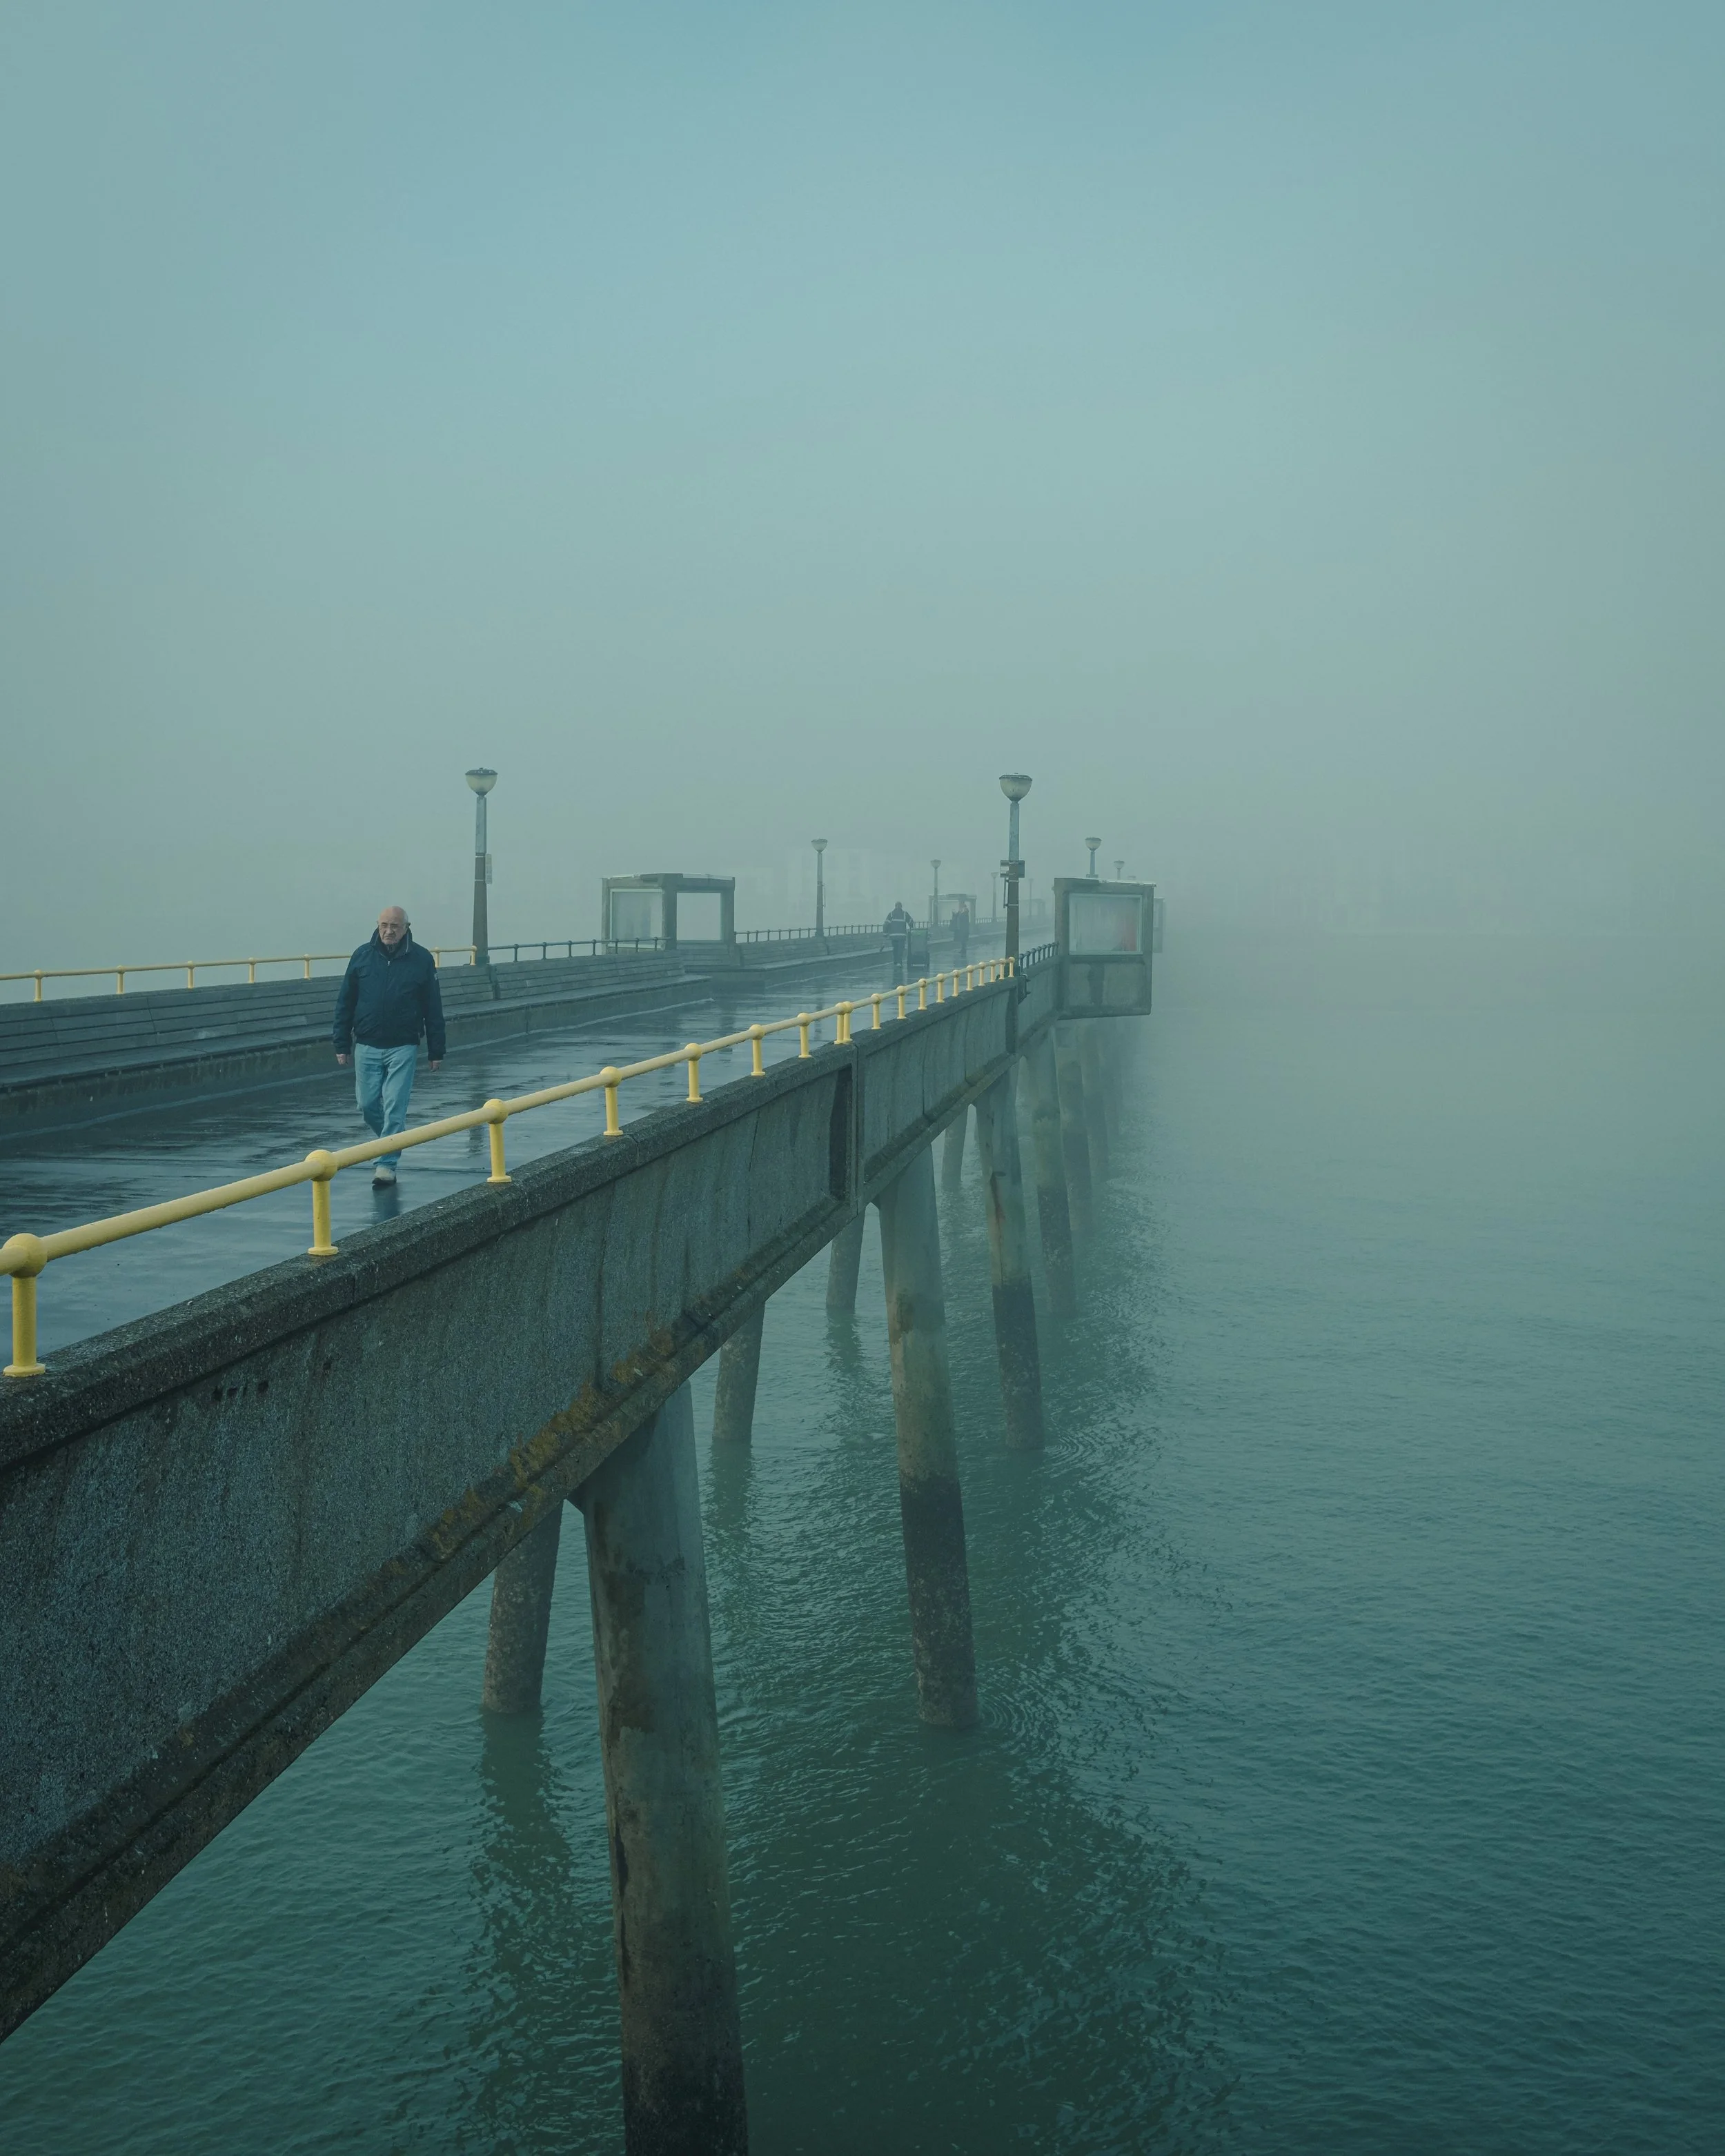
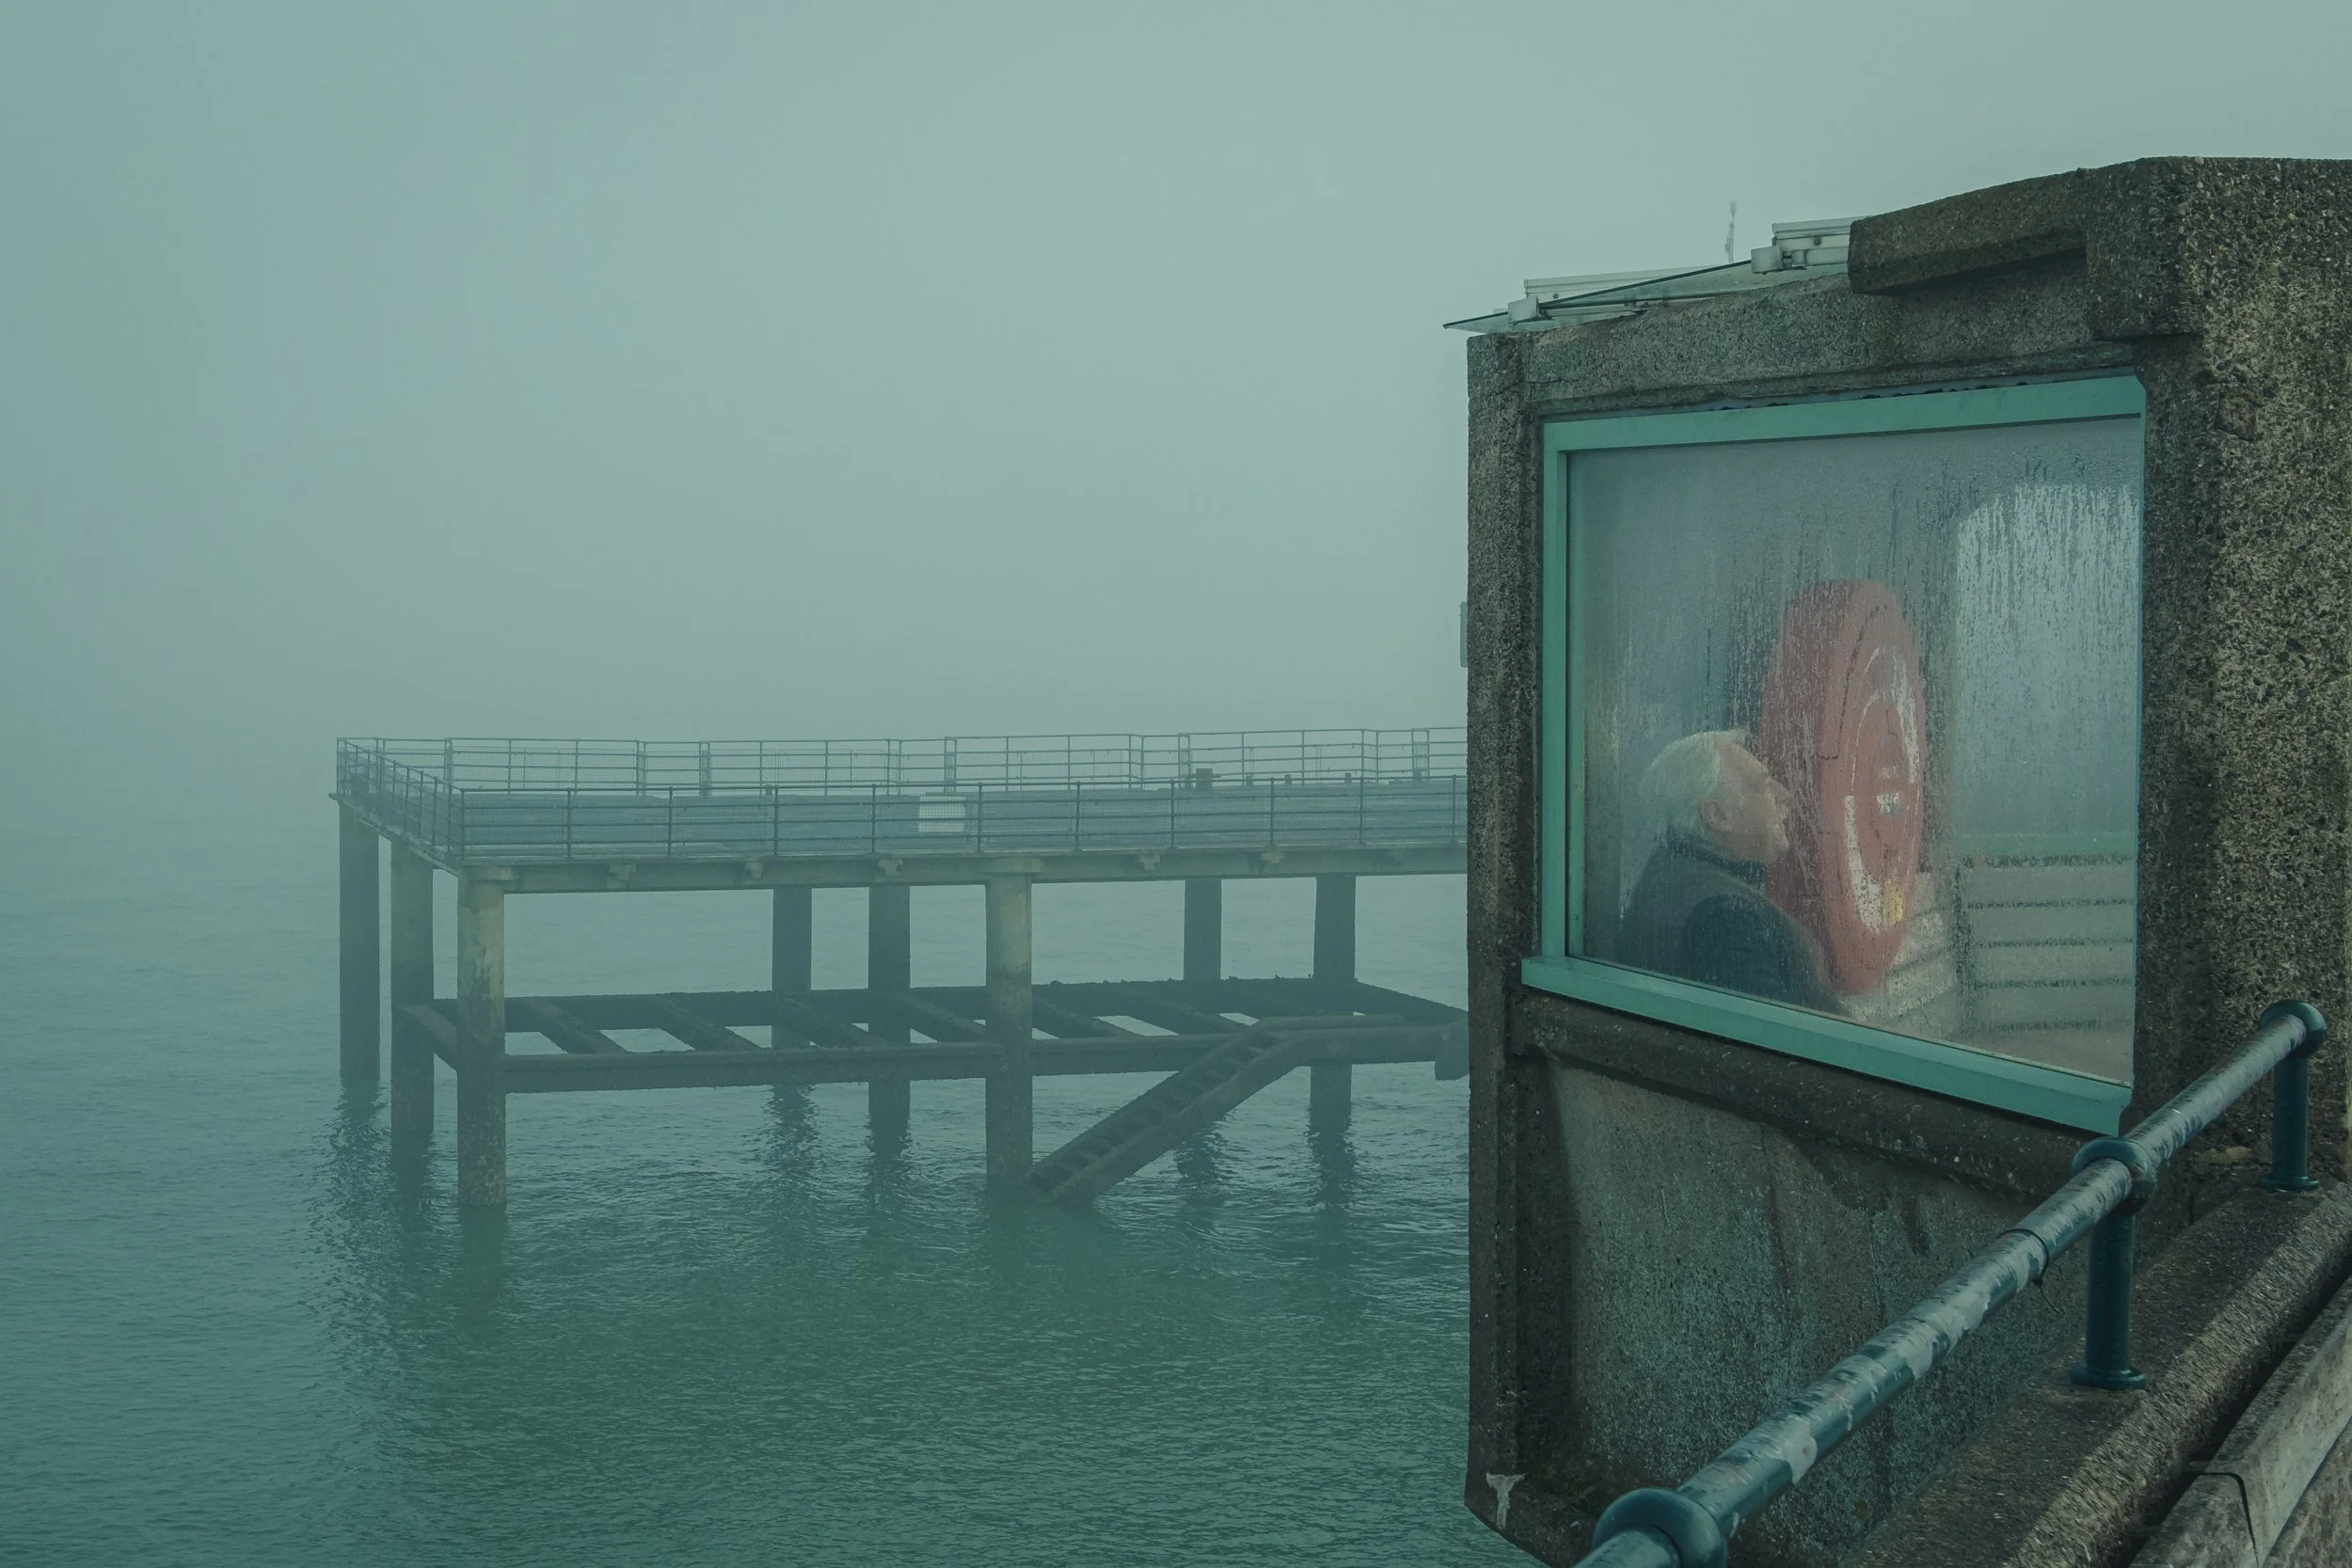
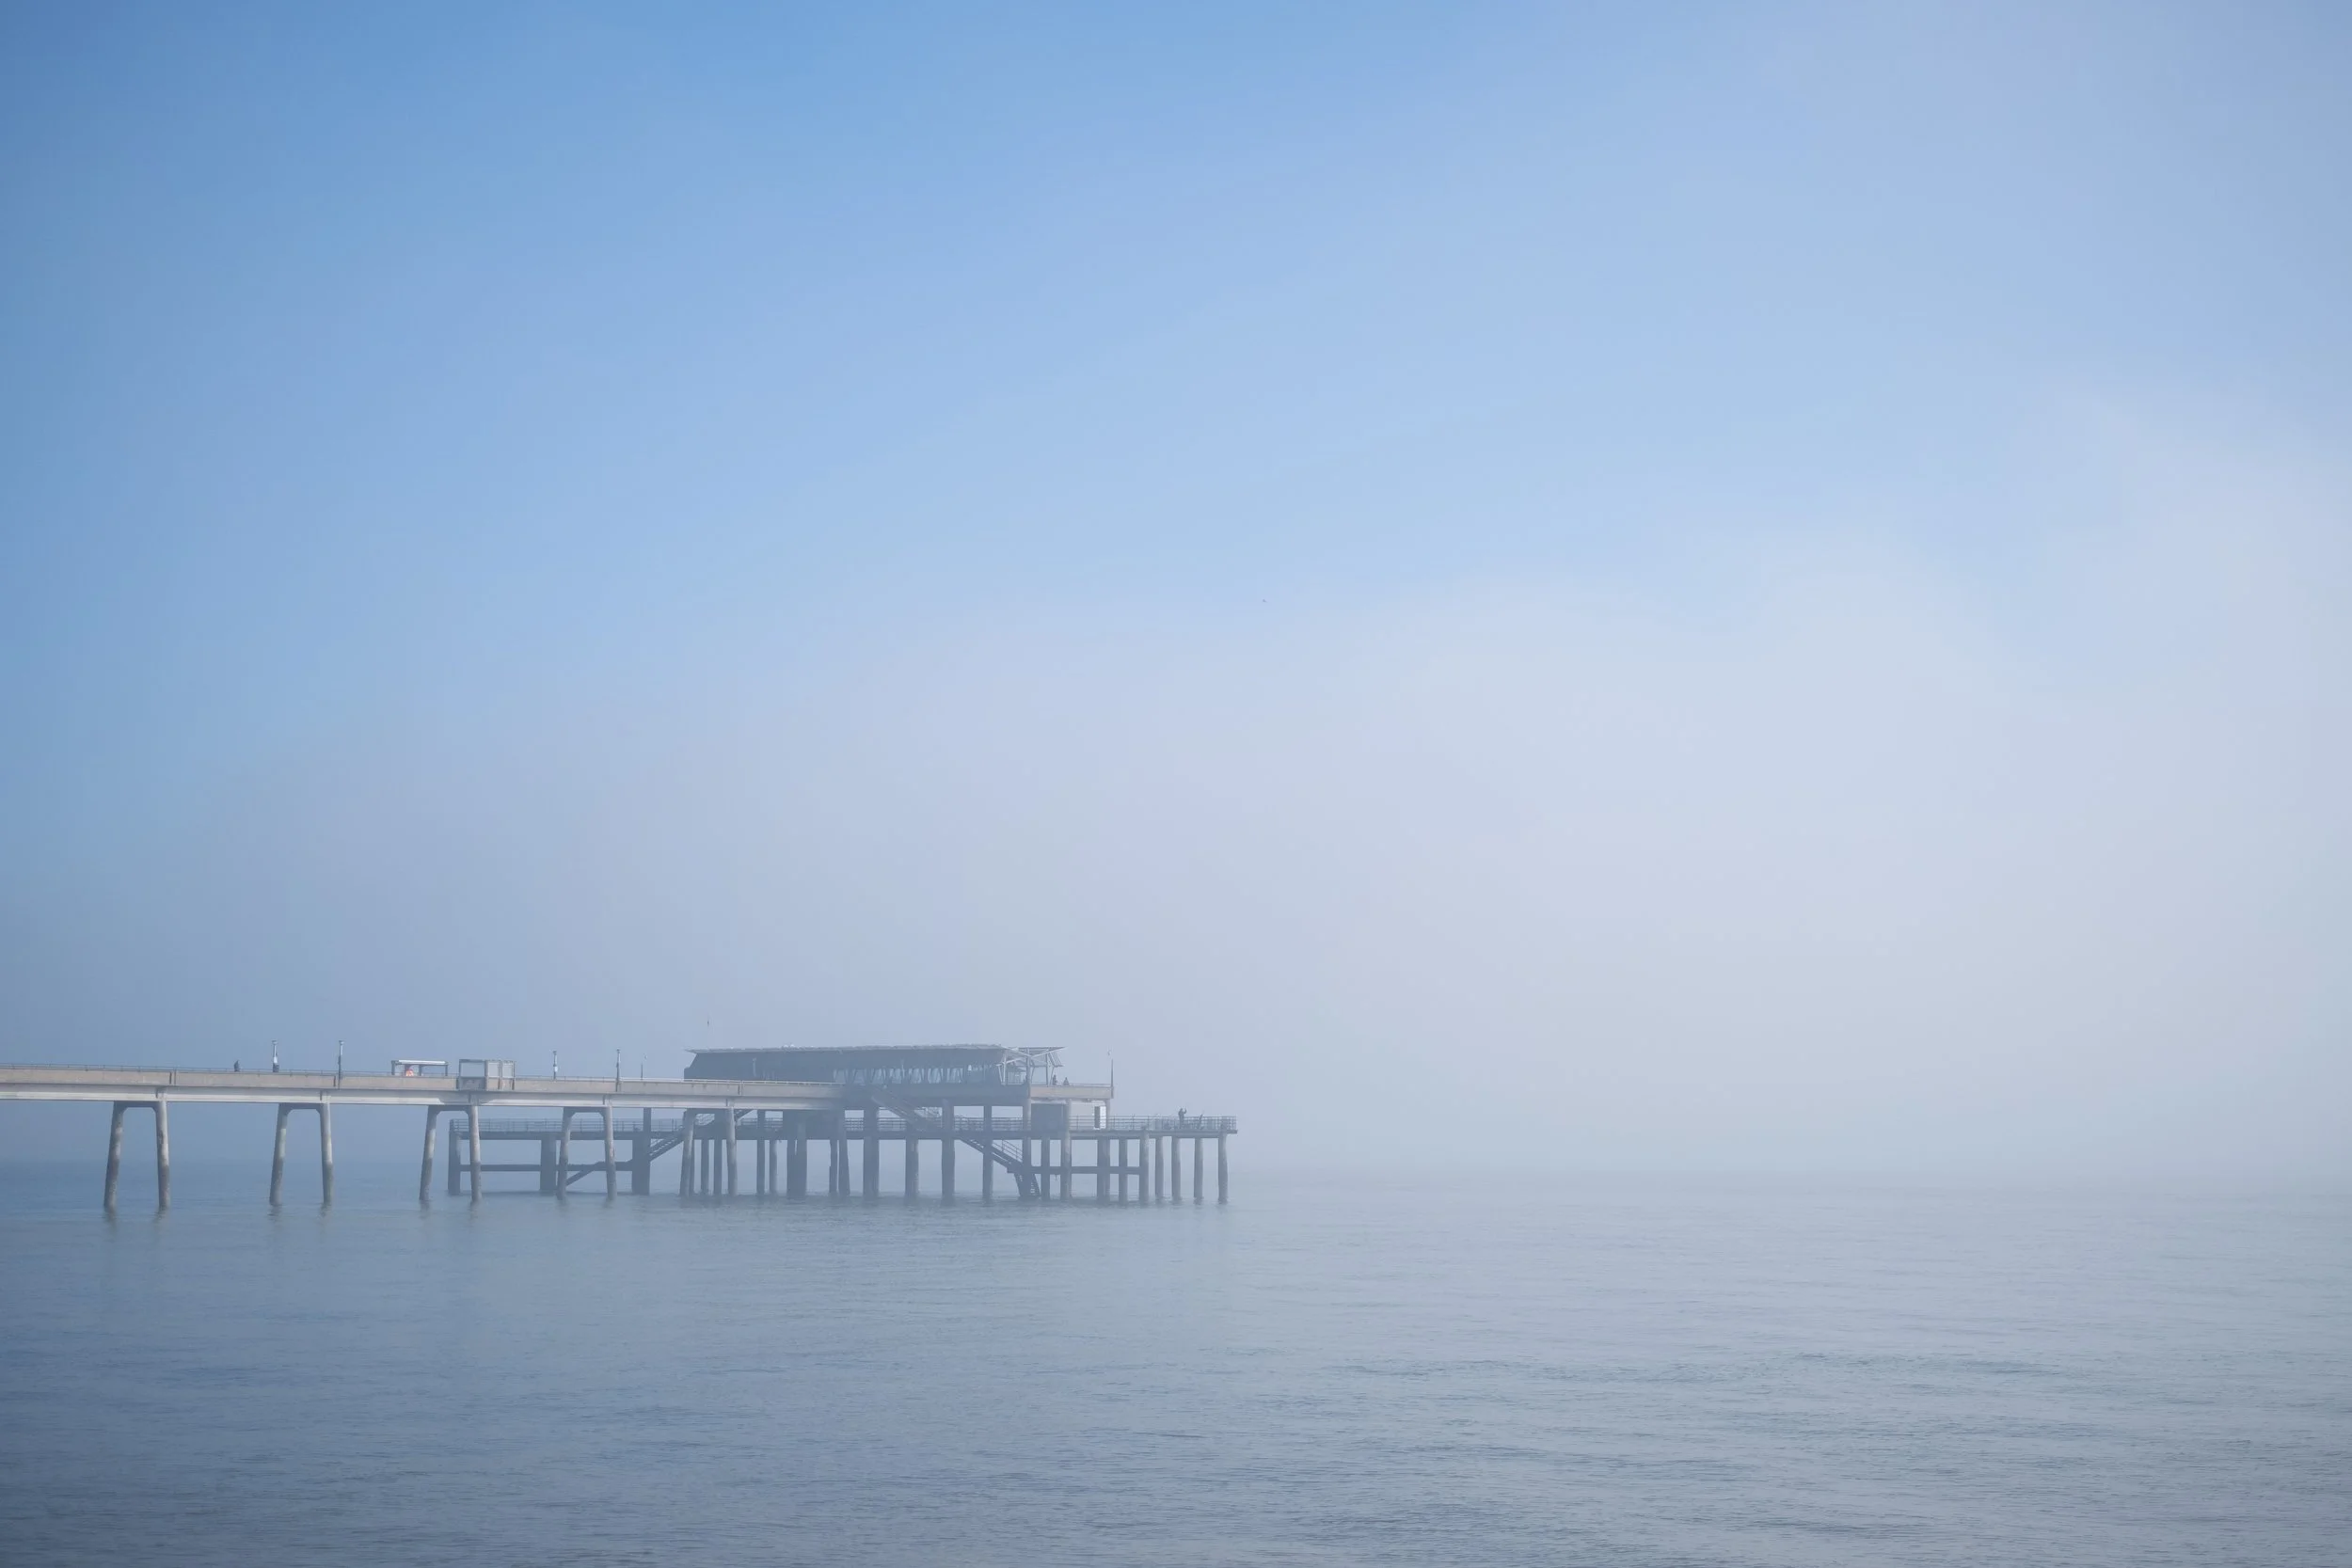
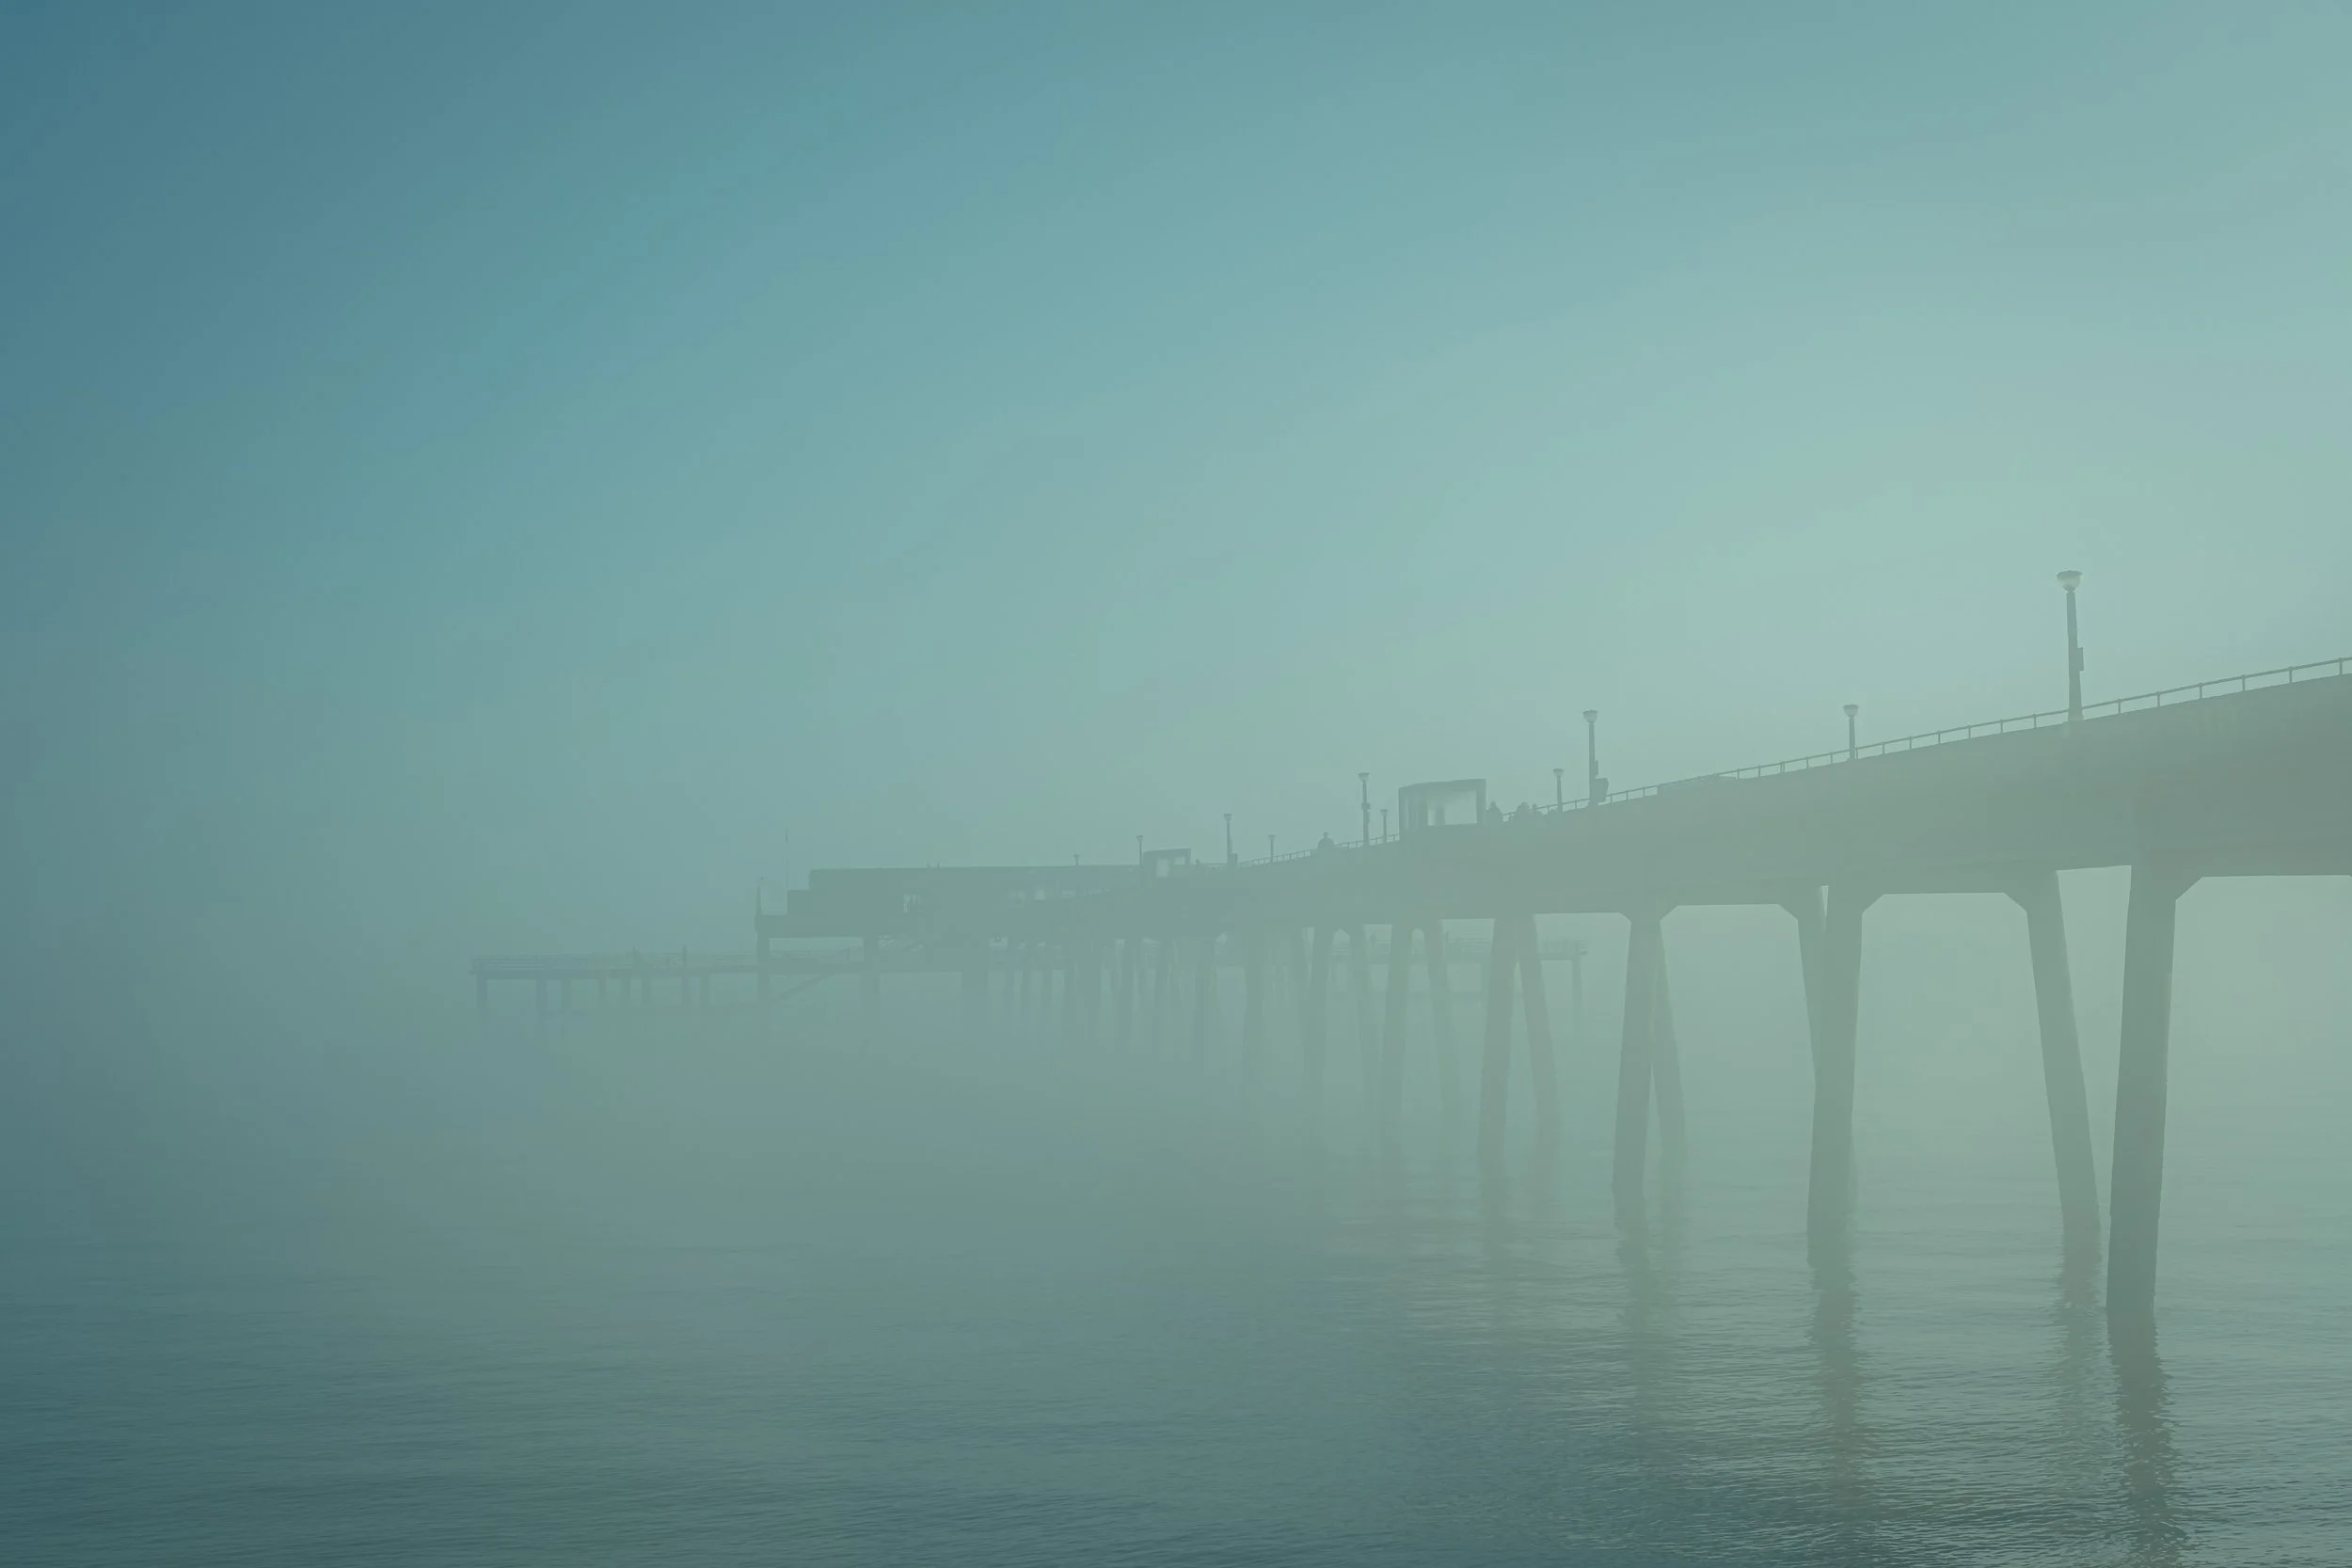
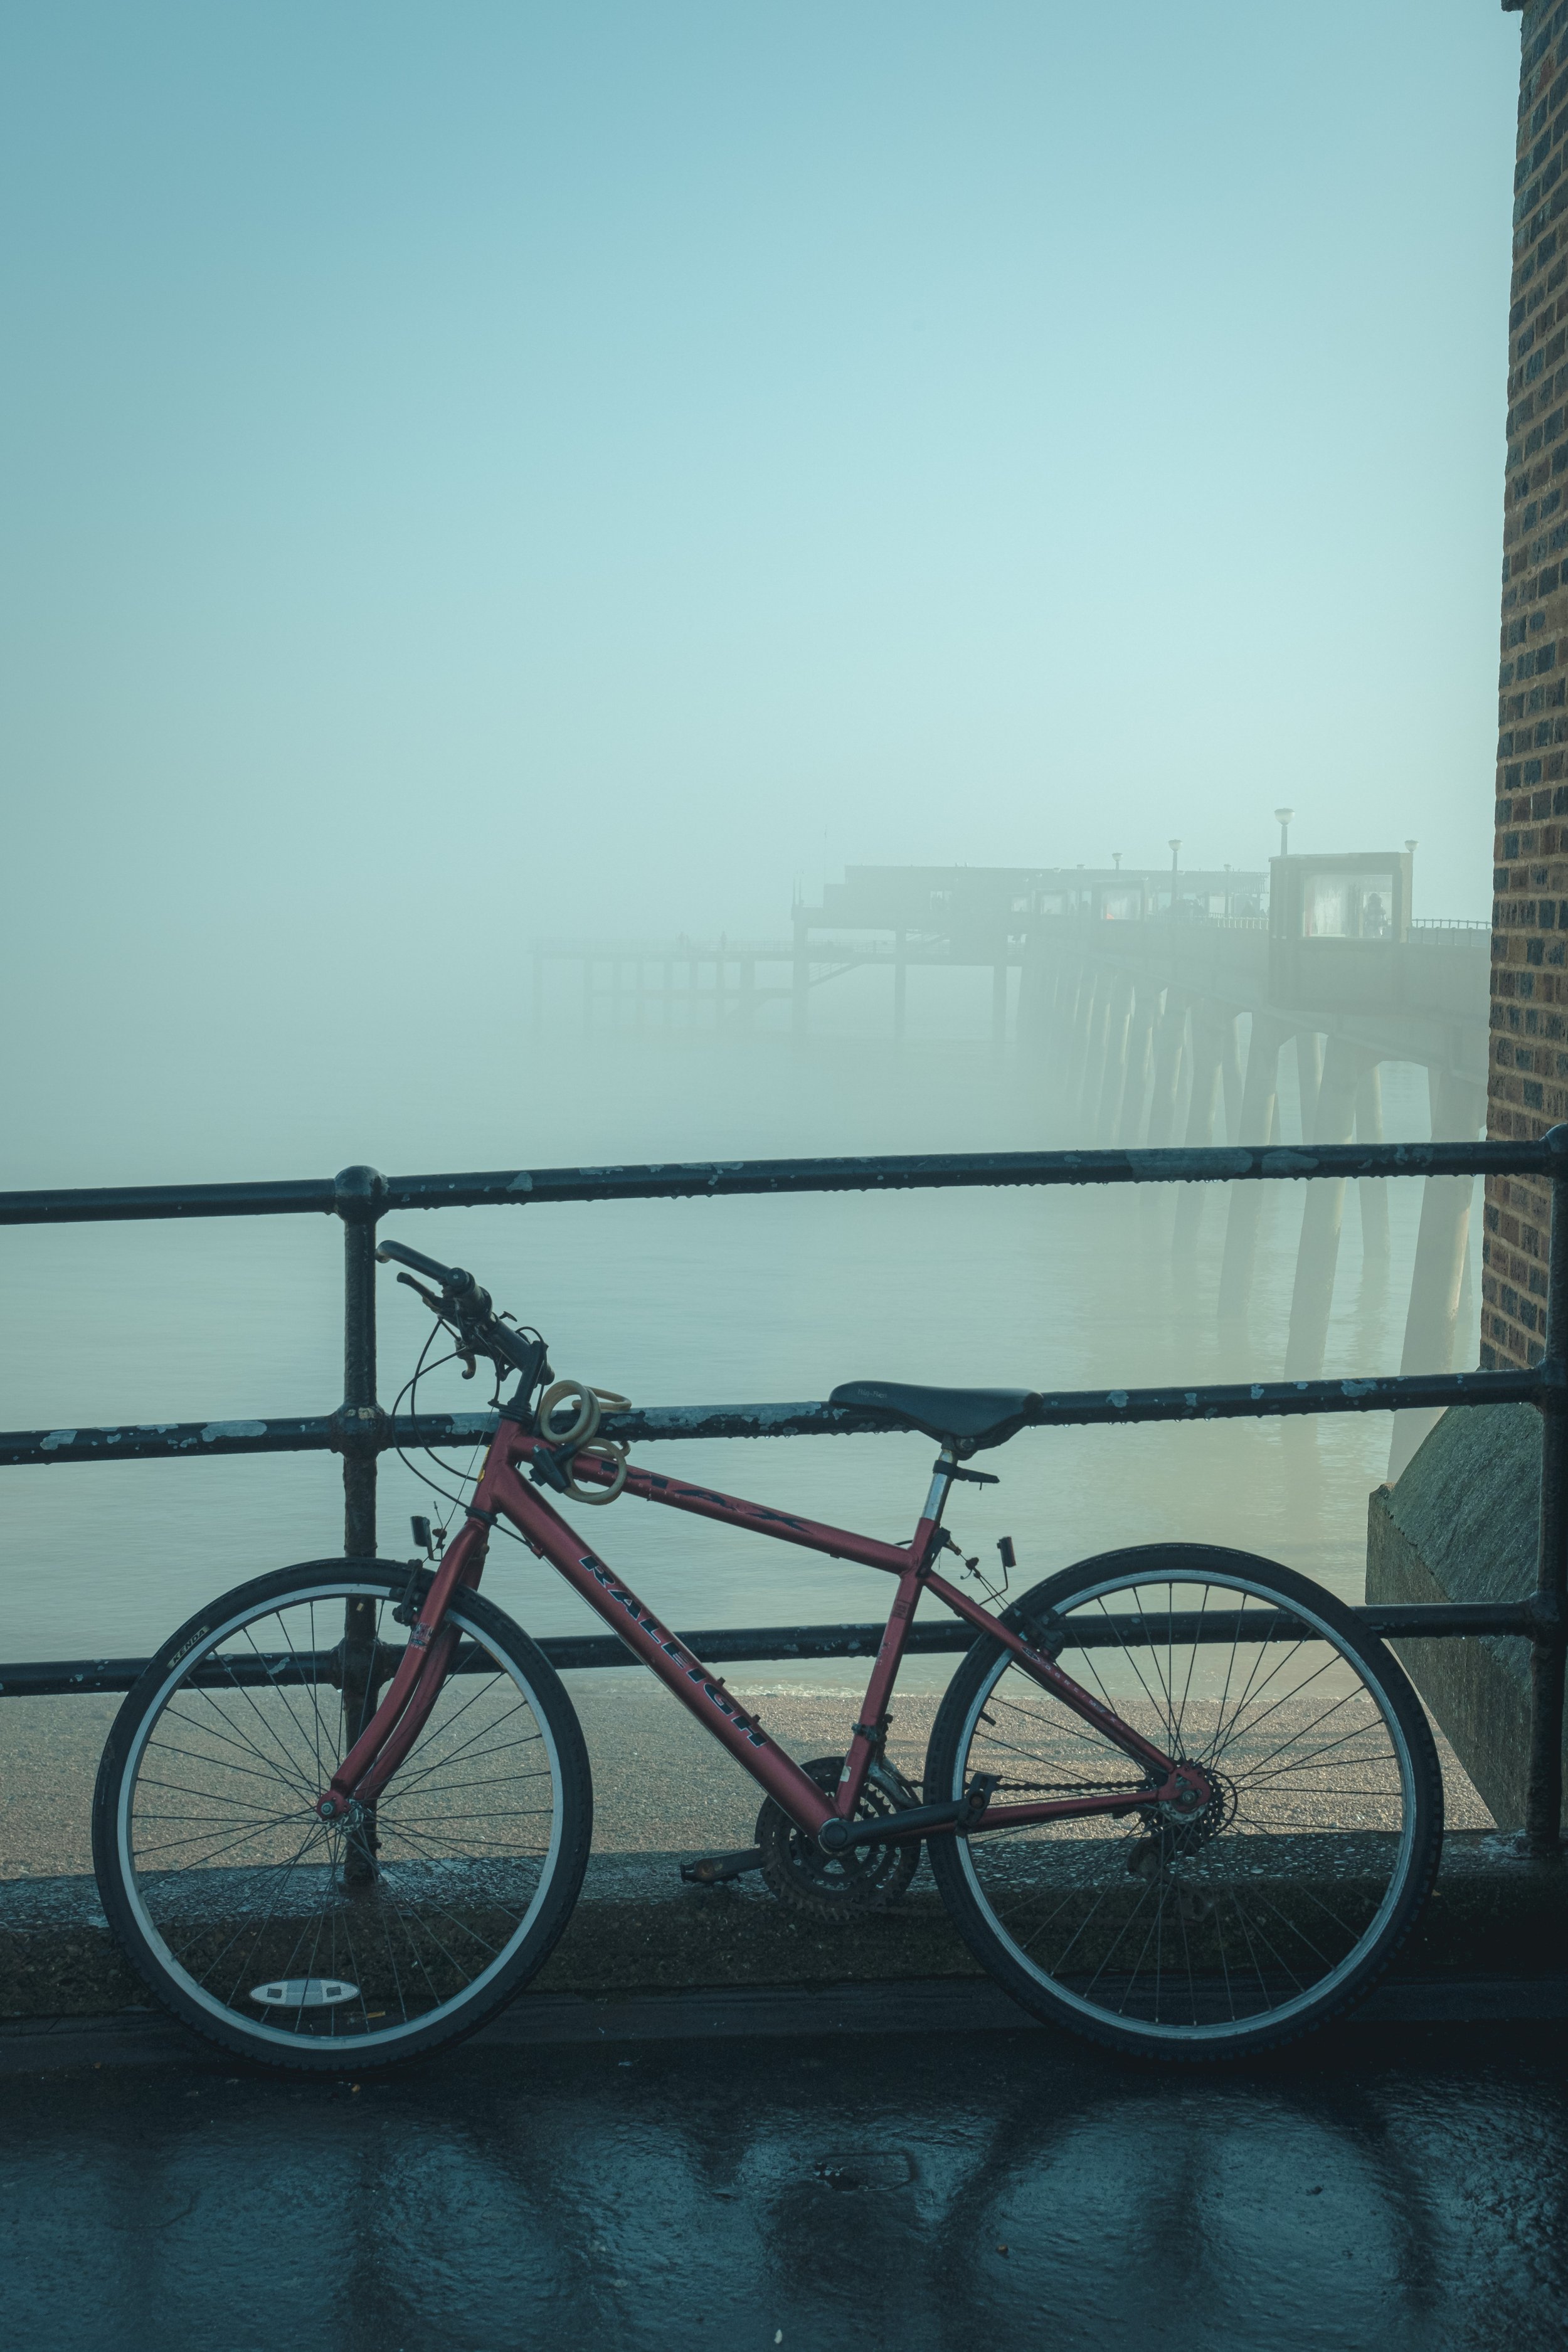
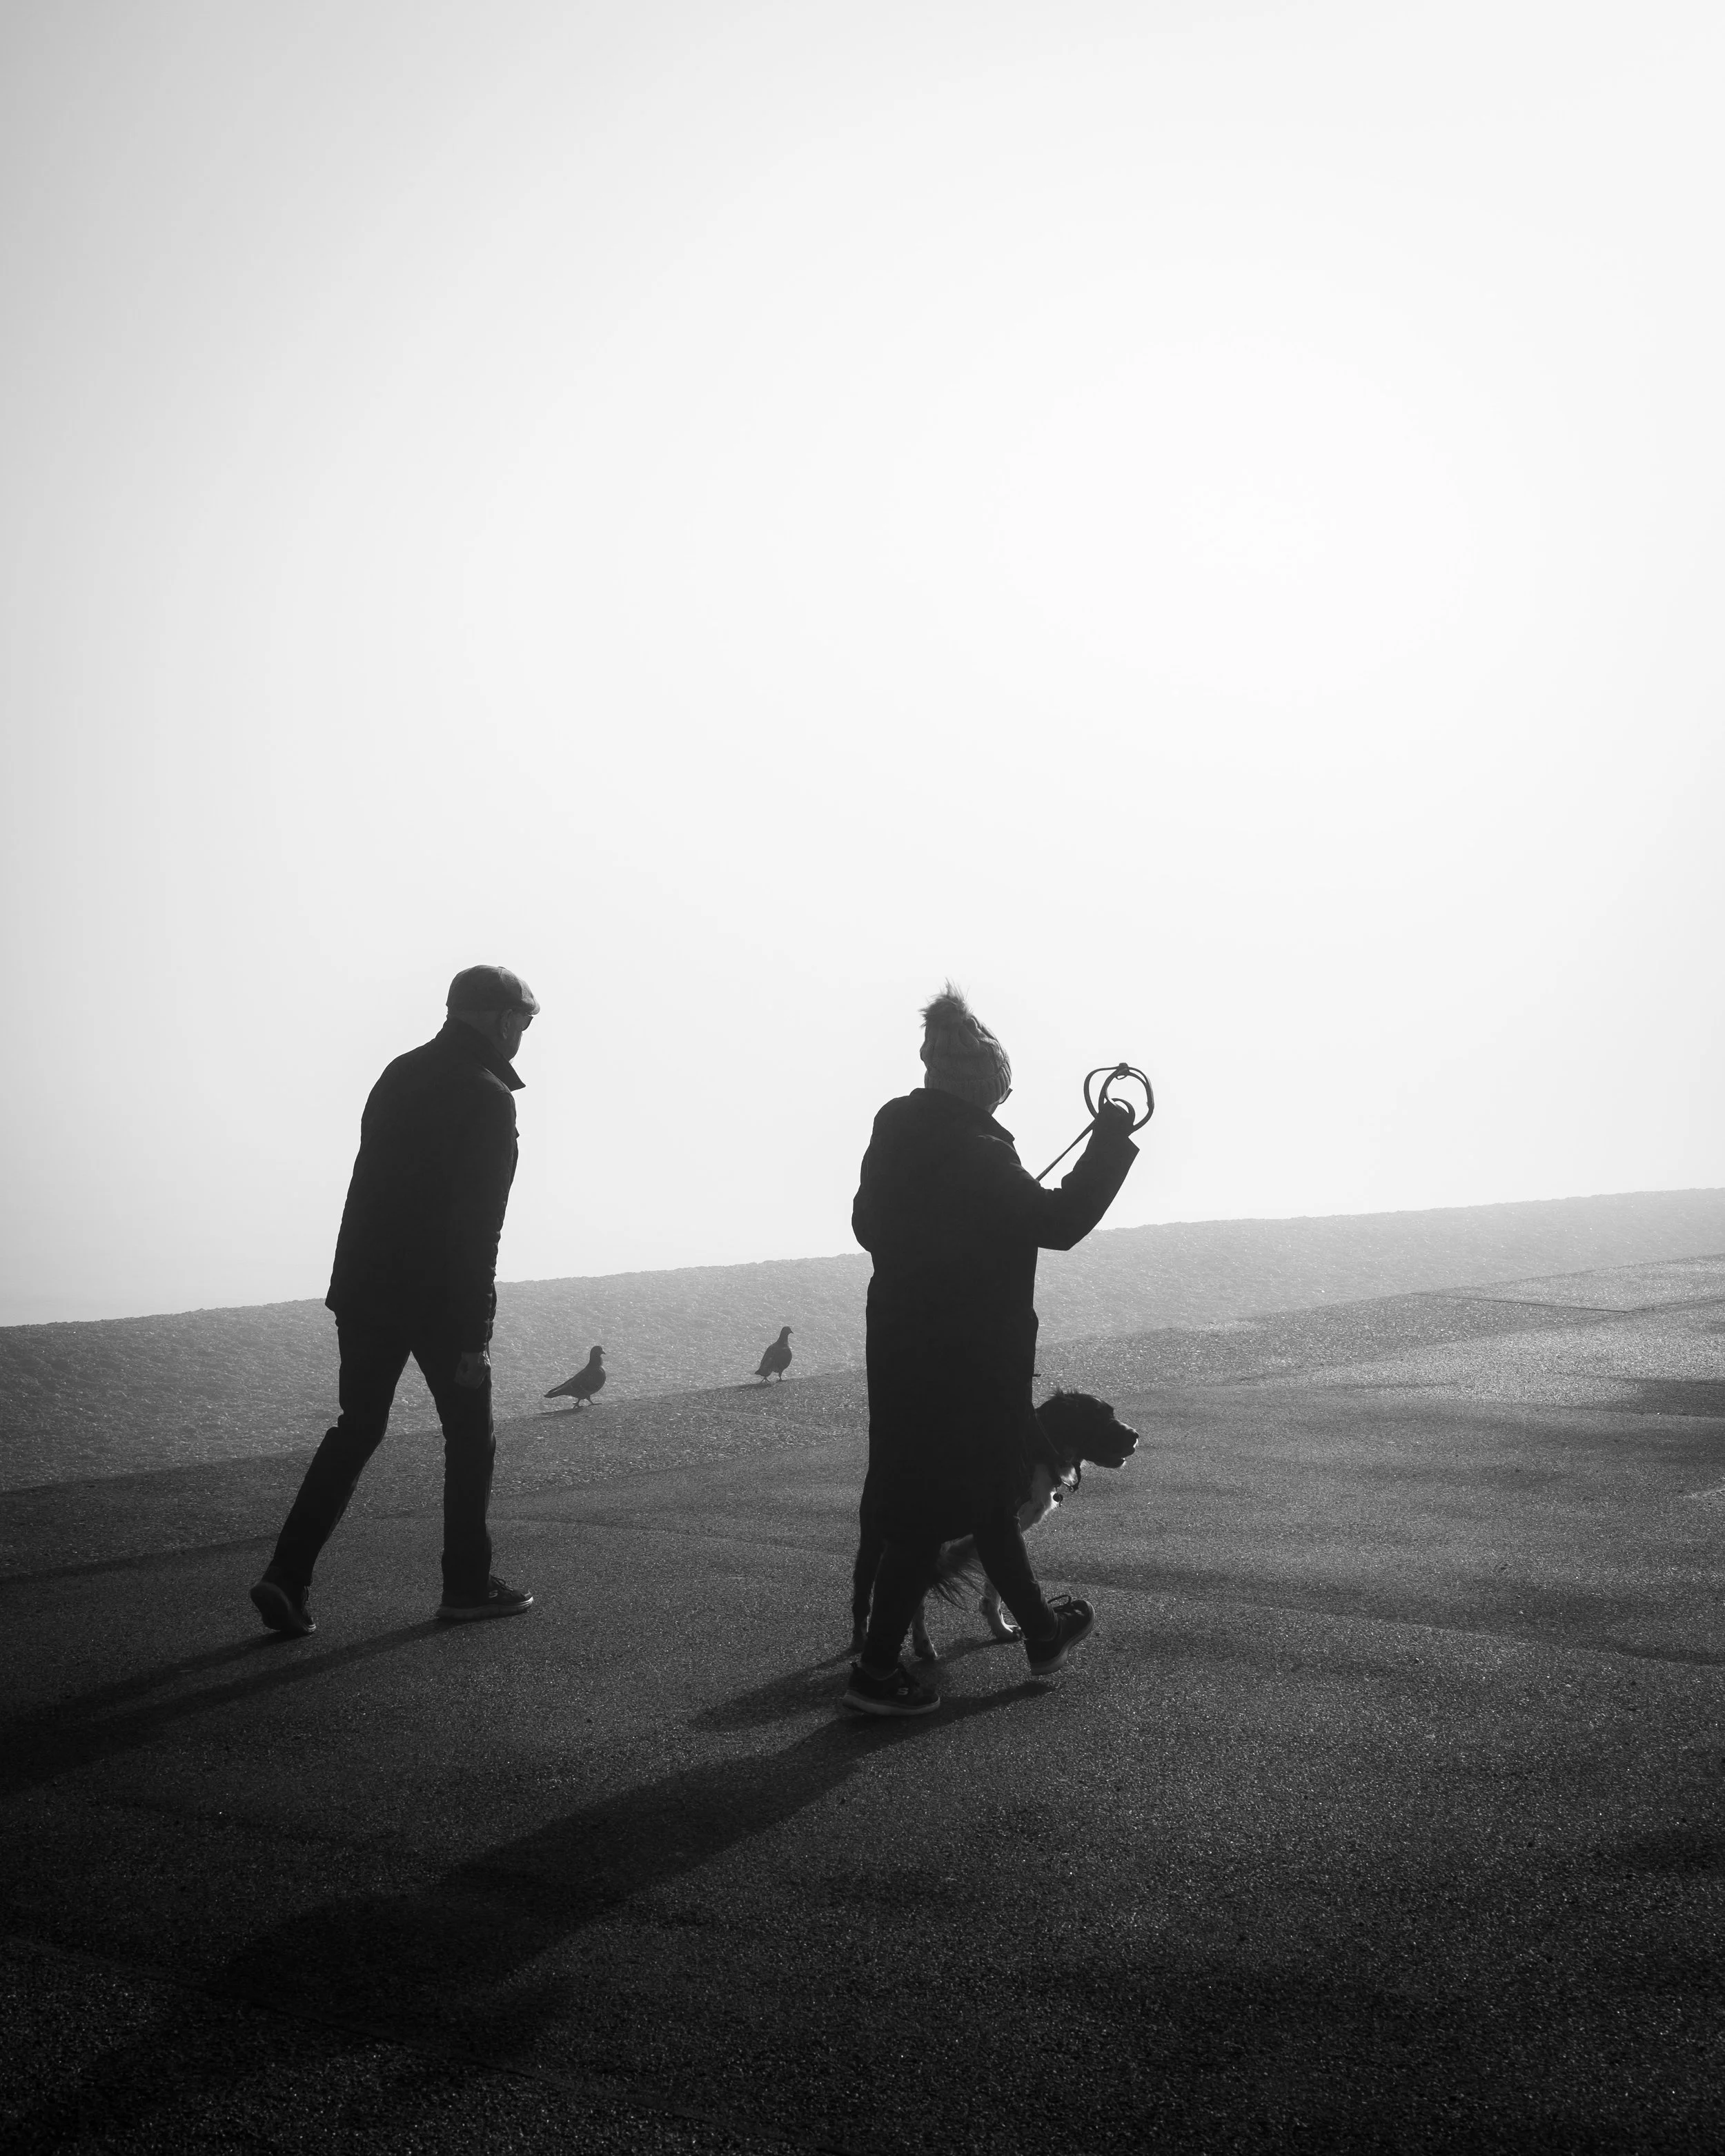
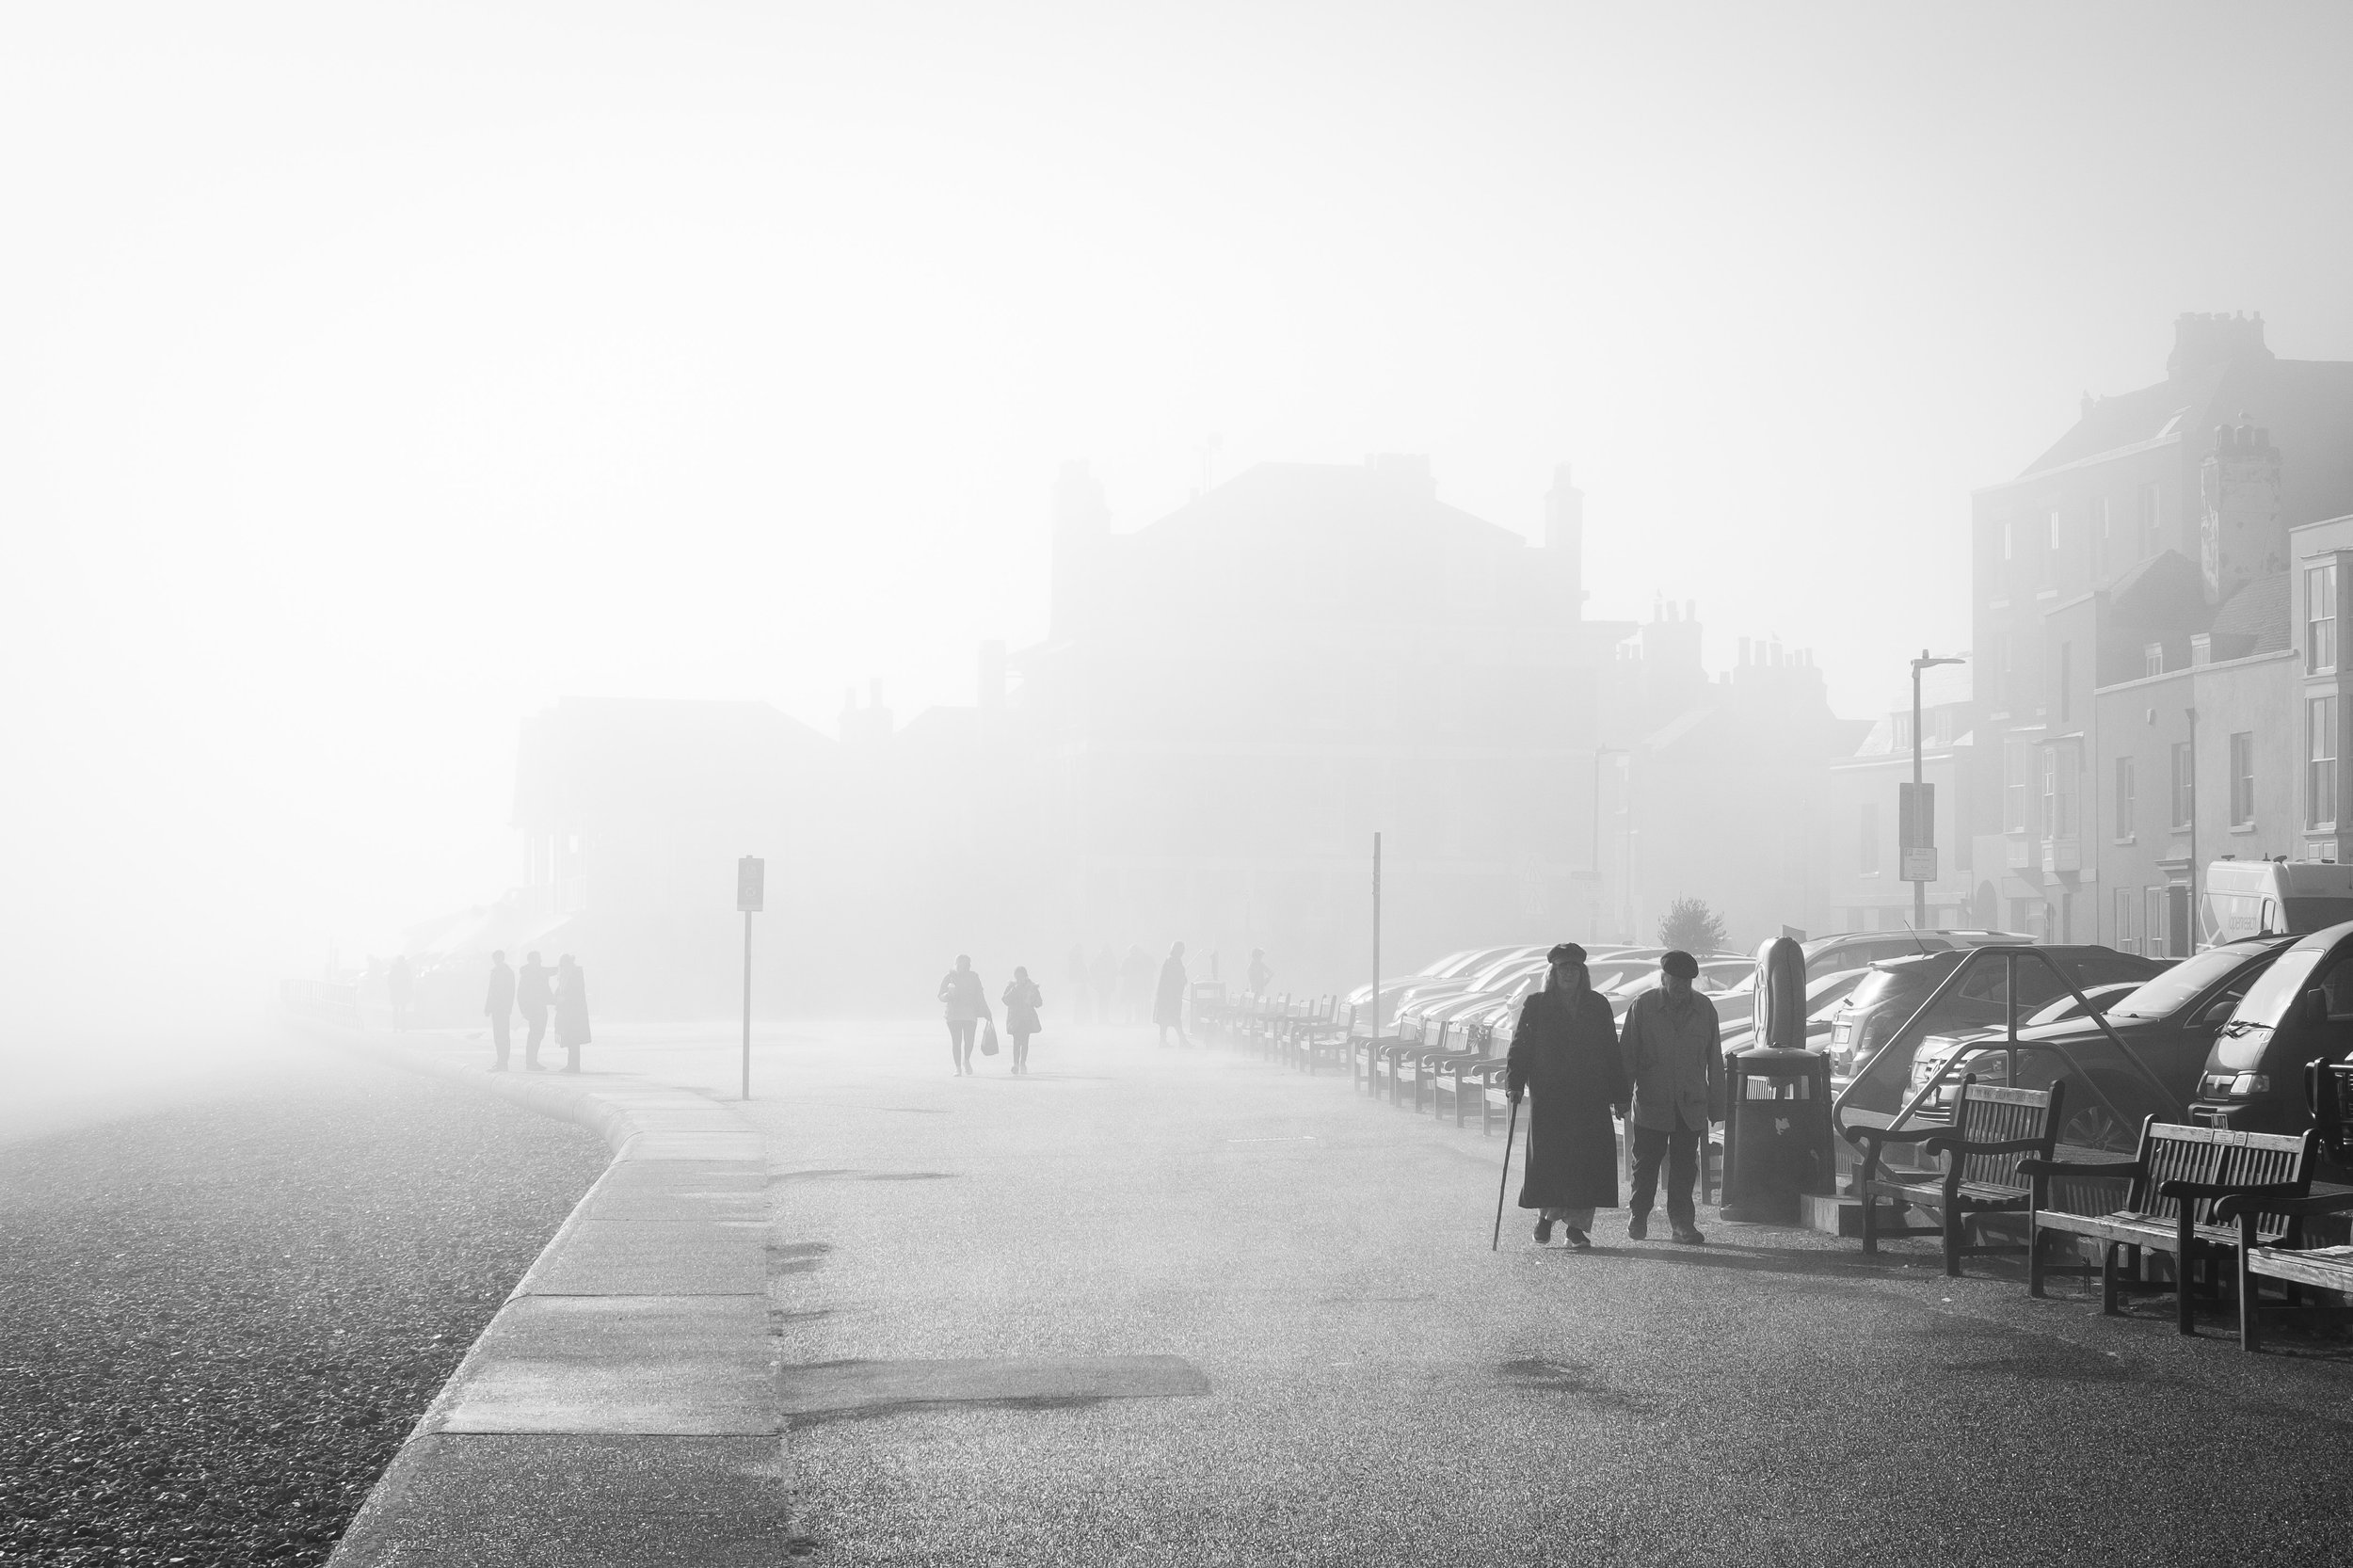
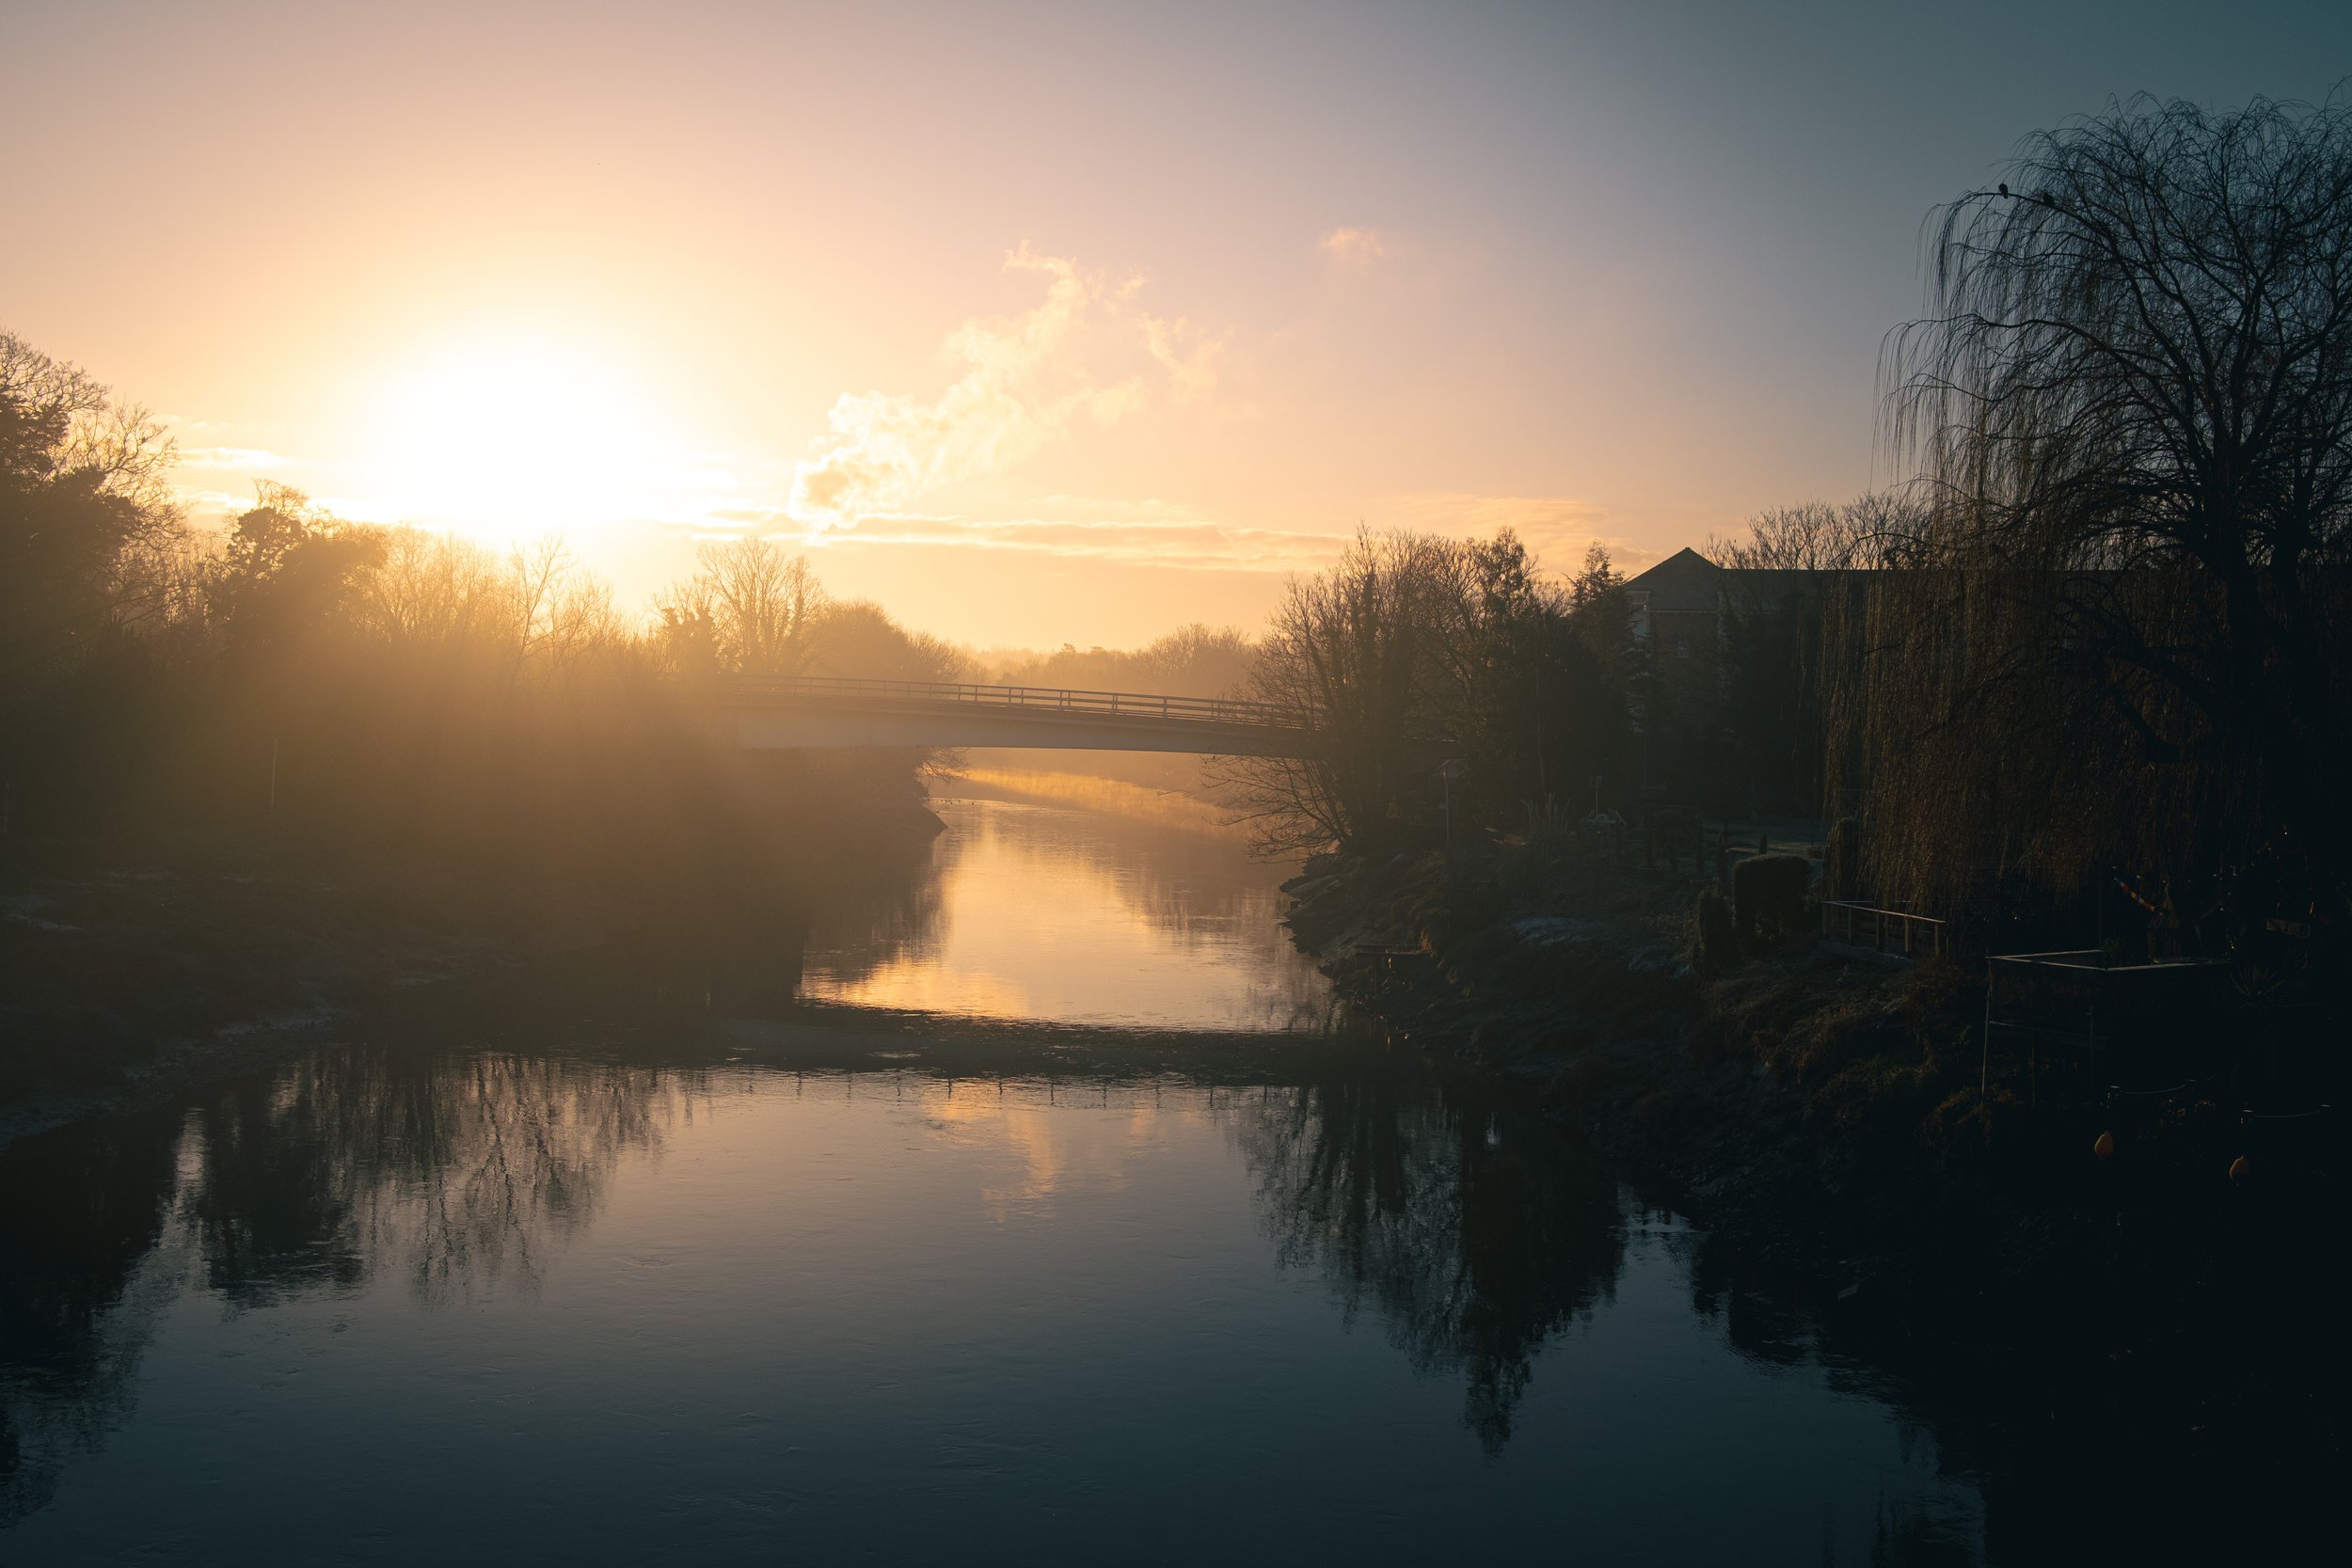
I was fortunate too, with this roll of film, to have it during a period of typical winter weather, with fog and rain thrown into the mix. This led to plenty of opportunities, particularly on one foggy morning in the city that presented the kind of conditions I’d dreamt of catching on my commute in the winter.
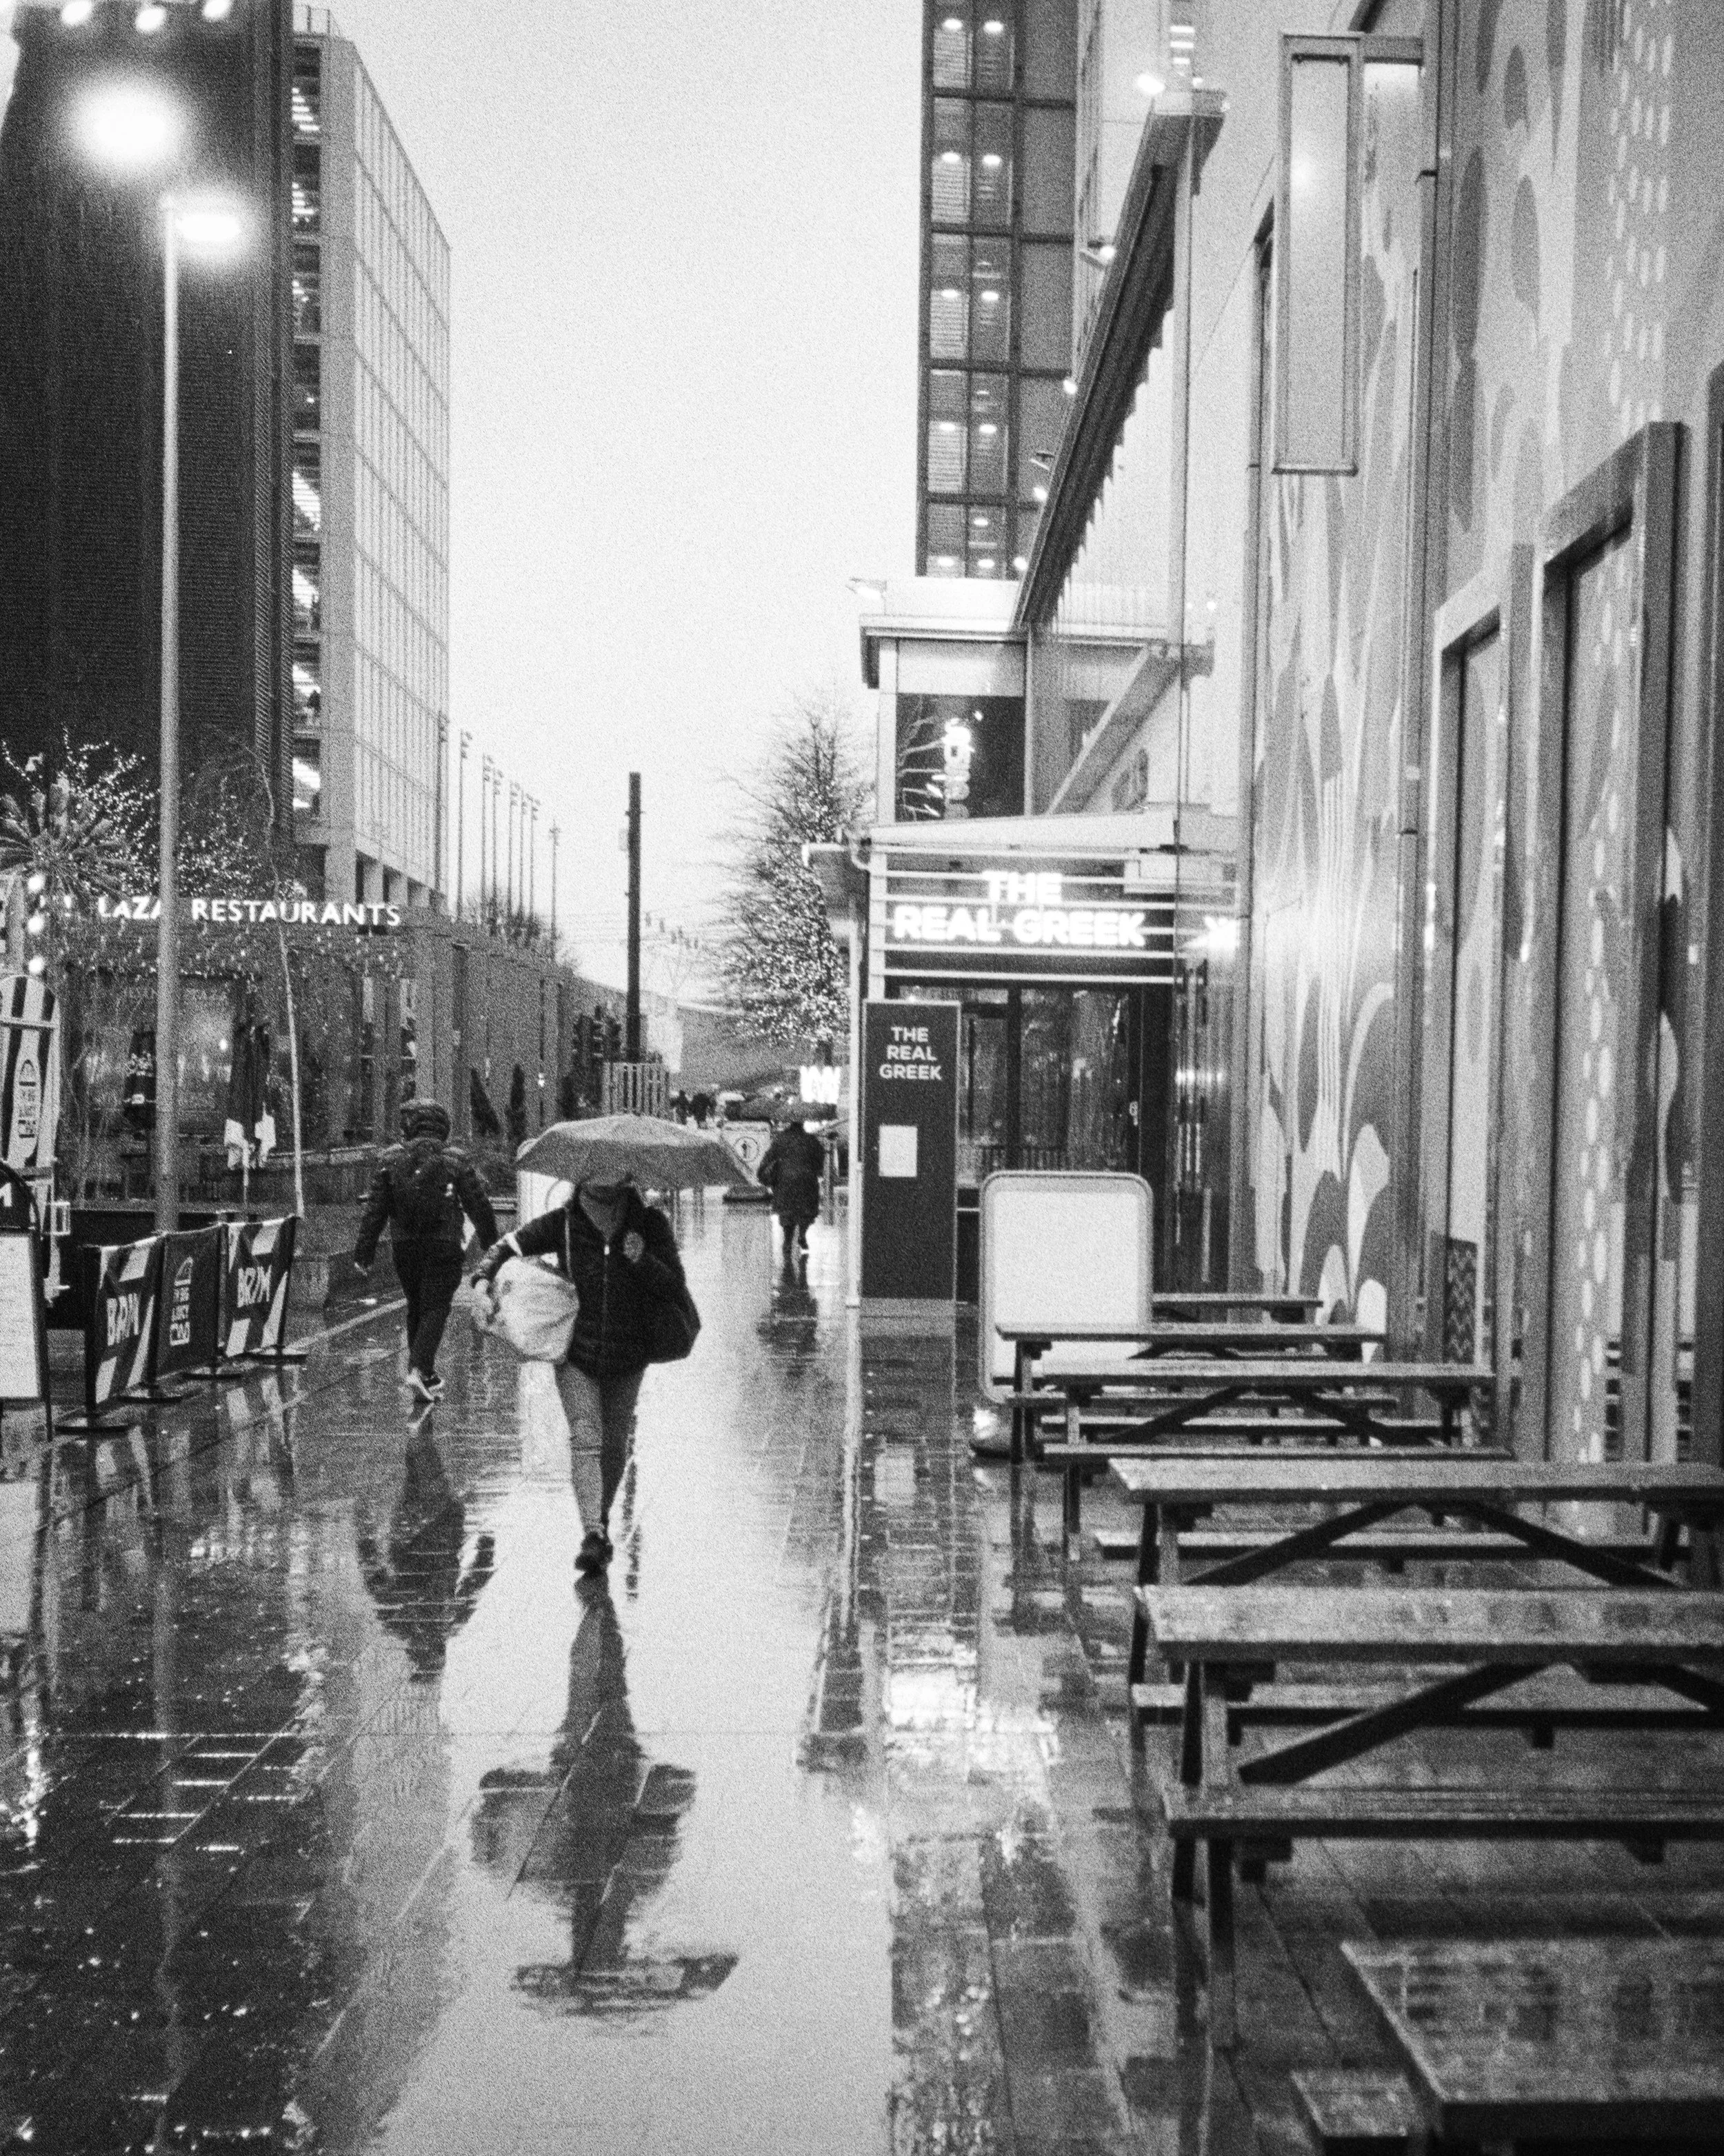
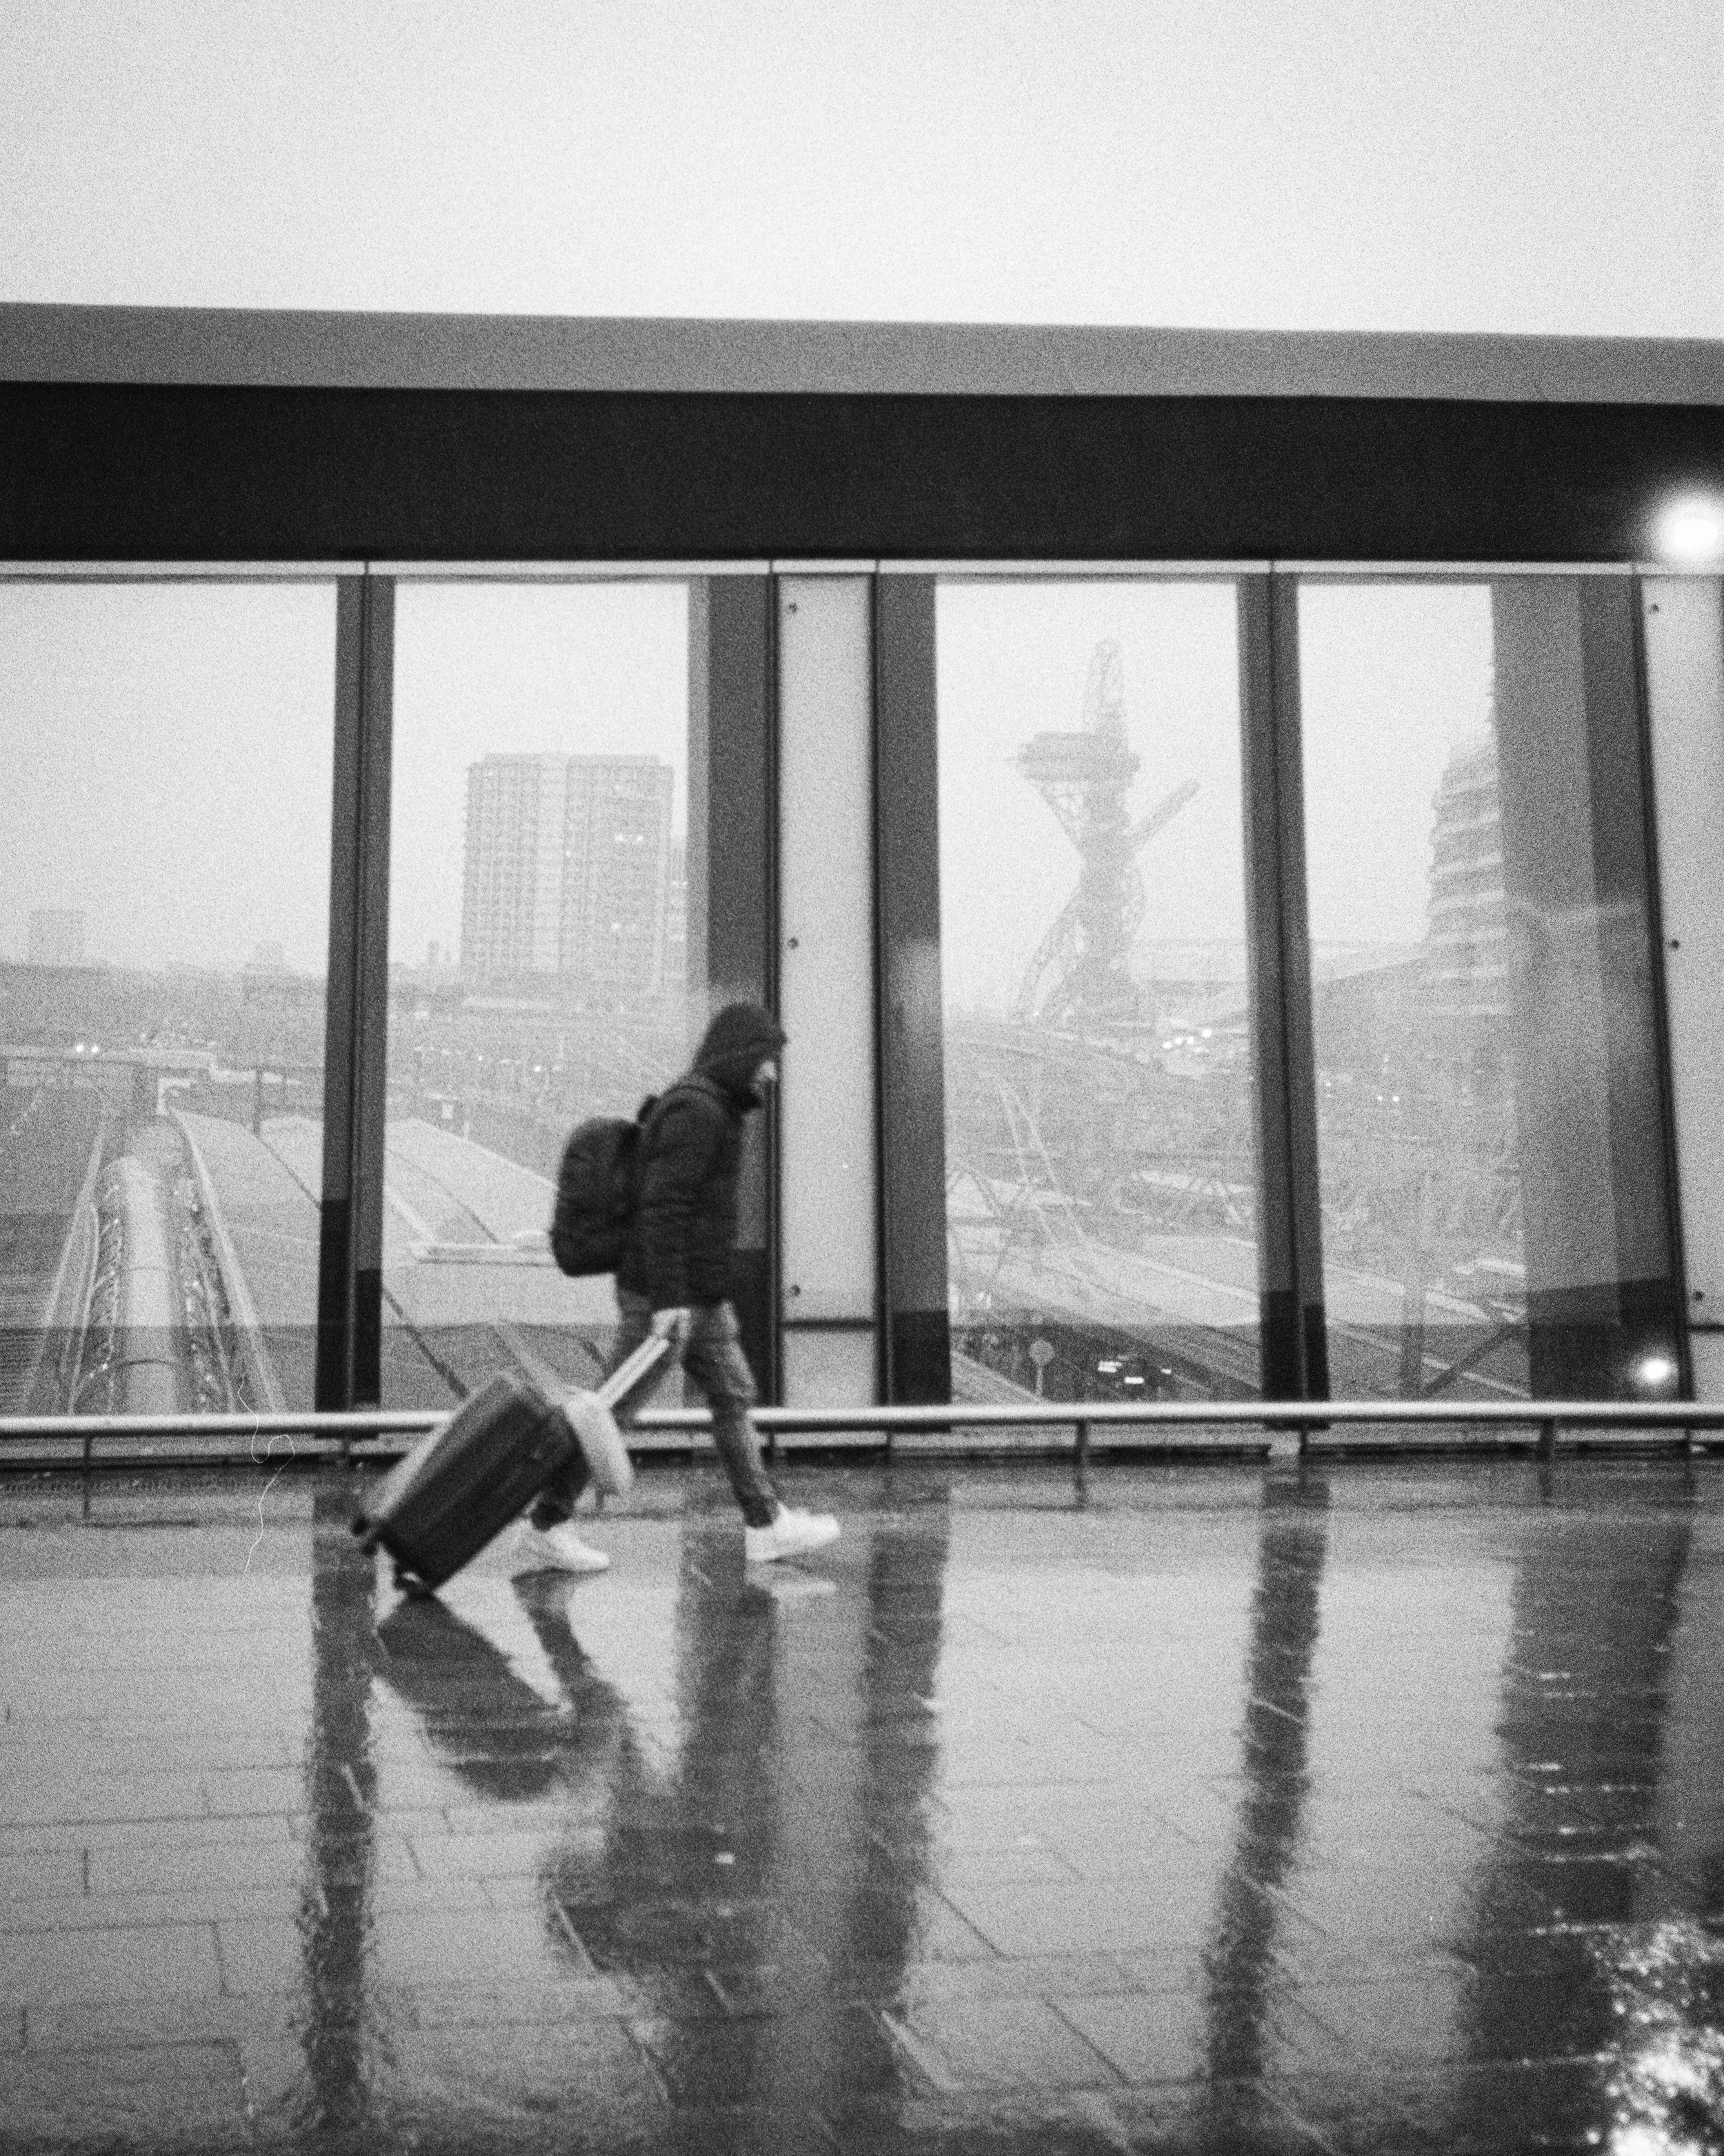
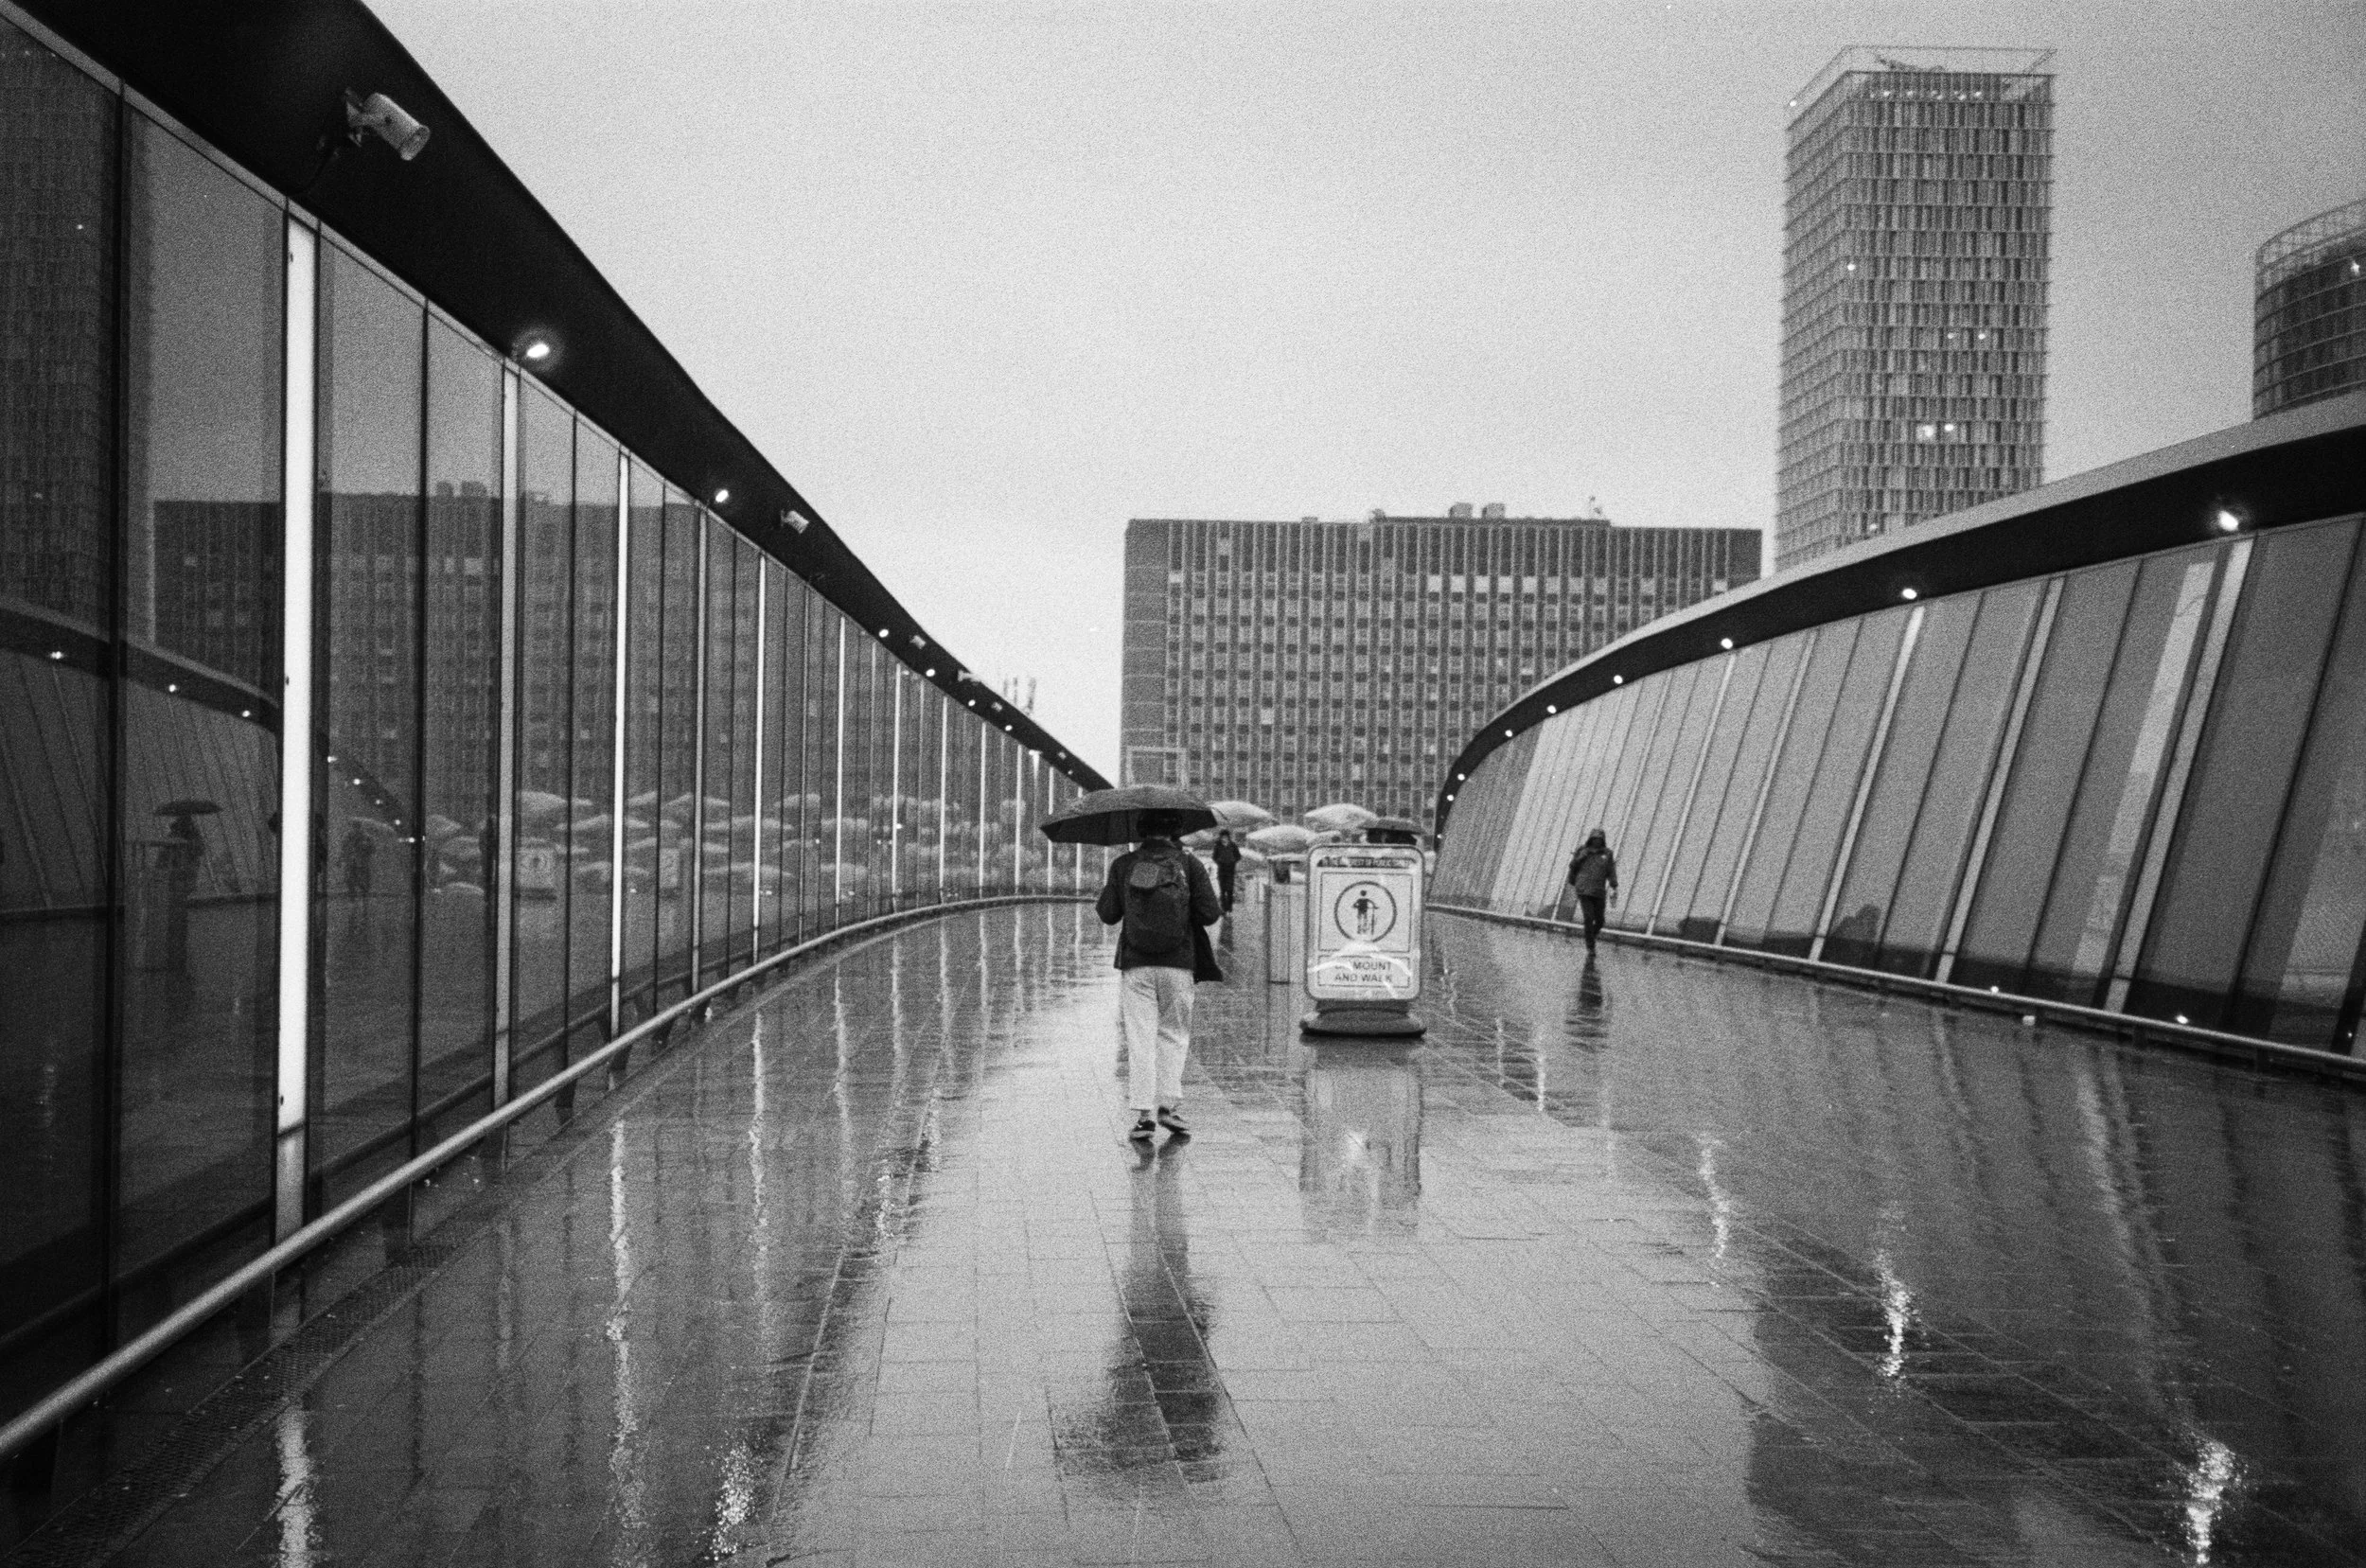
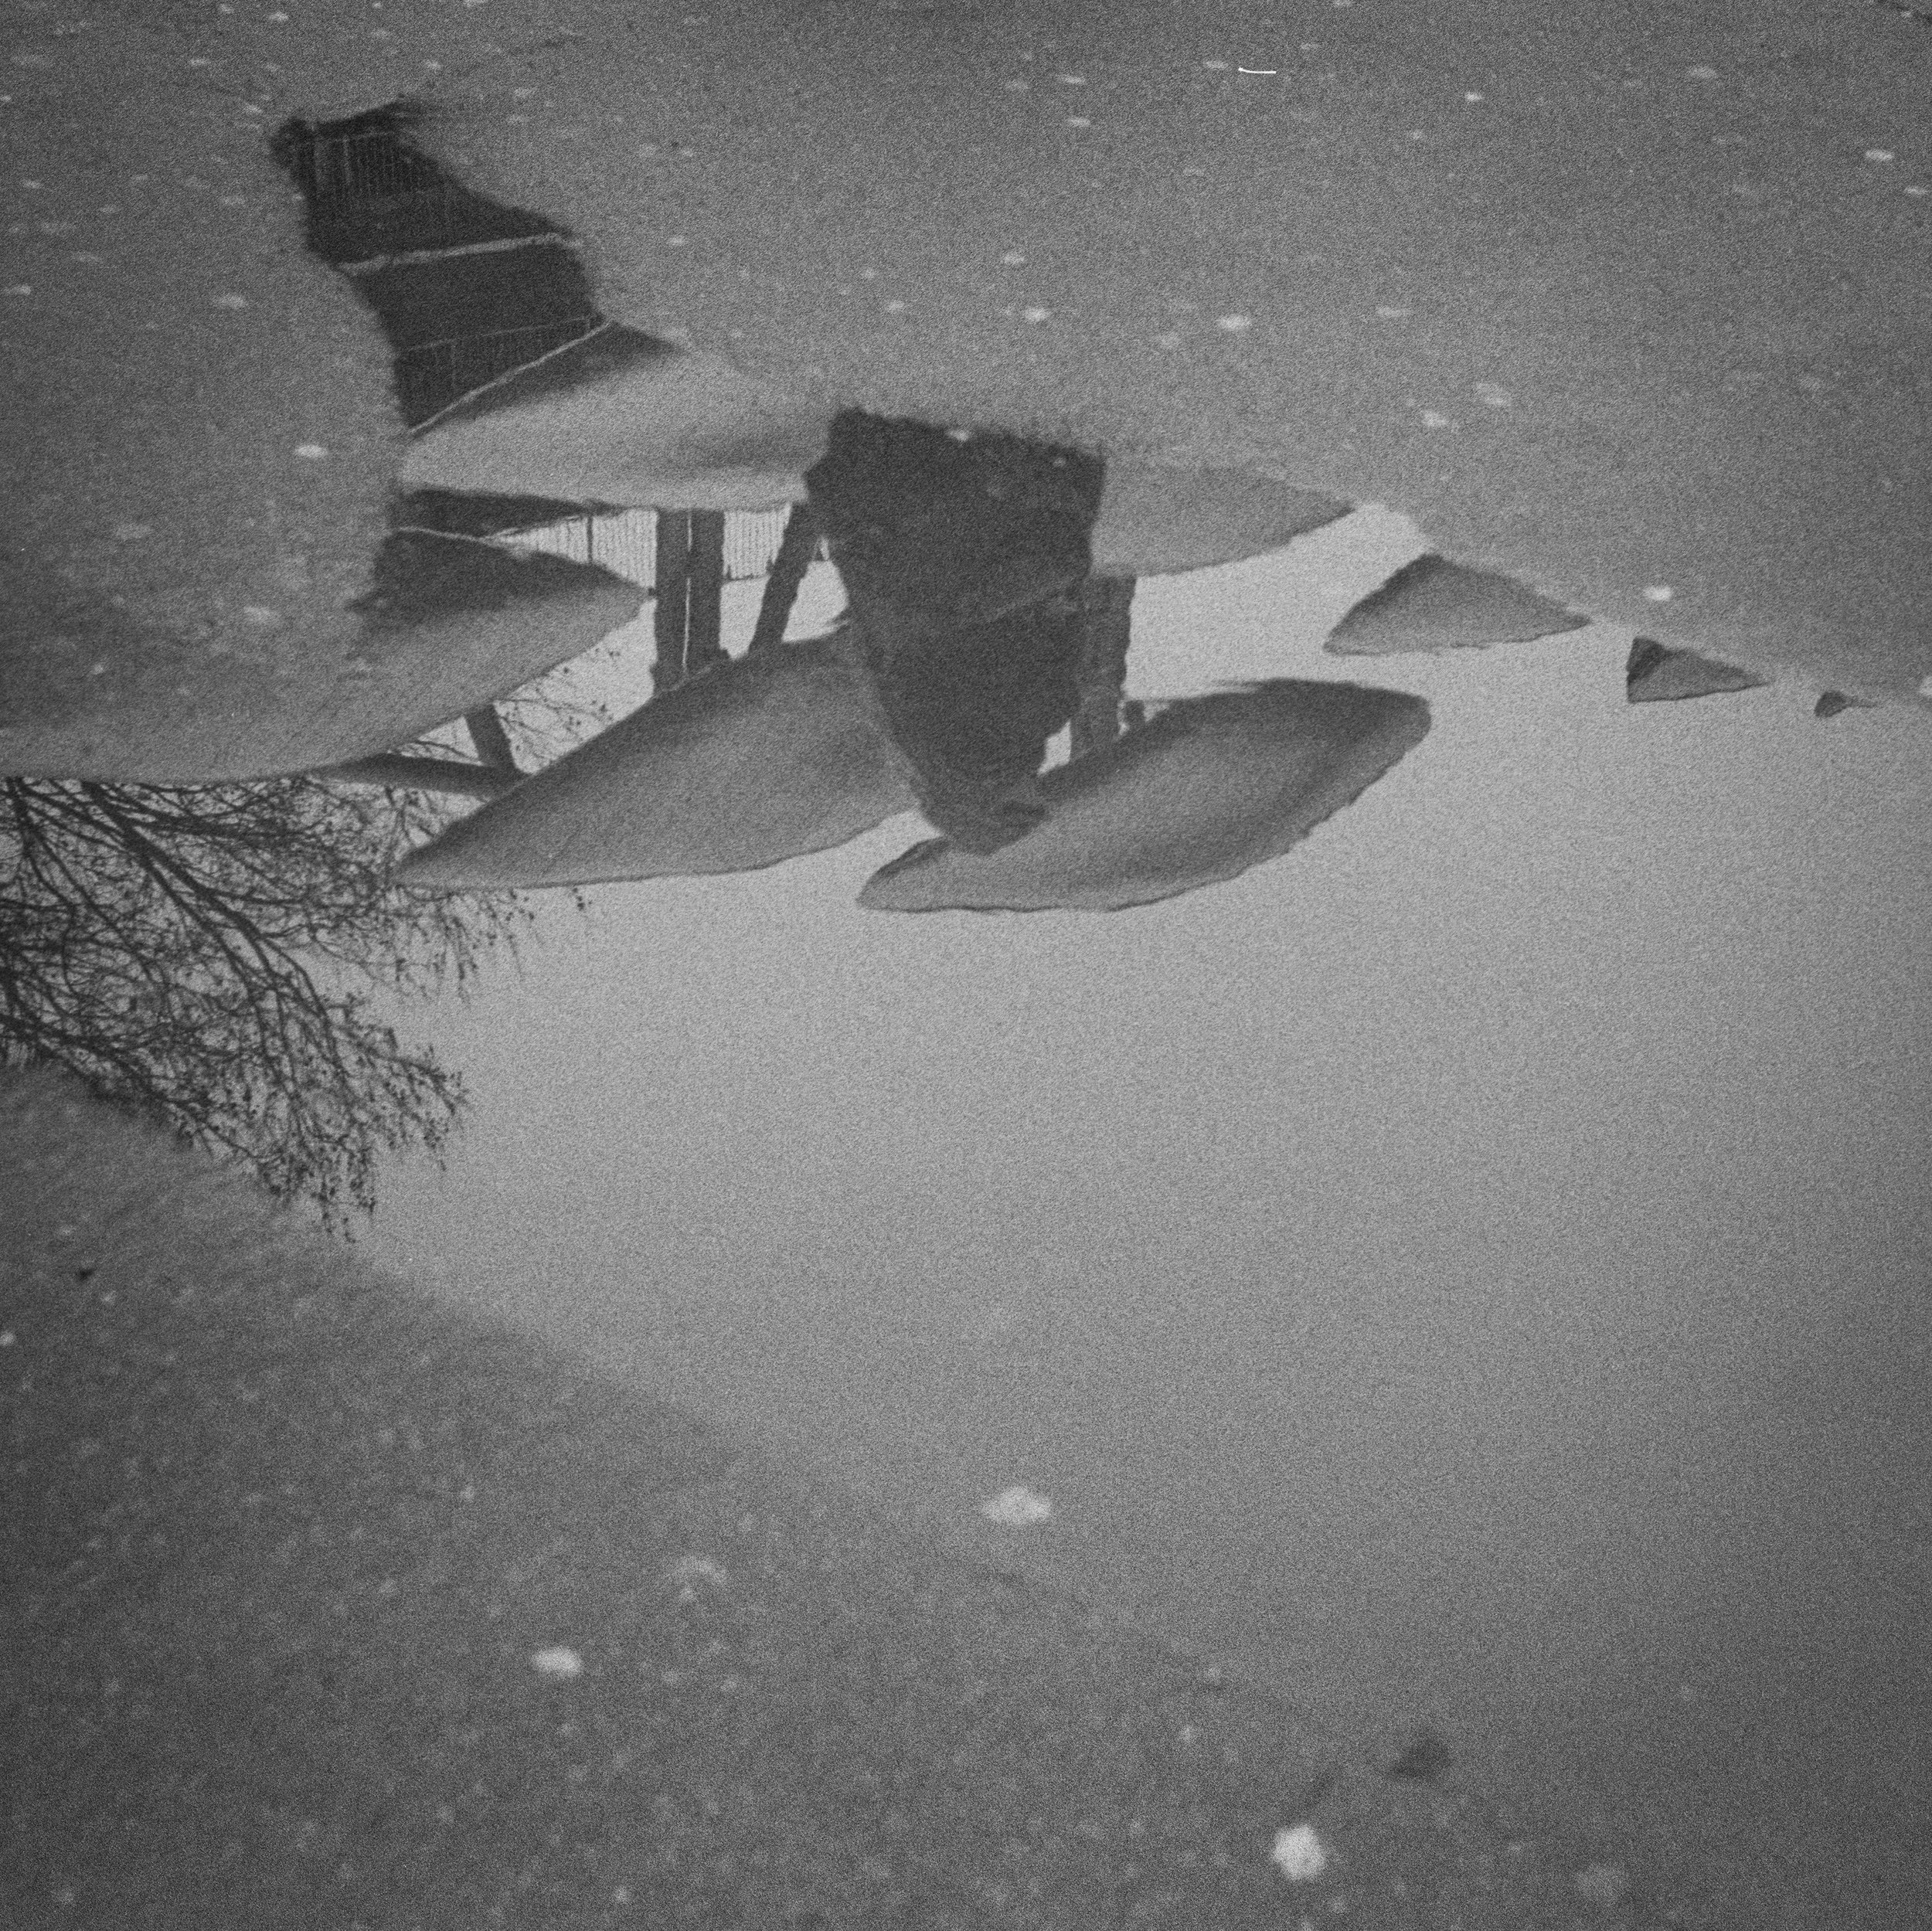
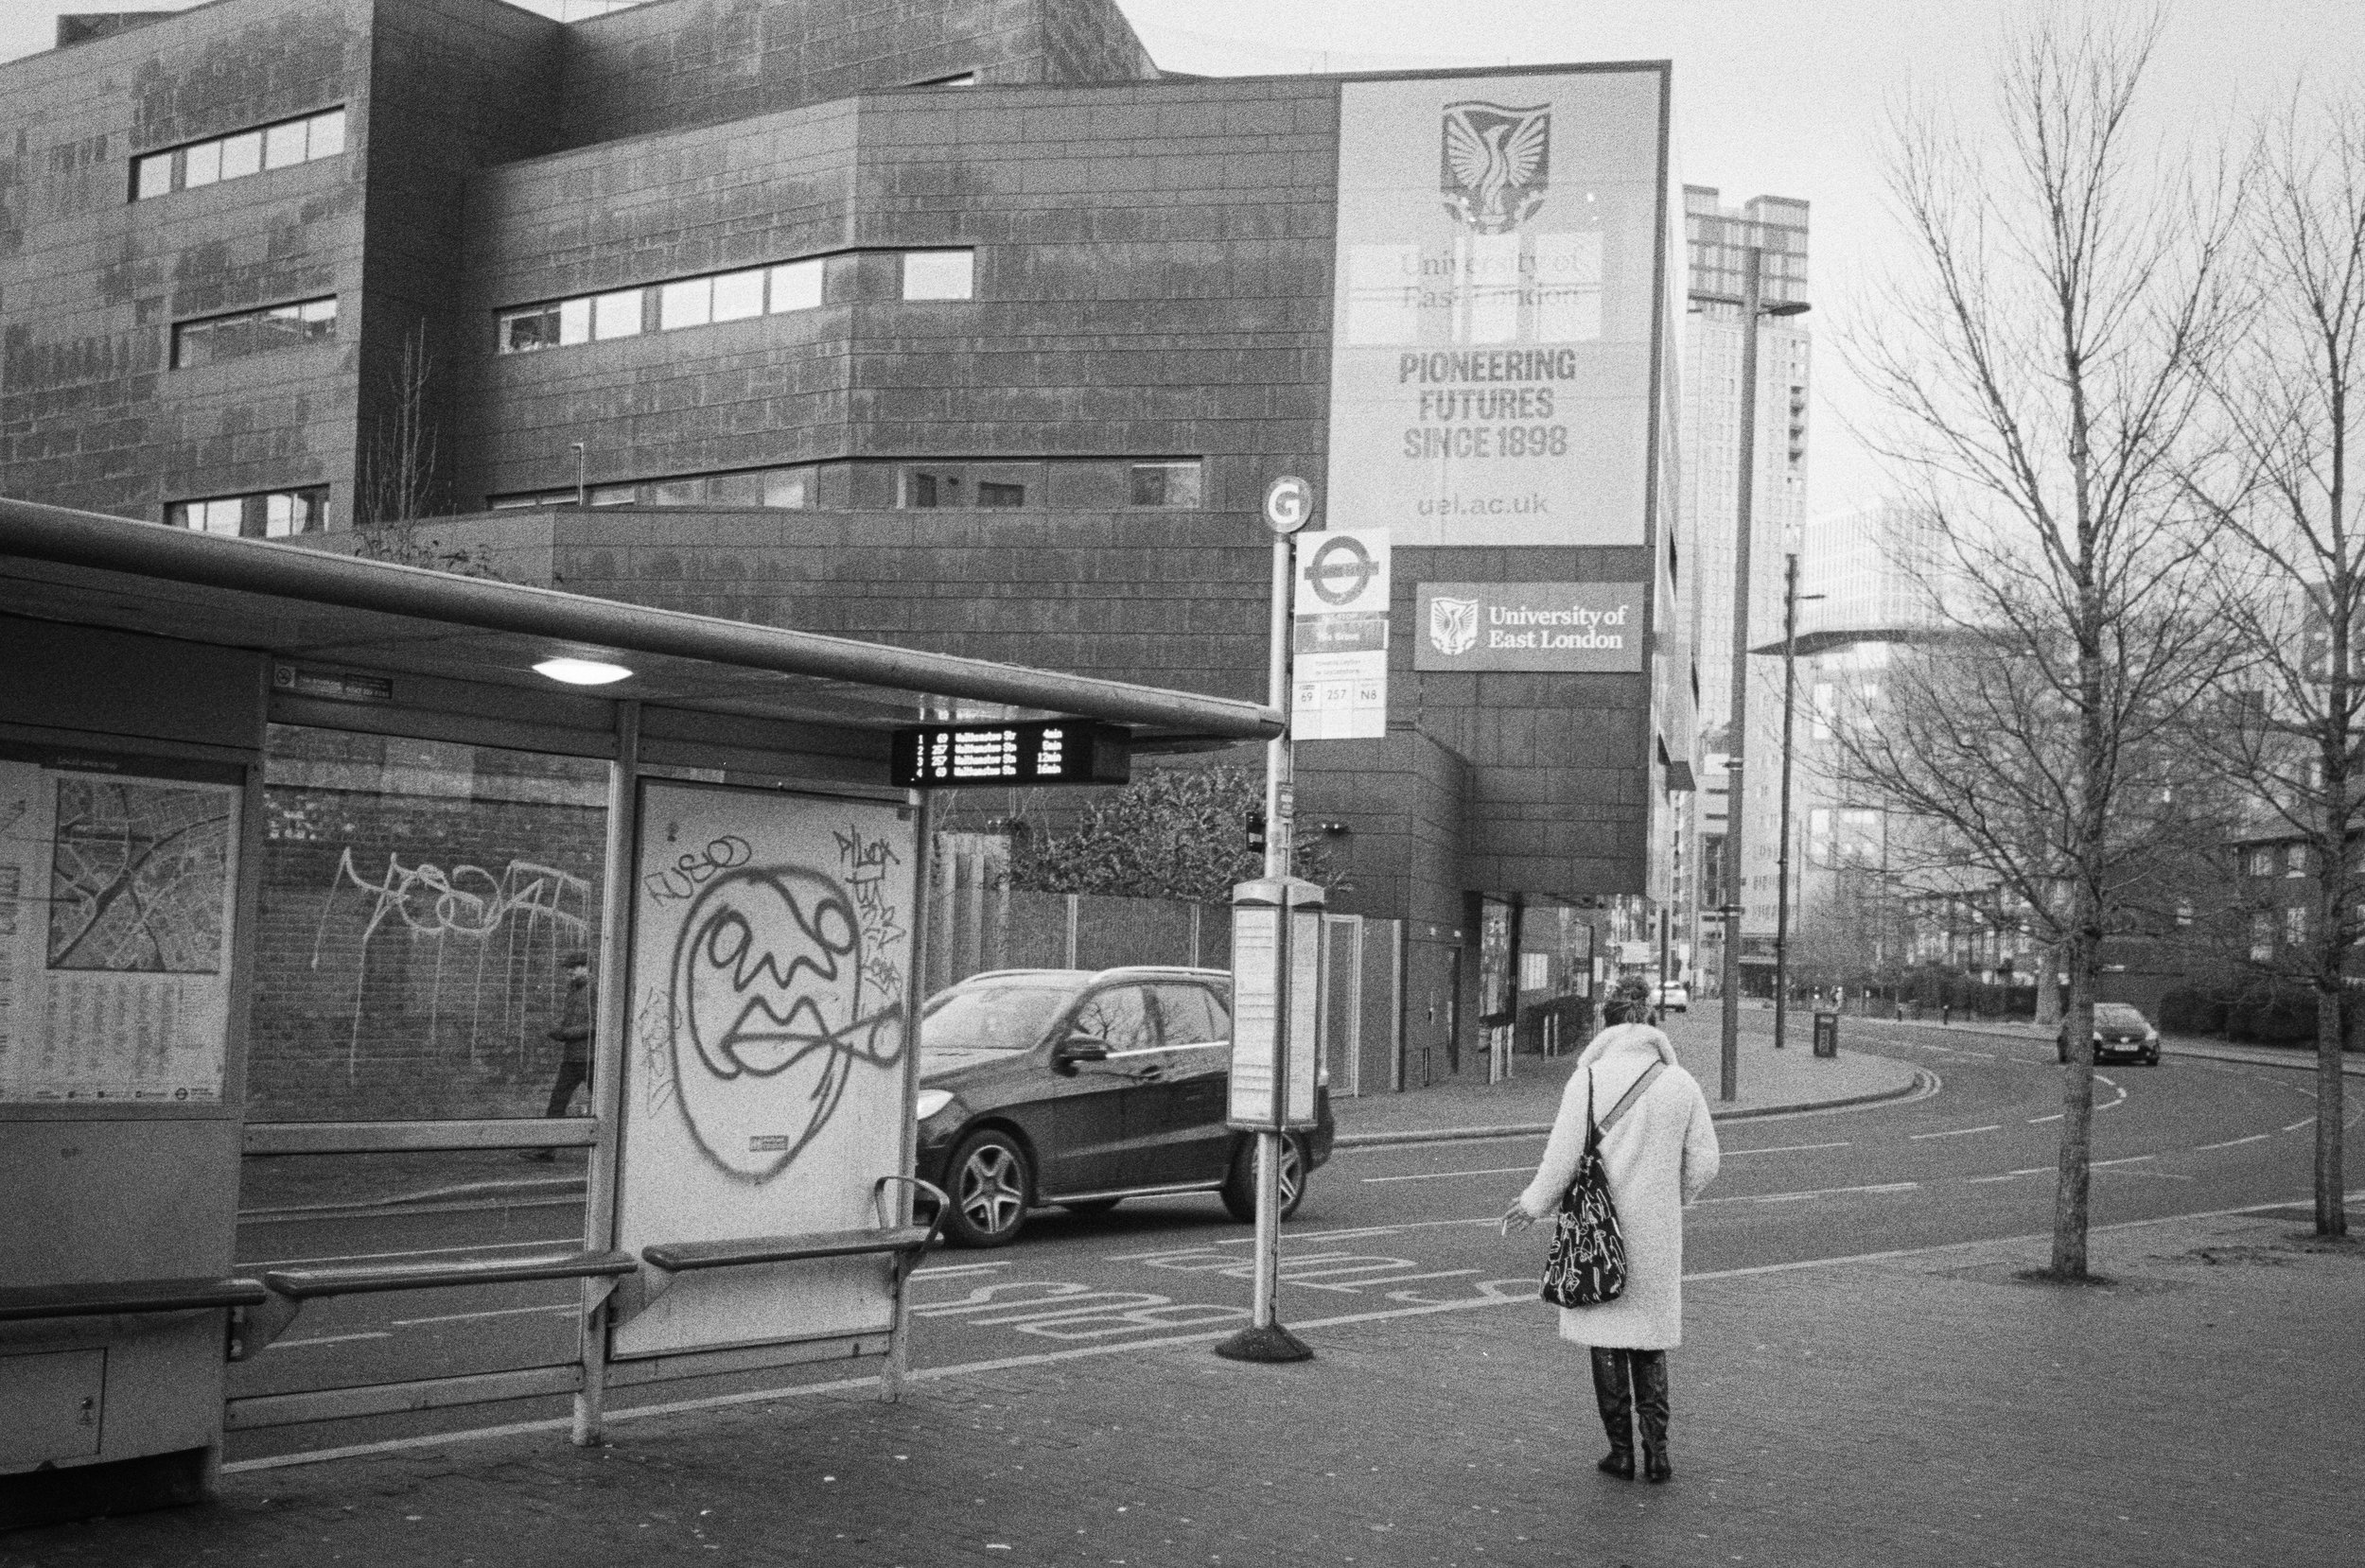
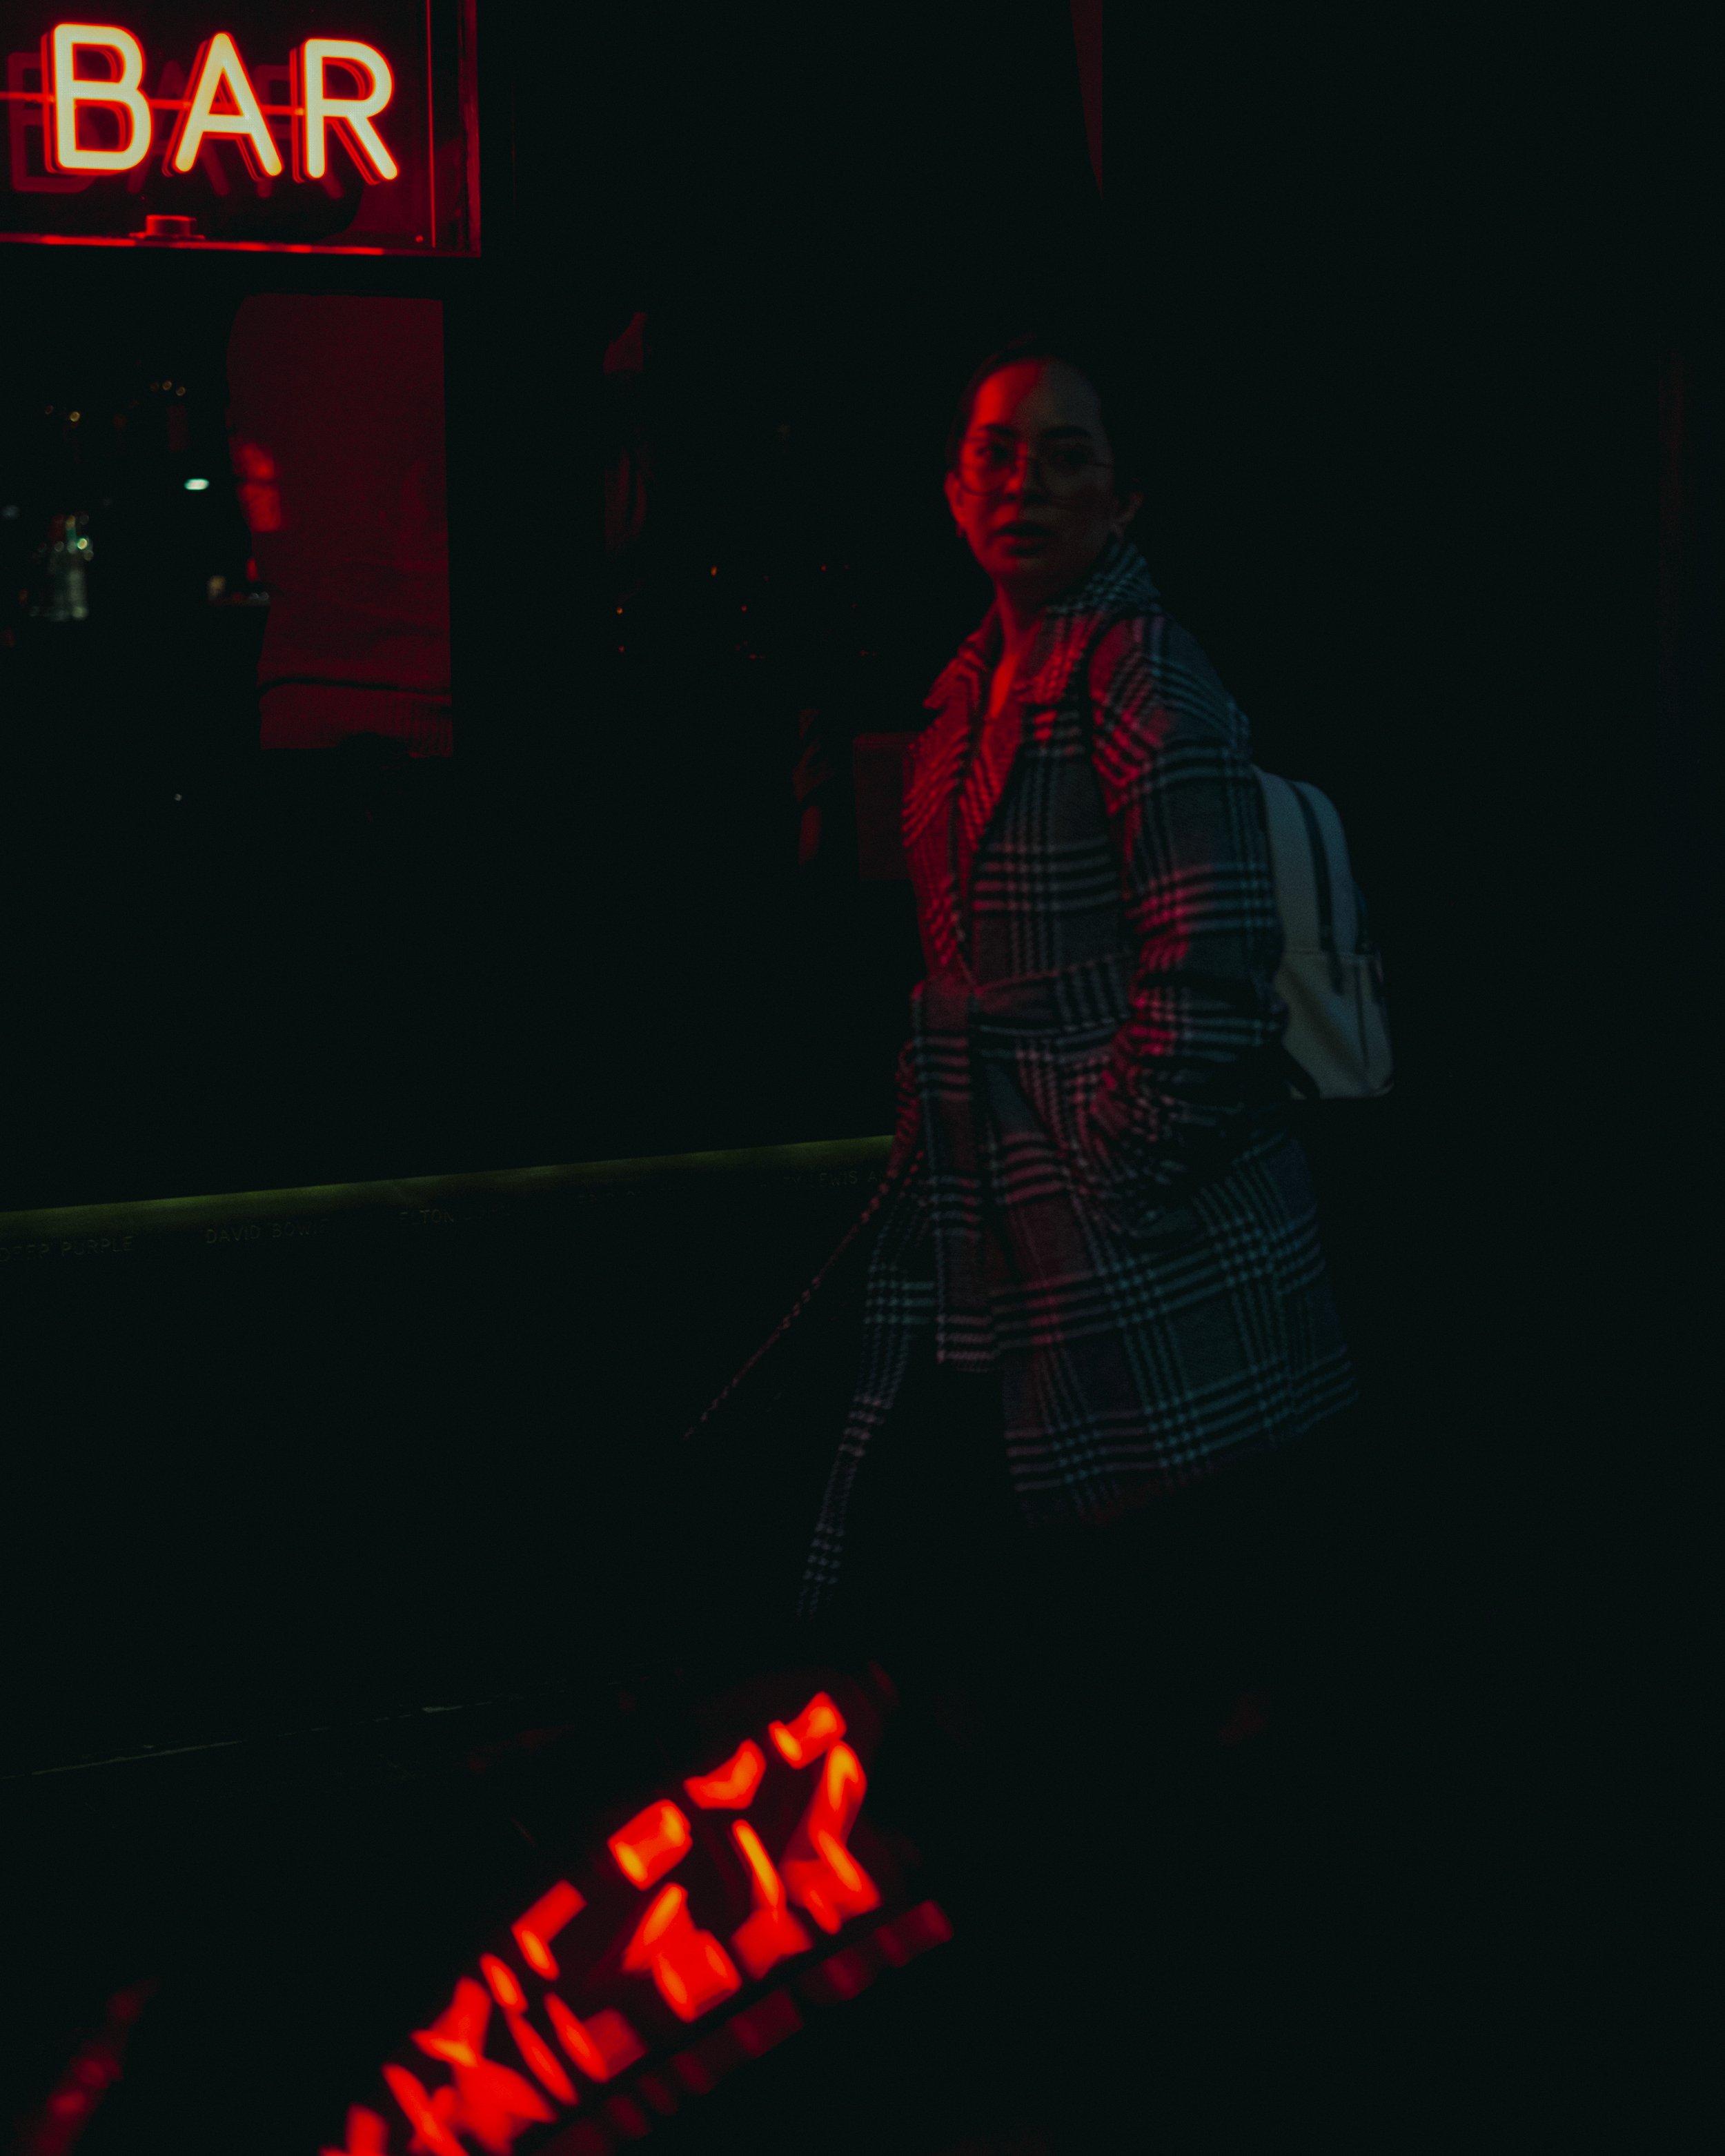
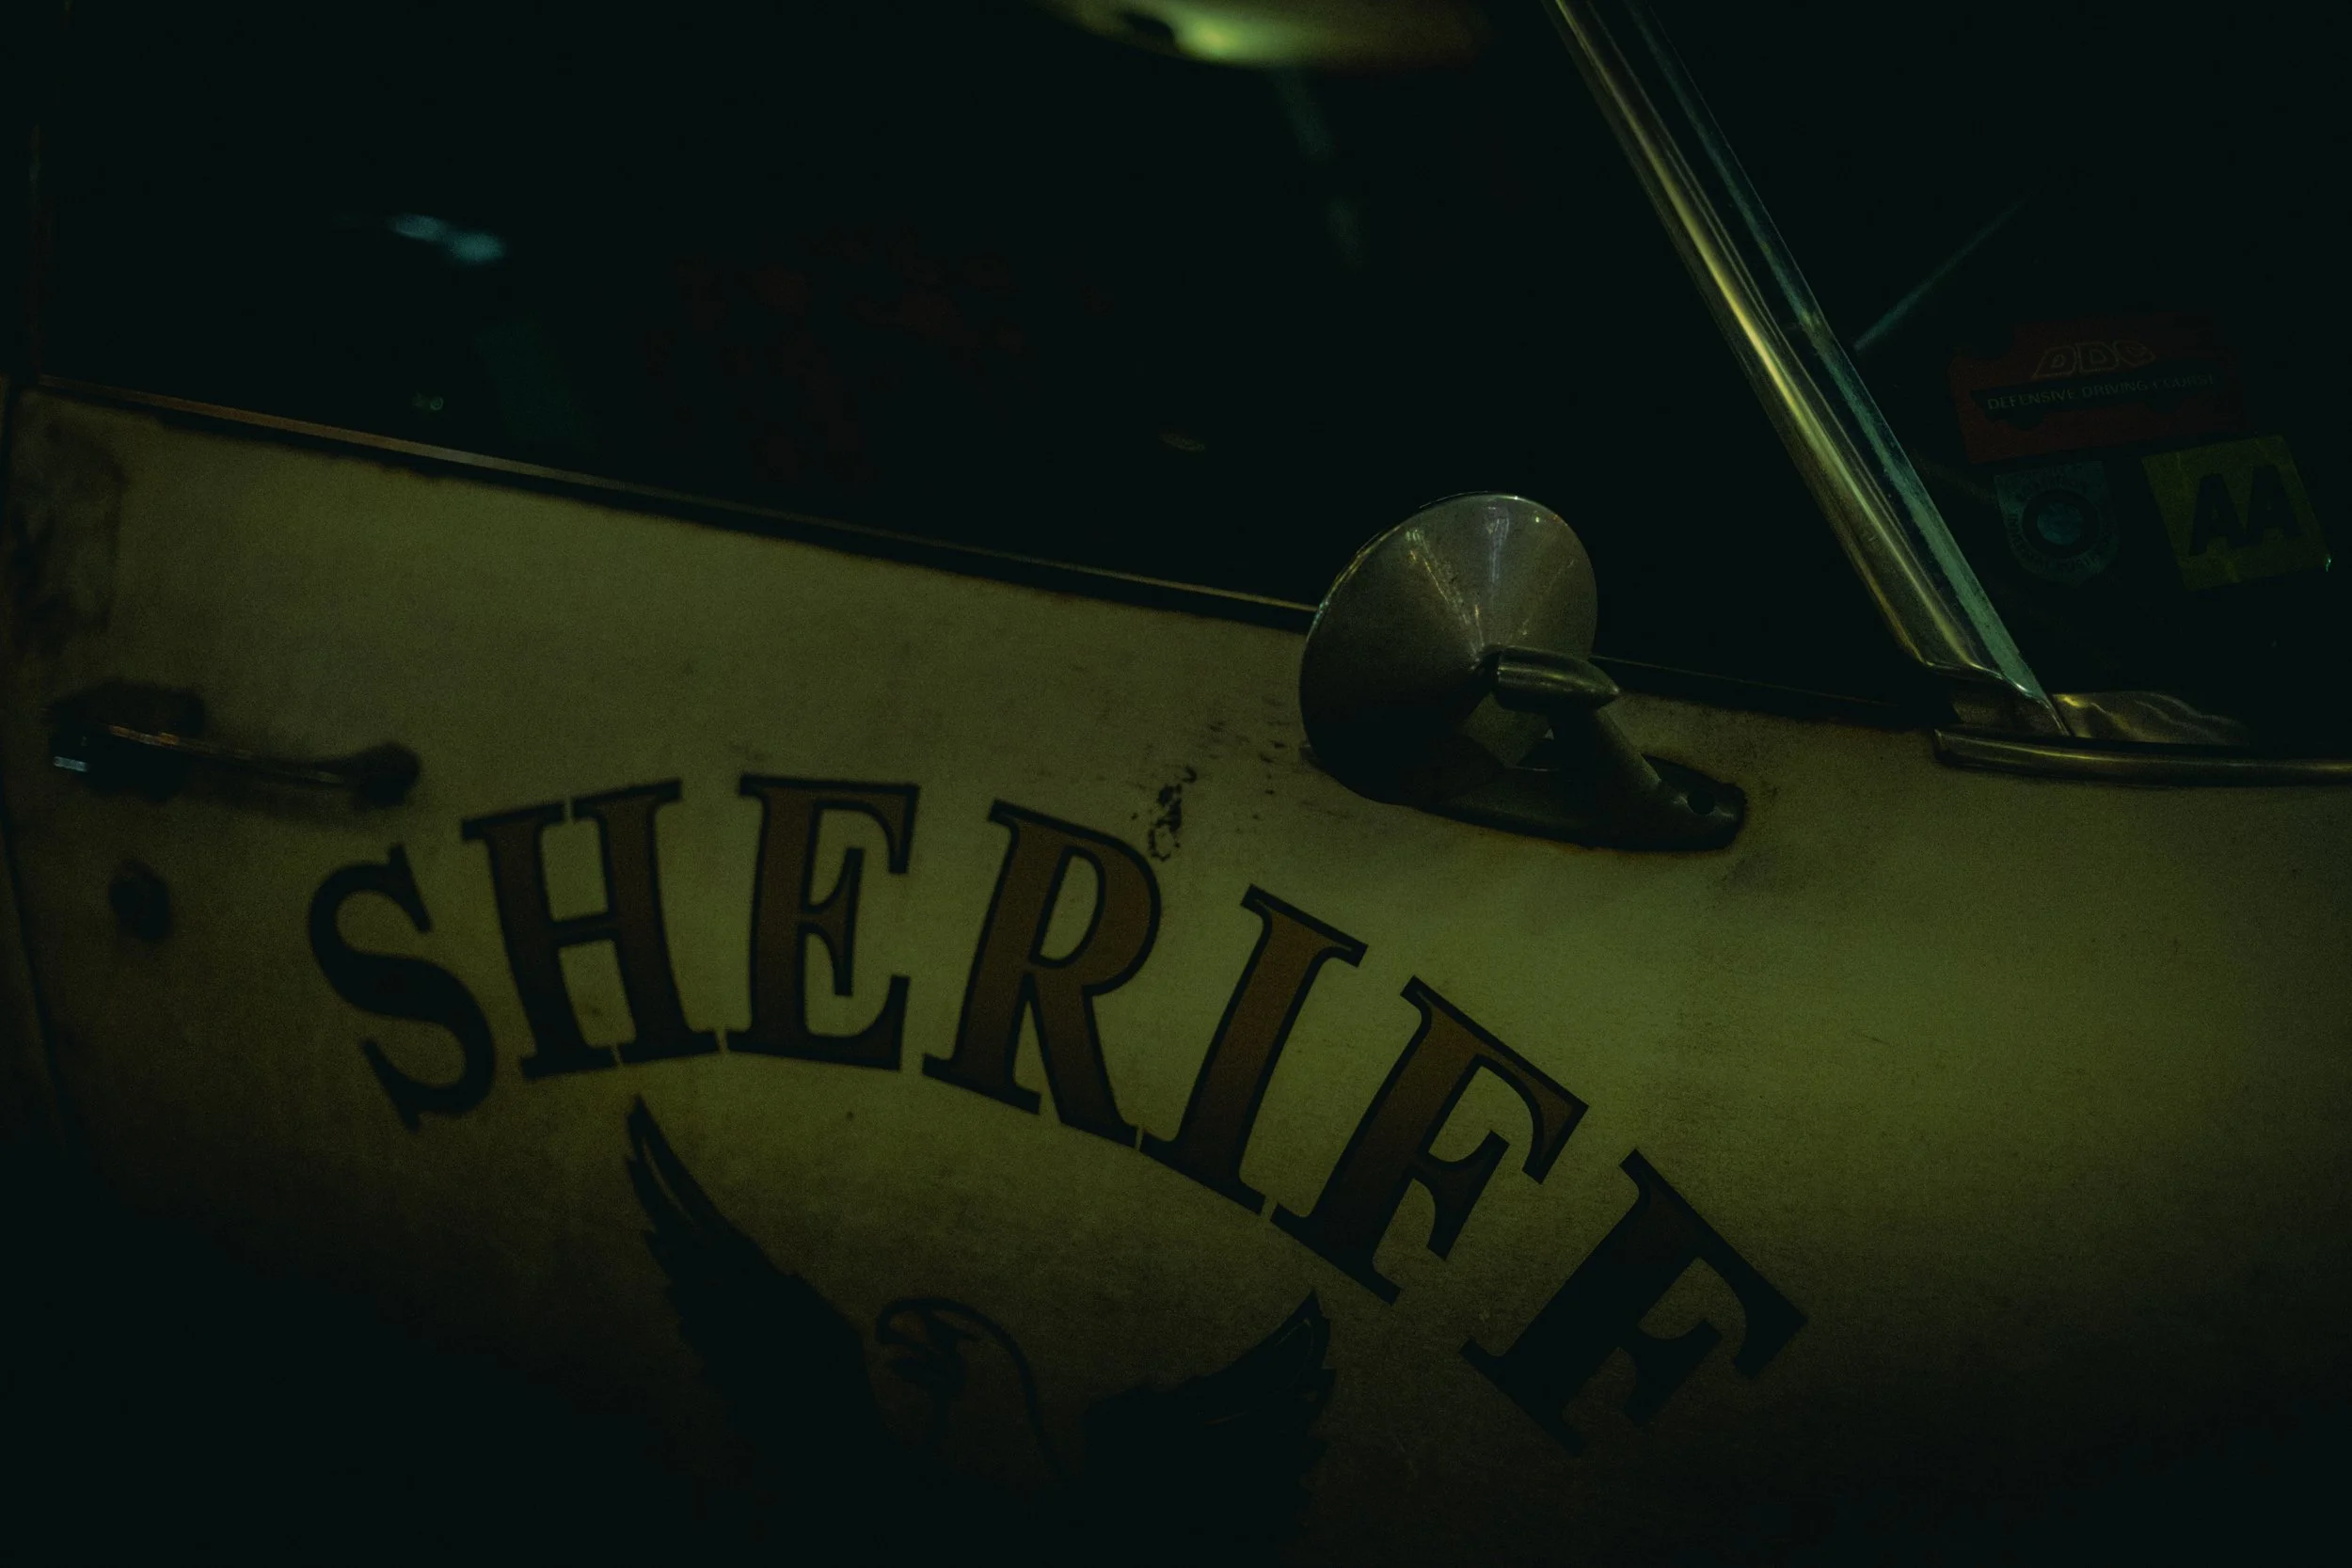
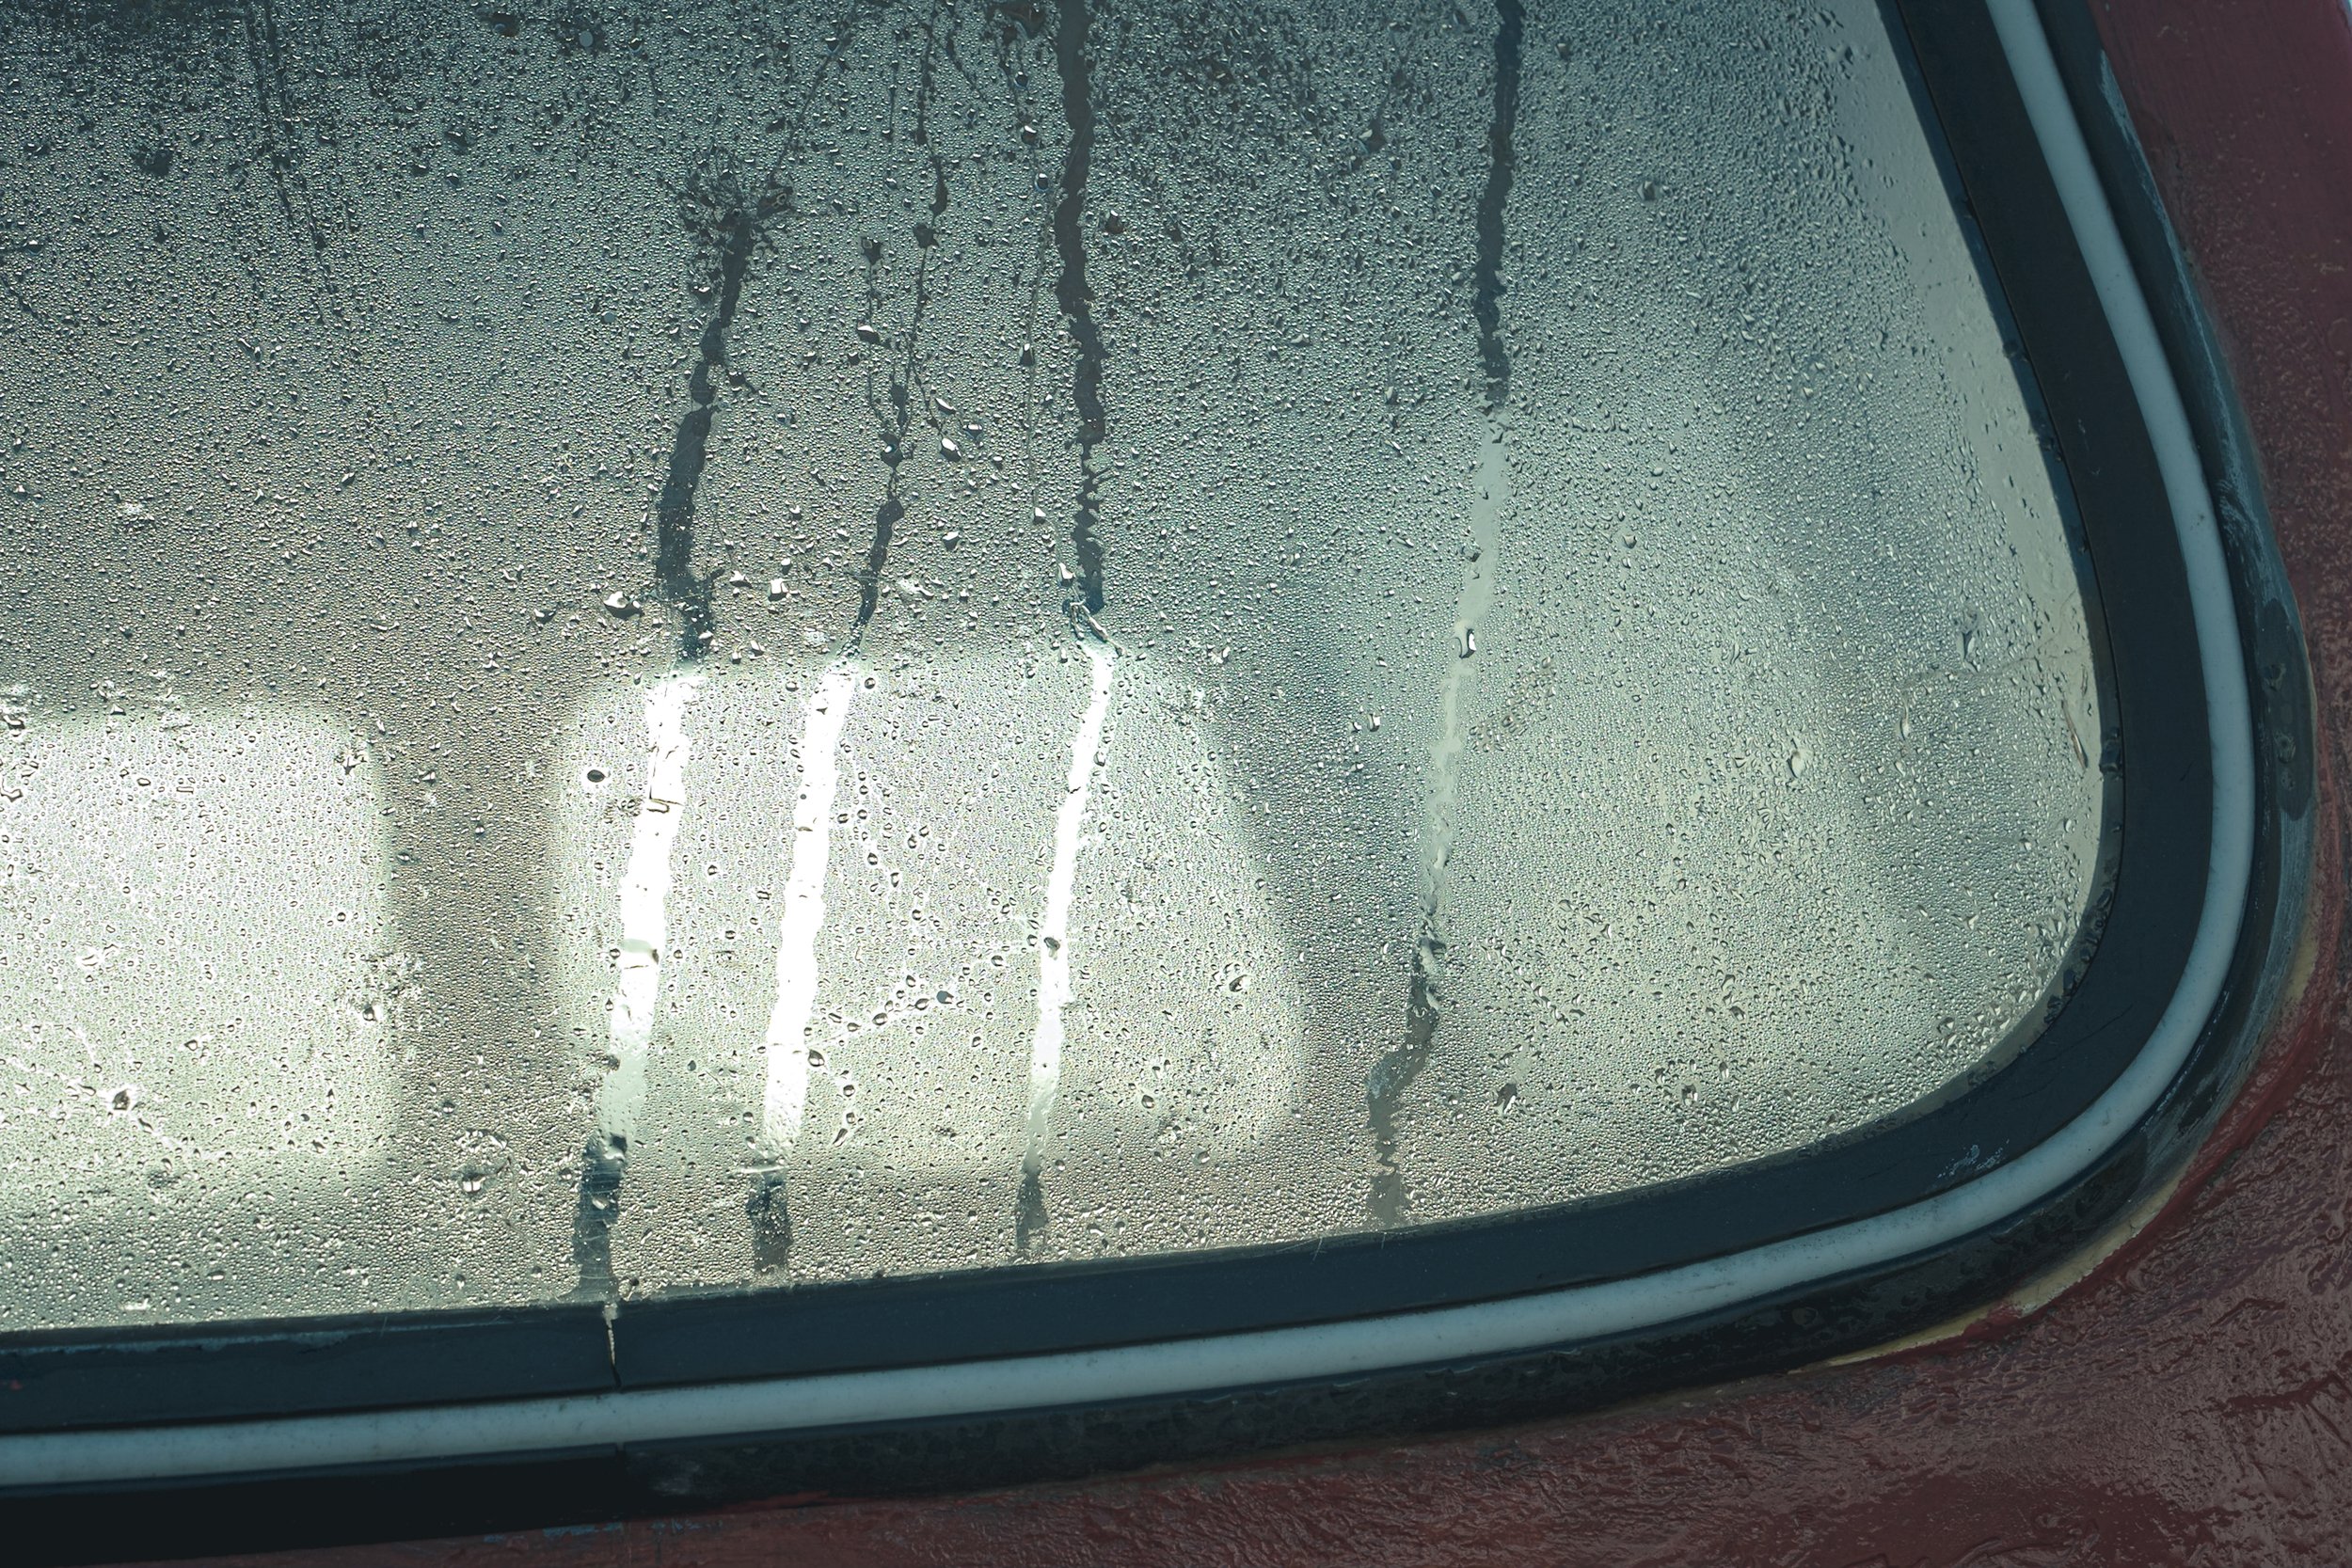
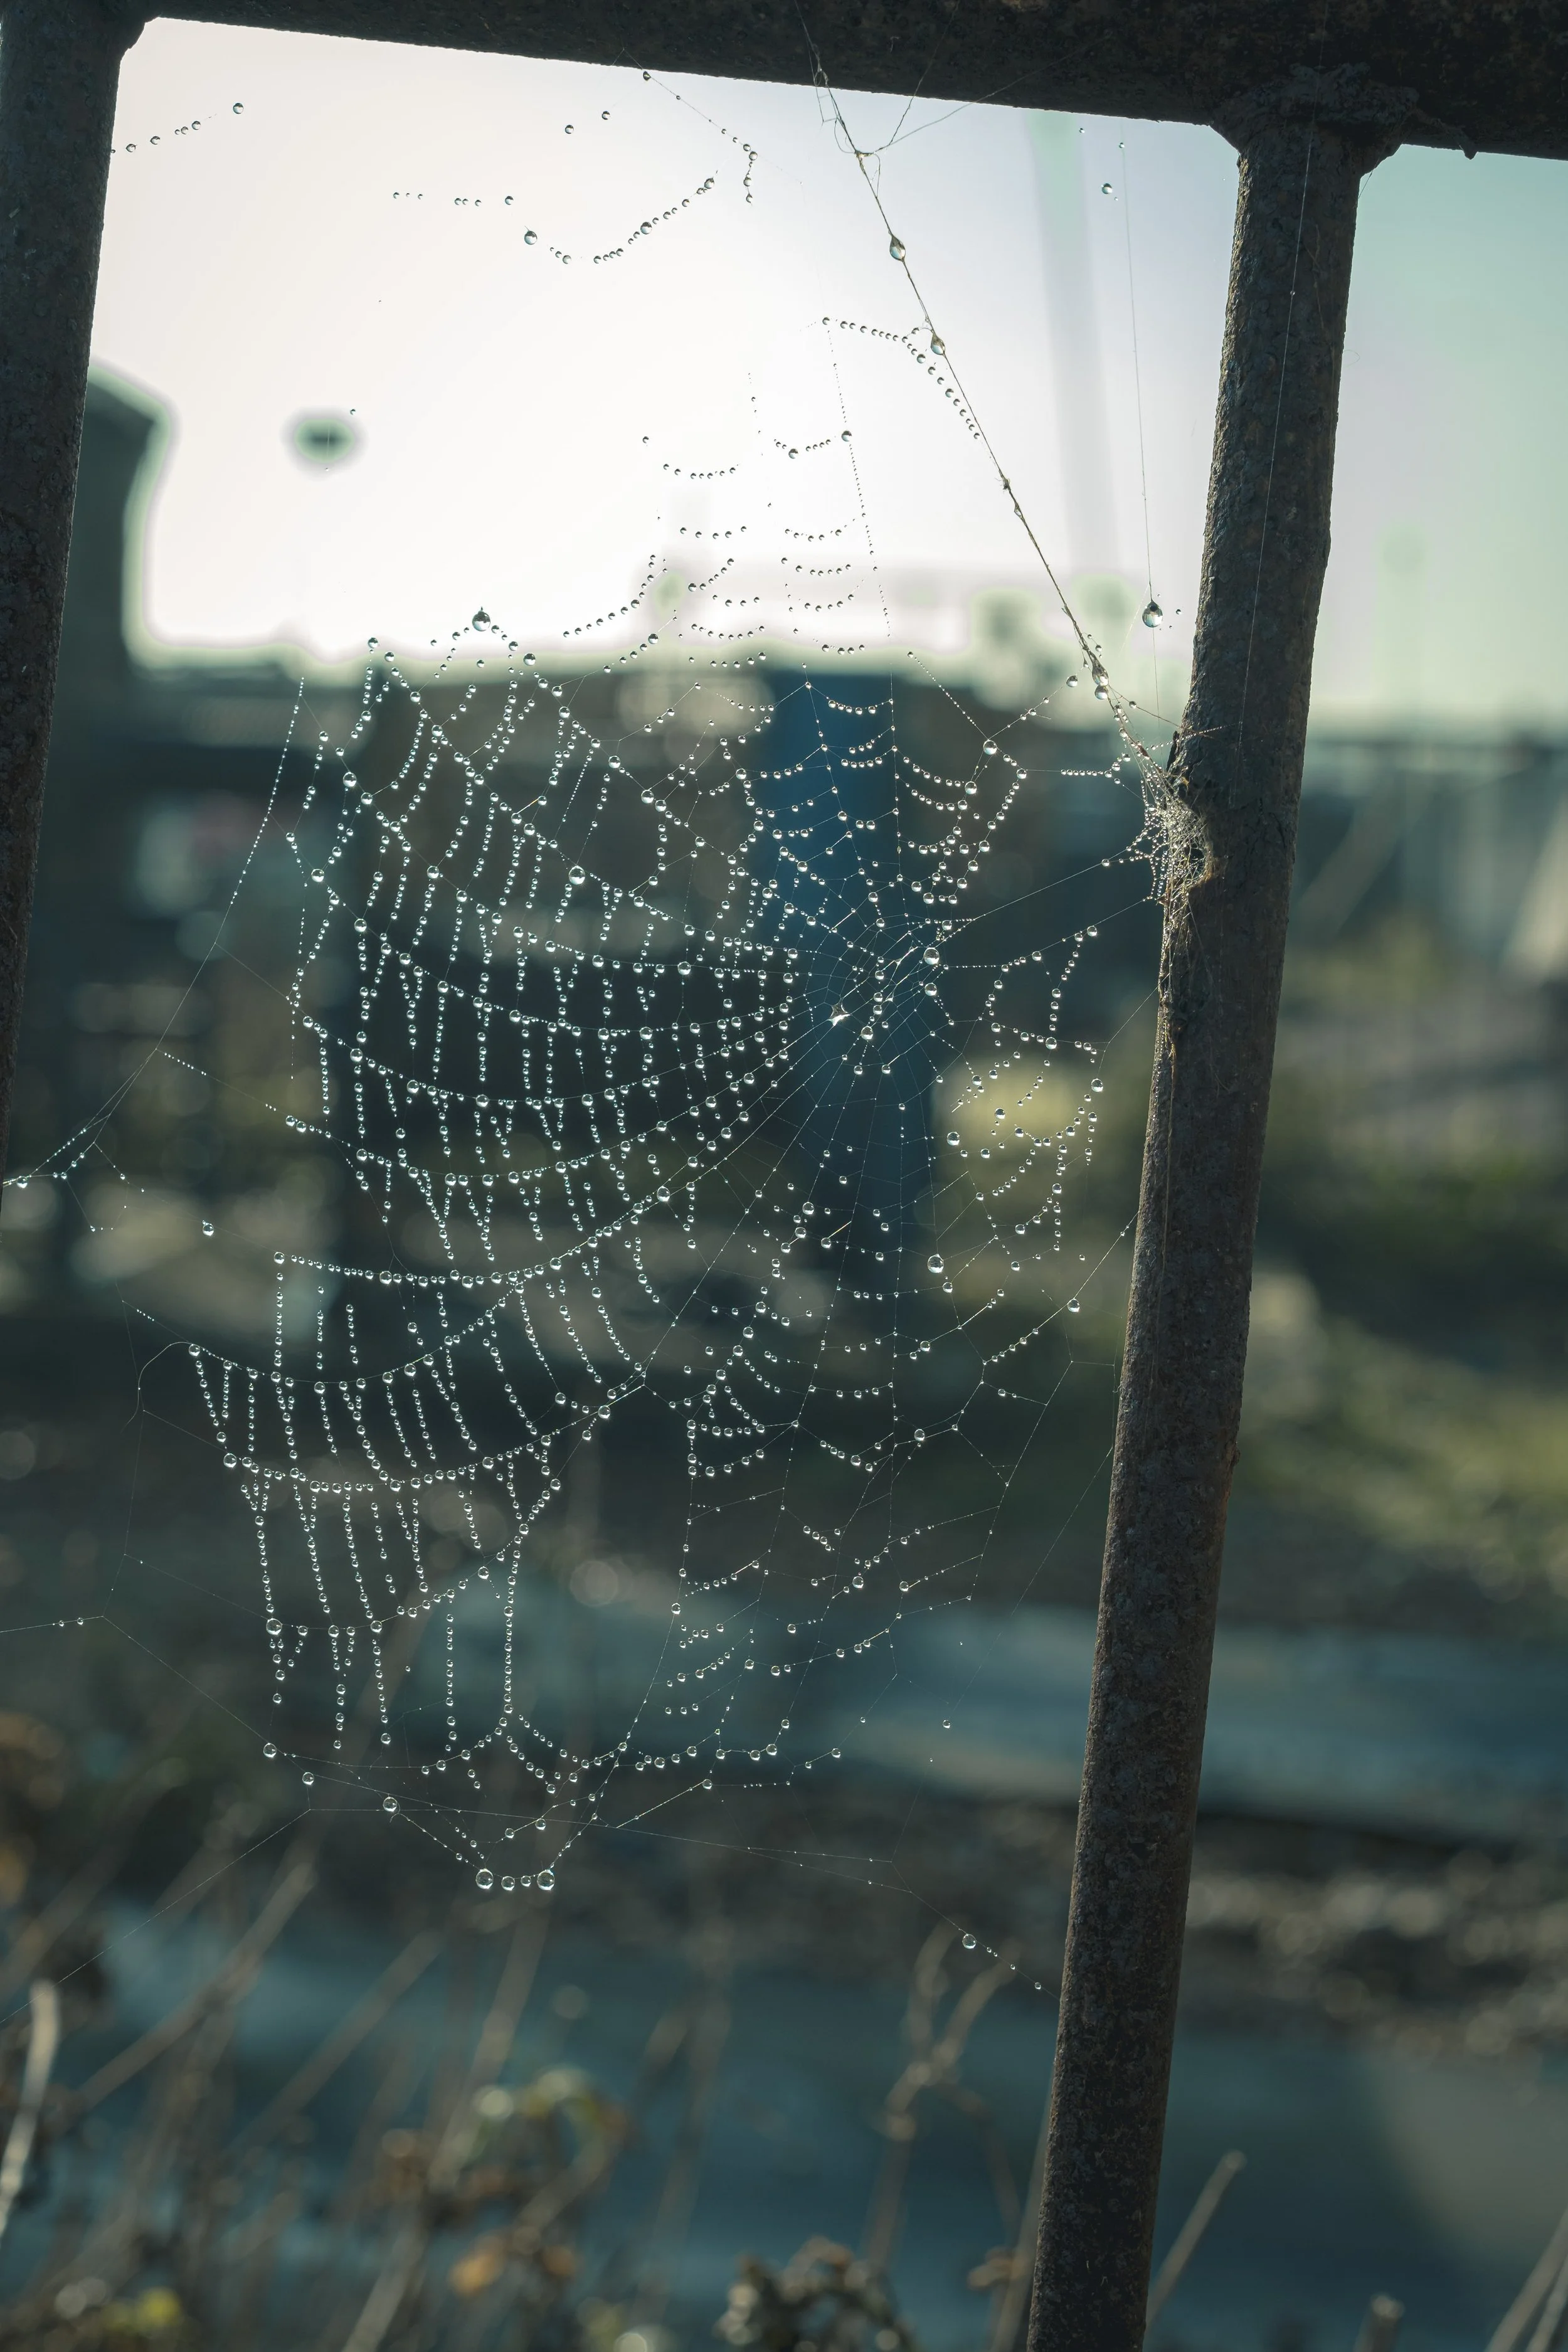
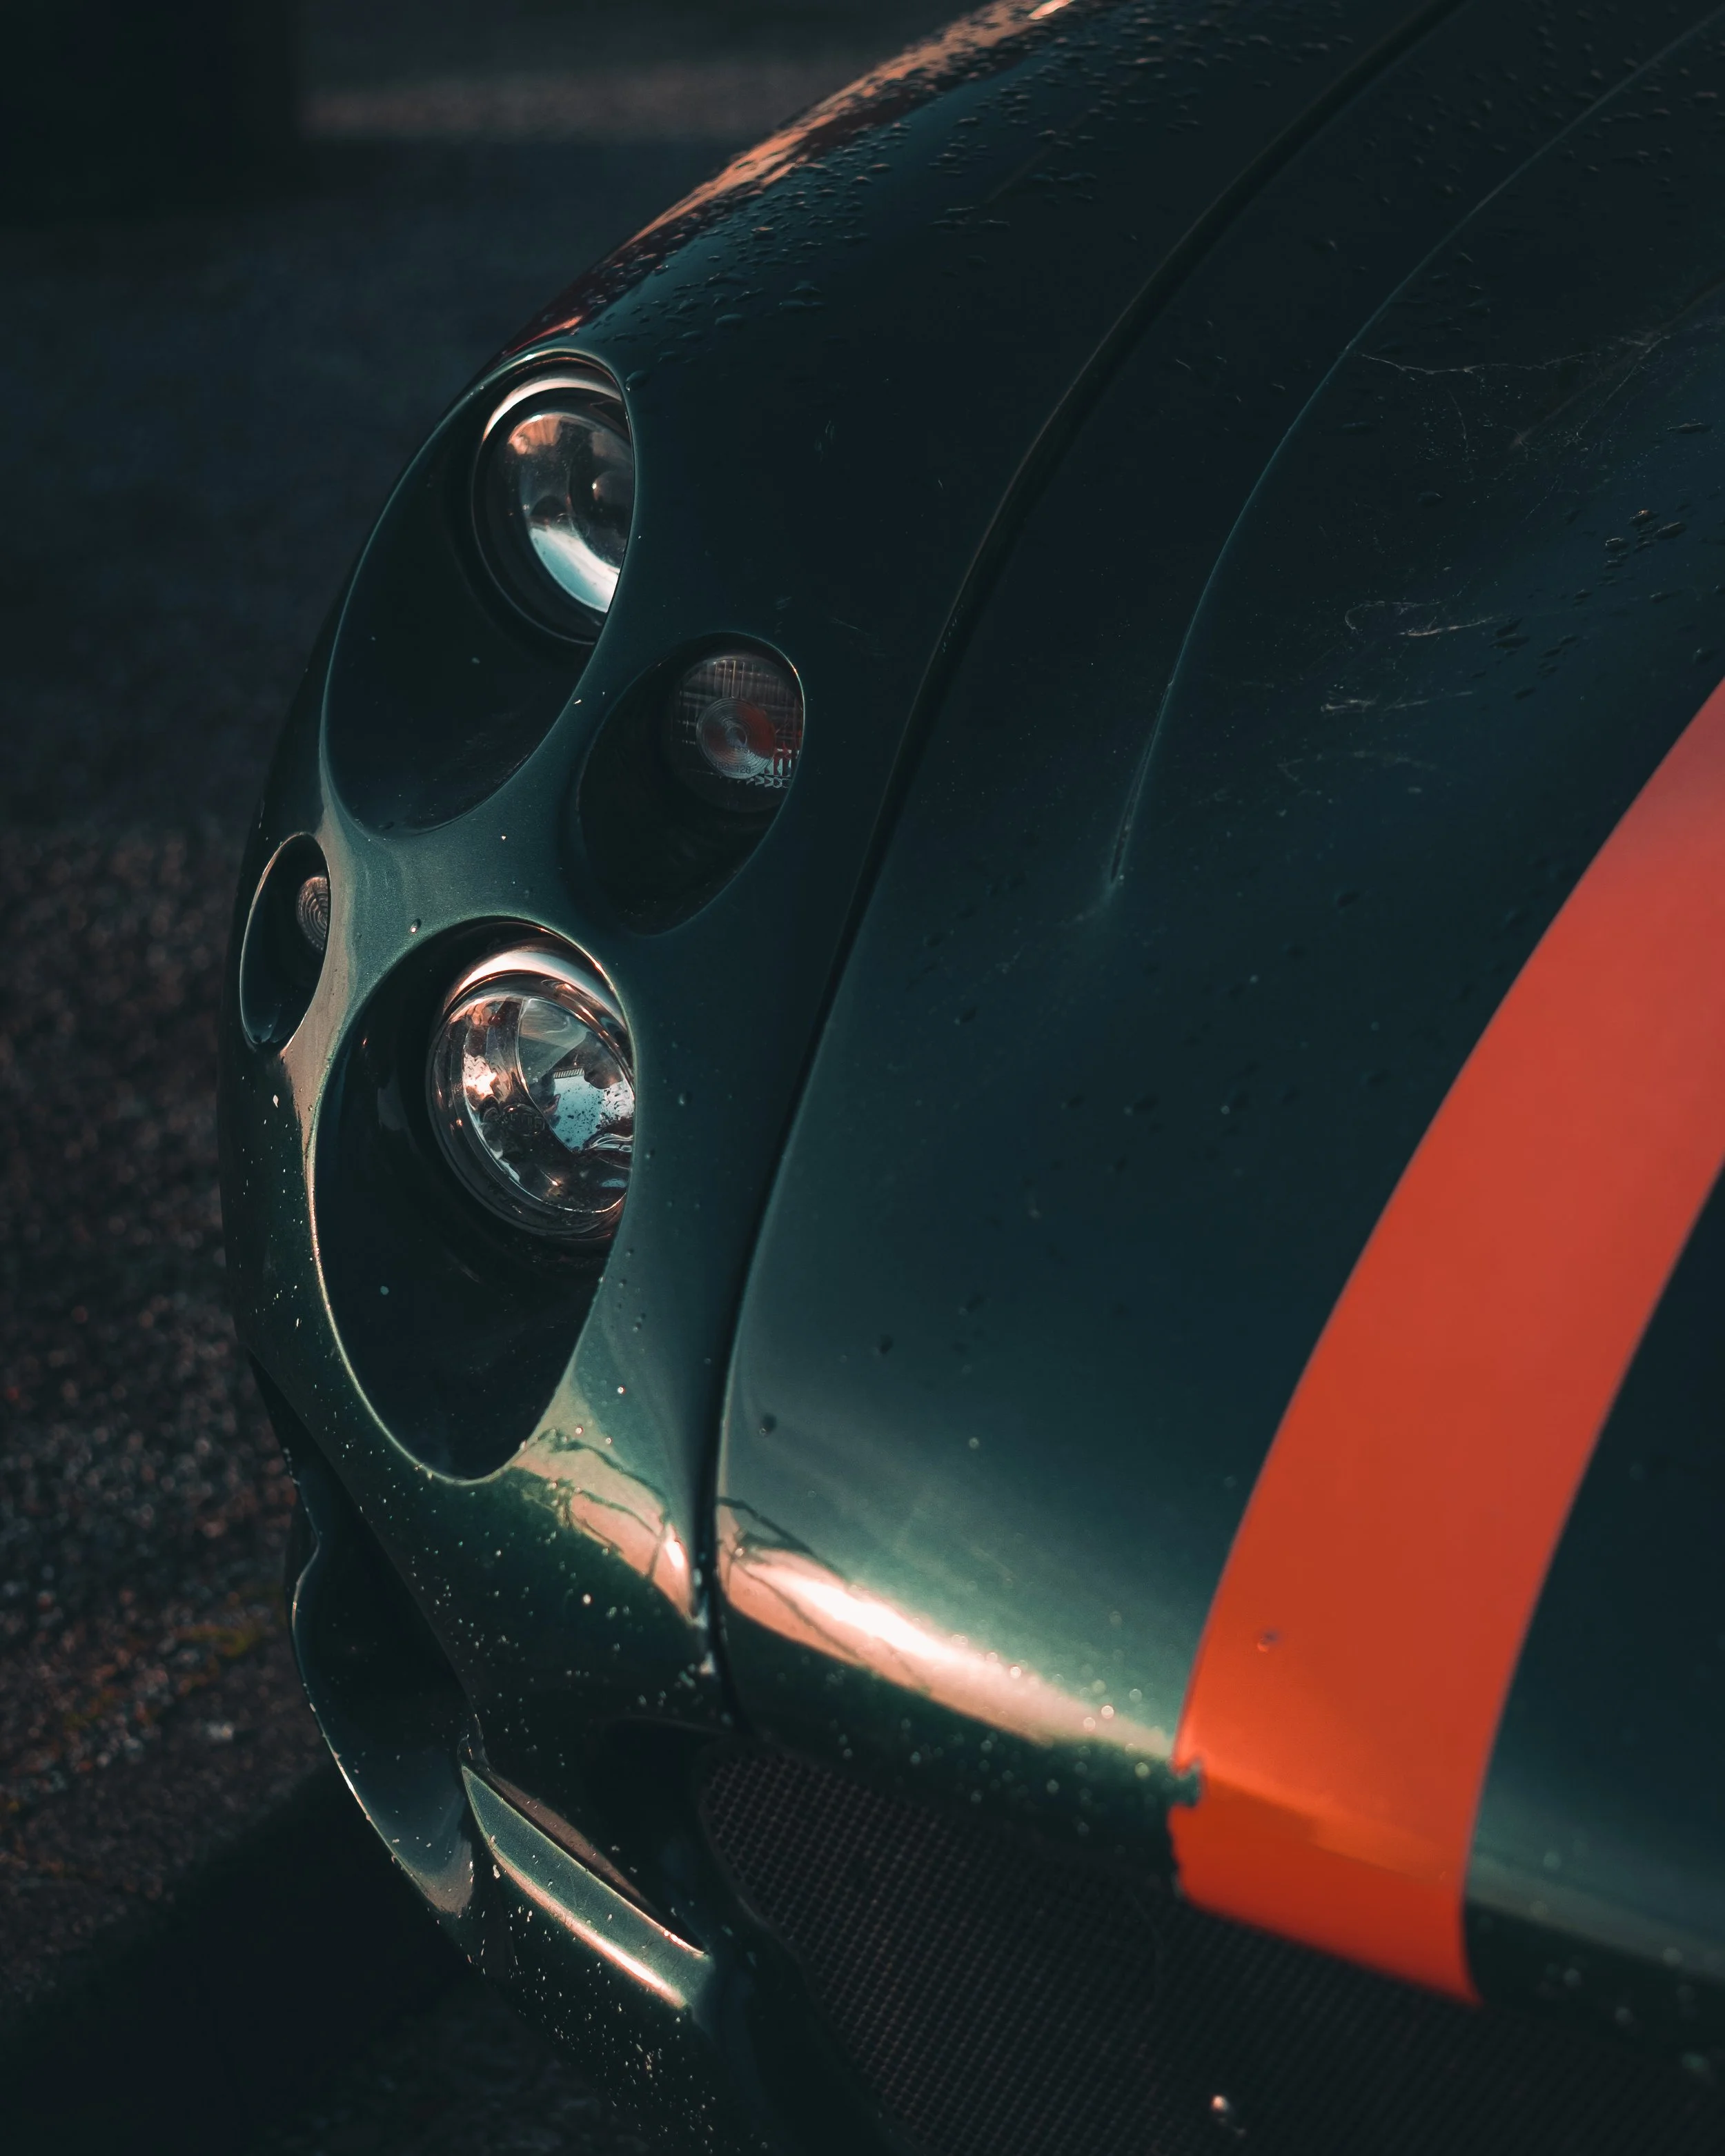
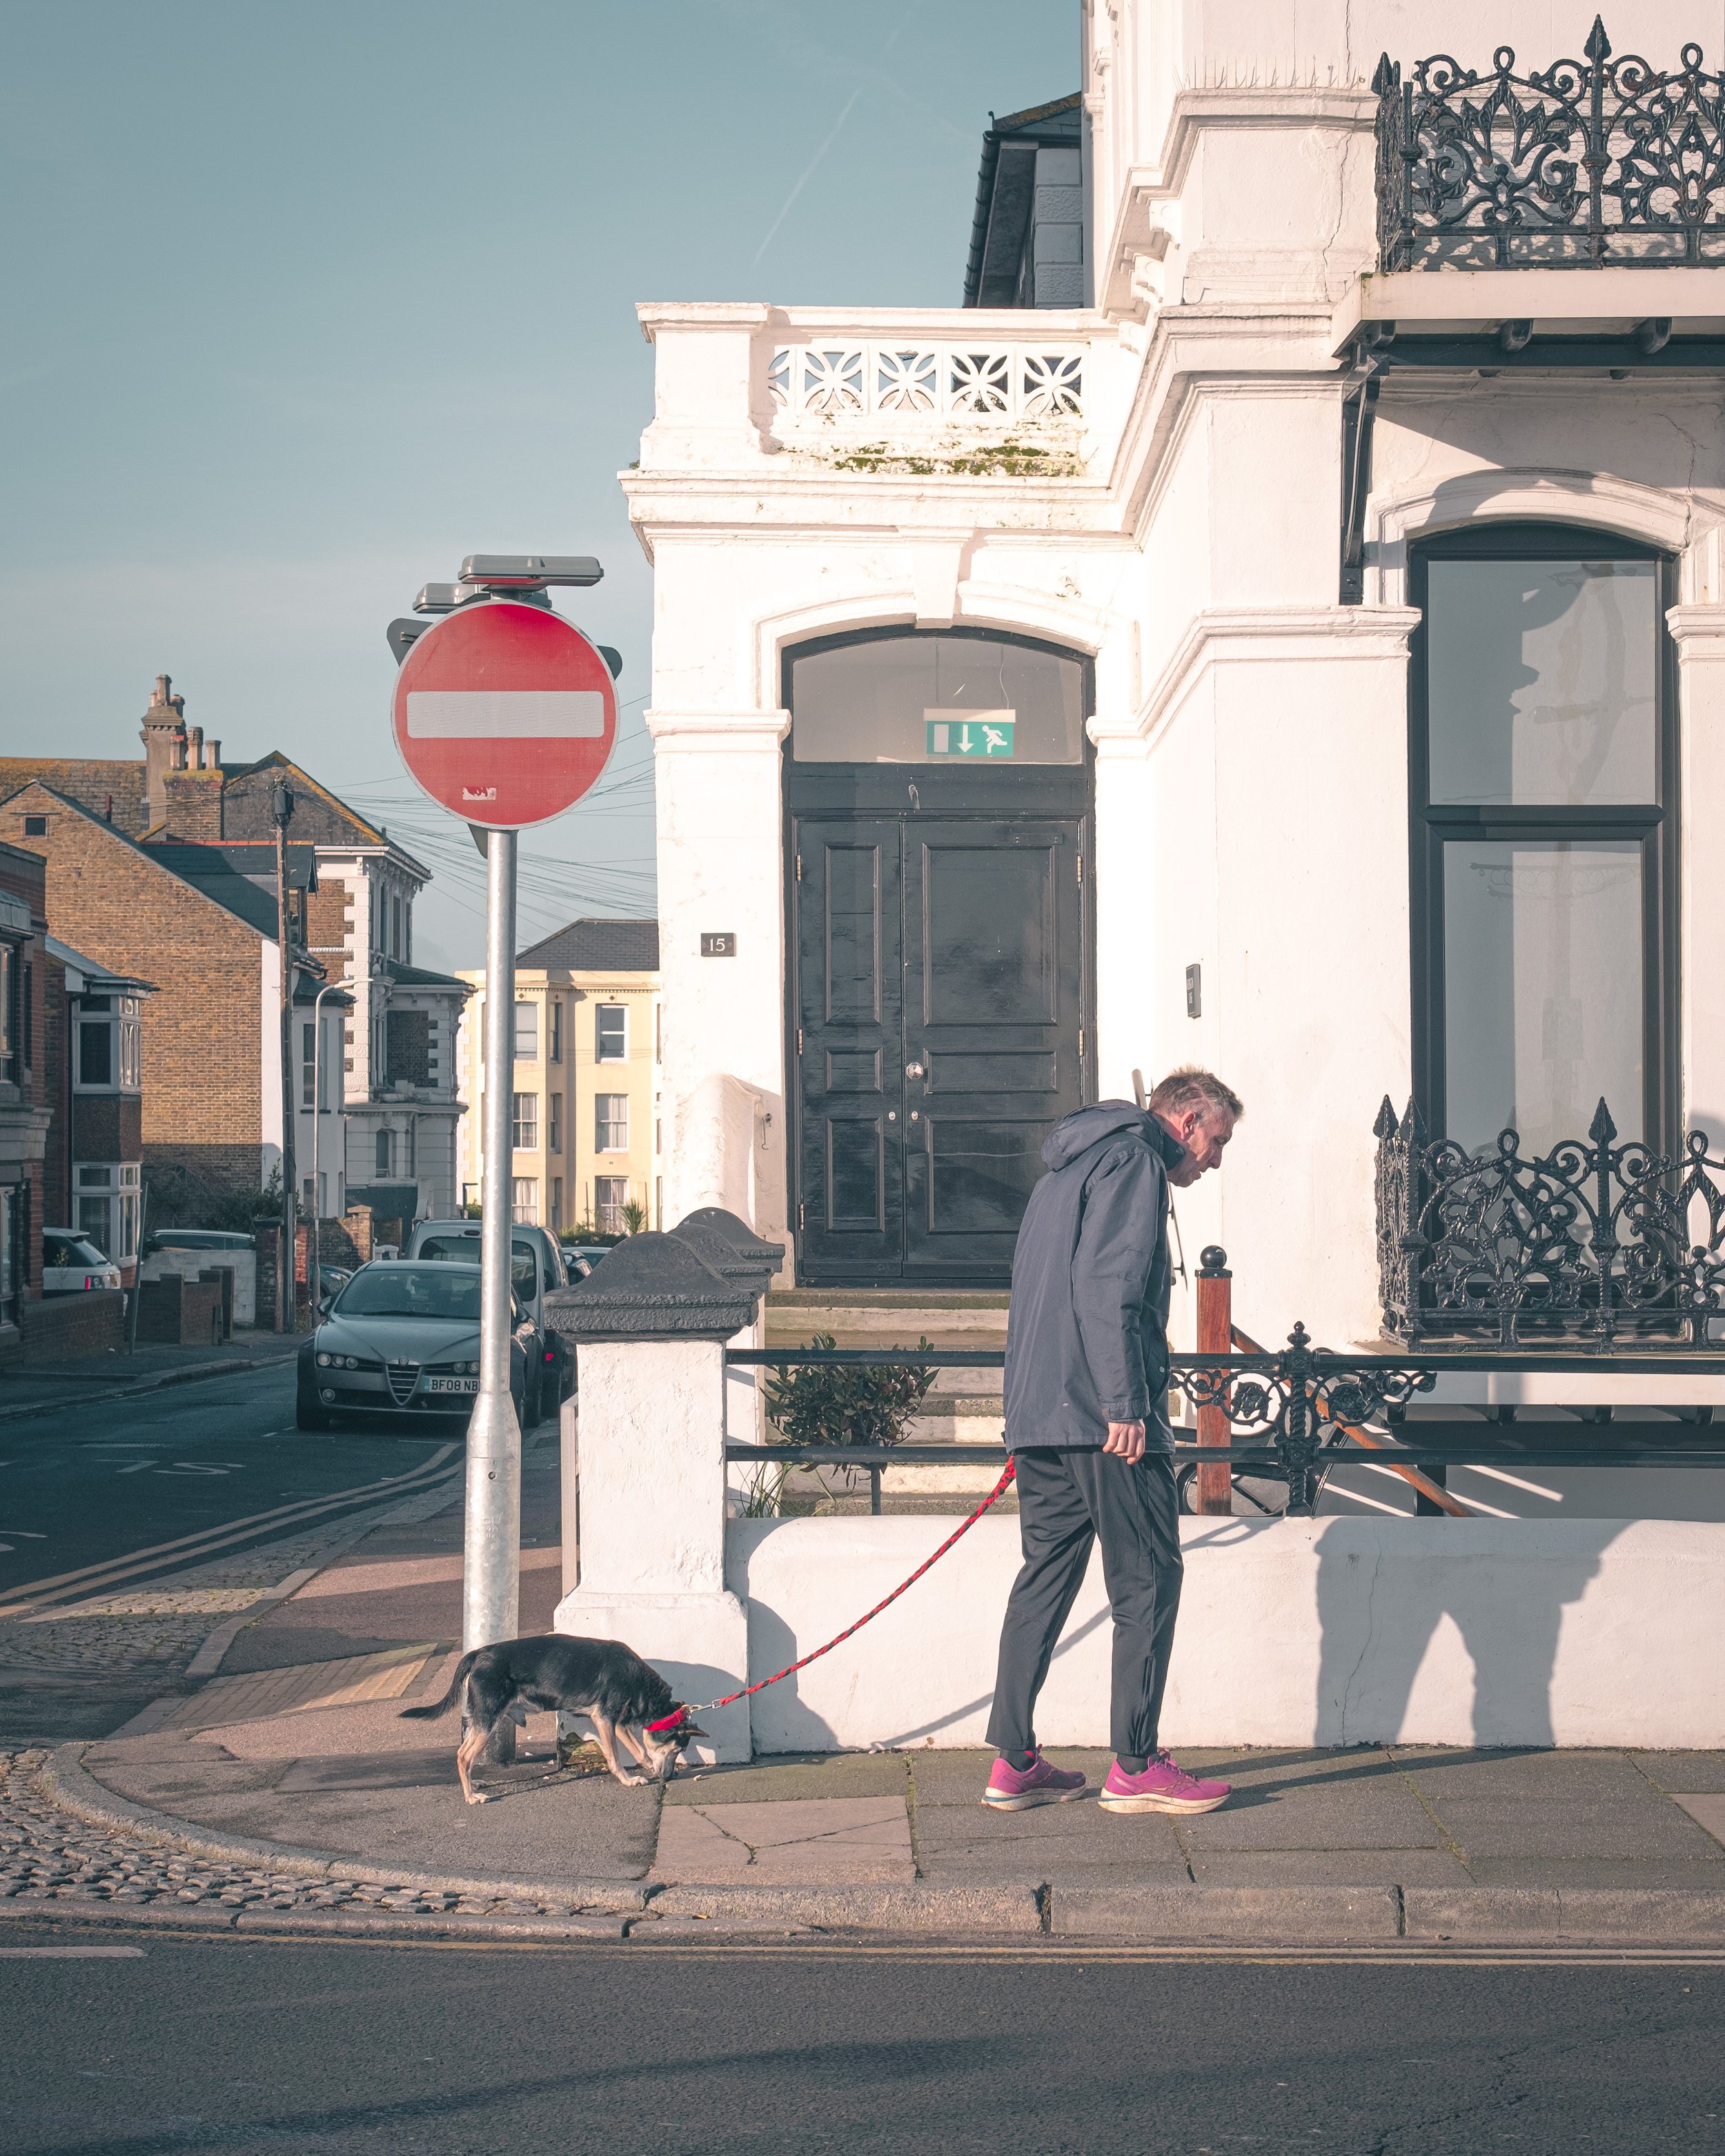
There was also plenty of rain which was good for reflections, although it was tricky to get some decent compositions with the time I had and a lack of cloths to clean the lens. I just had to make do with what I could get.

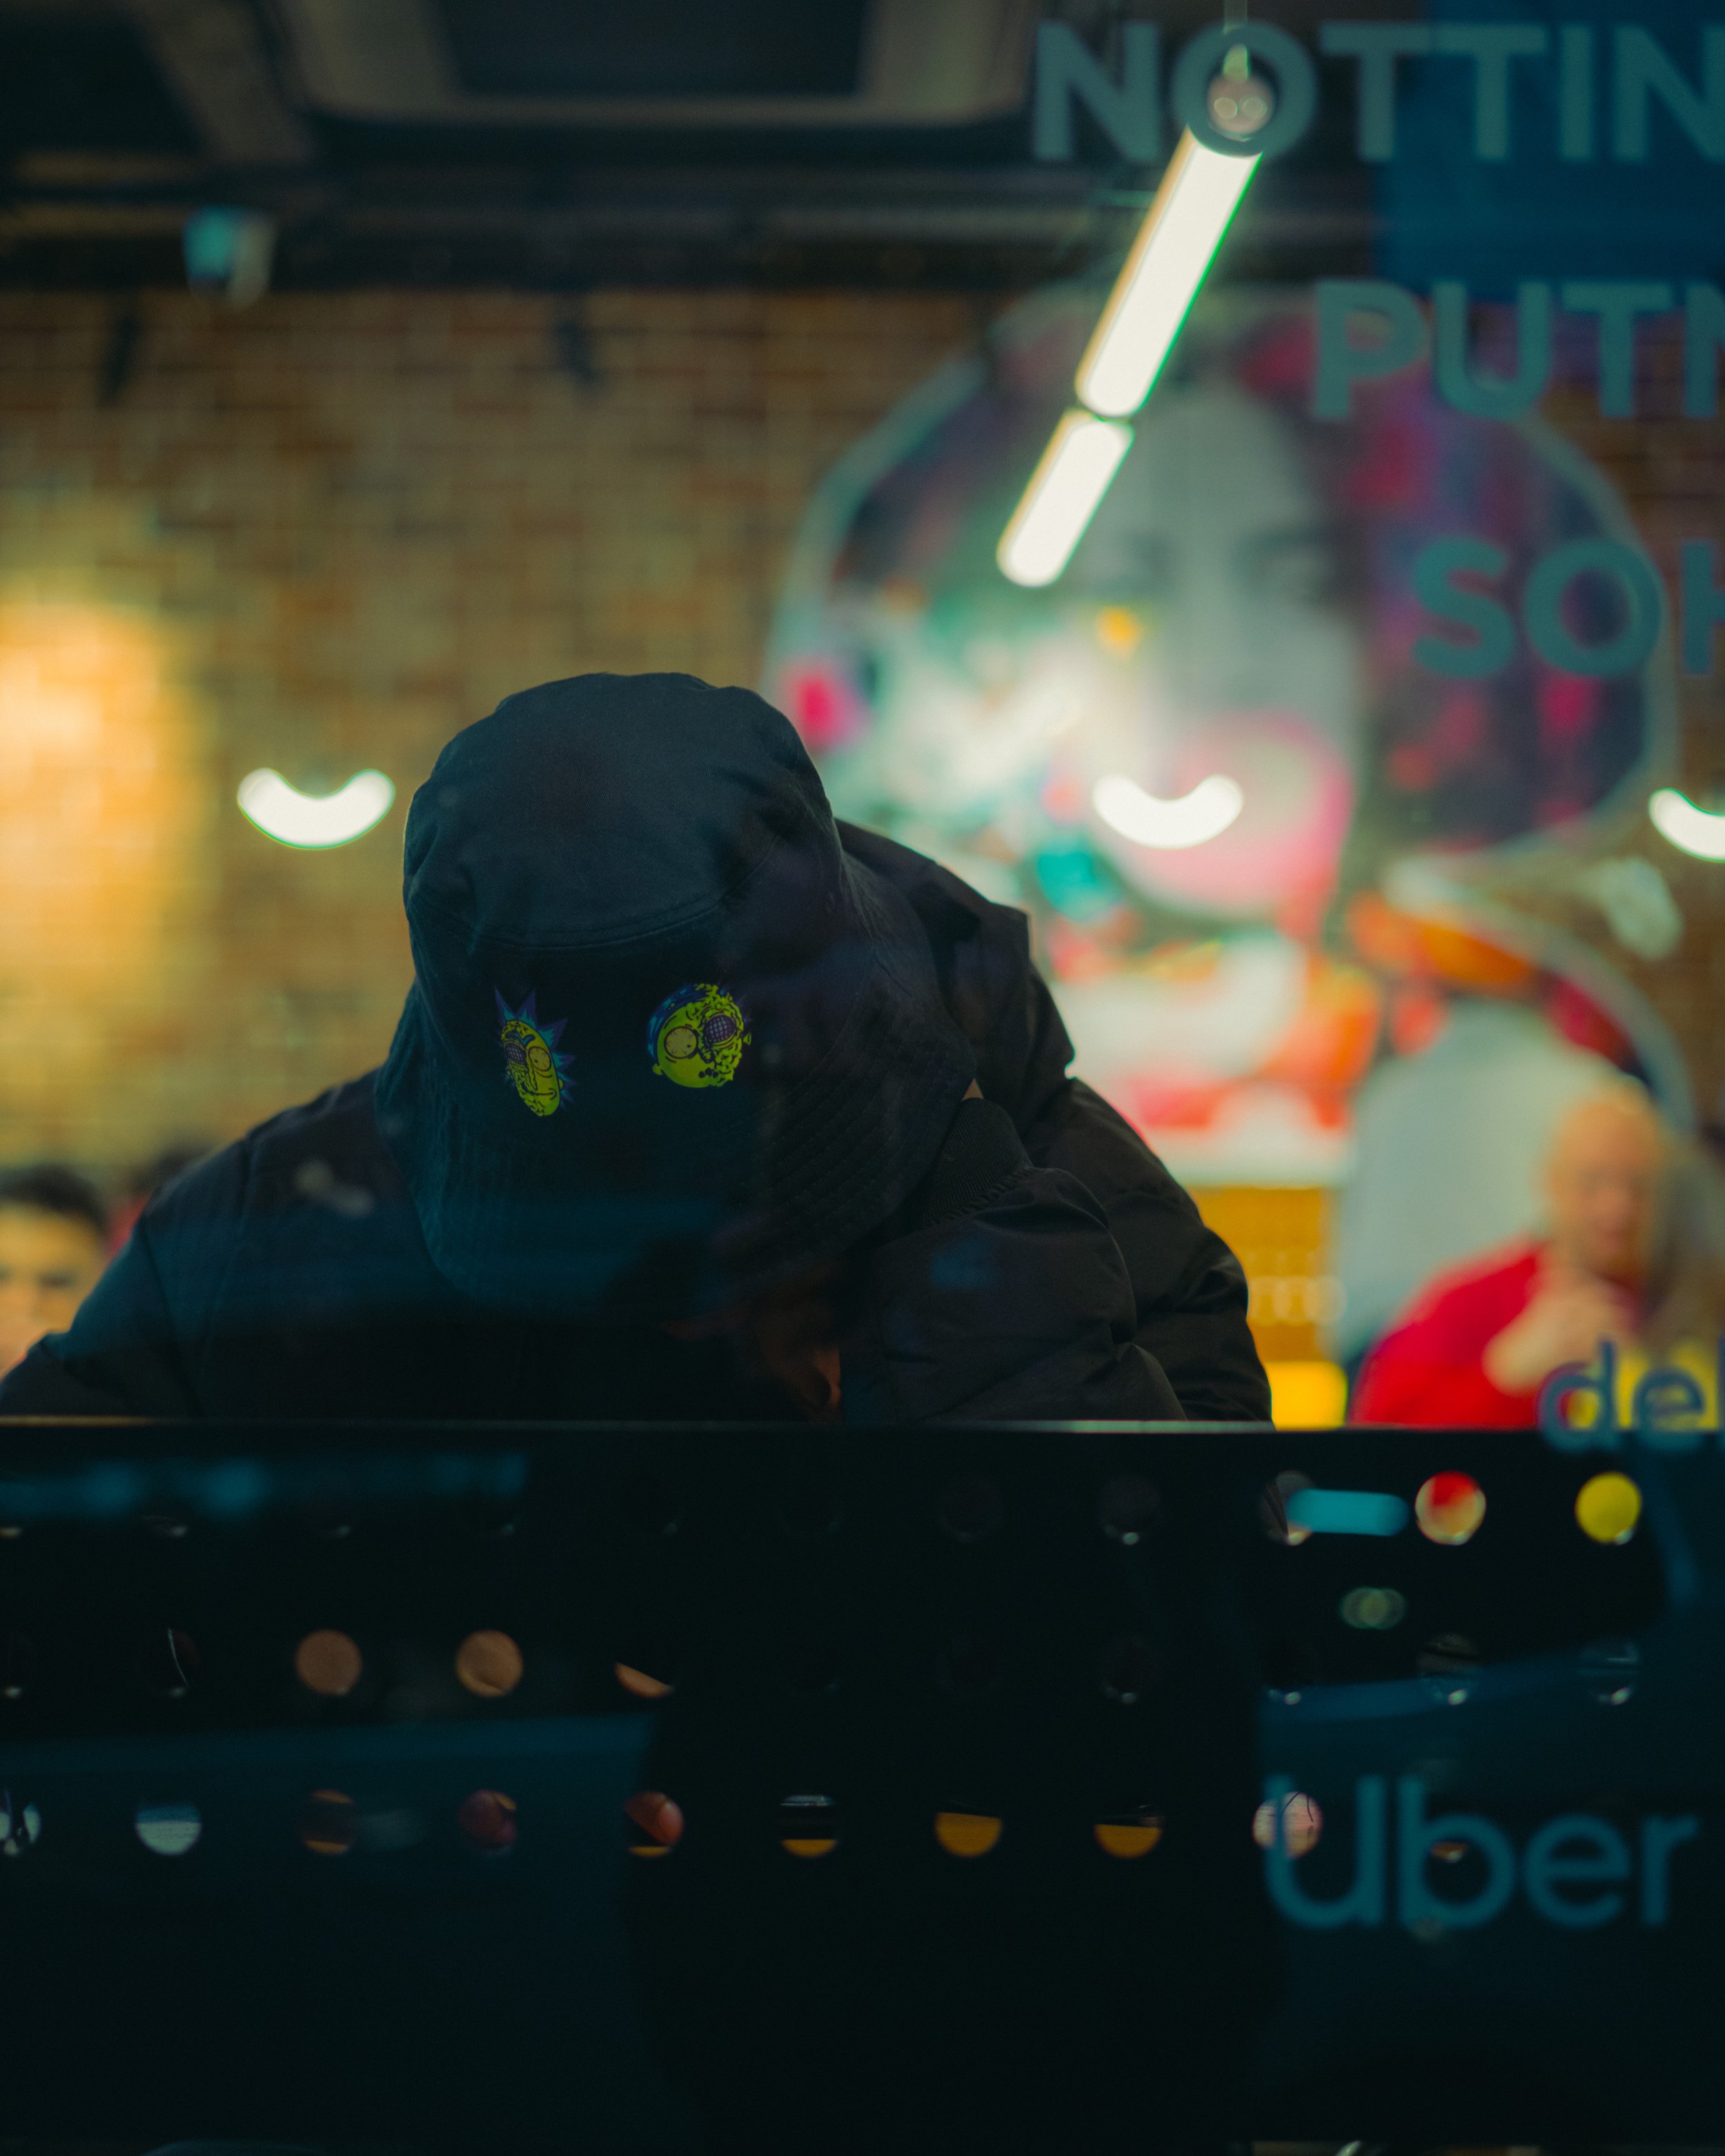
Nothing too exciting there really. I need to work on this more with the time I have (around 40mins before work). It’s also difficult when there are so many other people around, but I’m sure there are shots to be had around that area on the way to work.
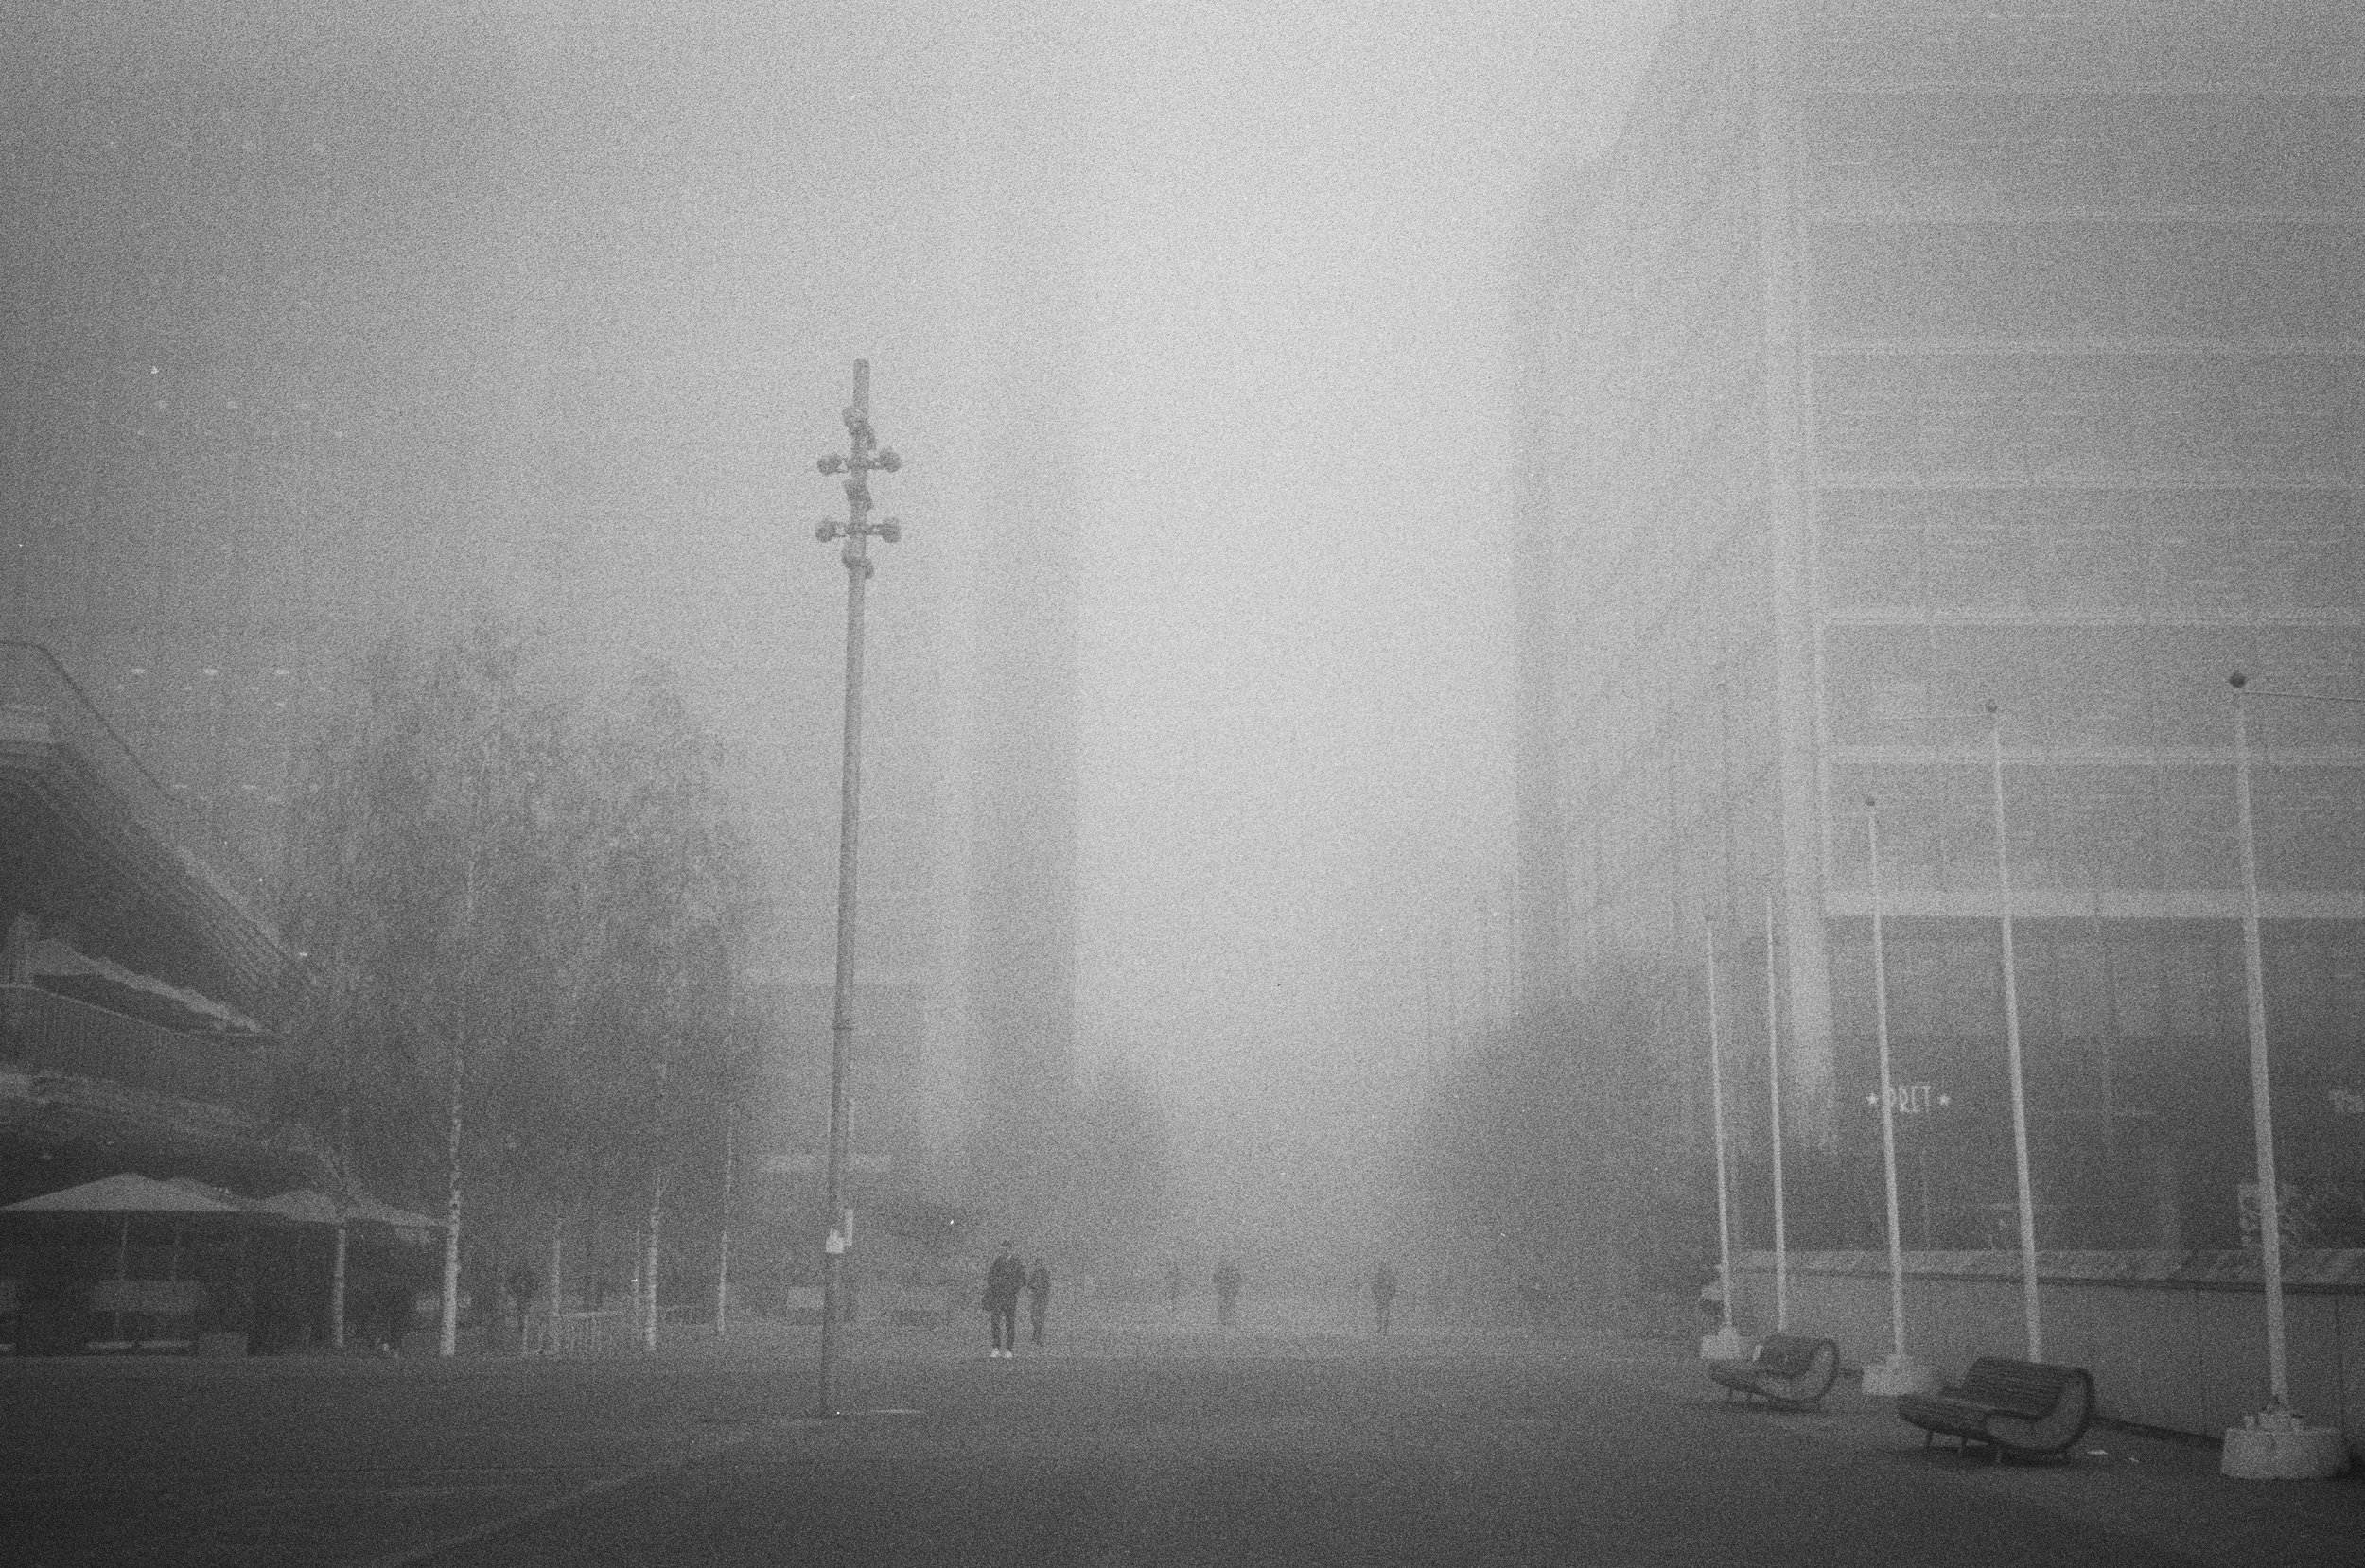
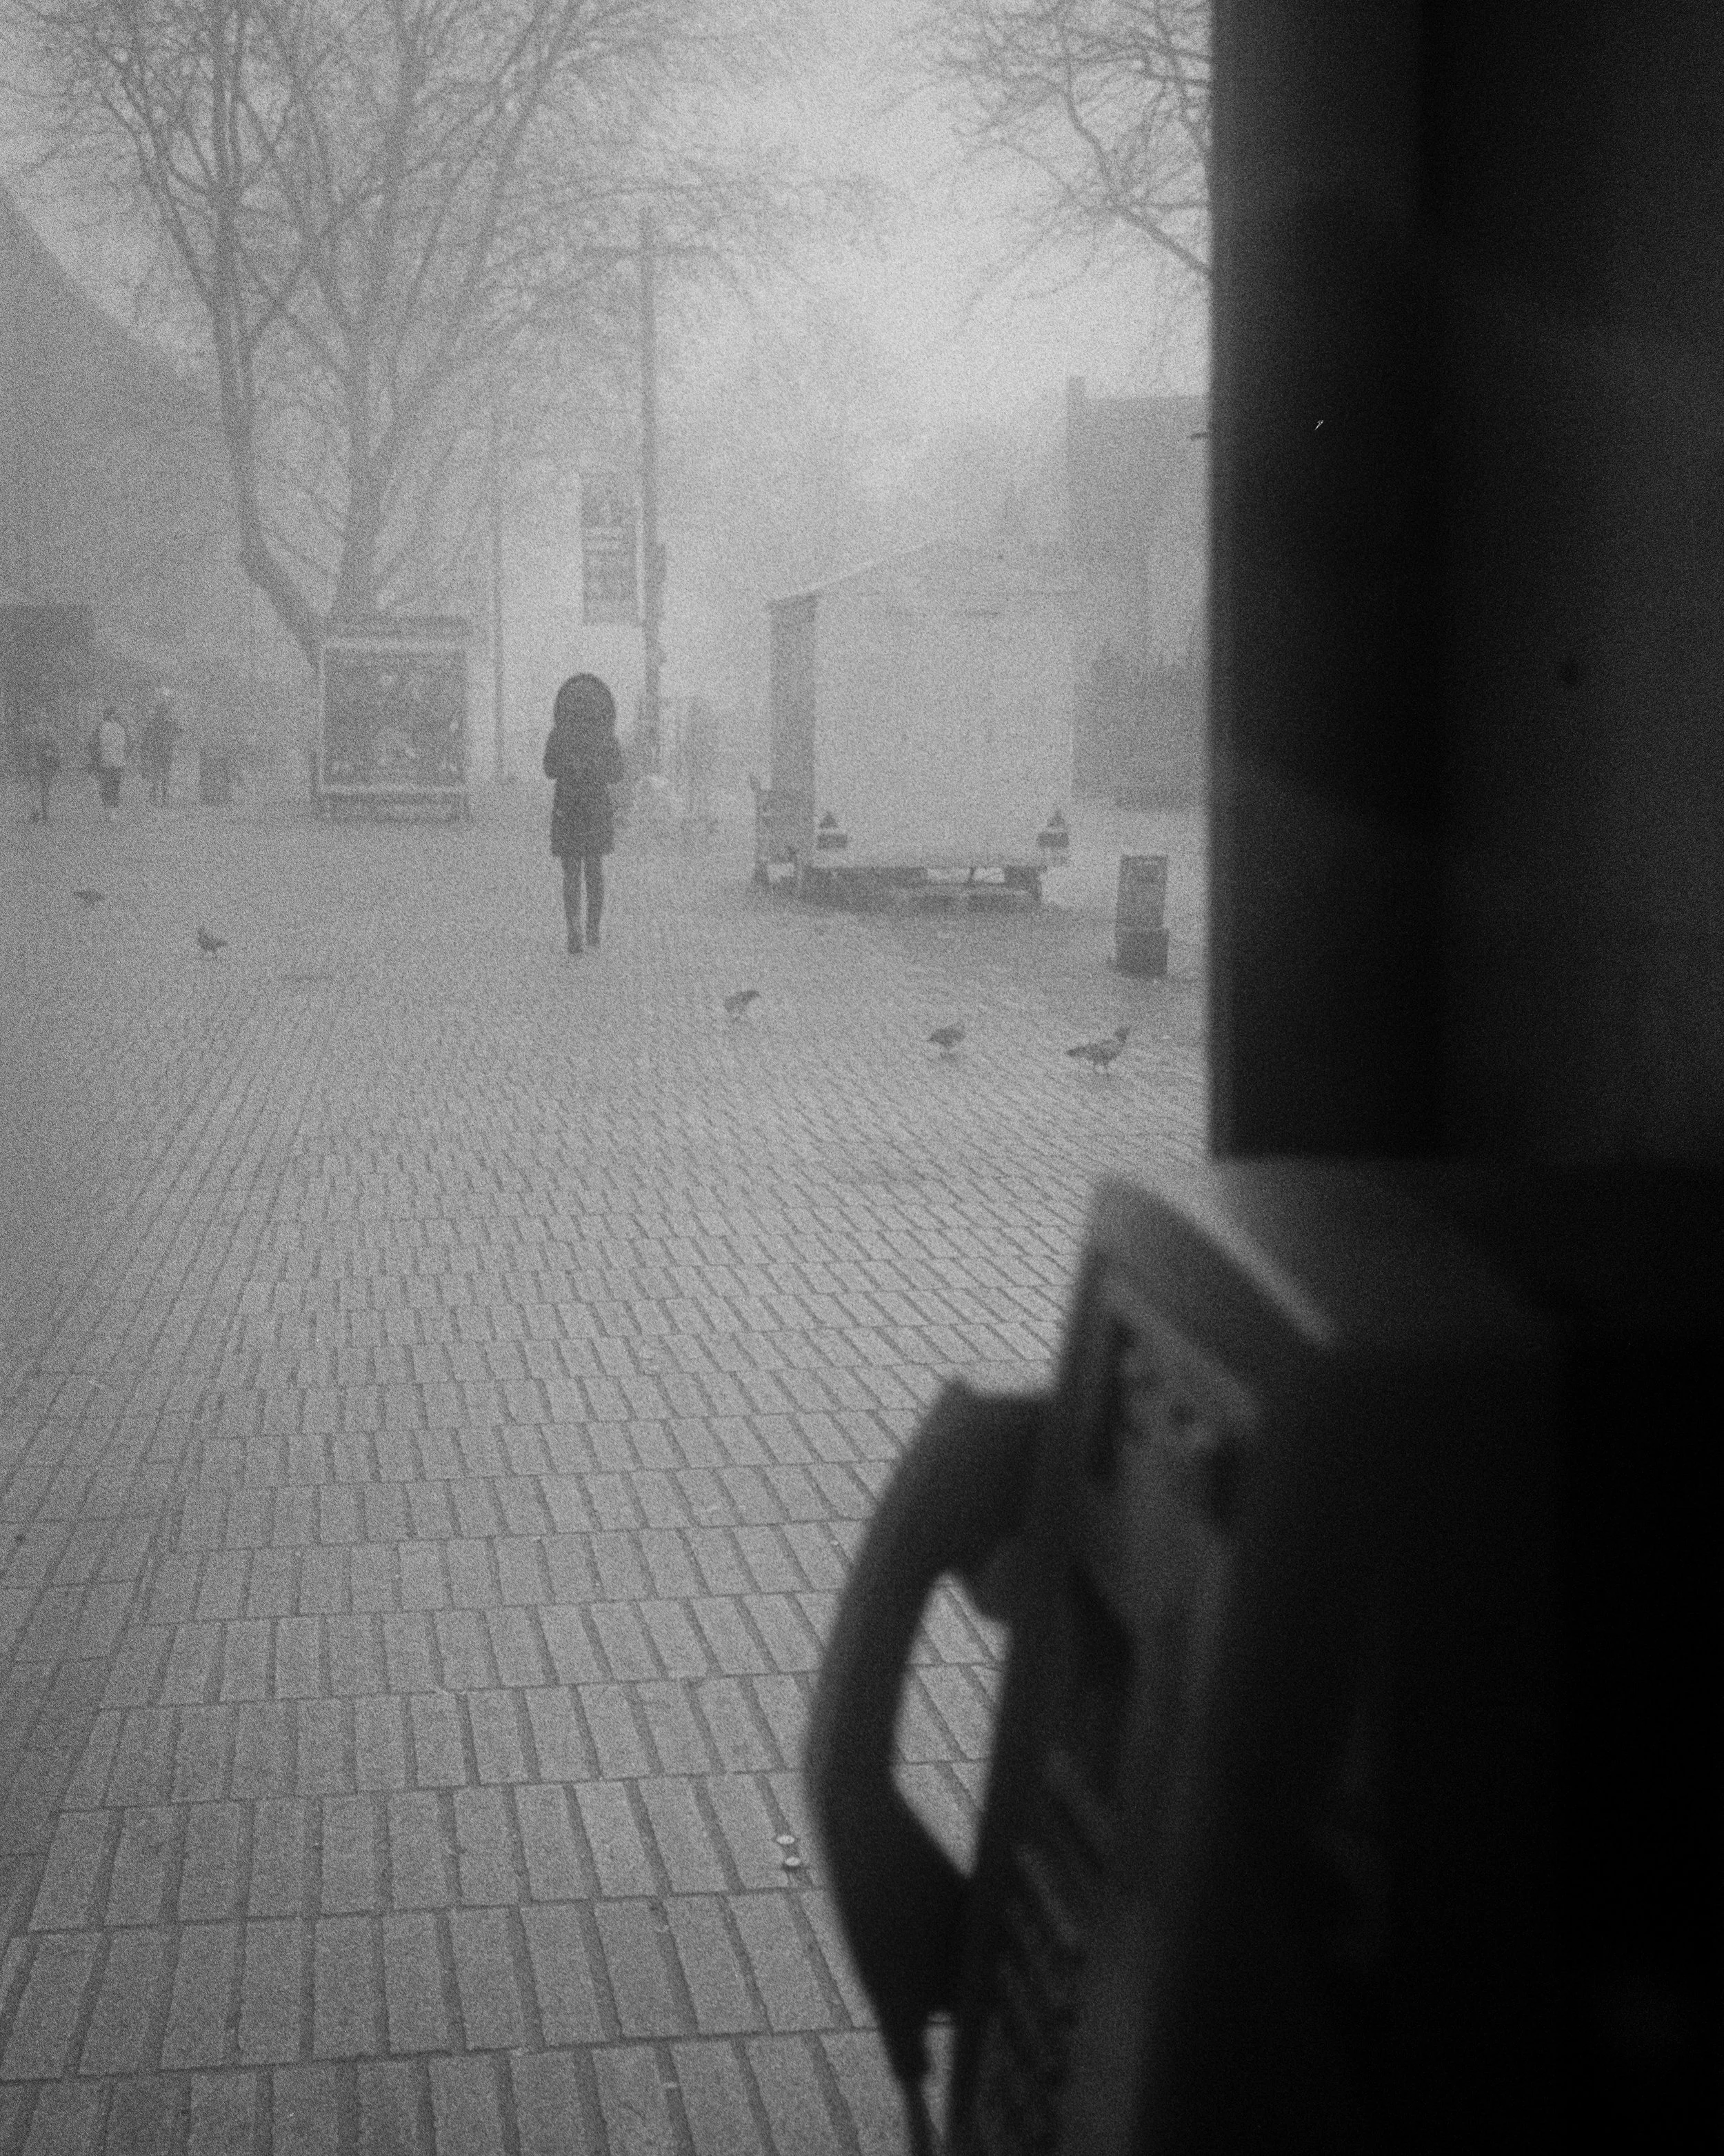
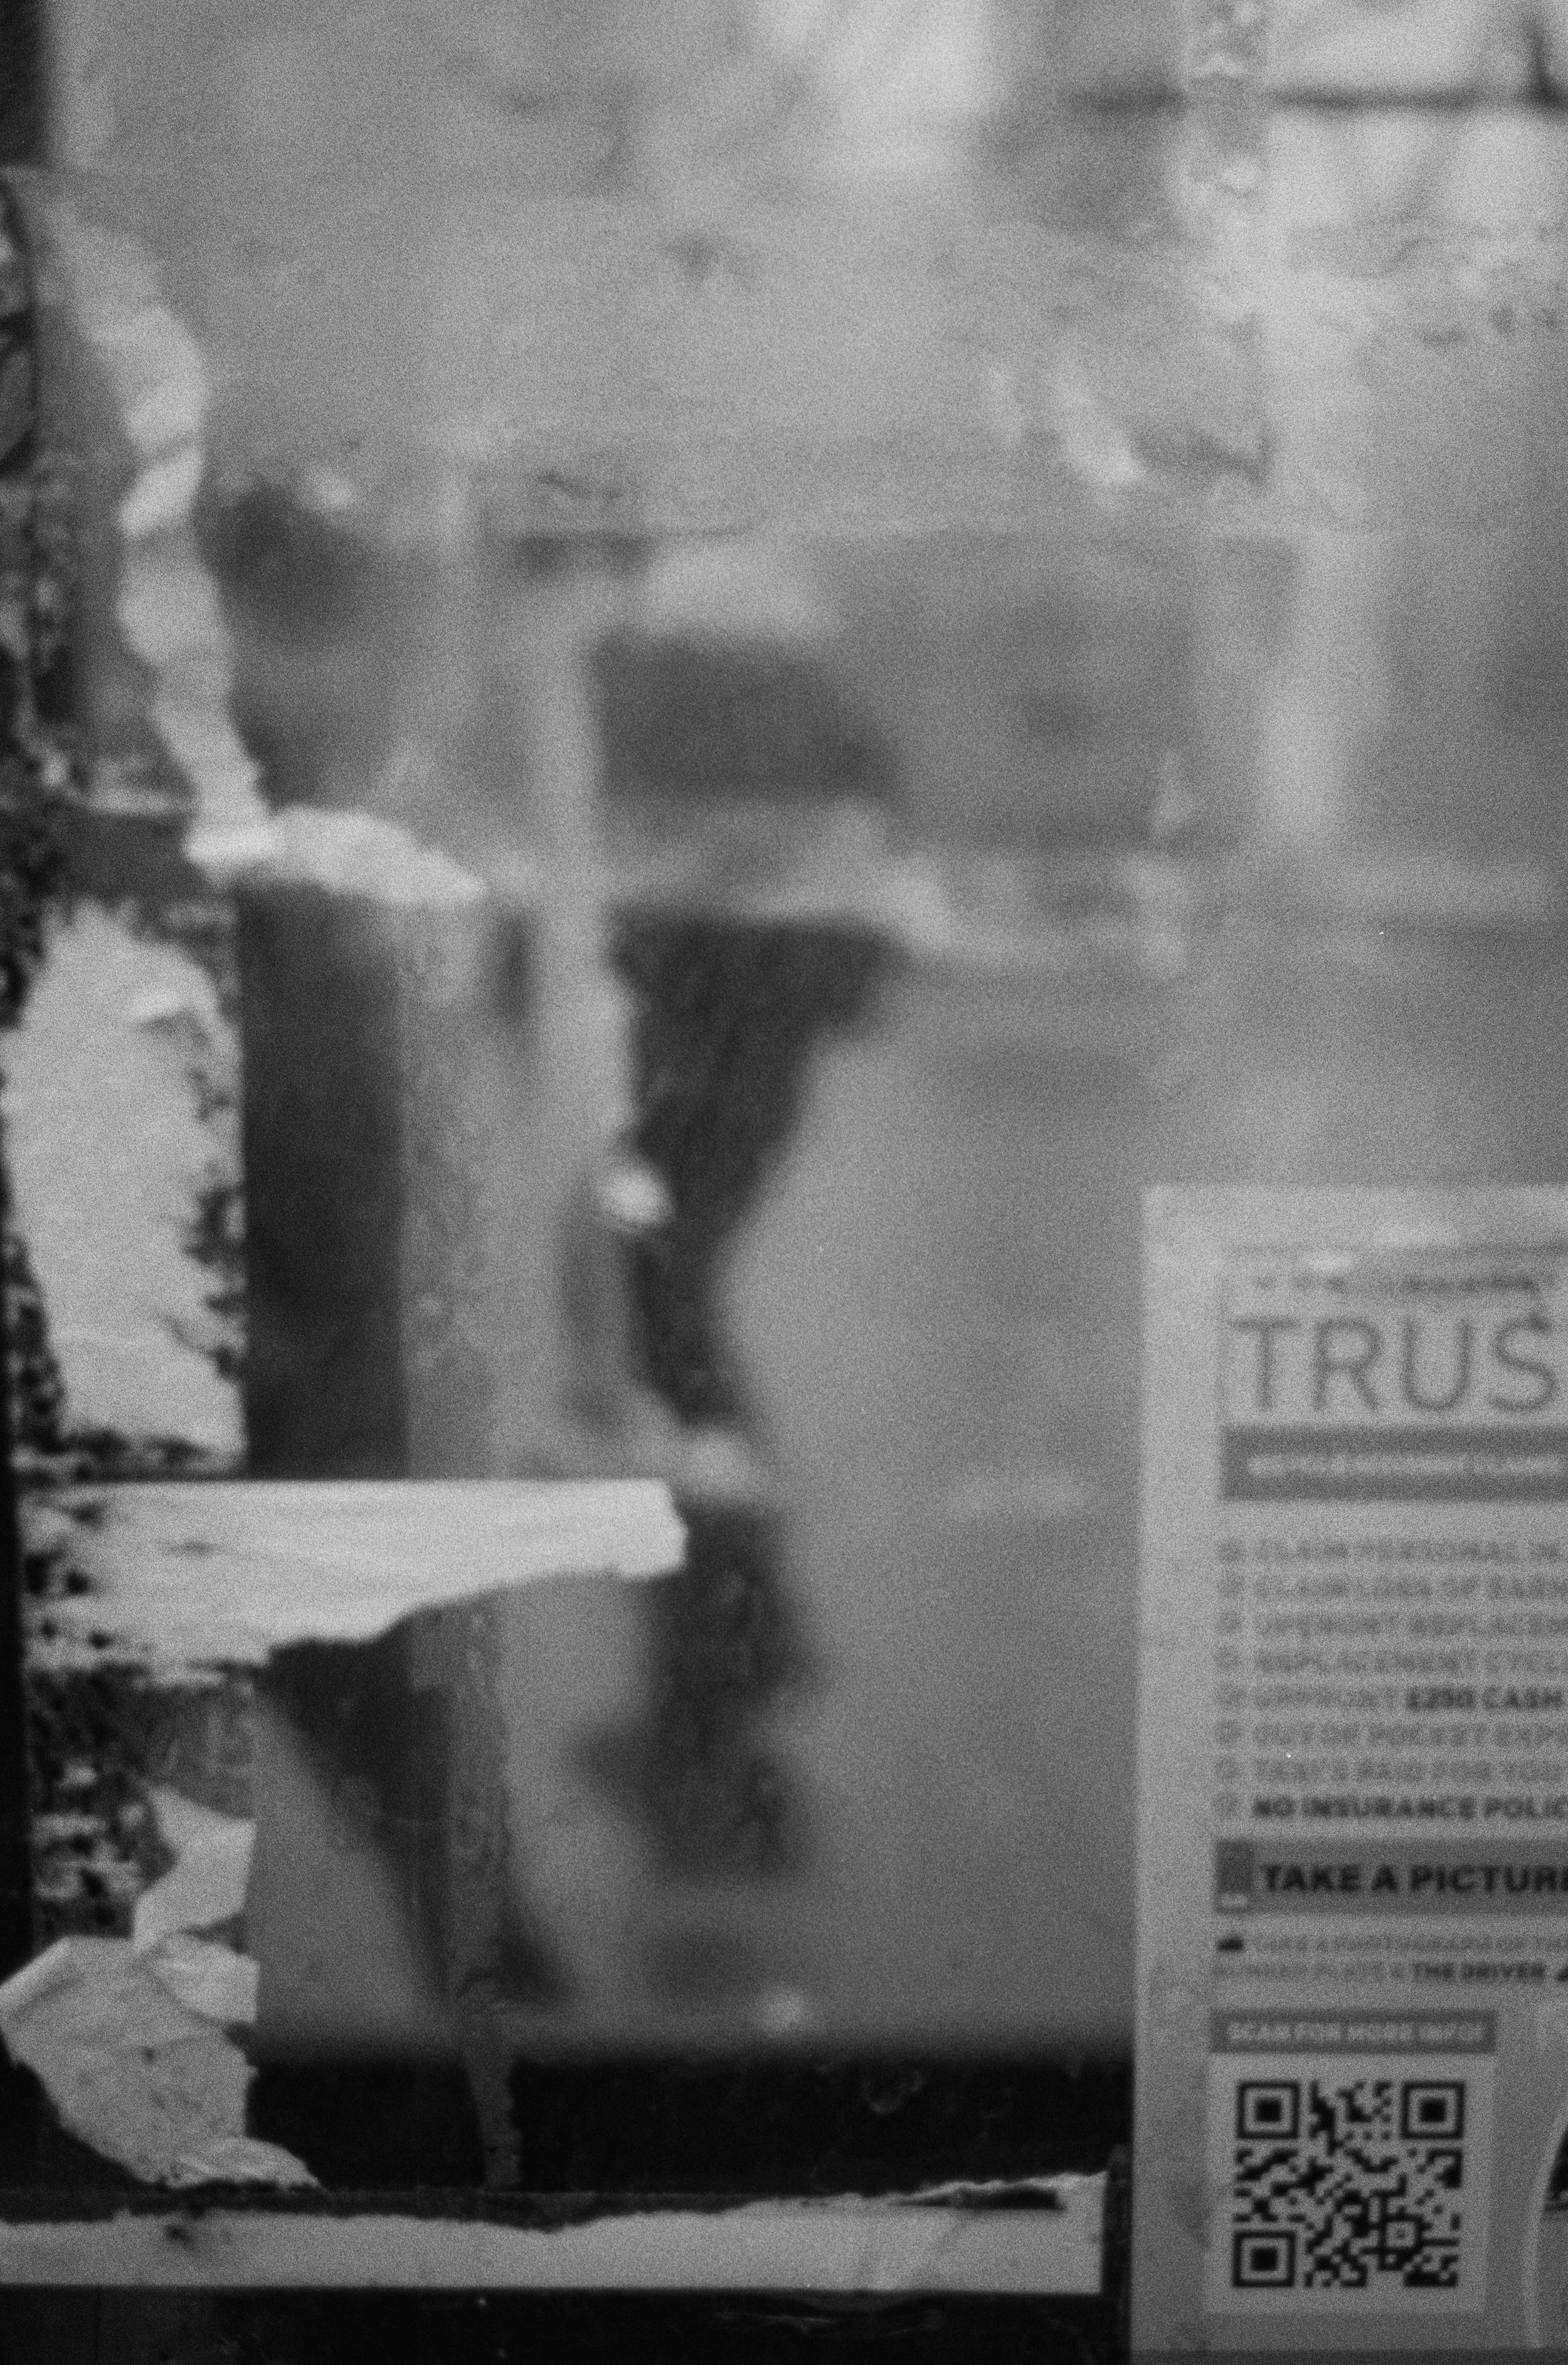
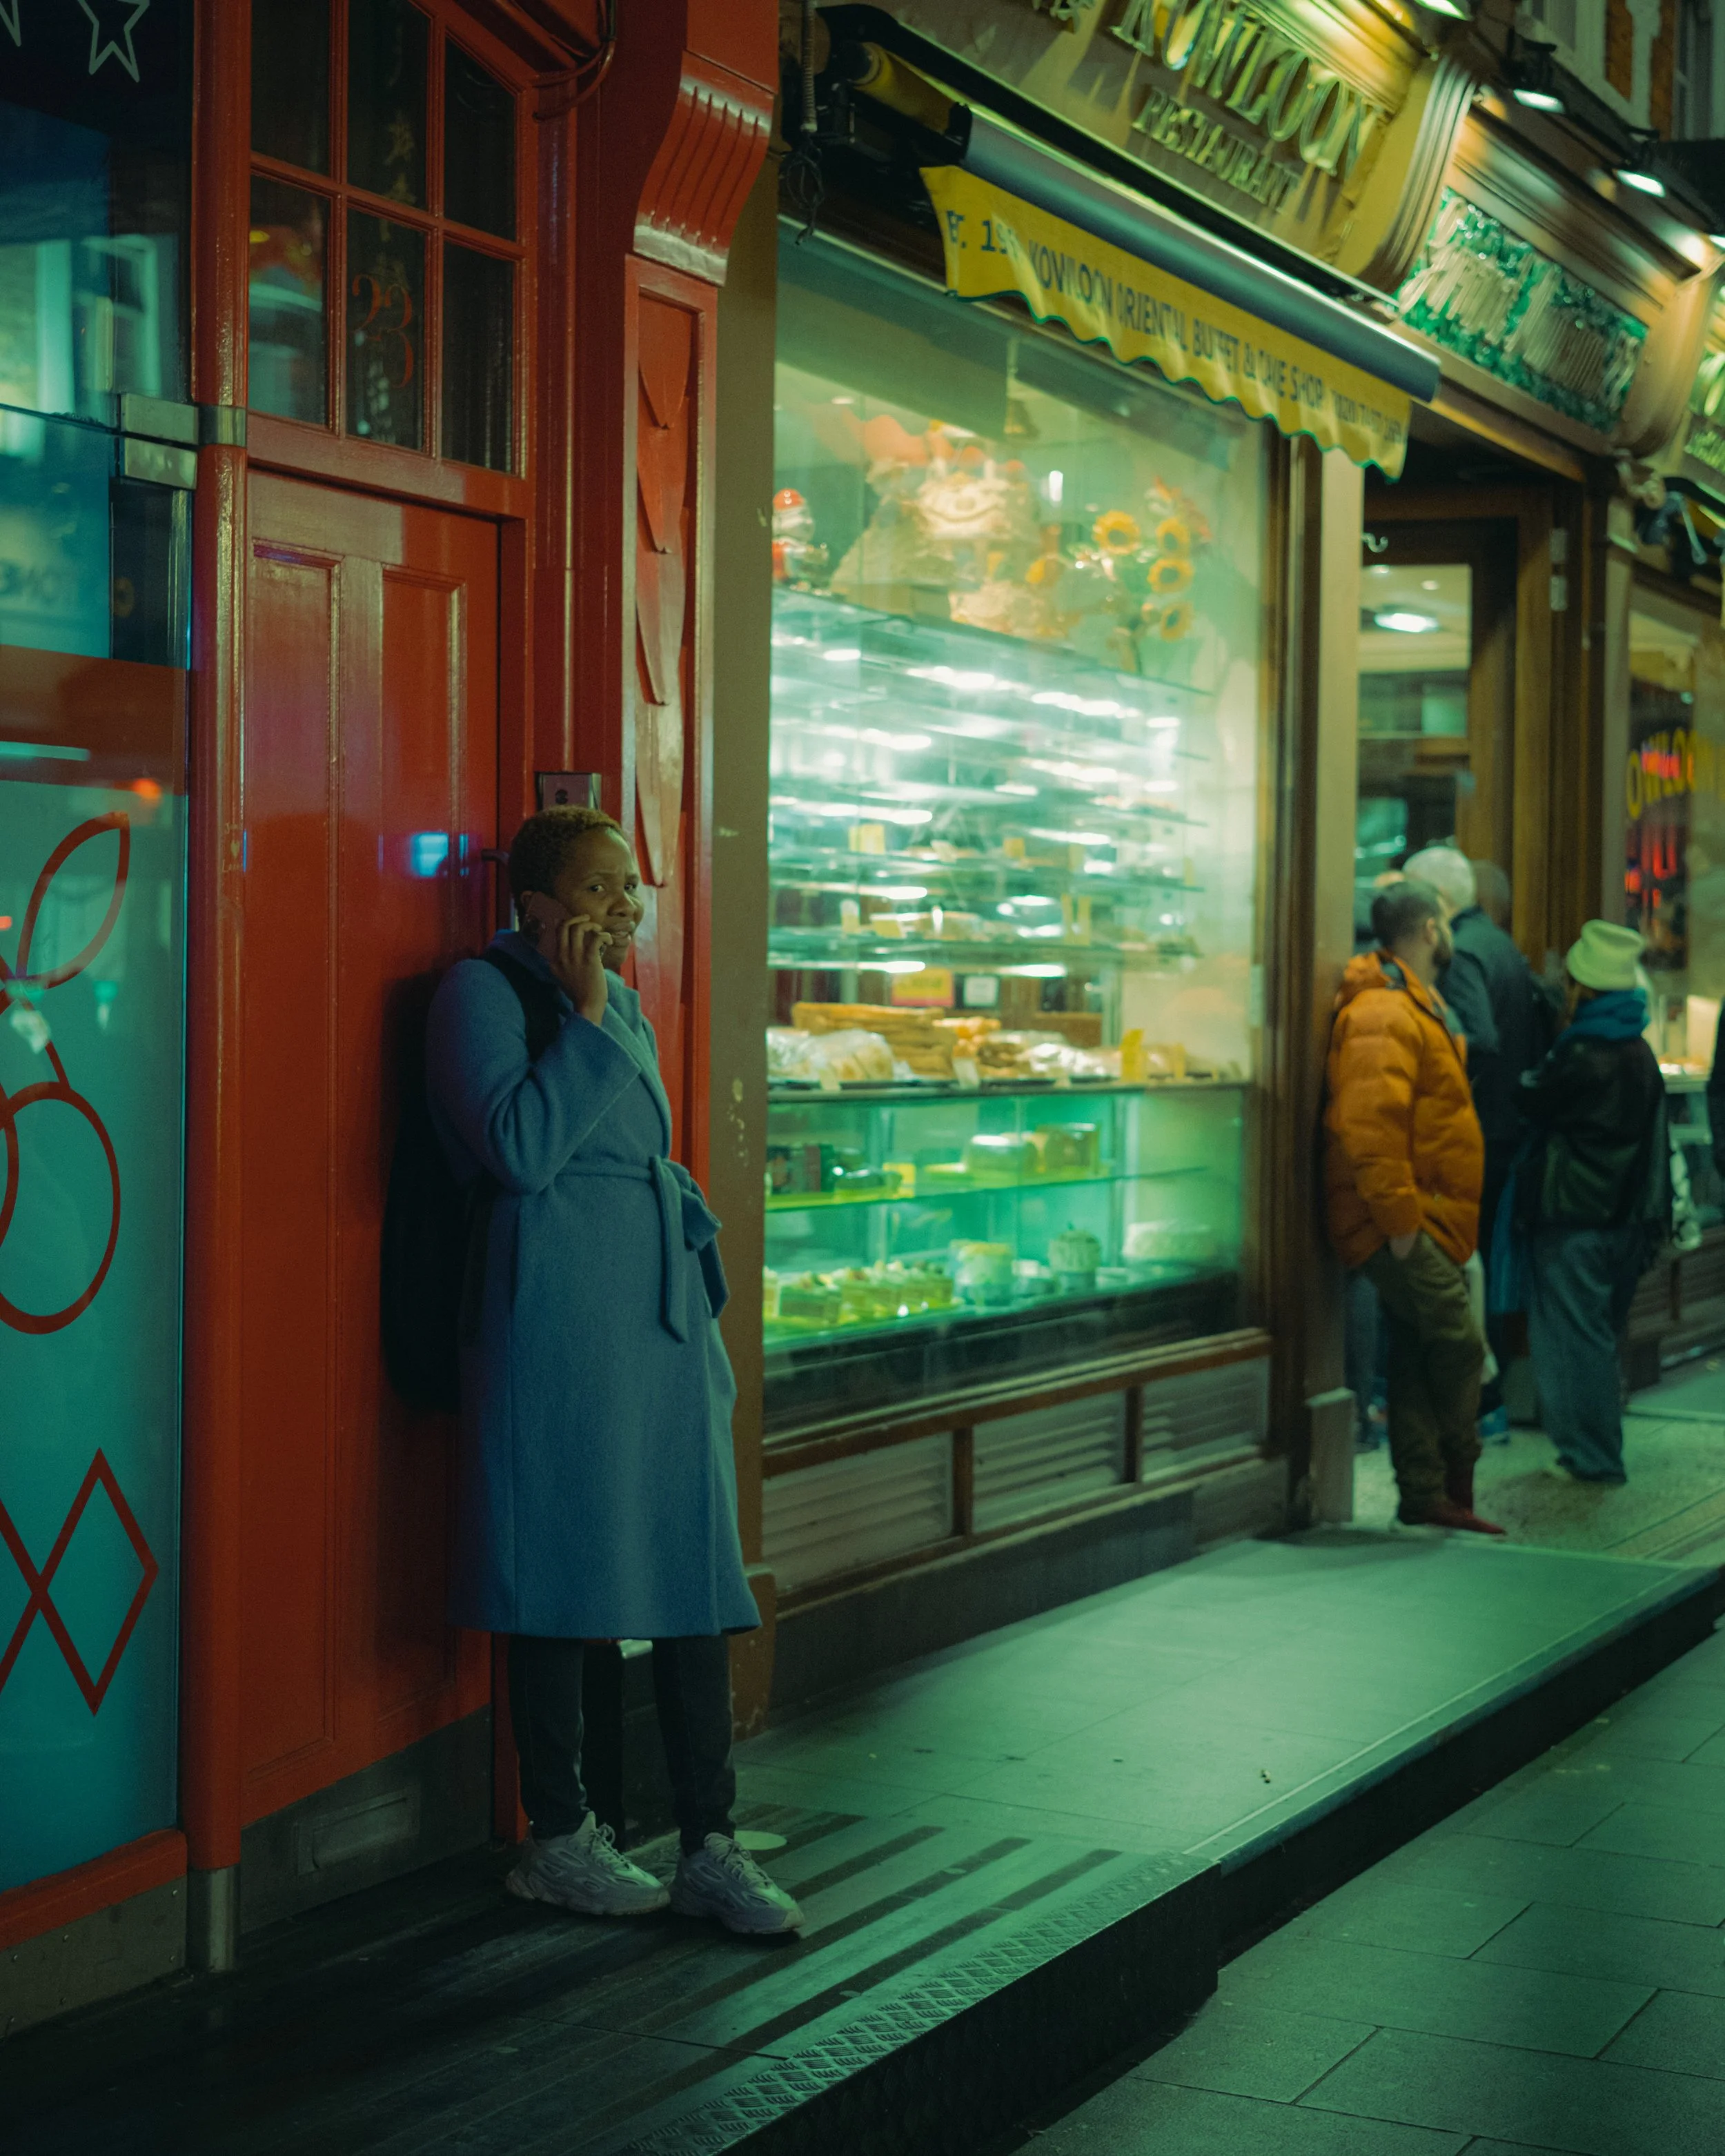
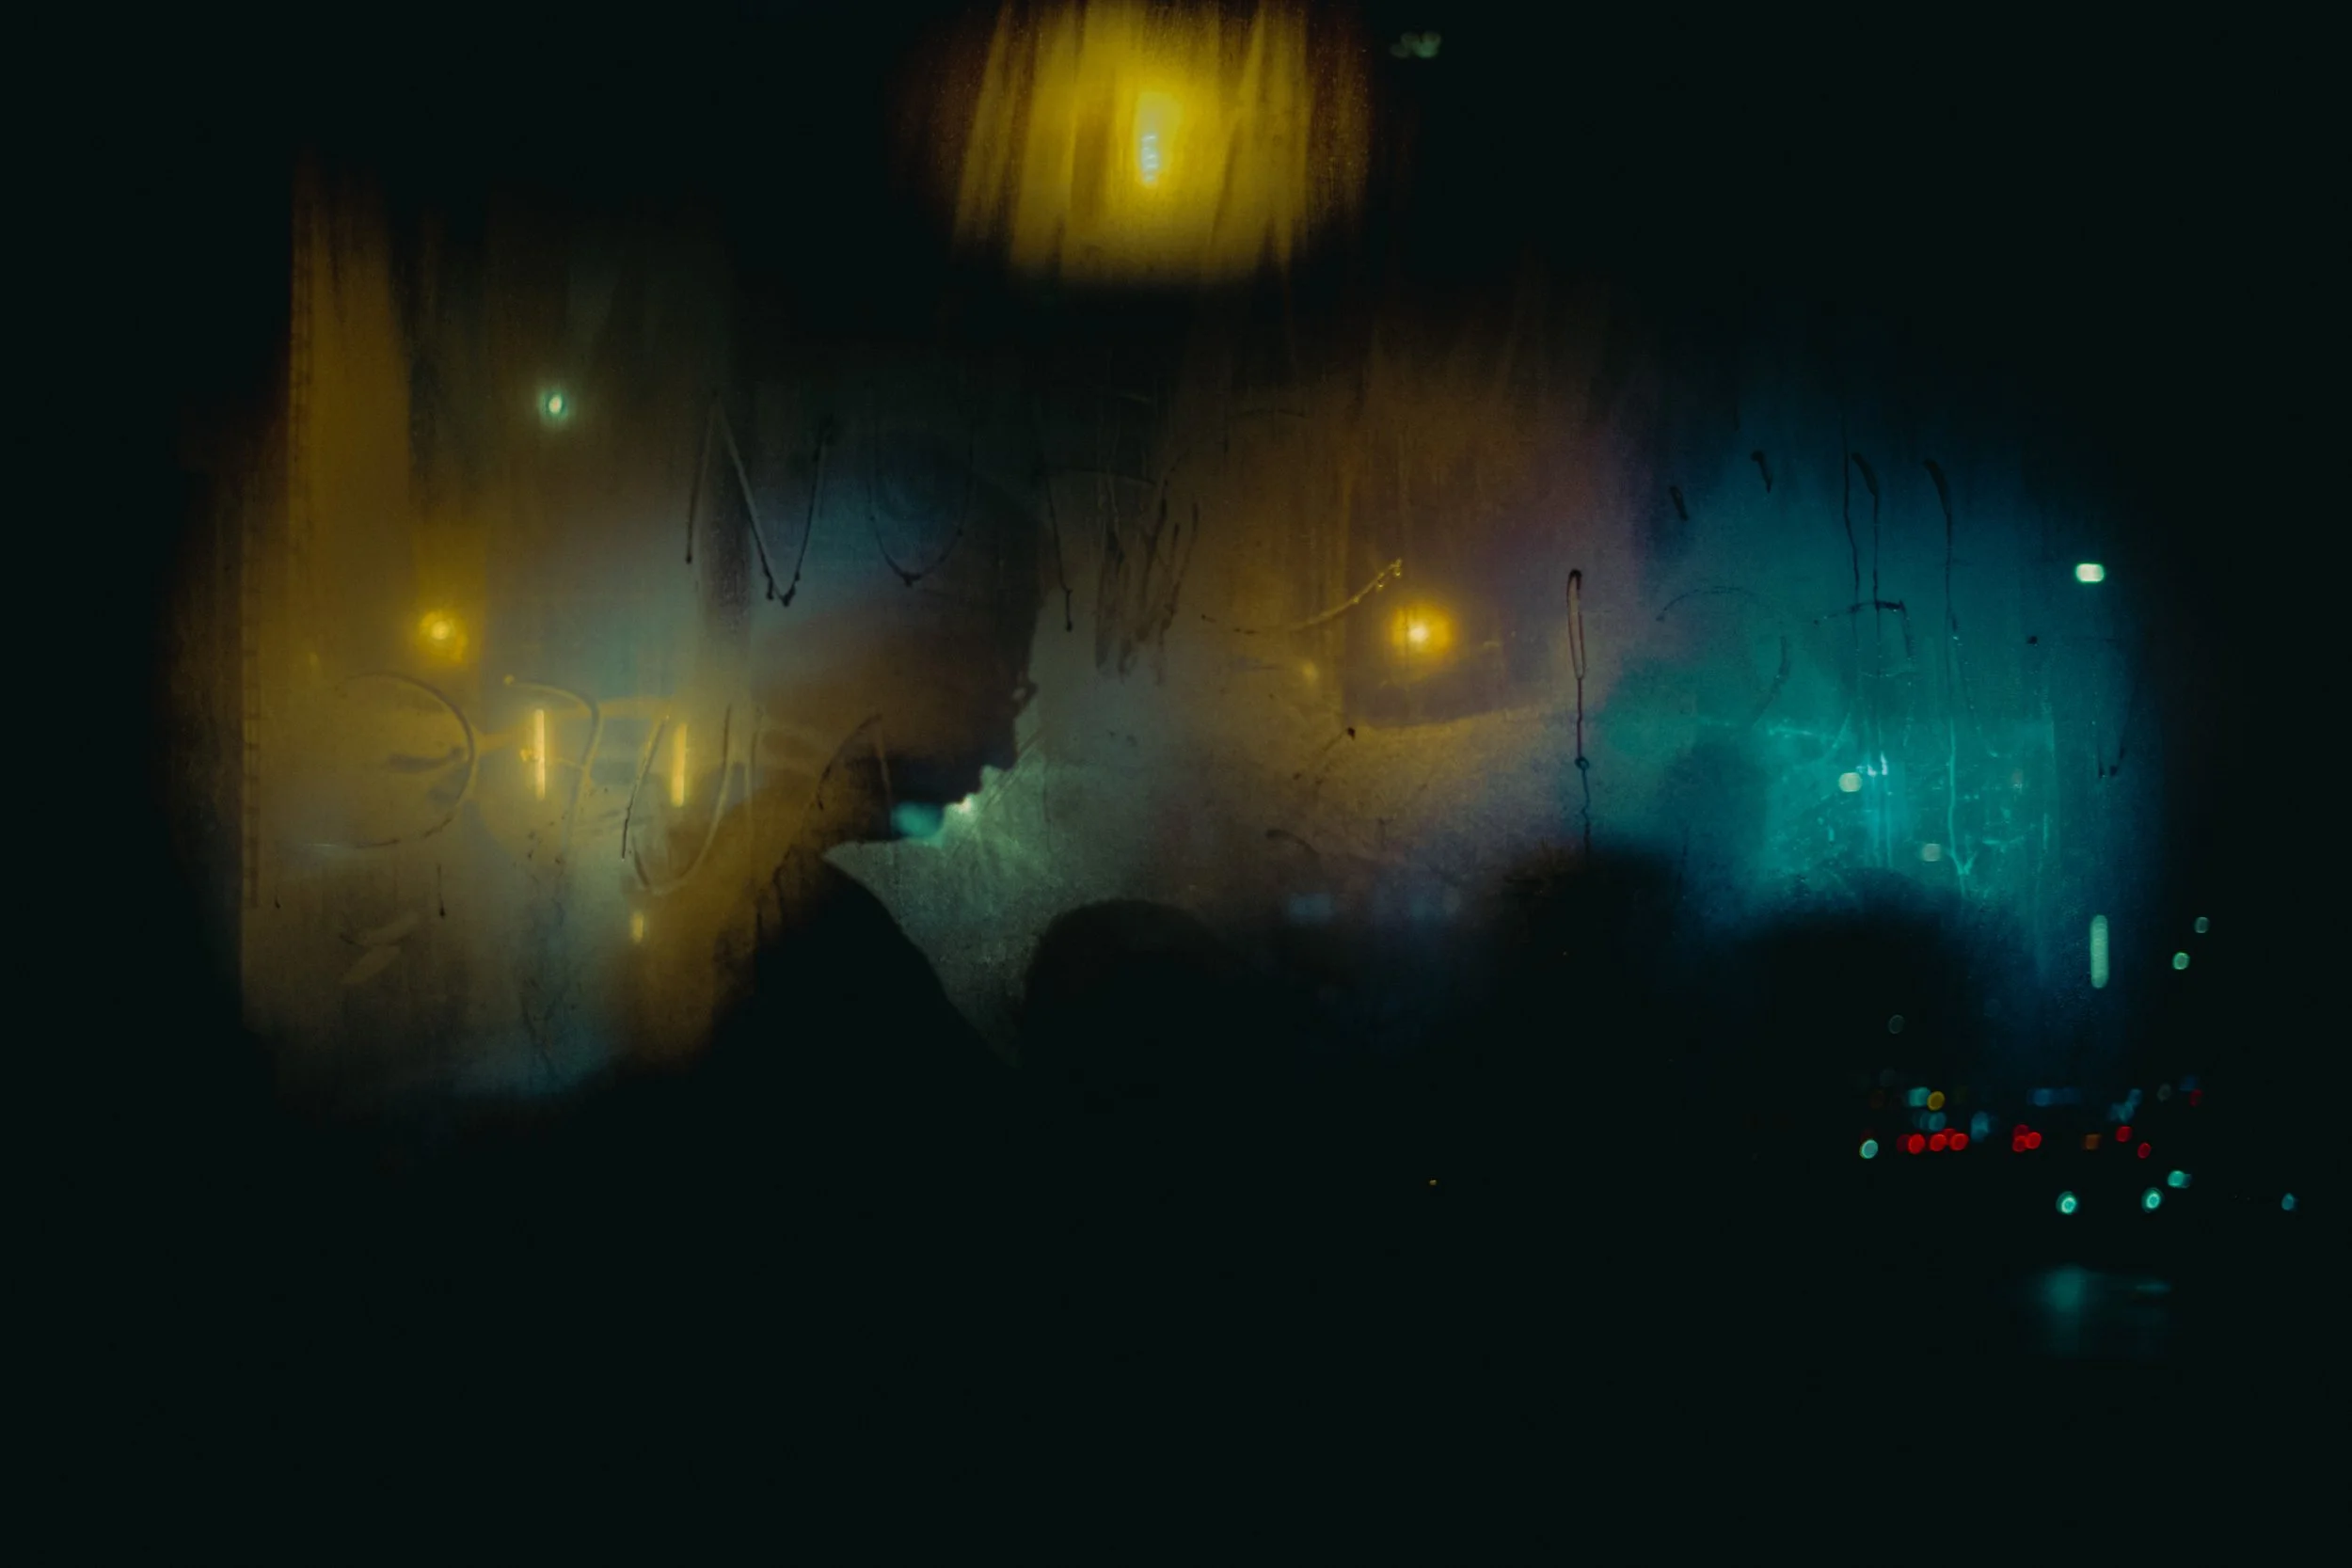
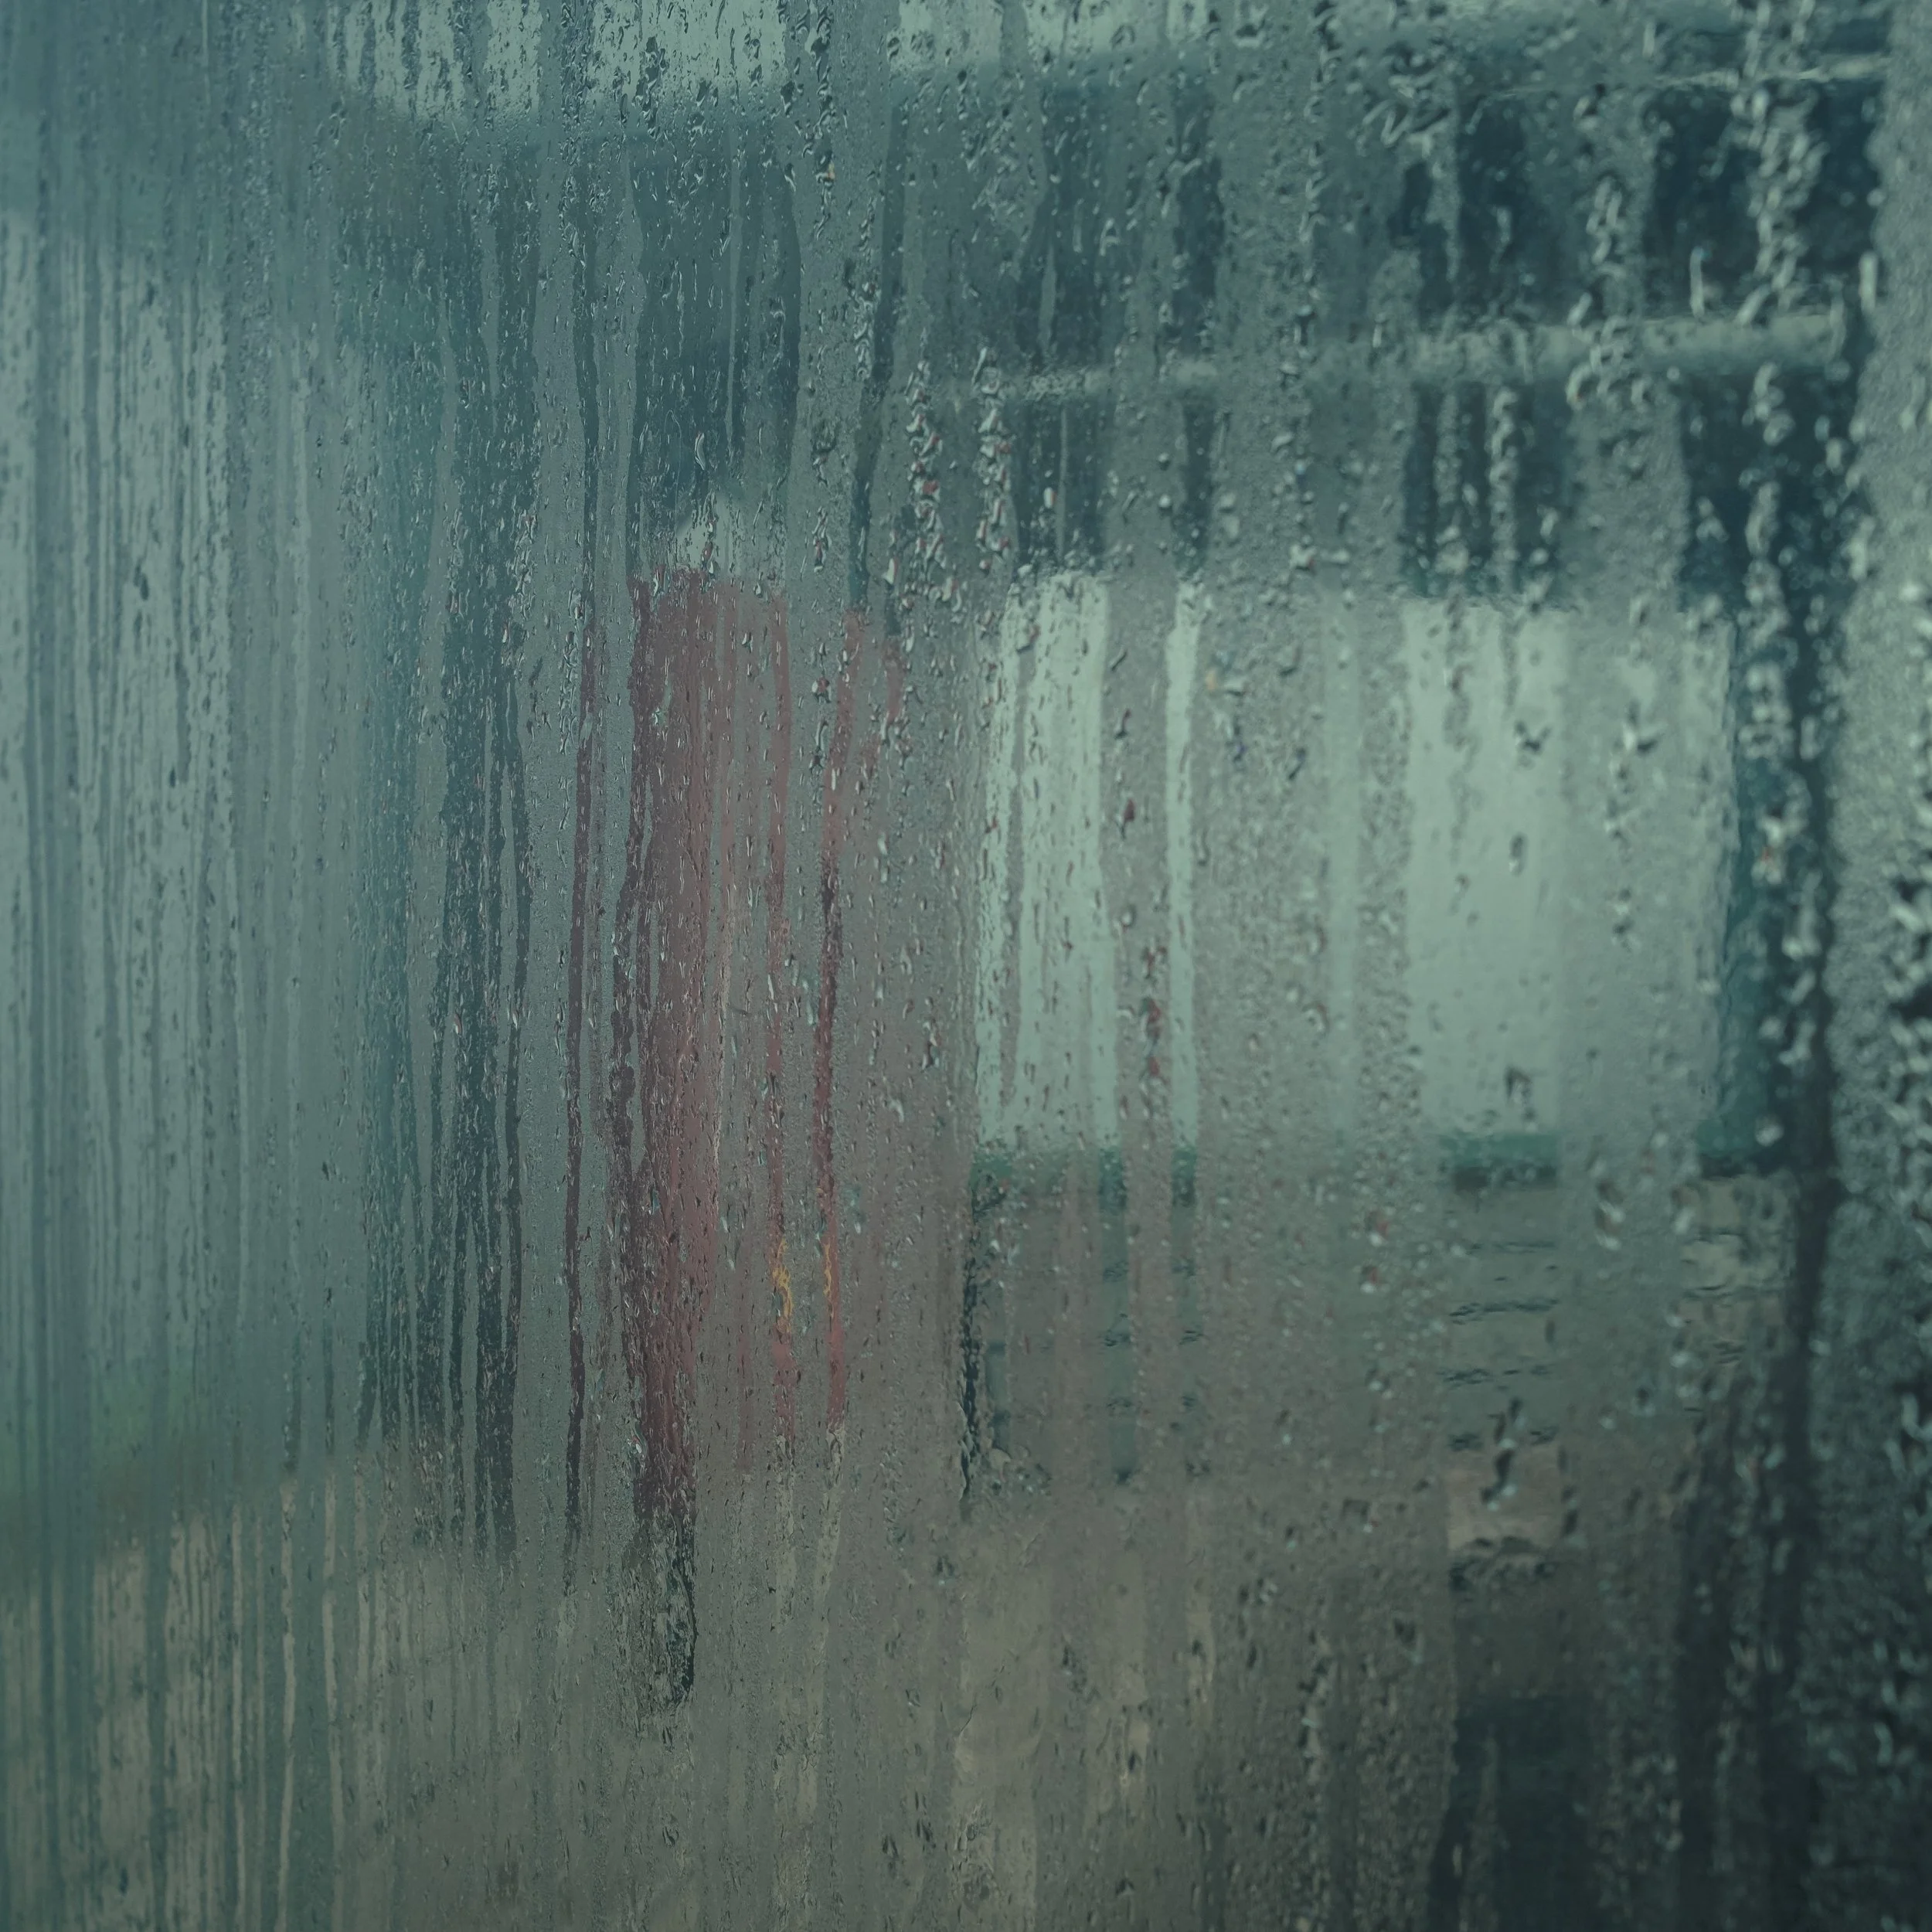
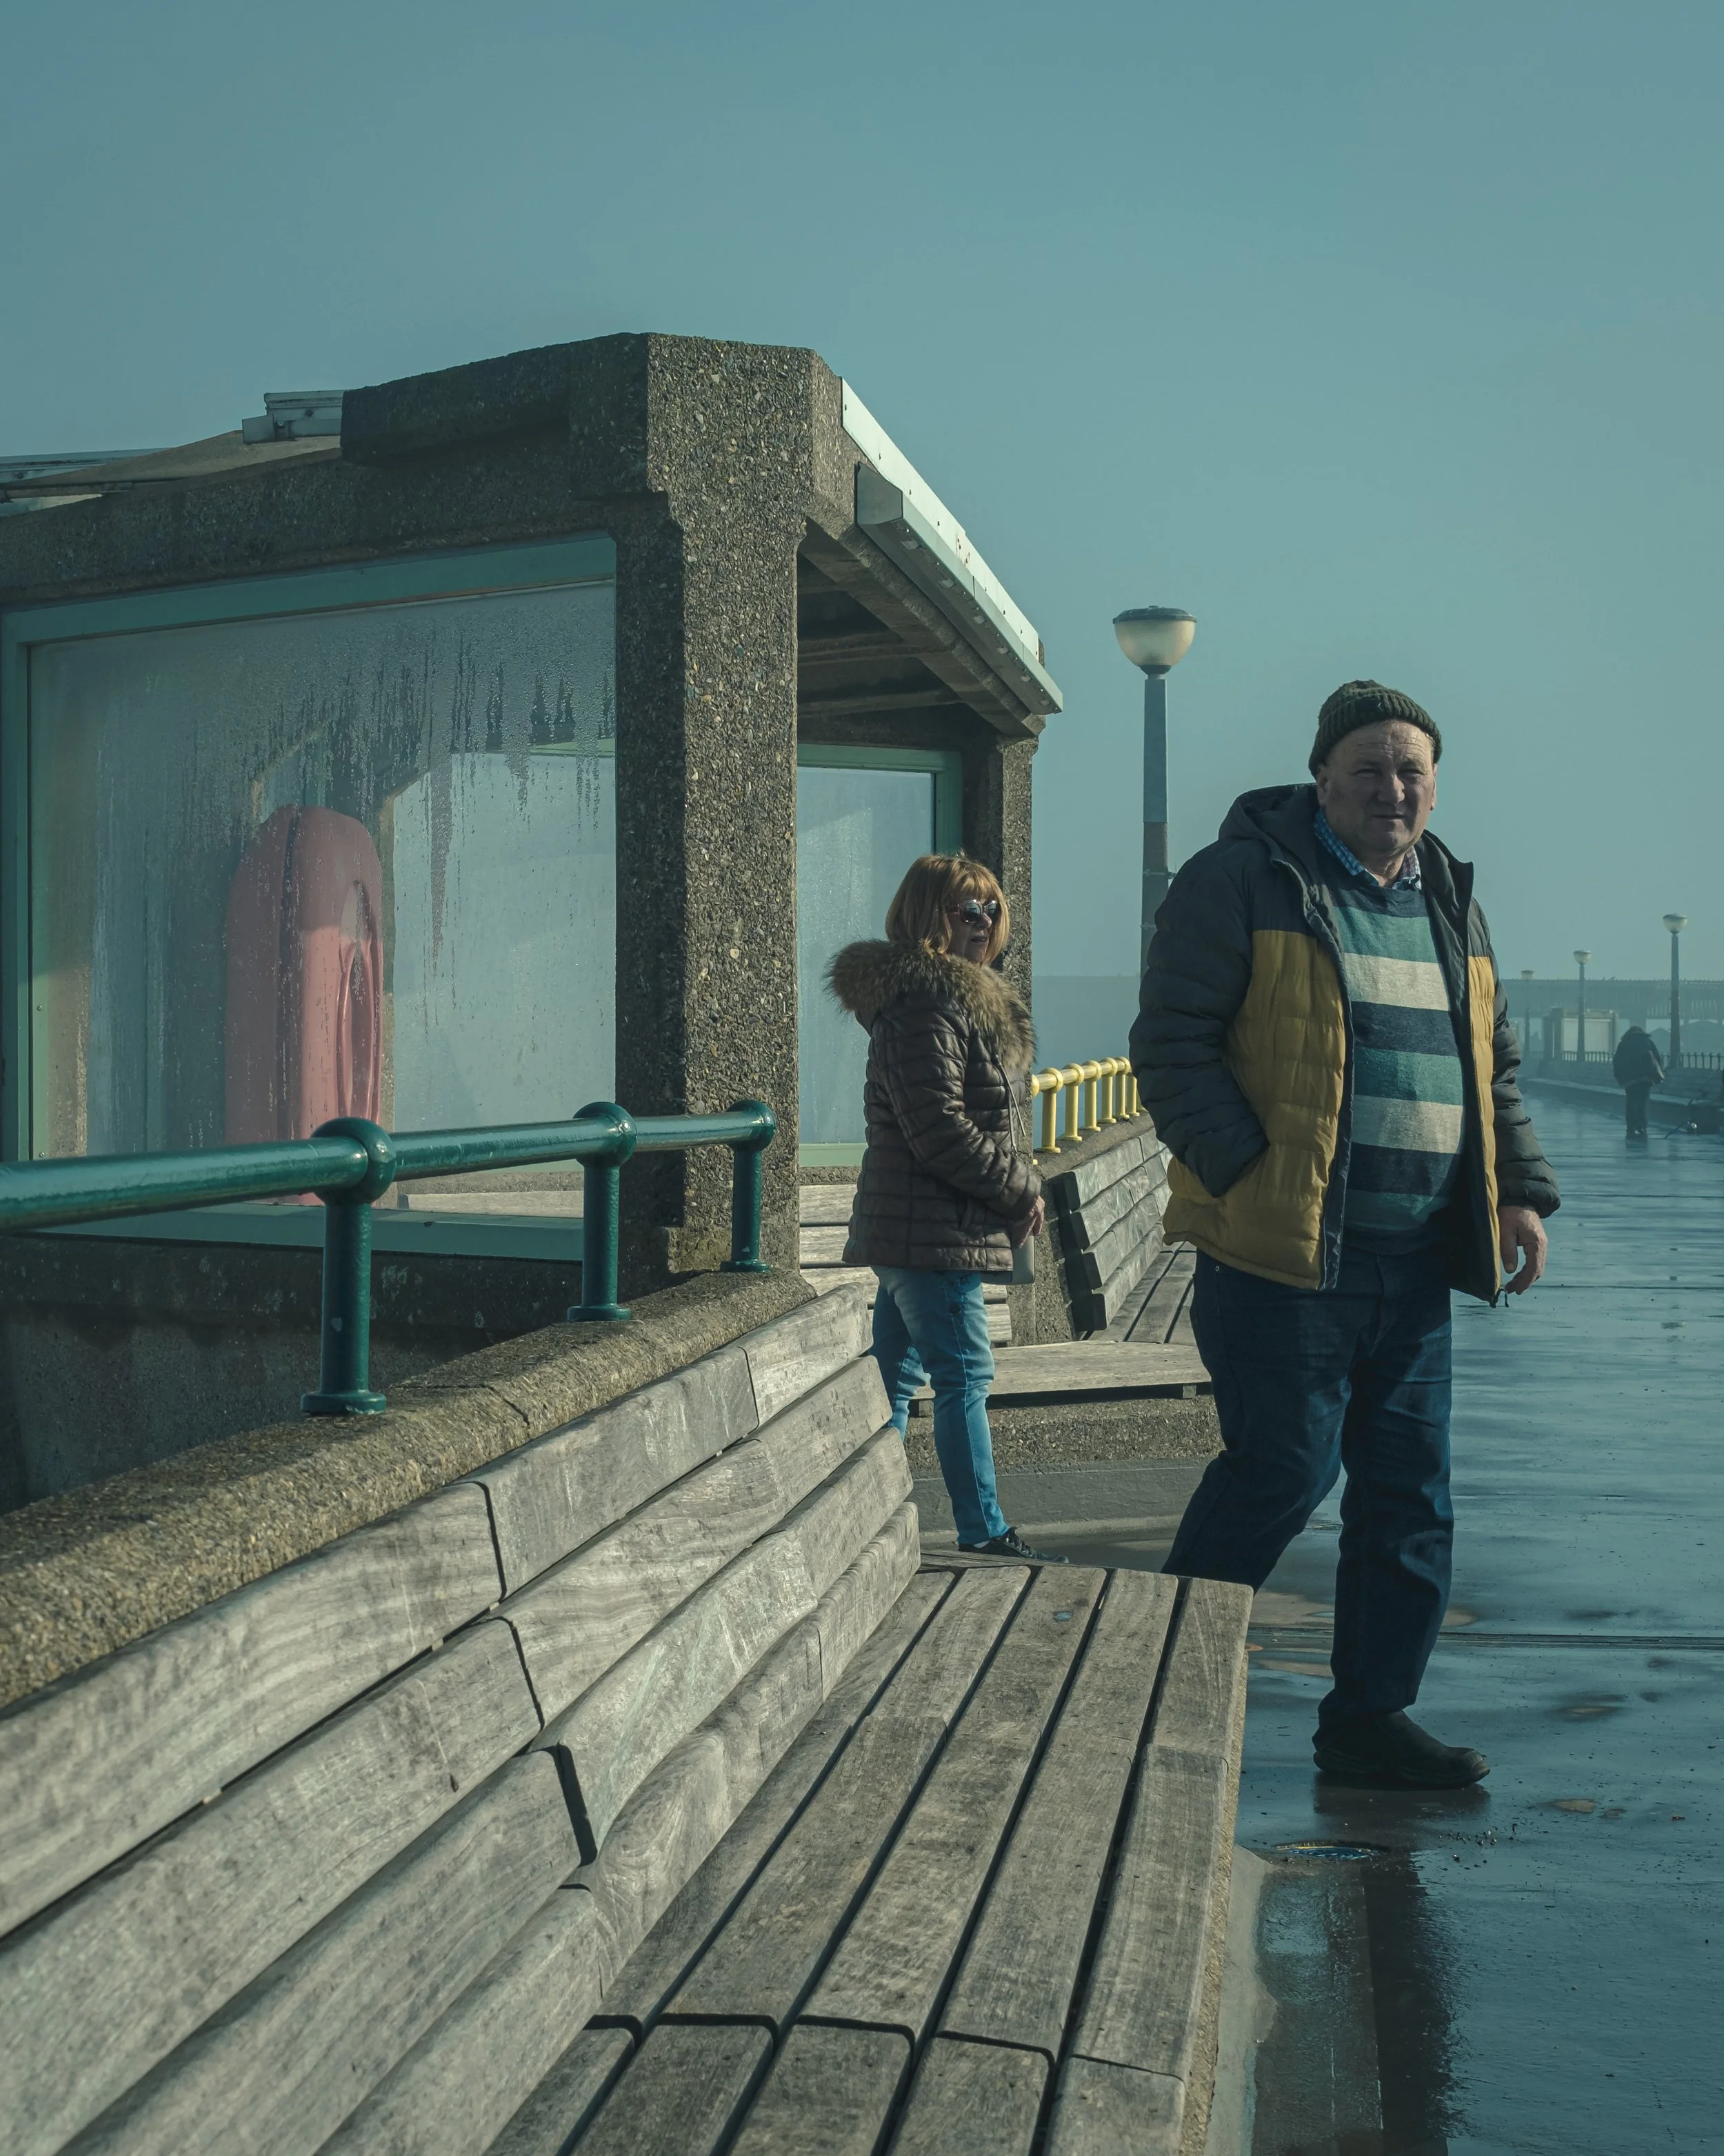
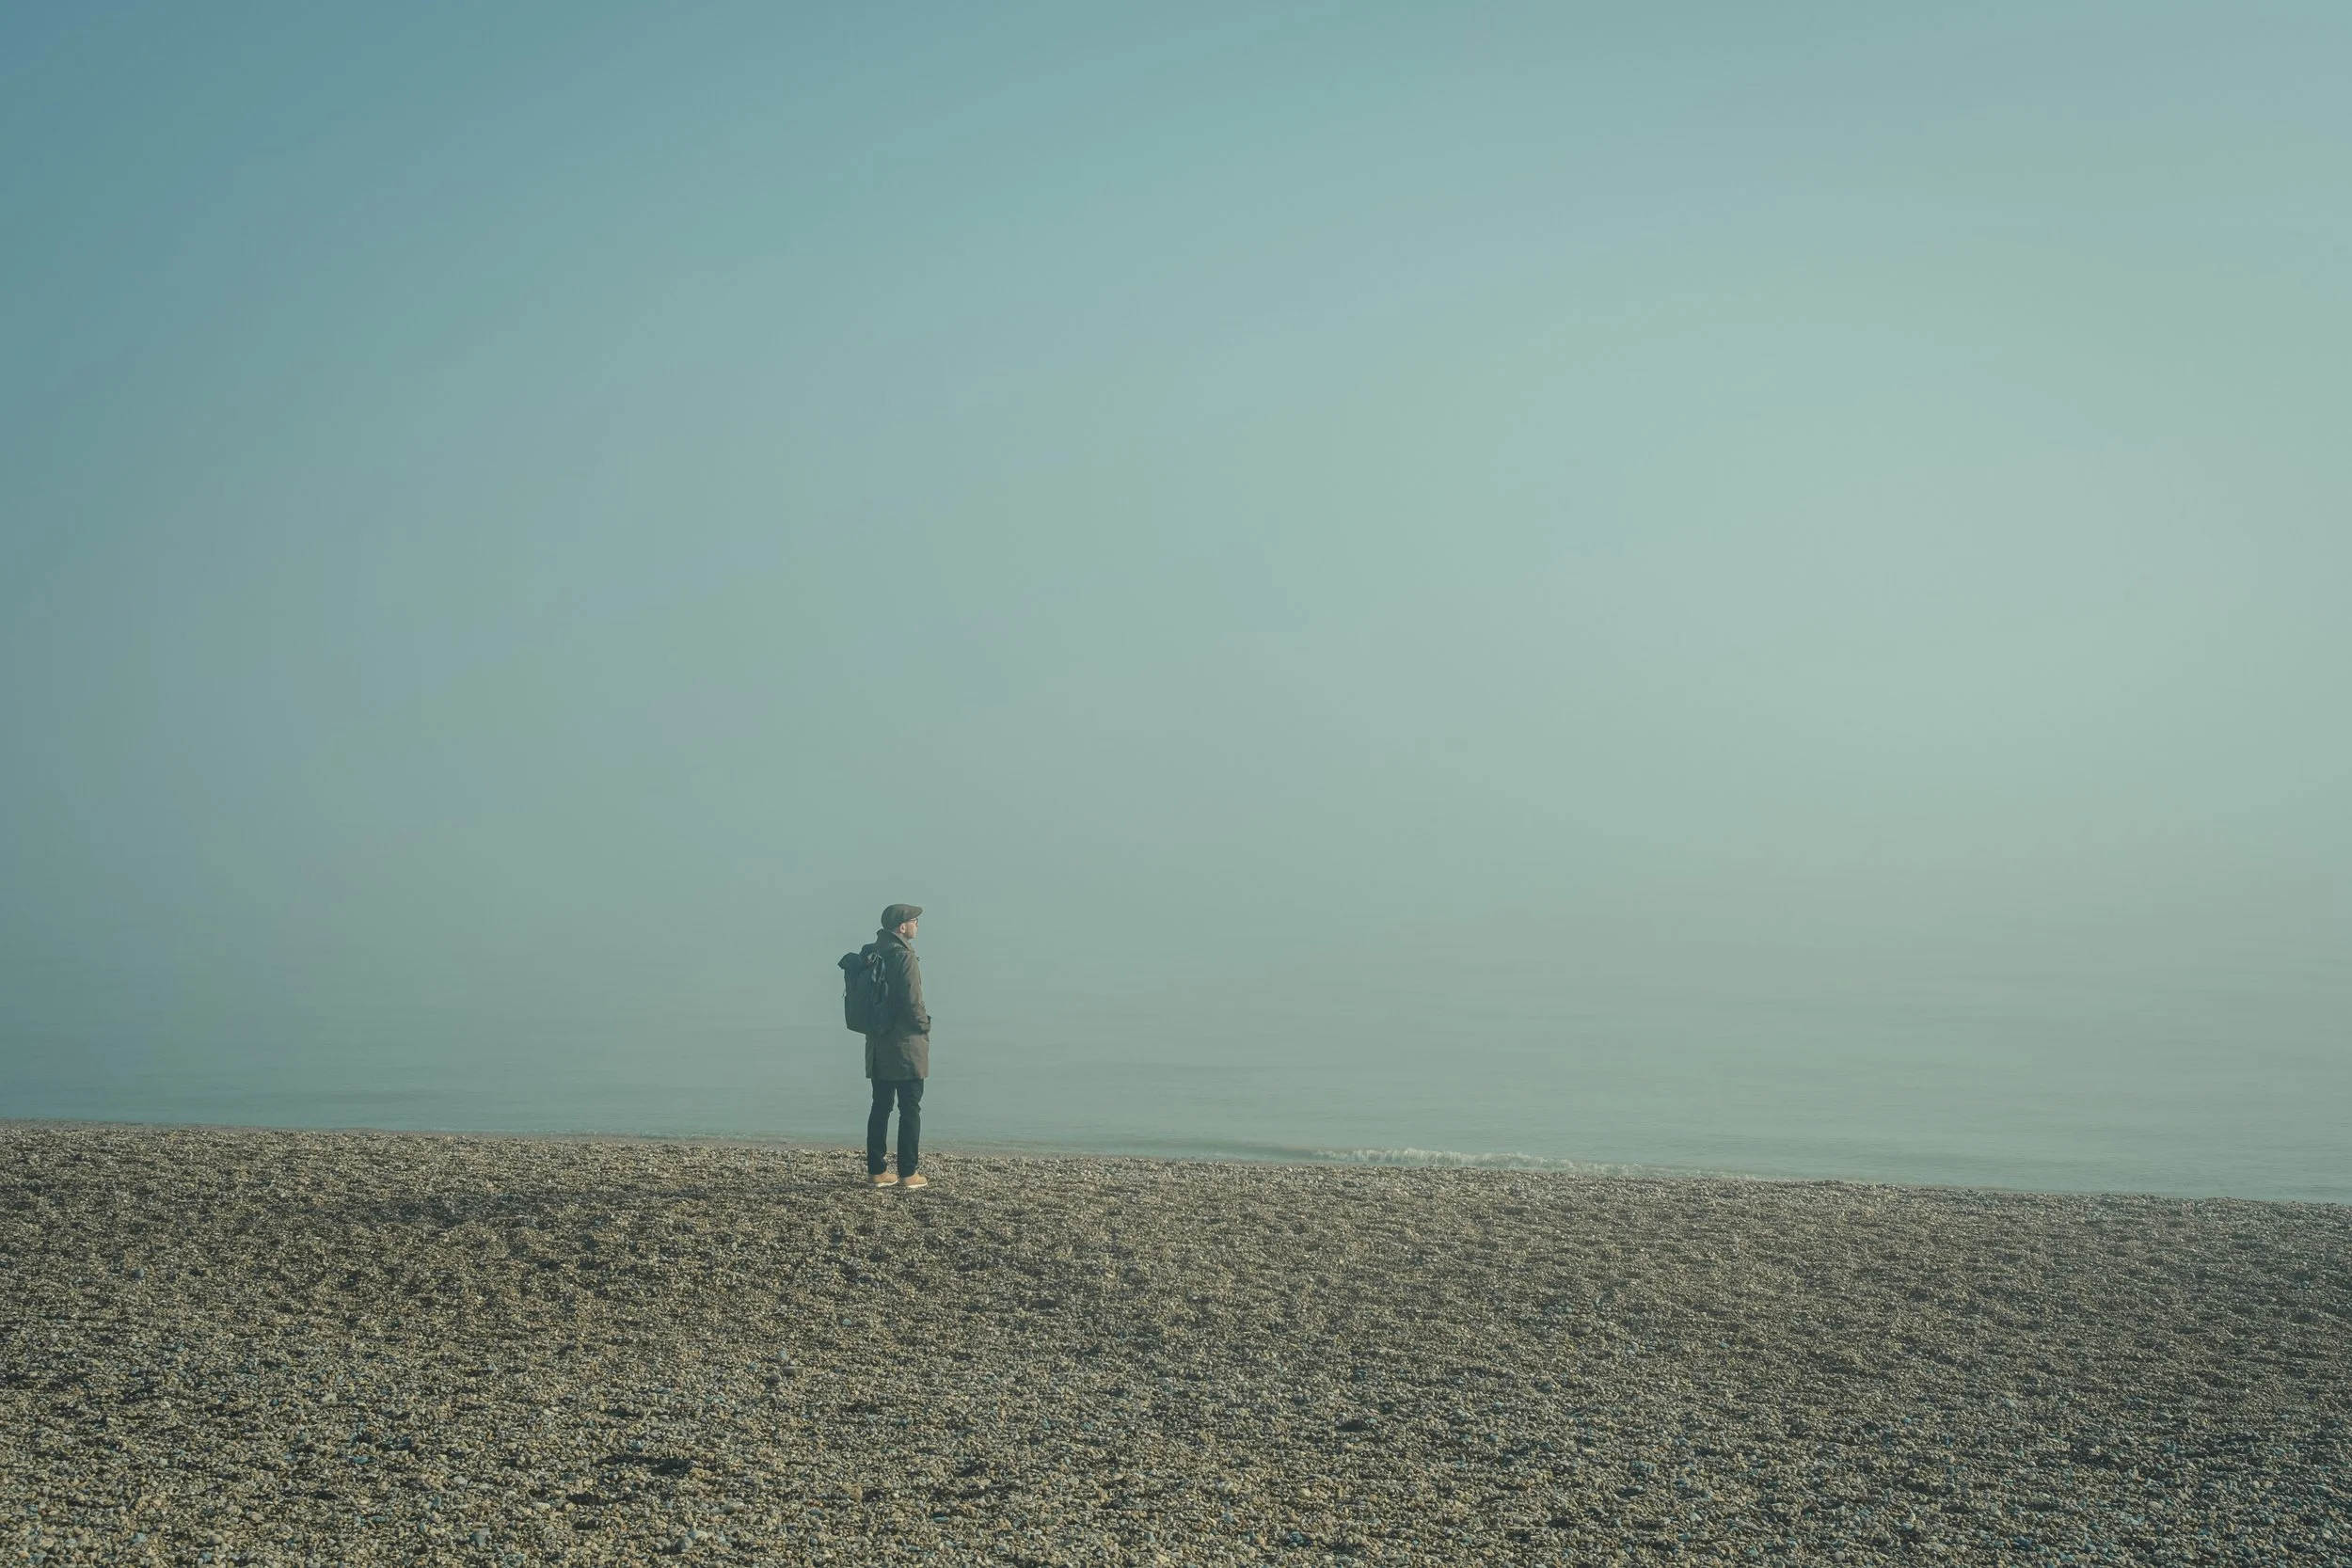
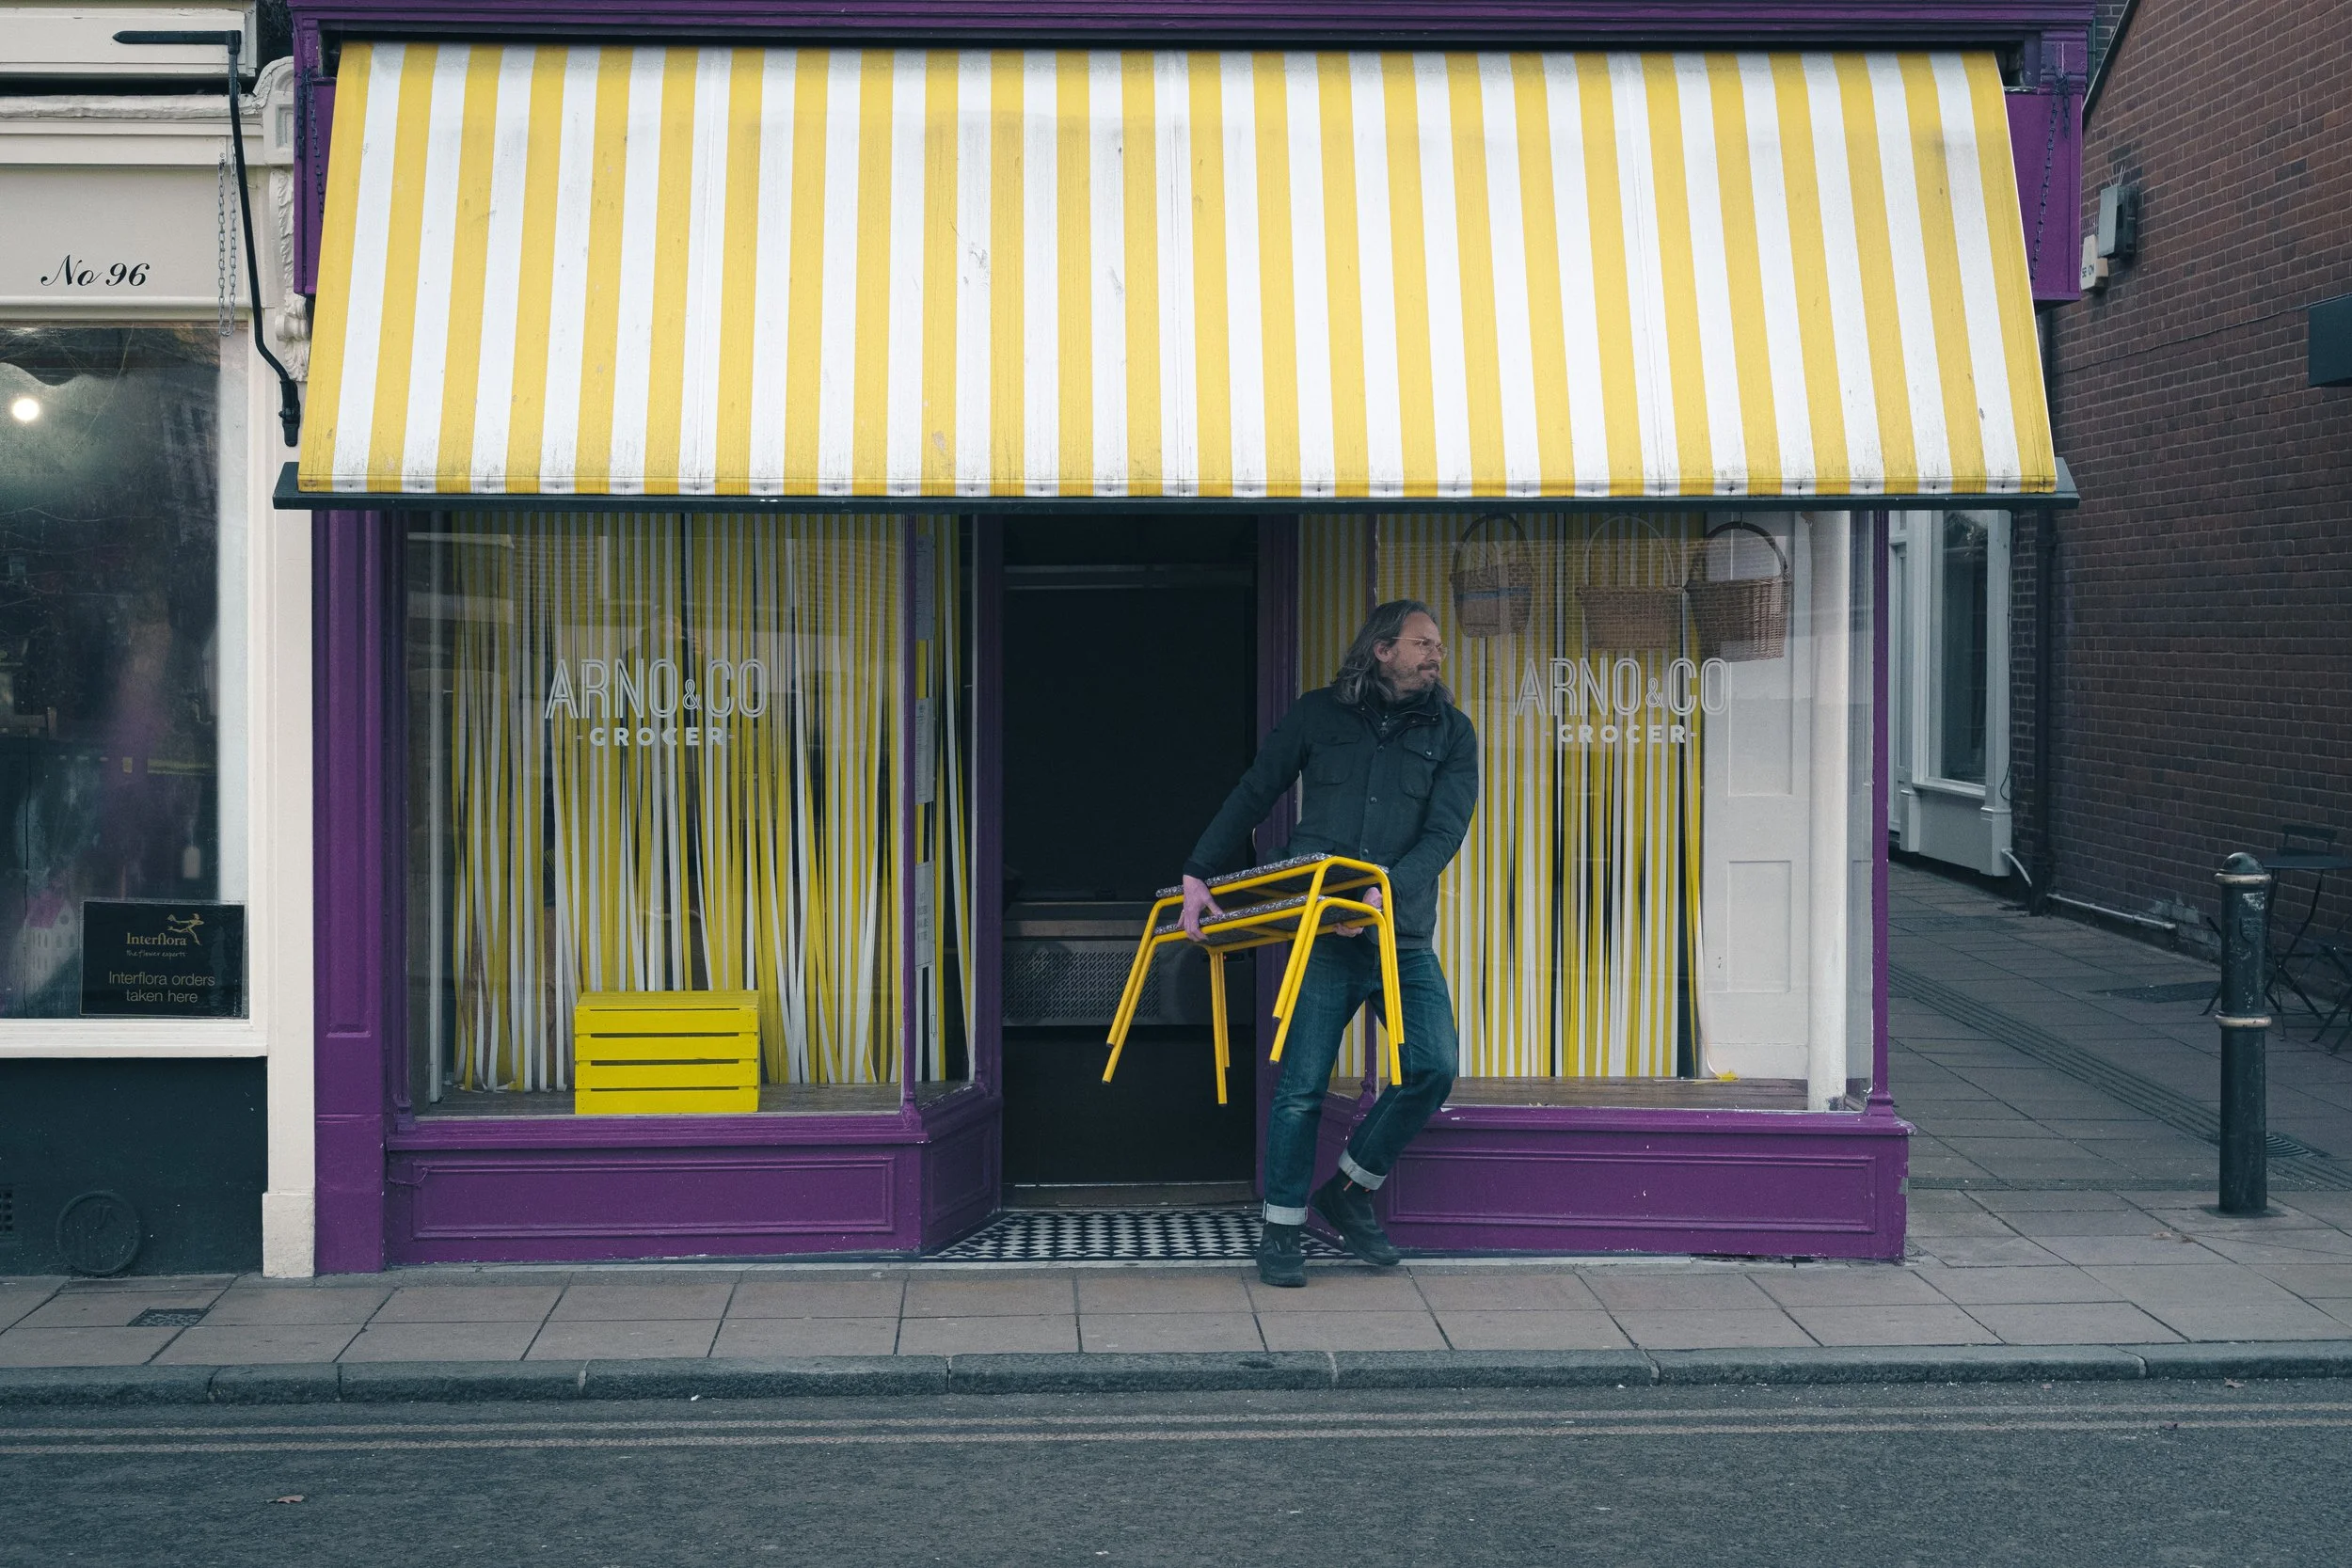
I said at the top that the bus shot was my favourite. There was another that is up there as a shot I’m pretty happy with all things considered, looking through a phonebox to a distant figure in the fog:
I’ve put all the hits and misses in the gallery below, will be interested to hear what you think as always!